Reptiles, with their captivating scales and mesmerizing movements, make fascinating and rewarding pets. However, providing proper care requires more than just a cage and a bowl of water. A thriving reptile needs a meticulously designed enclosure that accurately mimics its natural habitat, ensuring both its physical and psychological well-being. Creating this ideal environment demands careful consideration of several crucial factors, from substrate selection and temperature regulation to appropriate lighting and enrichment opportunities. A poorly constructed habitat can lead to stress, illness, and even death for your scaly companion.
This guide will equip you with the knowledge and confidence to build a stunning and functional reptile enclosure, tailored to the specific needs of your chosen species. From planning the enclosure's dimensions and choosing the right materials to perfecting the humidity and lighting, we'll walk you through each step, ensuring your reptile enjoys a safe, comfortable, and enriching home. Let's delve into the step-by-step process of building the perfect reptile enclosure.
Preparation and Safety Guidelines
- PVC enclosure
- Rubbing alcohol
- Silicone
- Spoon
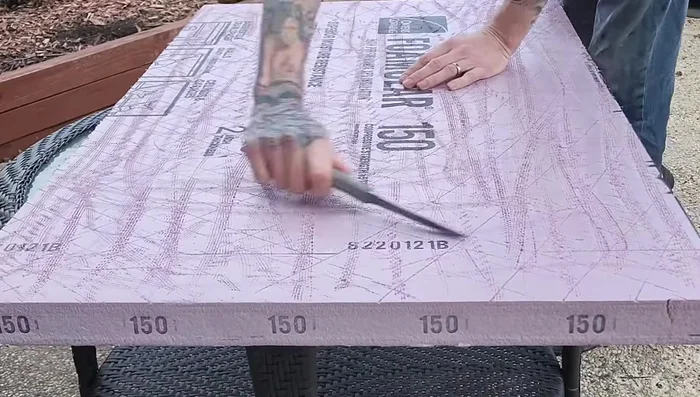
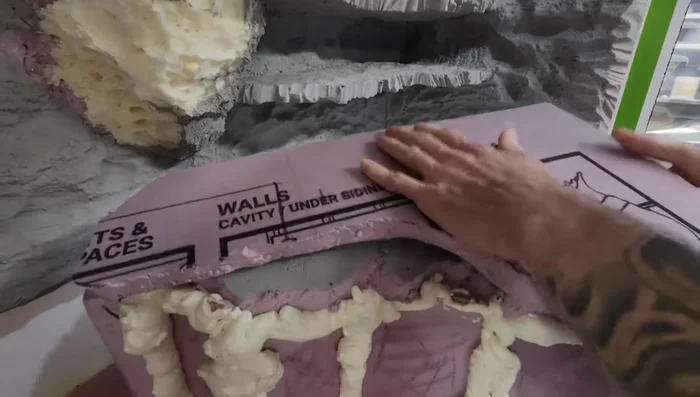
- XPS board
- Serrated kitchen knife
- Hot wire foam cutter
- Mask
- Spray foam
- Water
- Steak knife
- Drill
- Wire brush
- Heat gun
- Dry lock (original white tintable)
- Quikrete
- Wood glue
- Ghost wood
- Plant holders
- Arcadia lamp holder and bracket
- Dimmer switch
- UVB light
- Deep heat projector
- Govi timers
- Scott's organic topsoil
- Play sand
- Sphagnum moss
- Cork bark
- Leaf litter
- King nozzle with shut off valve
- Tempered glass
- Locks
- Microphone
- Springtails
- Dairy cow isopods
- Powder blue and powder orange isopods
- Palmer's putty
- Research your reptile's specific needs: Temperature, humidity, substrate, and enclosure size vary dramatically between species. Failure to meet these needs can lead to illness or death.
- Escape-proof your enclosure: Reptiles are masters of escape. Secure all openings, use appropriate mesh, and consider the strength of the materials used to build the enclosure. An escaped reptile can be dangerous or difficult to recapture.
- Handle with care and wash your hands: Some reptiles carry Salmonella. Always wash your hands thoroughly before and after handling your reptile and its enclosure to prevent the spread of bacteria.
Step-by-Step Instructions
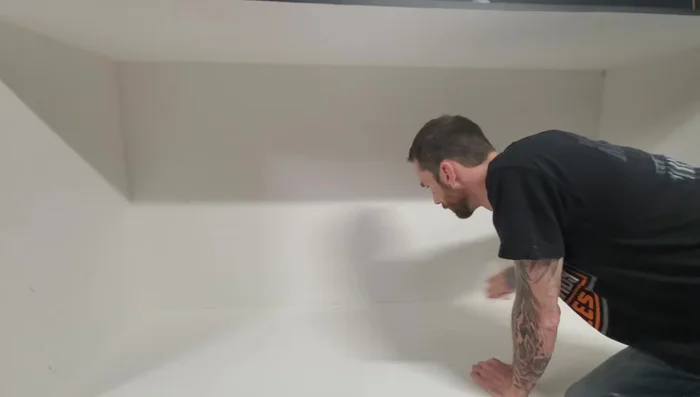
Prepare the Enclosure
- Clean the PVC enclosure with rubbing alcohol and apply silicone to all seams.

Prepare the Enclosure Install Back Panel
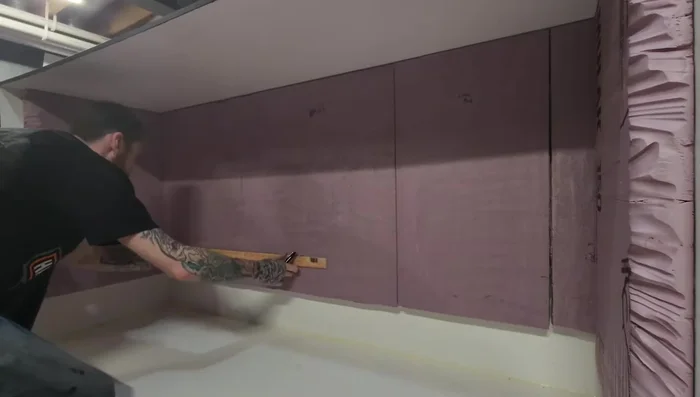
- Rough up the back of the XPS board and apply silicone. Attach it to the back wall.
- Silicone the back and place side panels in the enclosure, adding weight to secure.
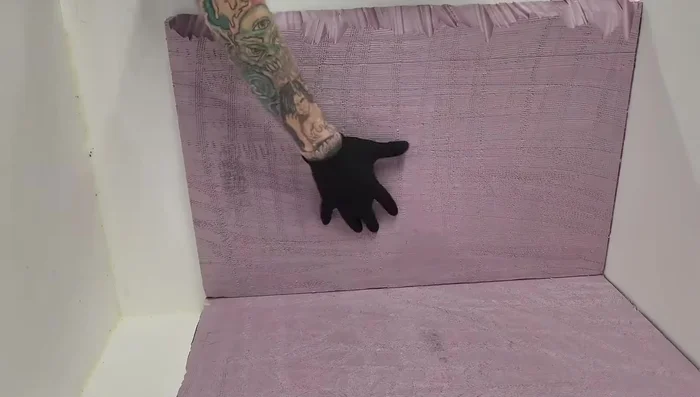
Install Back Panel Add Side Details
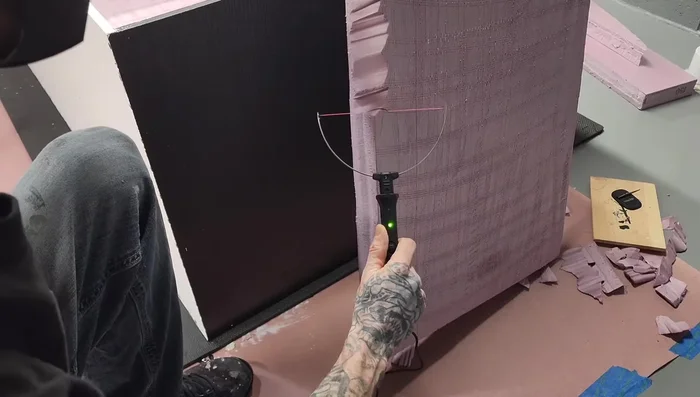
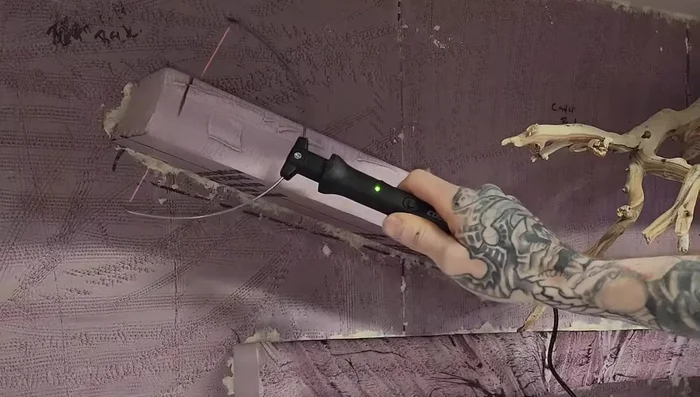
- Use a hot wire foam cutter to add detail to side panels. Wear a mask.
Add Side Details Plan and Prep for Ledges and Vents
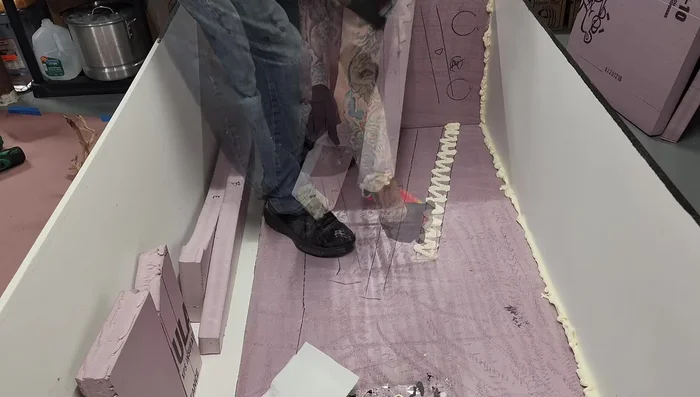
- Mark lines for substrate depth and vent locations. Plan ledge placement using XPS.
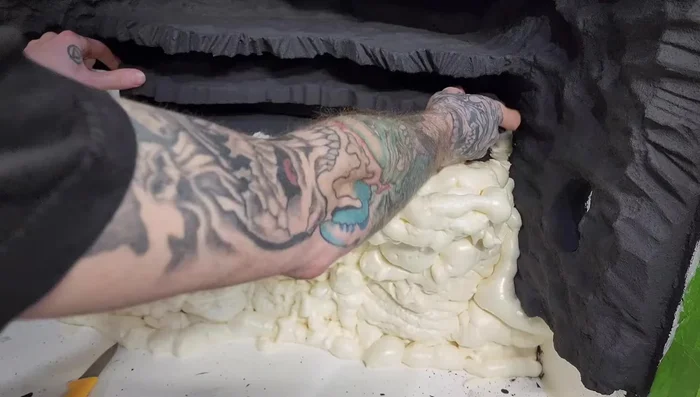
Plan and Prep for Ledges and Vents Create Ledges with Spray Foam
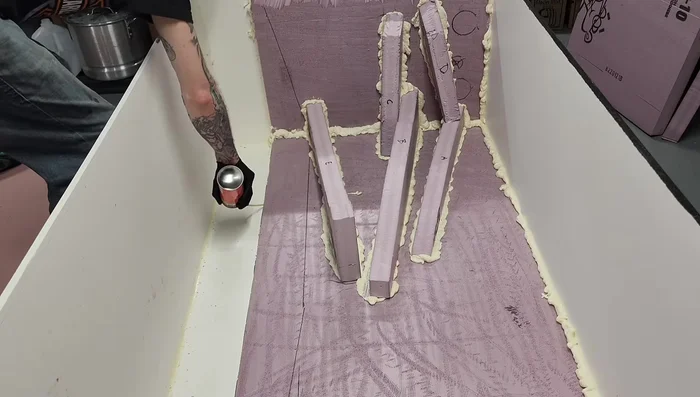
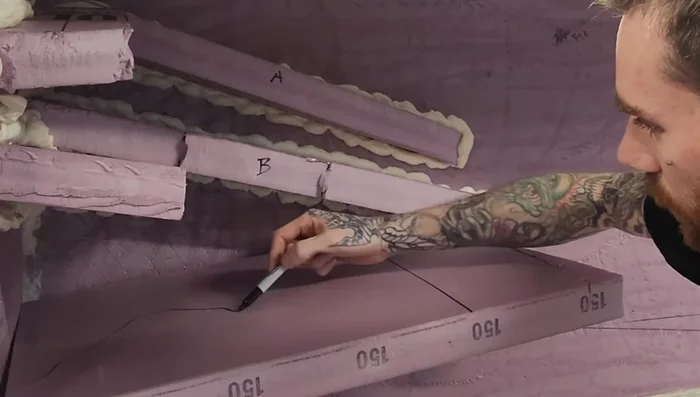
- Trace and label ledge positions before applying spray foam. Create narrow top shelves and wider bottom masking area.
- Apply spray foam to the traced areas for ledges. Add weight to keep in place.
- Spray foam the bottom seam and dampen with water to help cure.
Create Ledges with Spray Foam Install Basking Ledge
- Add the main basking ledge, repeating the process on the cool side.
- Remove excess spray foam once cured and carve ledges for detail.
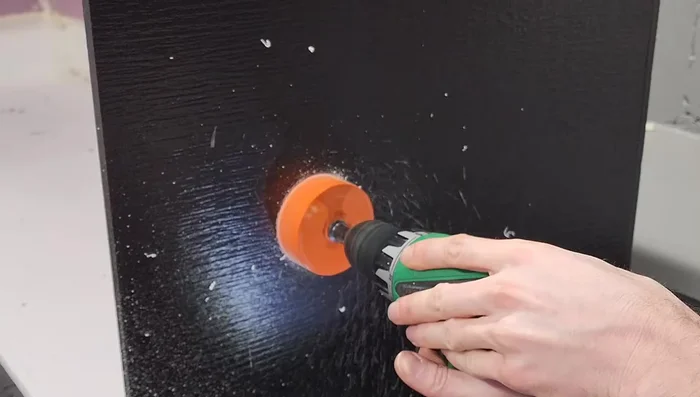
Install Basking Ledge Add Vents and Texture Background
- Drill vent holes and use a wire brush for texturing the background. Wear a mask.
- Use a heat gun to tighten XPS board after carving. This improves durability and bonding for dry lock or grout.
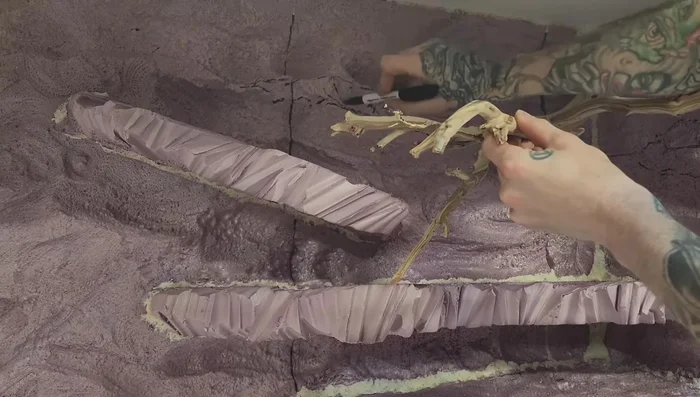
Add Vents and Texture Background Install Ghost Wood
- Trace and cut out areas for ghost wood, aiming for a tight fit. Spray foam later.
Install Ghost Wood Add Additional Ledges
- Add extra ledges with spray foam and carve them down after curing.
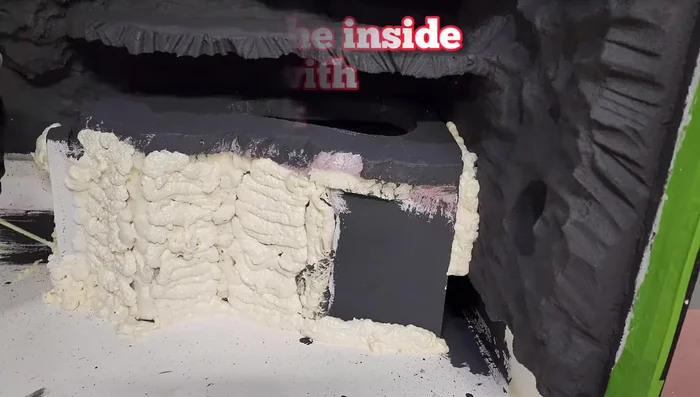
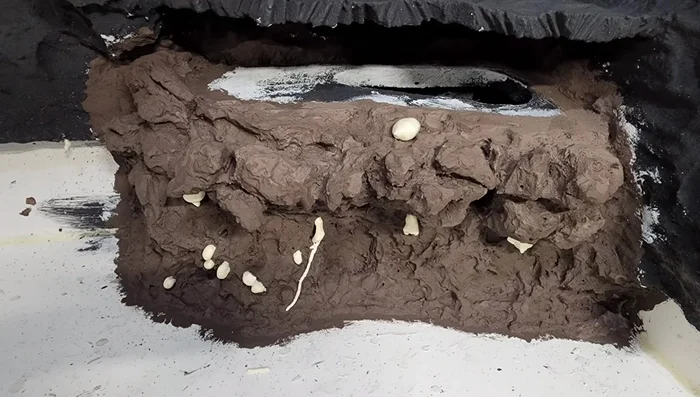
Add Additional Ledges Construct and Waterproof Cool Side Hide
- Create a cool-side hide using spray foam. Test-fit and attach the lid using spray foam to create a seal.
- Apply multiple coats of Dry Lock (original white tintable) to waterproof the hide. Use different Quikrete tones to monitor progress.
- Shape the hide's lid and apply dry lock and wood glue for strength.
- Attach the hide to the background using spray foam and carve it to look like rock.
Construct and Waterproof Cool Side Hide - Trim spray foam so the lid fits flush. Add detail carving.
- Cut an entrance hole to the hide. Add more dry lock coats and apply to the entire enclosure.
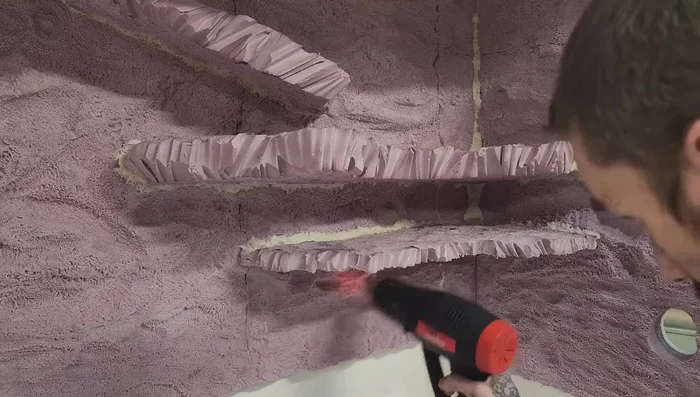
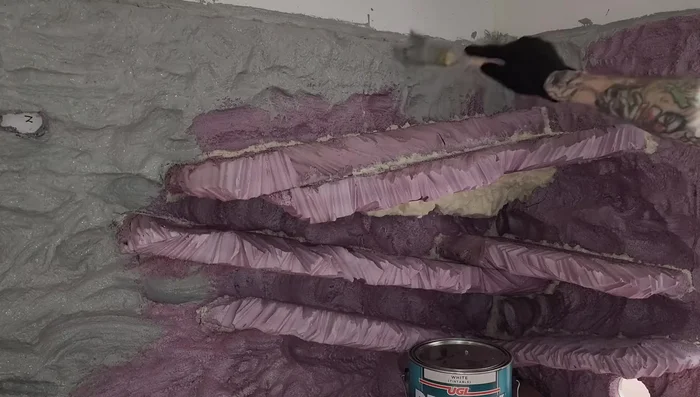
Construct and Waterproof Cool Side Hide Paint and Texture Hardscape
- Dry brush the enclosure with terra cotta hues for texture, starting darkest to lightest.
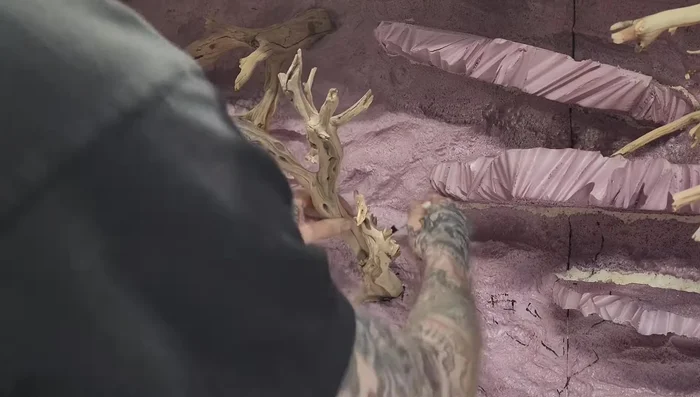
Secure Ghost Wood
- Hot glue and spray foam the ghost wood into place, trimming to fit the background. Apply dry lock and dry brush.
Install Lighting
- Install lighting fixtures (Arcadia lamp holder & bracket, UVB light, deep heat projector). Use a dimmer switch for temperature control.
Add Substrate and Decor
- Mix and add substrate (70% topsoil, 30% play sand, sphagnum moss). Add cork bark dividers.
- Add plants, leaf litter, and microfauna. Seal top holes with Palmer's putty.
Final Touches
- Install glass and locks. Add microfauna (springtails, isopods).
- Set up Govi timers for automated temperature and humidity control.


Read more: How to Deep Clean Your Leopard Gecko's Tank: A Step-by-Step Guide
Tips
- Use animal-safe materials. Do your research.
- Wear a mask when using spray foam and the hot wire foam cutter.
- Use a heat gun to improve durability of carved XPS. Improves dry lock adhesion
- Dry brushing with different shades creates a realistic rock texture.