Exo Terra terrariums, known for their naturalistic designs, are a popular choice for reptile and amphibian keepers. However, like any glass enclosure, they are susceptible to damage, and a leaking terrarium can quickly become a significant problem, causing water damage, potential harm to your pet, and a stressful cleanup. A cracked or compromised seal can lead to a frustrating and potentially costly repair, but with the right approach, many leaks can be fixed successfully at home.
This guide focuses on effectively repairing a leaking Exo Terra aquarium, walking you through the process from identifying the source of the leak to completing the repair. We will provide a detailed, step-by-step approach that will enable you to assess the damage, gather the necessary materials, and confidently execute the repair, minimizing disruption to your pet's habitat and saving you the expense of replacement. Let's dive into the step-by-step process to get your Exo Terra back in tip-top condition.
Preparation and Safety Guidelines
- Exacto knife
- Flashlight
- Safety glasses
- Paper towels
- S1 Silicone sealant
- Small dish of water
- Rubber gloves
- Always disconnect the aquarium from the power source before starting any repairs. Electrical shock is a serious risk.
- Wear appropriate safety gear, including gloves and eye protection, to protect yourself from sharp edges, broken glass, and chemicals.
- If the leak is extensive or you're unsure about the repair, consult a professional aquarium repair service. Attempting a complex repair incorrectly could worsen the damage.
Step-by-Step Instructions
Leak Identification and Preparation
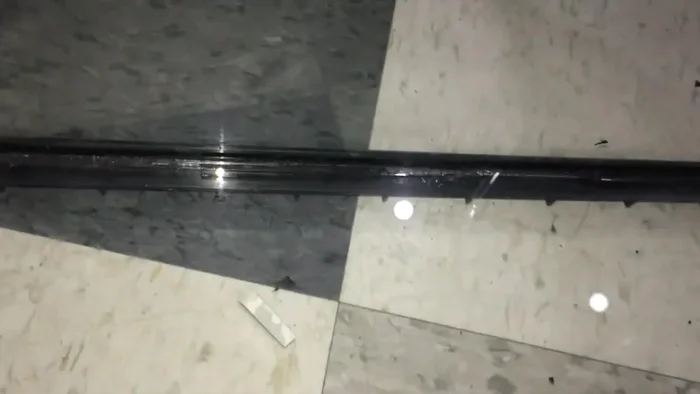
- Locate and identify the leak. Use a flashlight to carefully examine the silicone sealant for cracks or gaps.
- Carefully remove the old silicone sealant around the leak using an Exacto knife. Wear safety glasses to protect your eyes from flying glass shards.

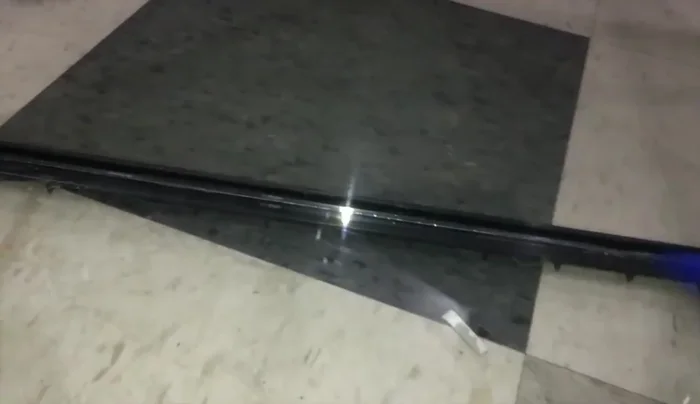
Leak Identification and Preparation Cleaning and Surface Preparation
- Thoroughly clean the area to be resealed. Ensure all old silicone is removed. Silicone does not stick to silicone.
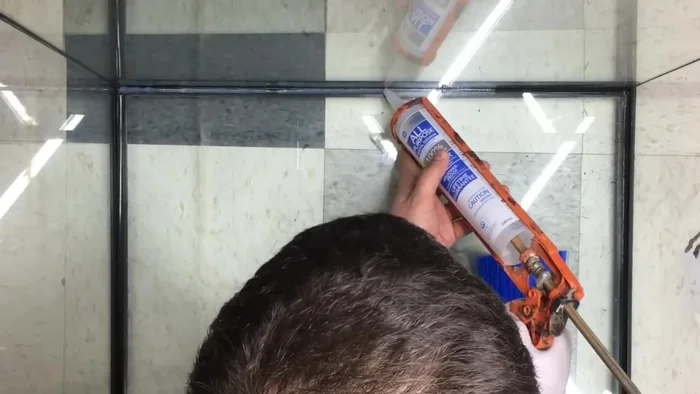
Cleaning and Surface Preparation Silicone Application
- Apply a generous bead of S1 silicone sealant (aquarium safe, no mold inhibitors) to the cleaned area. Use a wet finger to smooth out the silicone, preventing it from sticking to your finger.
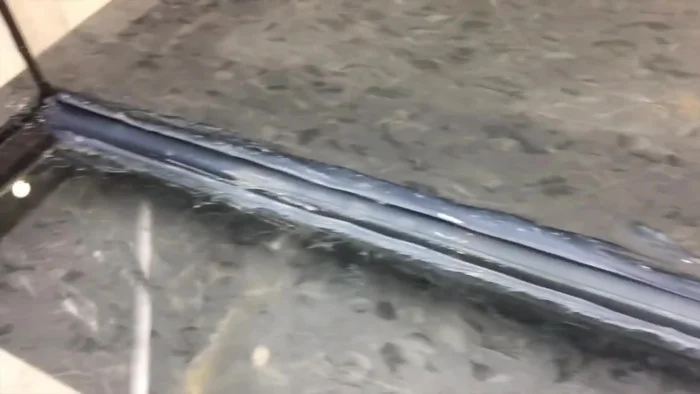
Silicone Application Curing
- Allow the silicone to cure completely (approximately 72 hours).
Curing Leak Test
- Perform a leak test. Fill the tank with water and observe for any leaks. Angle the tank to ensure thorough testing of the repaired area.

Read more: How to Deep Clean Your Leopard Gecko's Tank: A Step-by-Step Guide
Tips
- Wear safety glasses when removing old silicone to protect your eyes from glass shards.
- Use S1 silicone sealant, as it is aquarium safe and does not contain mold inhibitors.
- Use a wet finger to smooth the silicone sealant, preventing it from sticking to your finger and ensuring a smooth, even application.
- Allow the silicone to cure completely before performing a leak test.