Creating the perfect habitat for your reptile involves meticulous attention to detail, and one crucial element often overlooked is the vivarium liner. A poorly chosen or damaged liner can lead to substrate leakage, mold growth, and even escape attempts, compromising the health and safety of your scaled companion. Investing in a durable, aesthetically pleasing liner is essential, but commercially available options can be expensive and may not always meet your specific needs. That's where the DIY approach comes in – offering a cost-effective and customizable solution tailored to your reptile's enclosure.
This guide explores the process of creating a robust and beautiful bioactive vivarium liner using readily available materials. We’ll walk you through a step-by-step process to ensure your reptile’s home remains safe, clean, and aesthetically pleasing for years to come. From material selection and preparation to installation and finishing touches, we'll equip you with the knowledge and confidence to build your own custom liner.
Preparation and Safety Guidelines
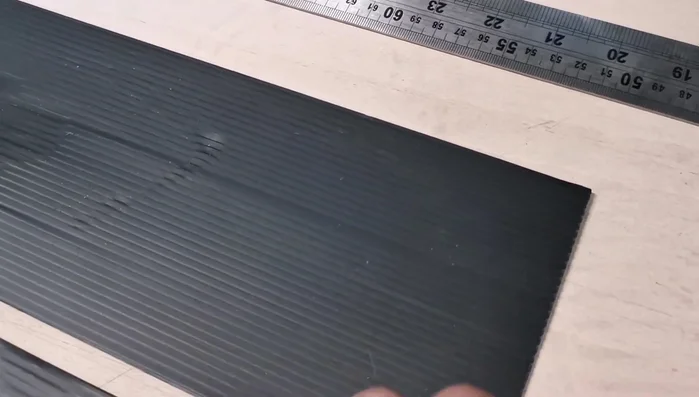
- Corrugated flooring protector (8x4 ft sheets)
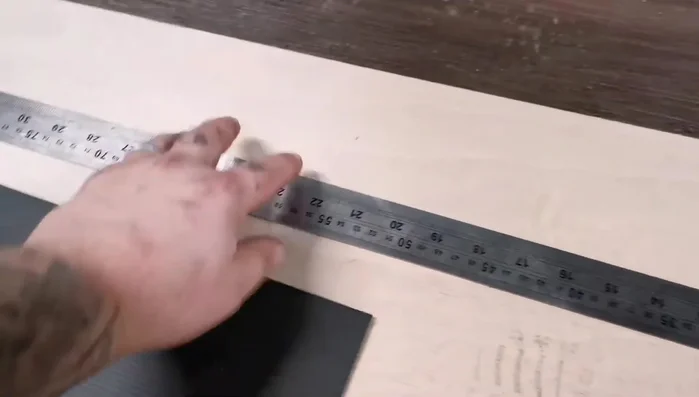
- Steel rule
- Sharp knife
- Set square
- Paint marker
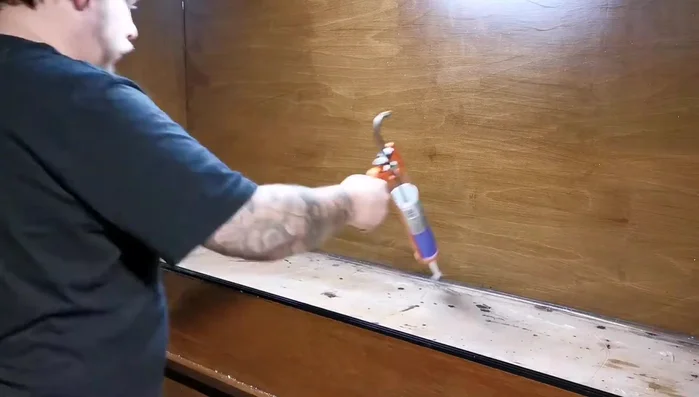
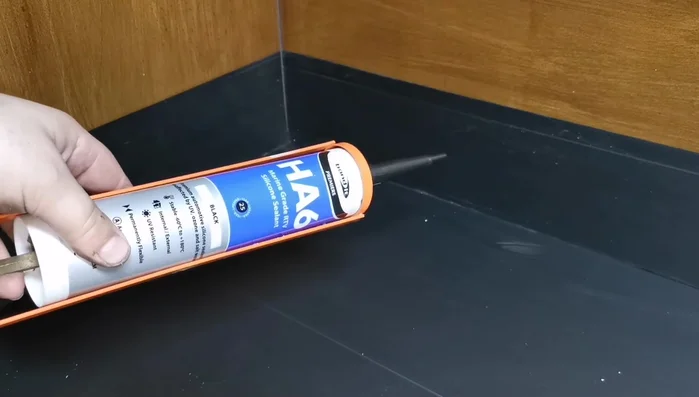
- Aquarium-safe silicone (e.g., Bond It HA6)
- Measuring tape
- Always use non-toxic, reptile-safe materials. Avoid anything that could leach harmful chemicals into the substrate or water. Research thoroughly before using any product.
- Ensure proper curing and drying time for any cement or sealant used to create the liner. Incomplete curing can release harmful fumes and compromise the liner's integrity.
- Thoroughly clean and disinfect all tools and materials before starting the project to prevent introducing harmful bacteria or parasites to your vivarium.
Step-by-Step Instructions
Prepare the Liner
- Measure and cut the corrugated flooring protector.
- Use a steel rule and sharp knife to cut along the ridges for straight lines. For side pieces, use a set square for precise cuts.

Prepare the Liner Apply Silicone to Base
- Apply a bead of aquarium-safe silicone around the edges and a few squiggles in the middle of the base piece.
Install Base Piece
- Carefully place the base piece into the vivarium.
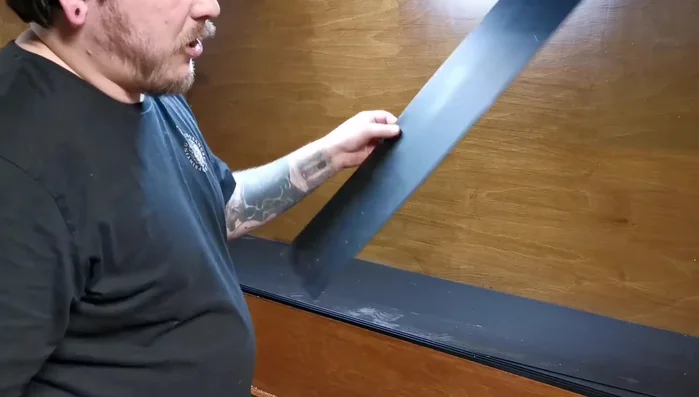
Install Base Piece Install and Seal Side Pieces
- Apply silicone to the edges of the side pieces and adhere them to the base and to each other, ensuring a tight seal.
- Seal all the joints with aquarium-safe silicone.
Install and Seal Side Pieces
Read more: How to Deep Clean Your Leopard Gecko's Tank: A Step-by-Step Guide
Tips
- Use a paint marker for marking on the corrugated material; pens don't work well.
- If the corrugations run horizontally, silicone along the bottom and edges is sufficient. If they run vertically, add a bead of silicone along the top of the corrugations for extra protection.
- Always use aquarium-safe silicone for all sealant applications inside the vivarium.