This comprehensive guide provides a step-by-step walkthrough for setting up a MistKing misting system, a reliable and customizable solution for maintaining humidity, particularly beneficial for vivariums. We'll compare it to the less reliable Monsoon system, highlighting the MistKing's superior longevity and flexibility, despite its higher initial cost. This guide will cover everything from choosing the right reservoir and drilling the necessary holes to connecting the tubing and programming the digital timer. We'll emphasize the importance of reading the included manual and offer crucial tips for successful installation and long-term operation.The guide will detail the process of assembling the components included in the MistKing starter kit, including the pump, tubing, nozzles, and timer. We will address common pitfalls, such as preventing algae growth, ensuring leak-proof connections, and making precise tubing cuts. Through detailed instructions and helpful advice, this guide aims to empower you to effortlessly set up your MistKing system and enjoy its consistent performance for years to come, offering a superior alternative to other misting systems on the market.
Pros And Cons
- Cheaper than Miss King
- Less reliable
- Less customization
- Very fine mist (50 Micron droplets)
- More reliable than Monsoon systems
- Comes with only one nozzle
- Requires gravity feed installation
- No built-in drain, requiring a larger drain capacity than reservoir capacity
Read more: 5 Best Misting Systems for Amphibians & Reptiles
MistKing vs. Monsoon: A Comparison
While the Monsoon misting system is cheaper, the MistKing offers superior reliability and customization. My experience with three Monsoon systems revealed consistent failures within six months, rendering them unreliable despite purported improvements. The MistKing, in contrast, has proven consistently more dependable in my usage.
The increased reliability of the MistKing outweighs the higher initial cost. The ease of setup offered by the Monsoon system is a minor advantage, easily overshadowed by the MistKing's longevity and flexibility. For long-term use and peace of mind, the MistKing is the clear winner.
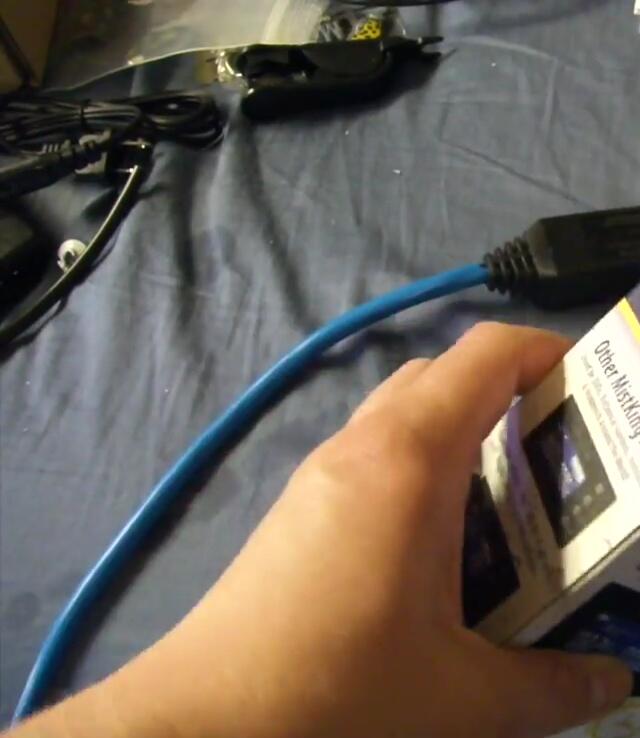
Unboxing and Components
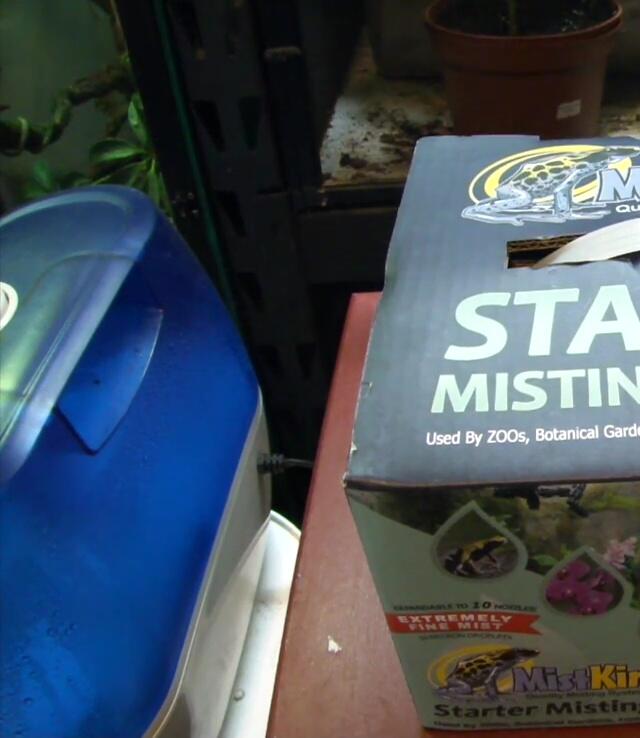
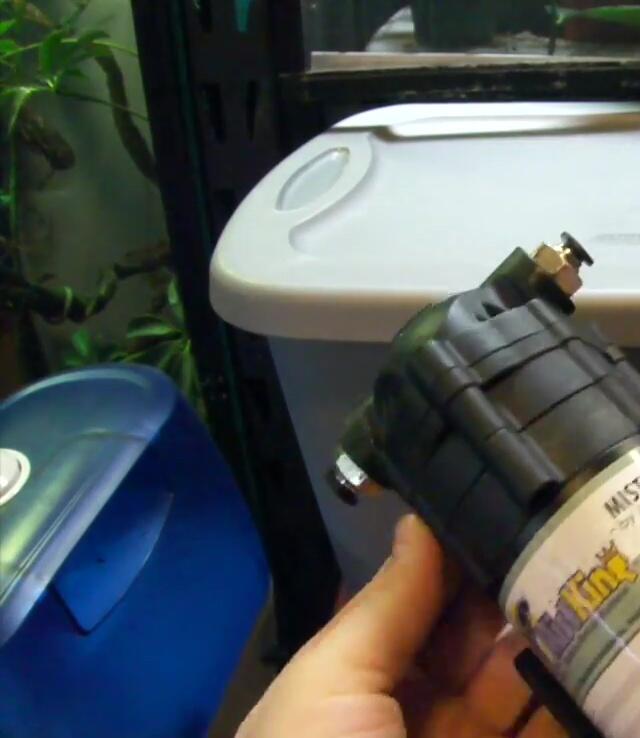
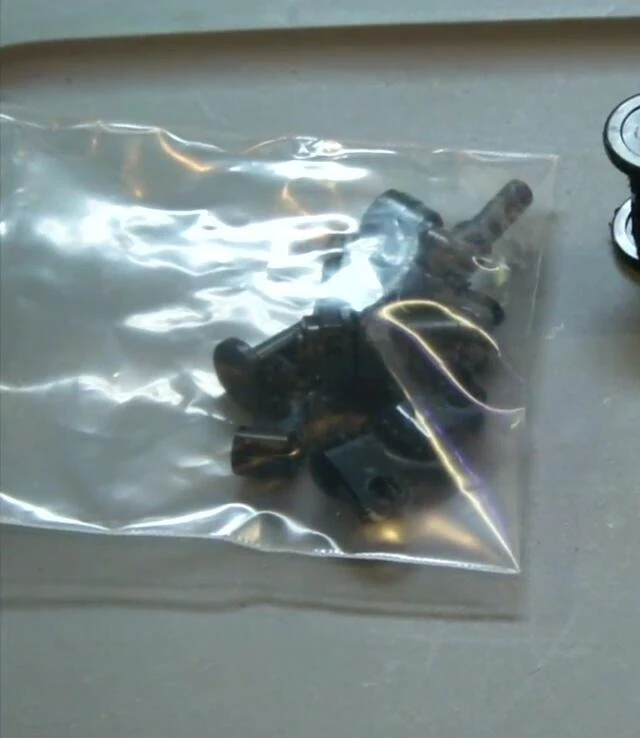
The MistKing starter kit includes approximately 12 feet of tubing, a digital timer, a power supply, one nozzle, and various spare parts. It also comes with a keychain and a comprehensive reference manual. While only one nozzle is included, additional nozzles are readily available.

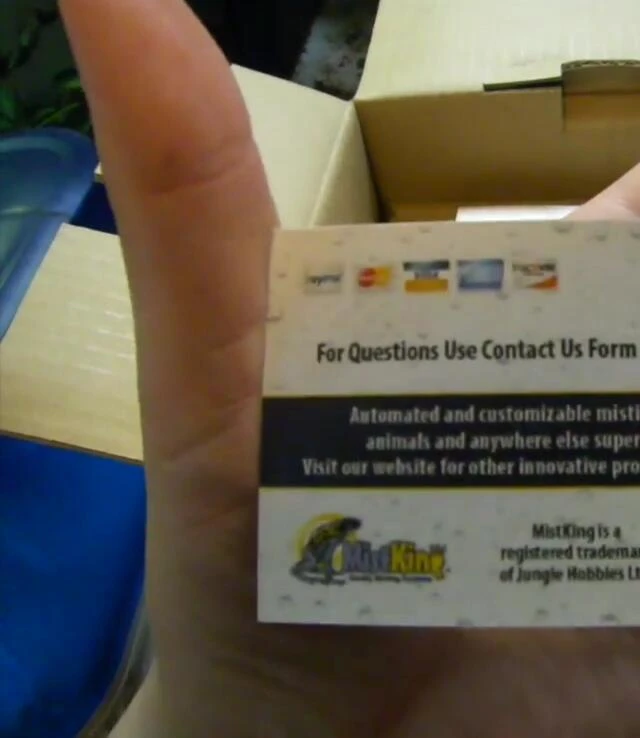
I strongly advise reading the reference manual, even for experienced users. The manual provides crucial information on setup, maintenance, and troubleshooting. The manual also details important considerations that are outlined later in this document. I recommend that users take the time to review this manual.
Essential Tools and Materials
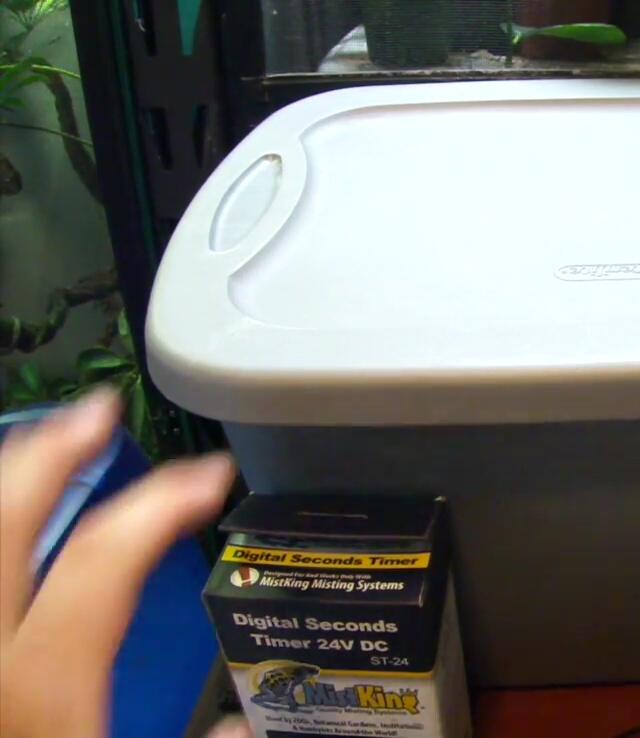
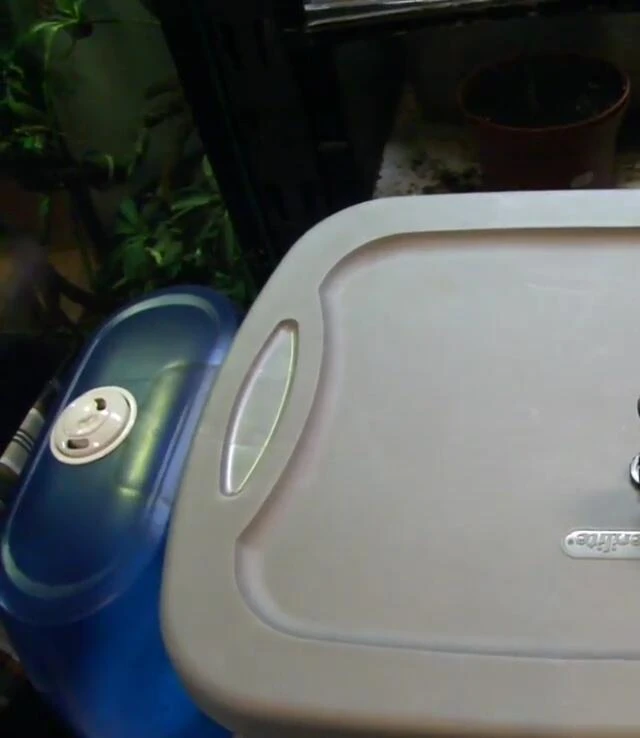
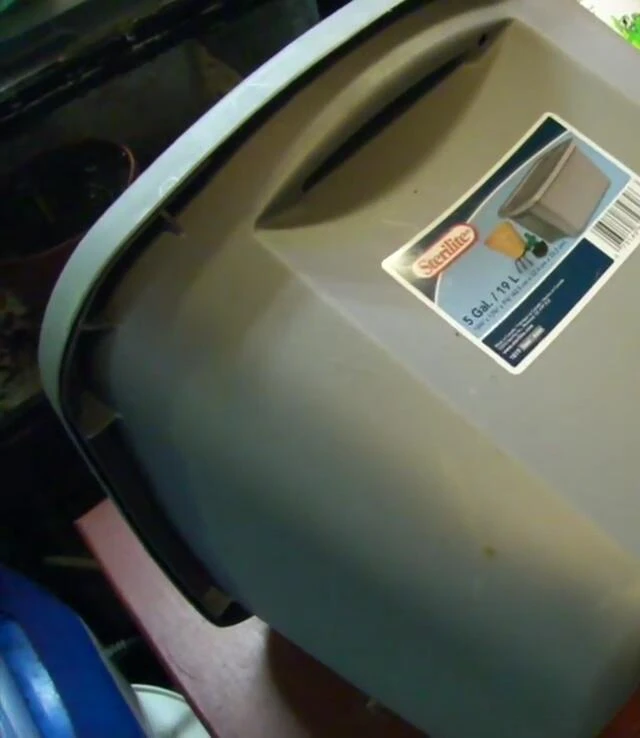
To set up the MistKing system, you will need a drill with a 5/8 inch drill bit, and a dark-colored reservoir. A 5-gallon Sterilite container or a similar opaque container is ideal. Light-colored containers are prone to algae growth.
Choosing a dark reservoir helps prevent algae buildup and keeps the water cleaner. The size of your reservoir should be smaller than your drain capacity to prevent overflows in case of malfunctions. A larger secondary container is useful for emergency water overflow, which has been an issue for similar systems I've tested.
Important Installation Instructions
The MistKing pump must be gravity-fed; position it below the reservoir. This ensures proper water flow and prevents issues. Using common sense, you should make sure that your drain reservoir is larger than your fill reservoir.
Carefully install the tubing, avoiding forceful insertion which can damage the fittings. The manual provides specific guidance on how to correctly install tubing. Always push the tubing fully into the fittings to ensure a secure, leak-proof seal.

Tubing Cutting and Nozzle Installation
Use a tubing cutter for clean cuts; avoid scissors or other tools that can damage the tubing. Precise cuts are essential for proper fittings. A tubing cutter provides accurate results.
Do not attempt to modify the nozzles; they are delicate and easily damaged. The pre-assembled nozzles are factory-tested and require no adjustments. Maintaining the integrity of the nozzles is crucial for the system's performance.
Reservoir Drilling and Bulkhead Installation
Drill a 5/8-inch hole approximately one inch from the bottom of the reservoir. Use a sharp razor blade to clean up any rough edges. This ensures a smooth fit for the bulkhead.
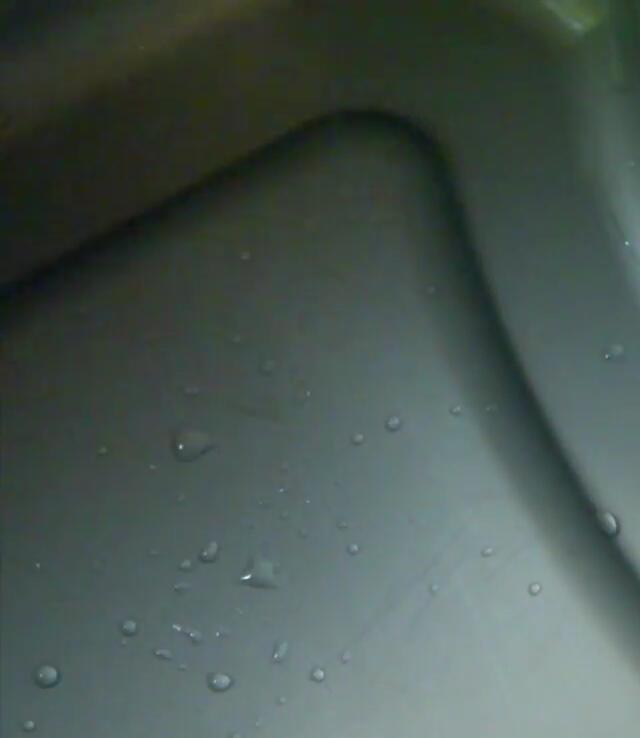
Install the bulkhead with the O-ring on the outside, ensuring a tight and leak-proof seal. Always test for leaks after installation by filling the reservoir with water. This step is vital to prevent future problems.
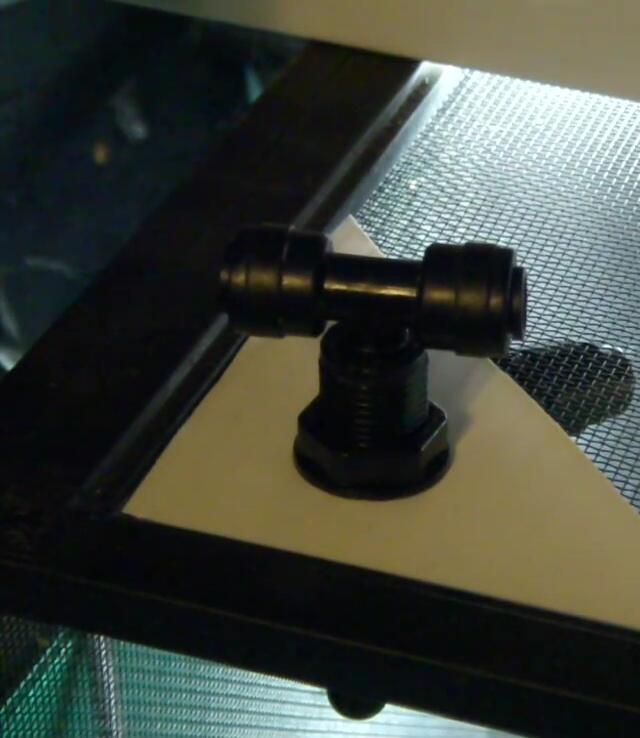
Nozzle Placement and Tubing Connections
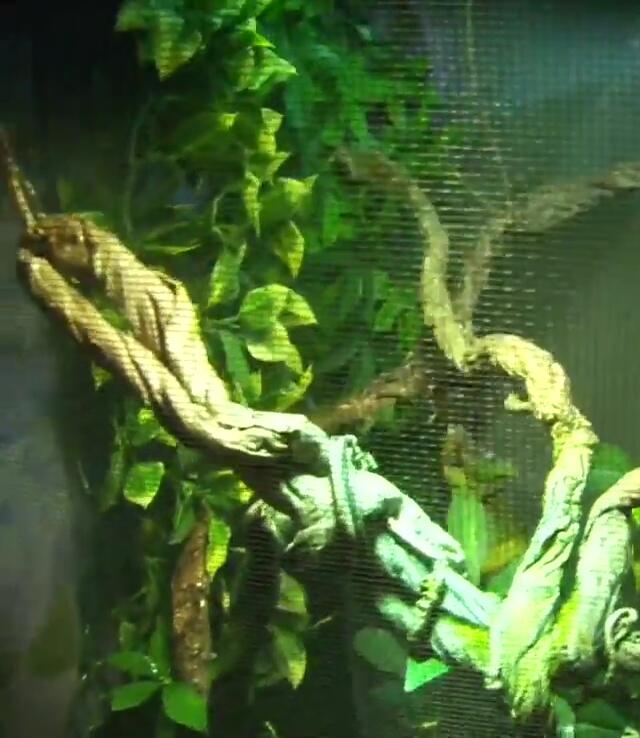
Use creativity and adapt nozzle placement to your specific setup. This can be done in the manner of simply punching holes in the screen, or in the manner of creating additional mounting solutions using materials of your choosing.
Connect all tubing securely, ensuring a tight fit. Double-check all connections for leaks before operating the system. The use of additional fittings (e.g., elbows, T-unions) allows for customization and optimization of the system.
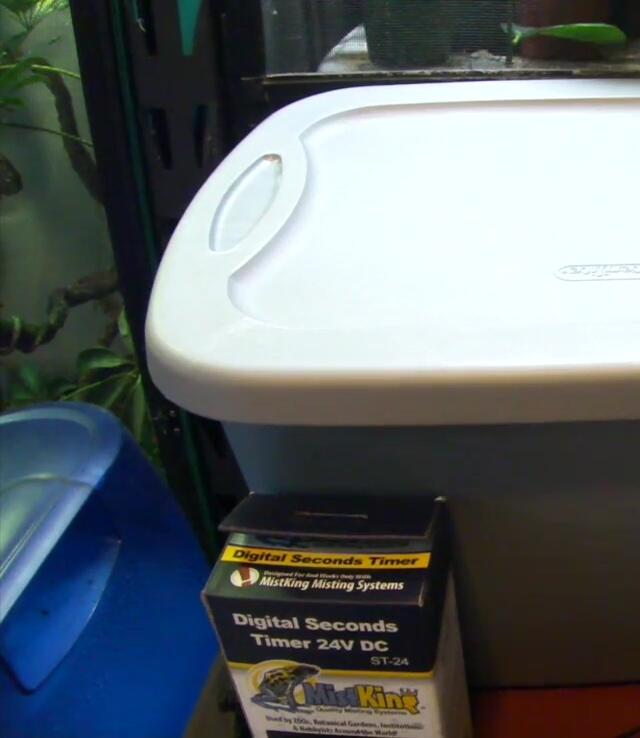
Digital Timer Setup and Final Thoughts
The included digital timer requires careful setup. Refer to the timer's instructions for programming details. The provided instructions are usually sufficient, making the process relatively straightforward despite the initial complexity.
The MistKing system offers superior reliability and customization compared to the Monsoon system. While more expensive initially, the longevity and flexibility of the MistKing are worth the investment for long-term use. The ultra-fine mist produced is particularly effective for maintaining humidity in vivariums.