This guide provides a comprehensive walkthrough for setting up your MistKing misting system and programming its timer. Whether you're a seasoned reptile keeper or a new enthusiast, this step-by-step instruction manual will help you create a perfectly humid environment for your animals. We'll cover everything from reservoir construction and pump placement to nozzle installation and timer programming, ensuring a smooth and efficient setup process. Follow these clear instructions to avoid common pitfalls and optimize your MistKing system for optimal performance.This guide covers all aspects of MistKing installation, including reservoir preparation, pump connection, timer programming, and nozzle placement. Learn how to correctly connect the power supply, program the timer for customized misting schedules, and troubleshoot any potential issues. We'll also discuss important safety precautions and tips for maintaining your system. By the end, you'll have a fully functional and reliable MistKing system, ensuring your reptiles or amphibians thrive in a consistently humid environment.
Pros And Cons
- Reliable
- Efficient
- Can control humidity in reptile enclosures
- Works for various humidity-loving animals (dart frogs, chameleons, skinks)
- Available in different sizes (10, 20, up to 70 nozzles)
- Well-packaged
Read more: 5 Best Misting Systems for Amphibians & Reptiles
Reservoir Construction
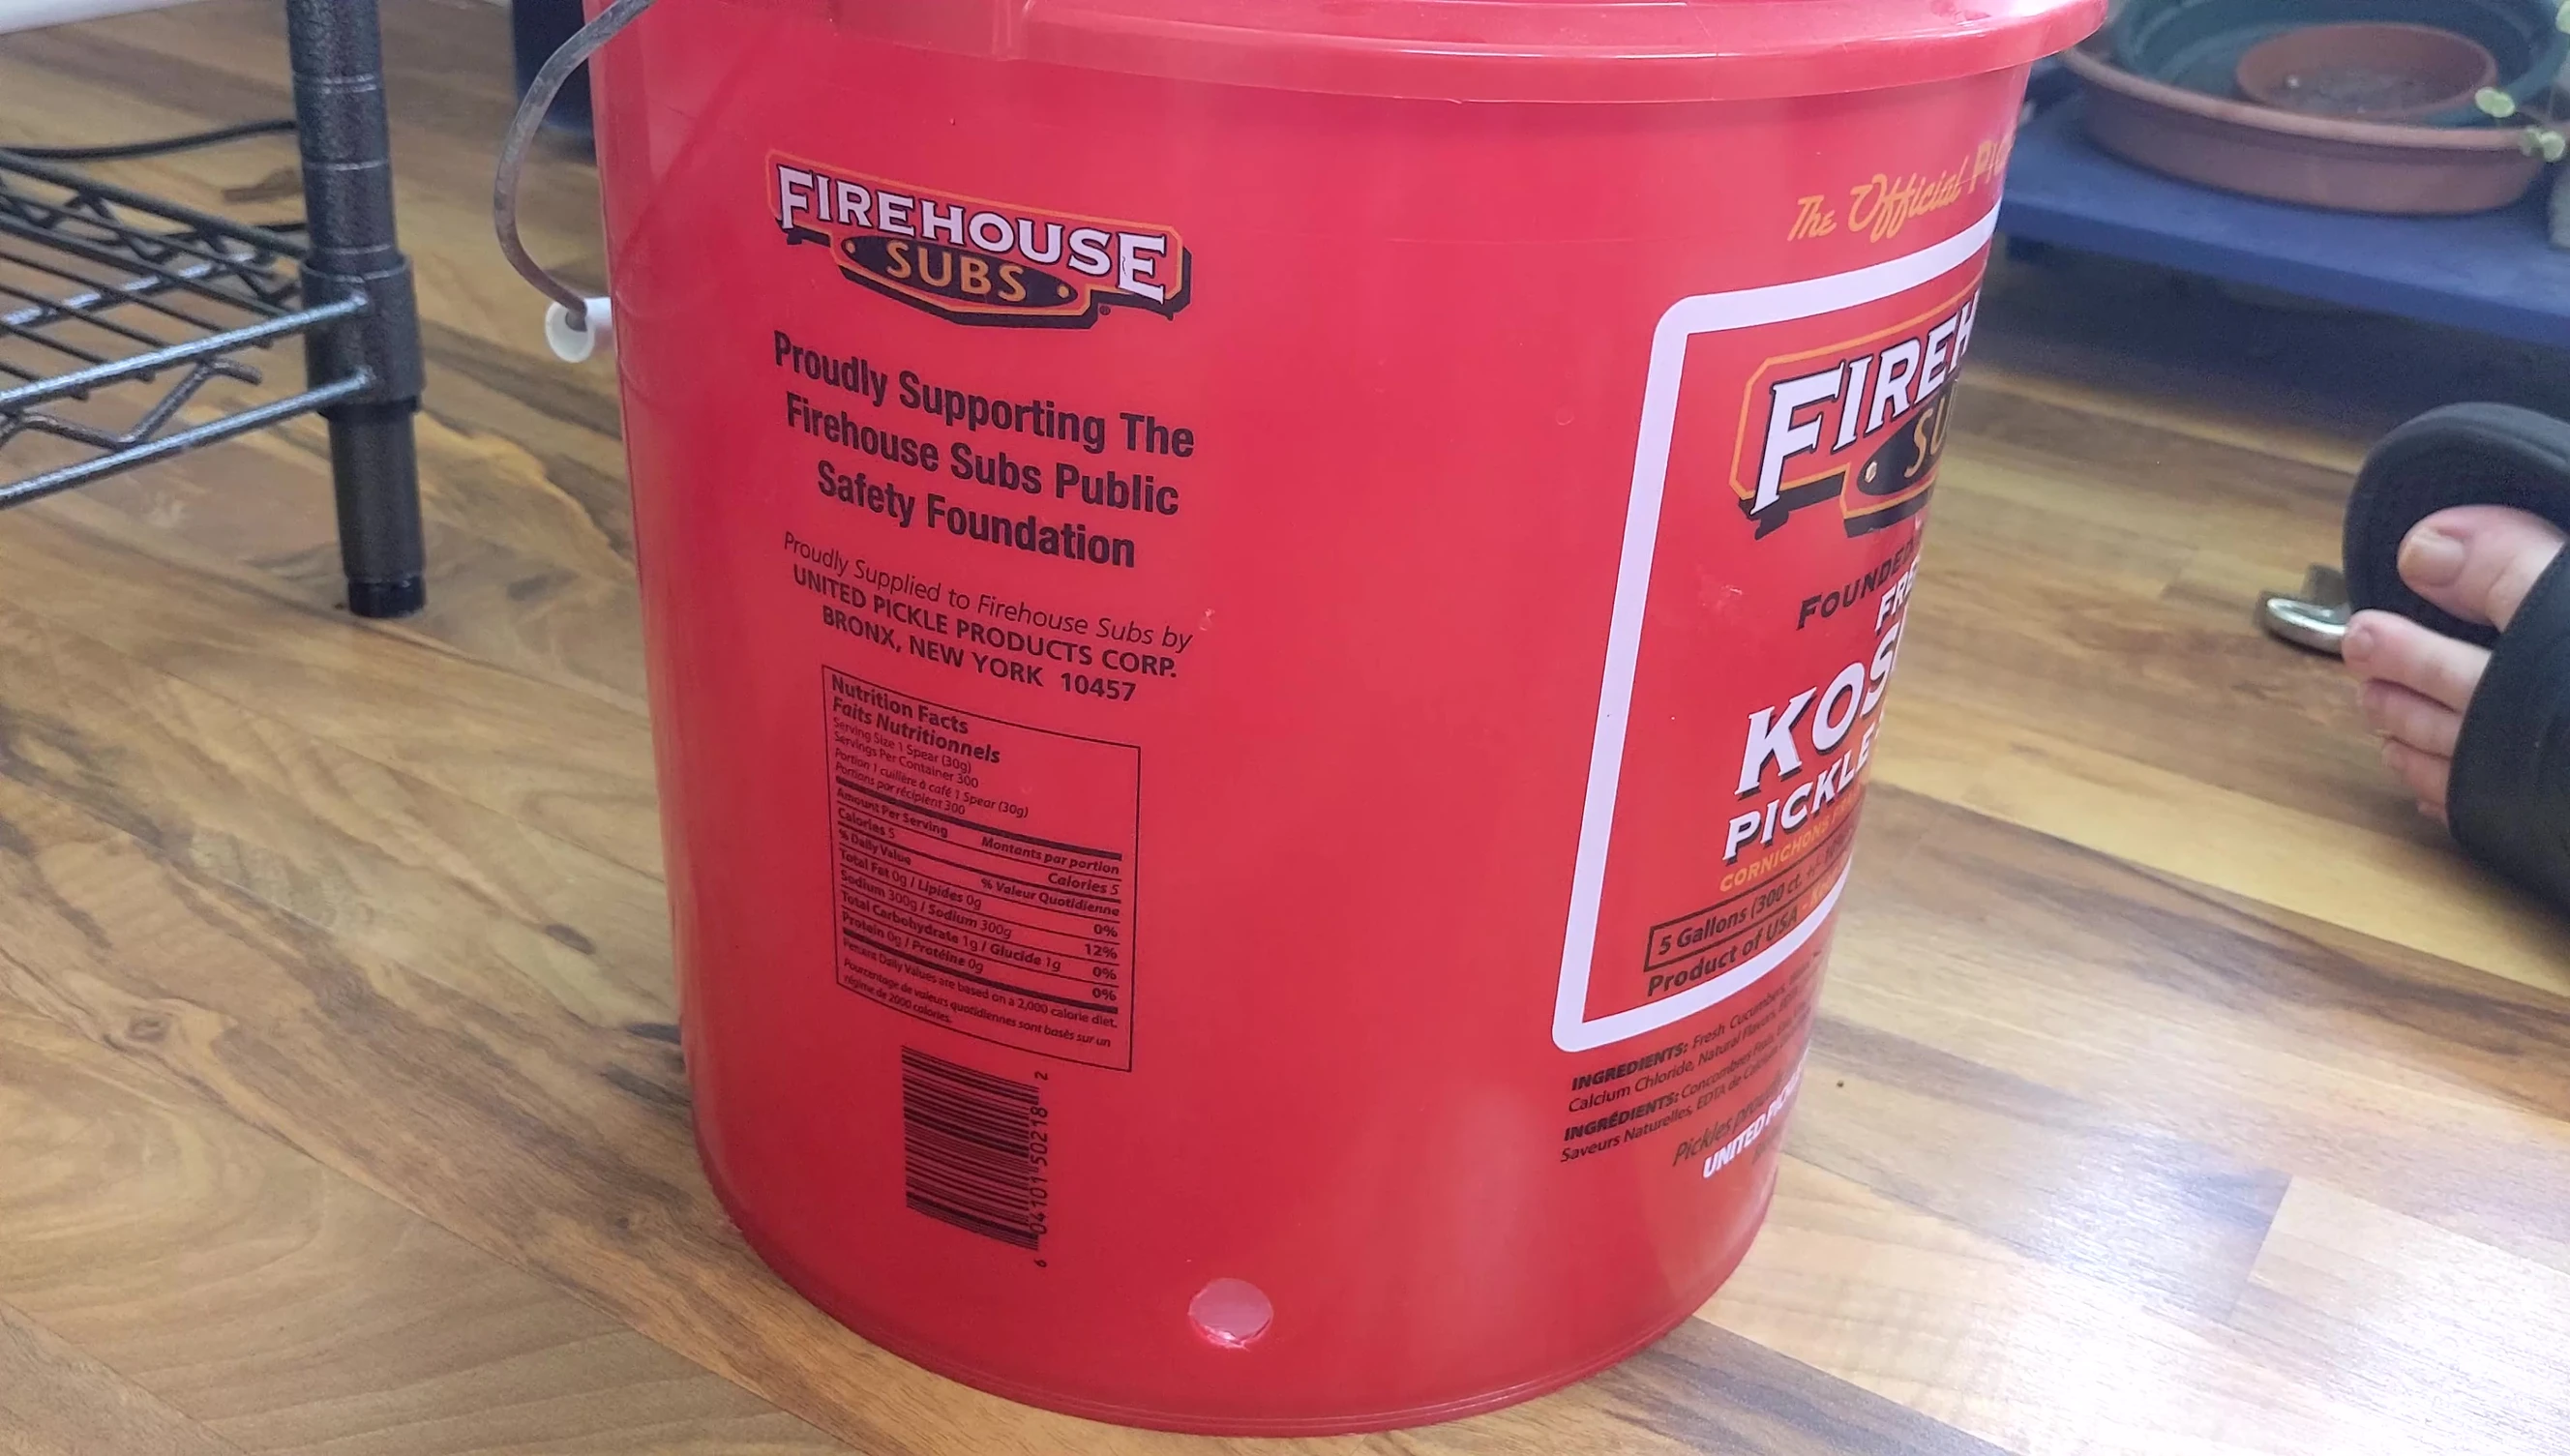
Begin by creating a reservoir for your MistKing system. A 5-gallon food-grade bucket with a lid is ideal; this prevents water evaporation and keeps the system clean. The bucket should be sturdy and capable of holding the necessary water volume for your setup. Remember to choose a bucket that is a suitable size to your needs.

Next, carefully drill a hole in the bucket, approximately one inch from the bottom. The hole size depends on your MistKing kit (9/16 inch for starter/ultimate, 3/4 inch for advanced). Ensure the hole is cleanly cut to prevent leaks and damage to the bulkhead.
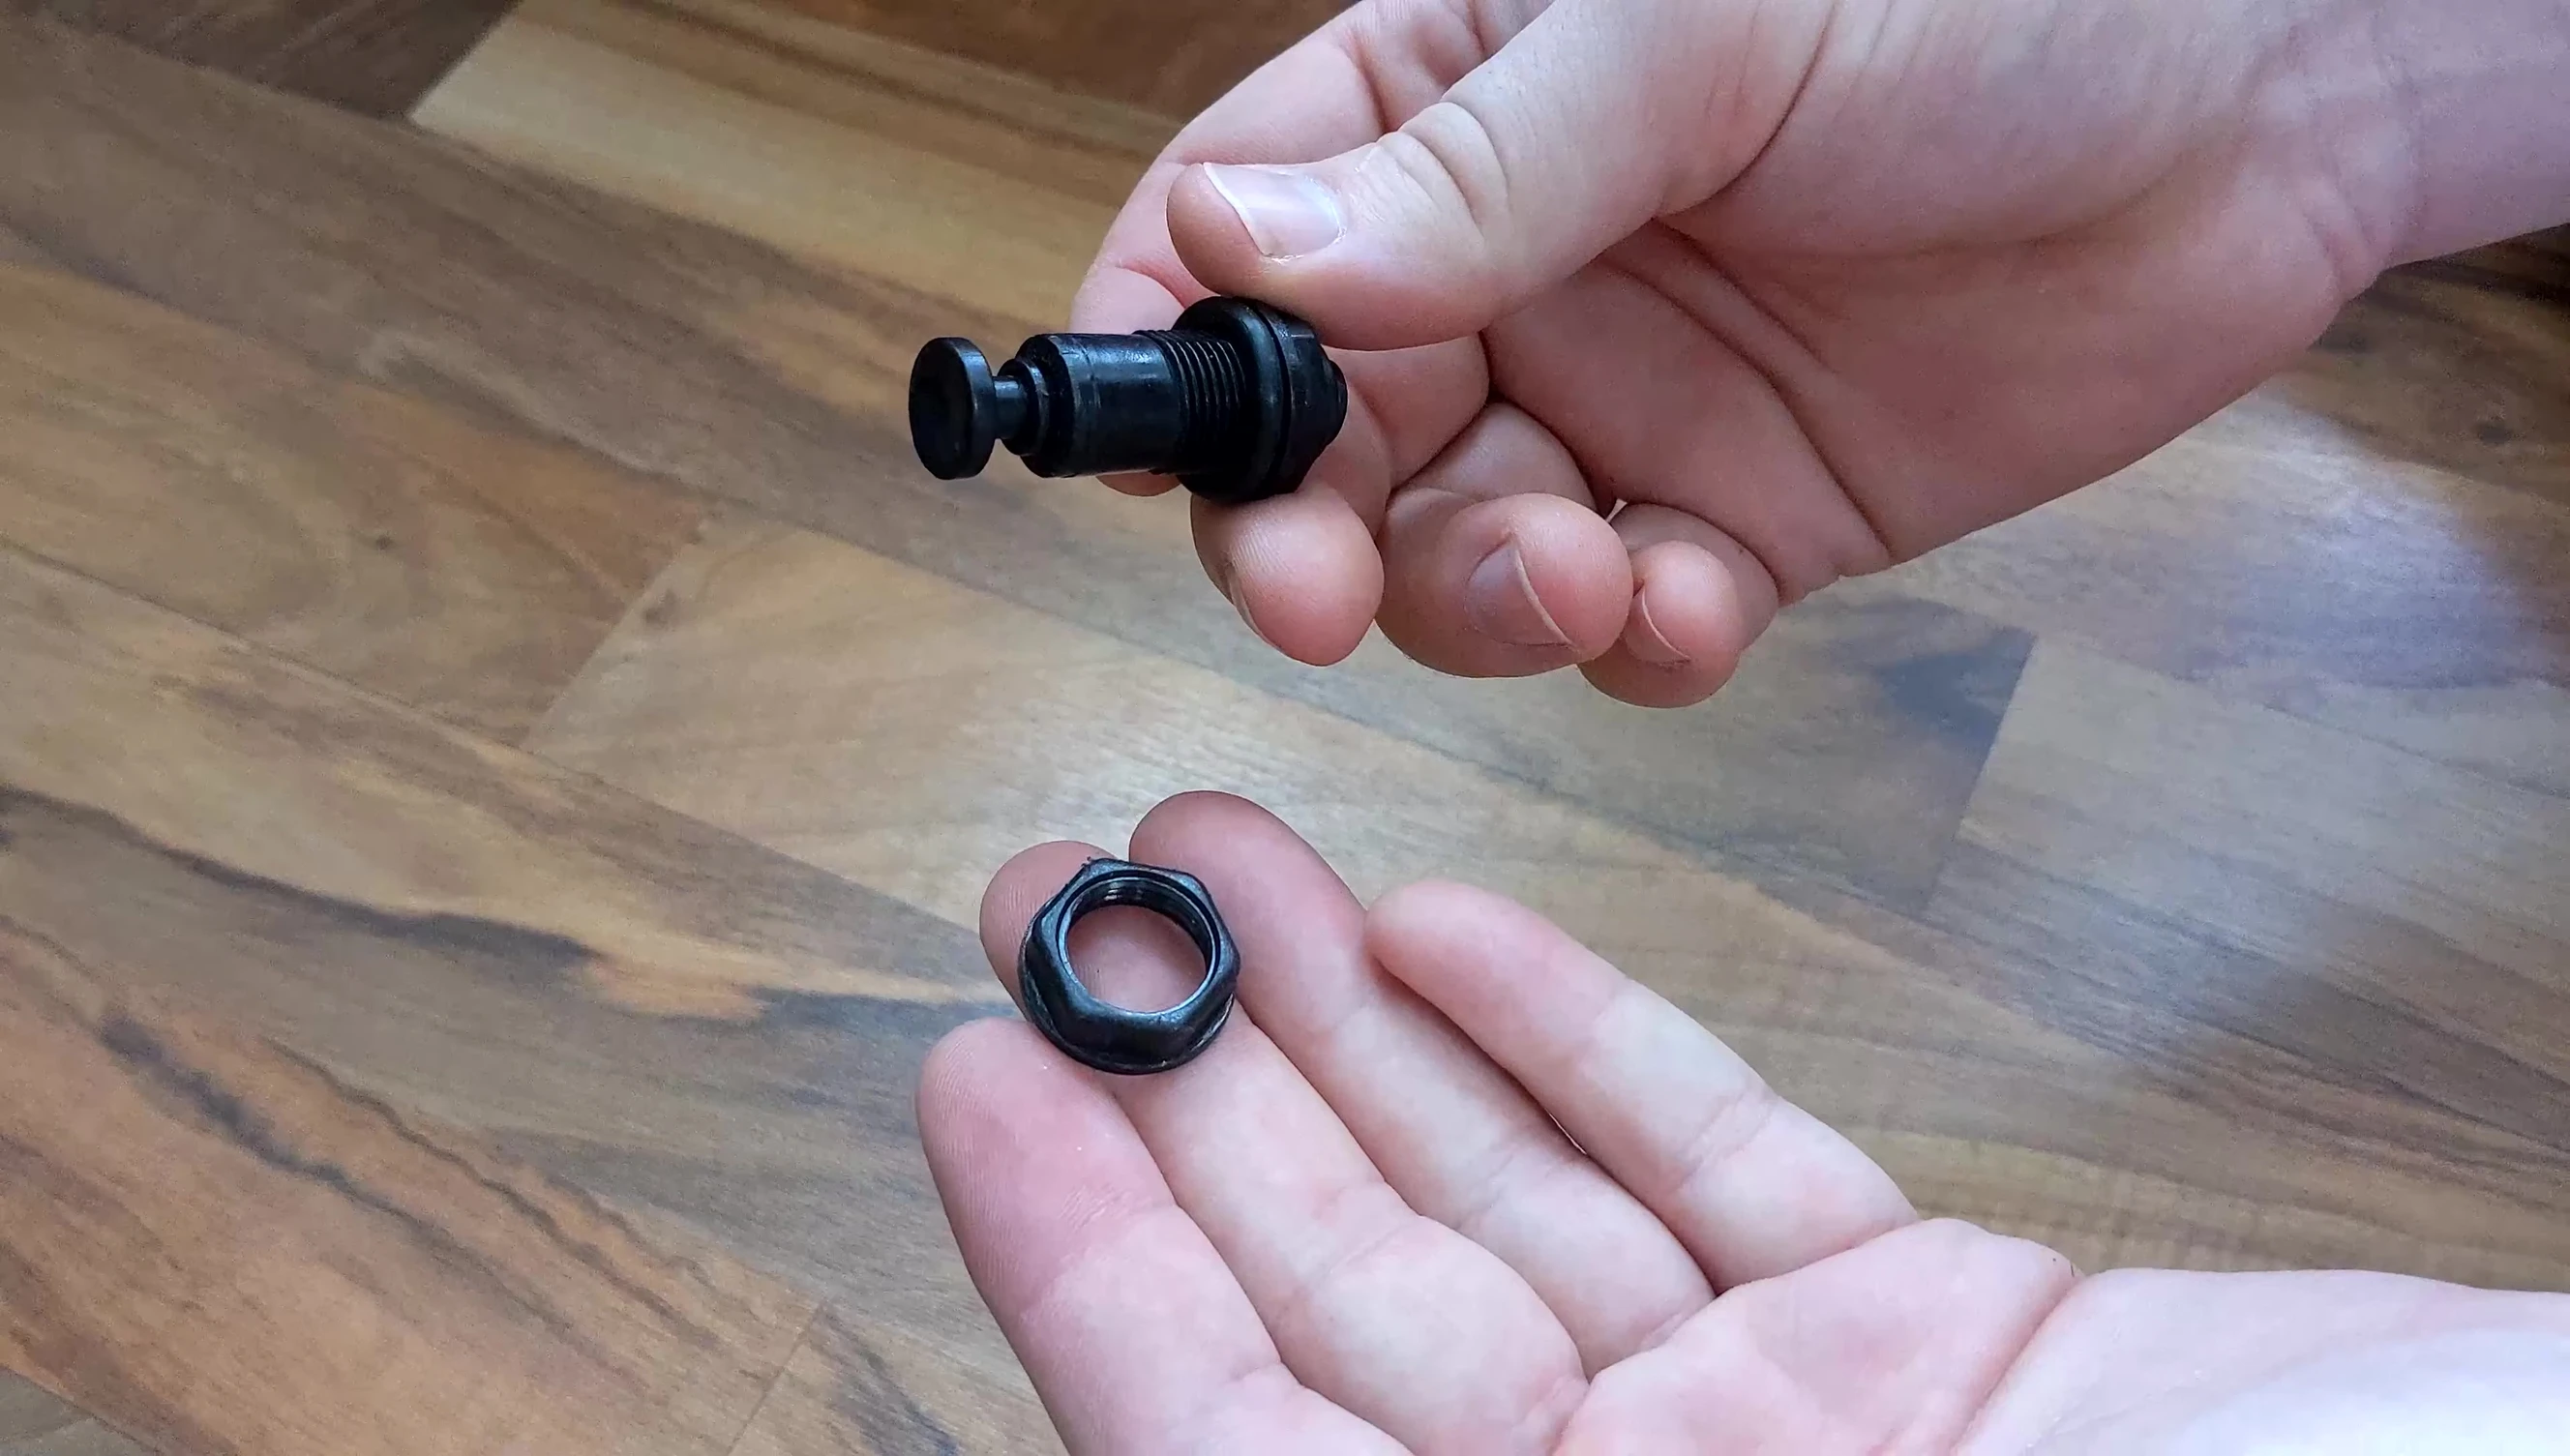
Insert the bulkhead fitting into the hole, ensuring the O-ring is positioned correctly to create a watertight seal. Securely tighten the nut on the outside of the bucket. Using a wrench for the final tightening to prevent damage to the fitting is a good idea
Pump Installation and Plumbing
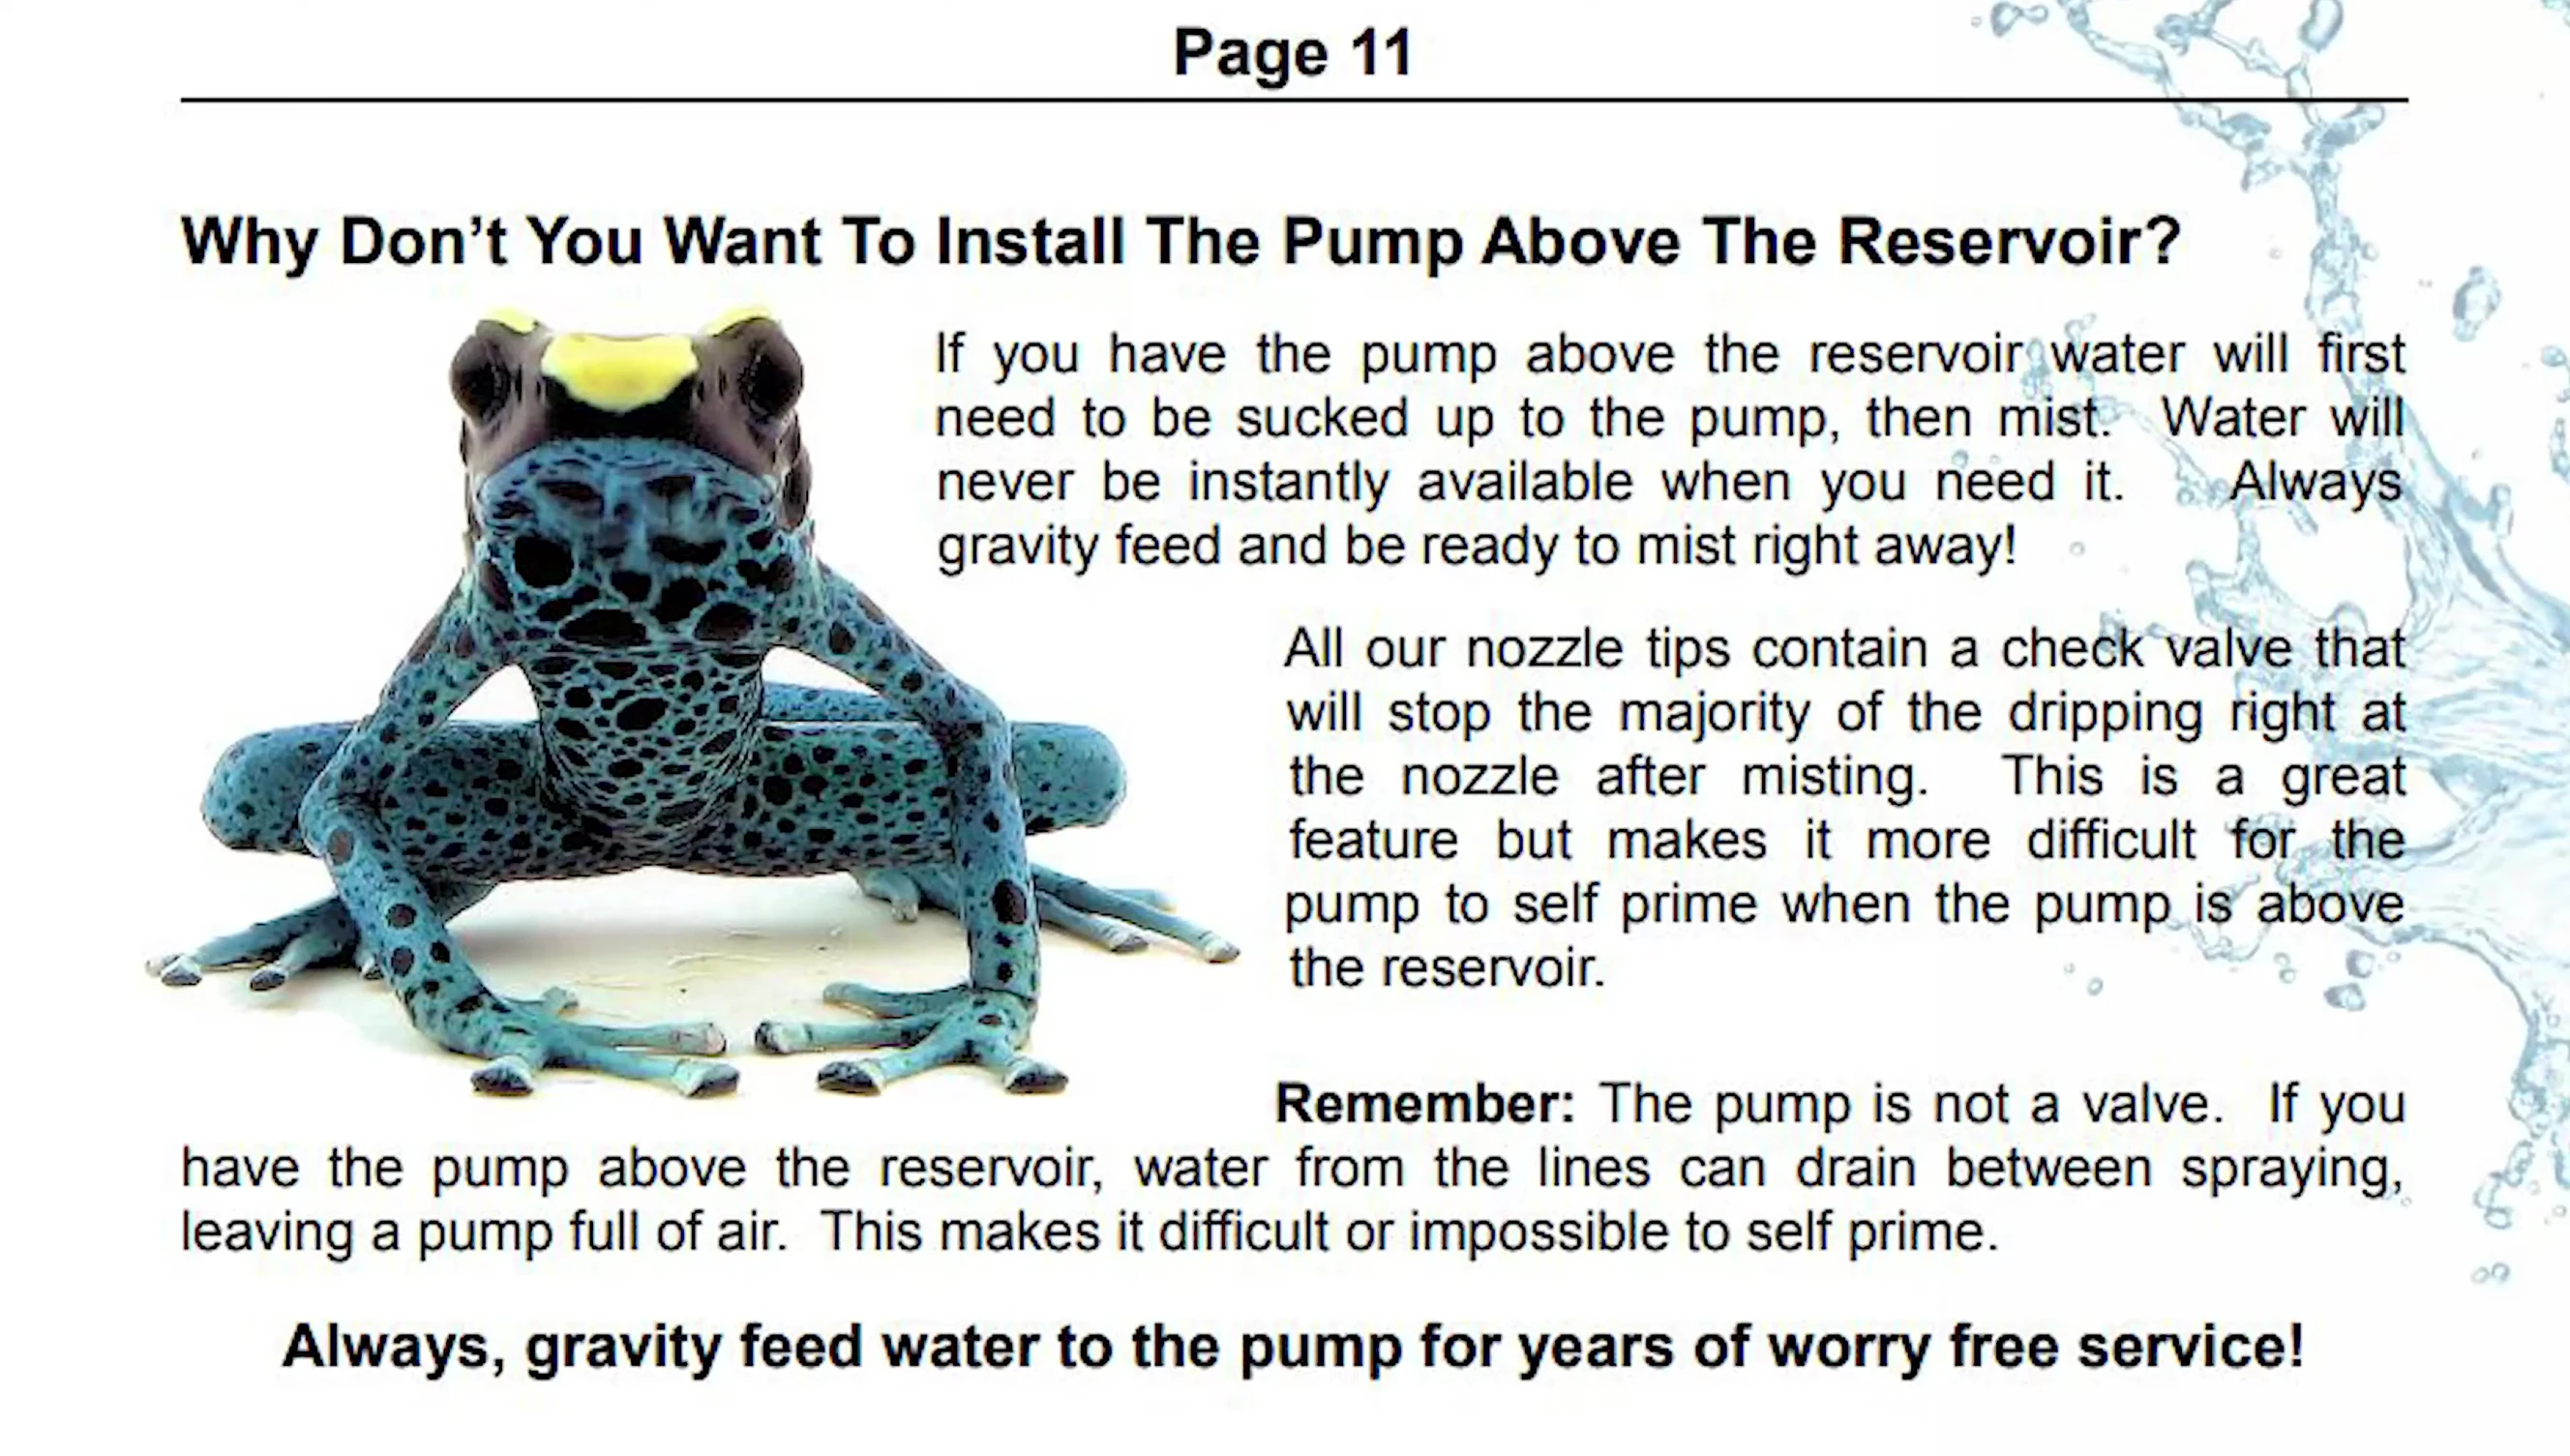
Always gravity-feed the pump; position the pump below the reservoir to facilitate water flow. Secure the pump to a stable surface using zip ties or other suitable methods. For the pump, you need to ensure it is adequately placed and secure.
Attach the tubing to the pump intake and connect it to the bulkhead using the provided tube cutter. Ensure a tight and secure connection to prevent leaks. It's recommended to use a short piece of tubing to connect the pump and the reservoir.
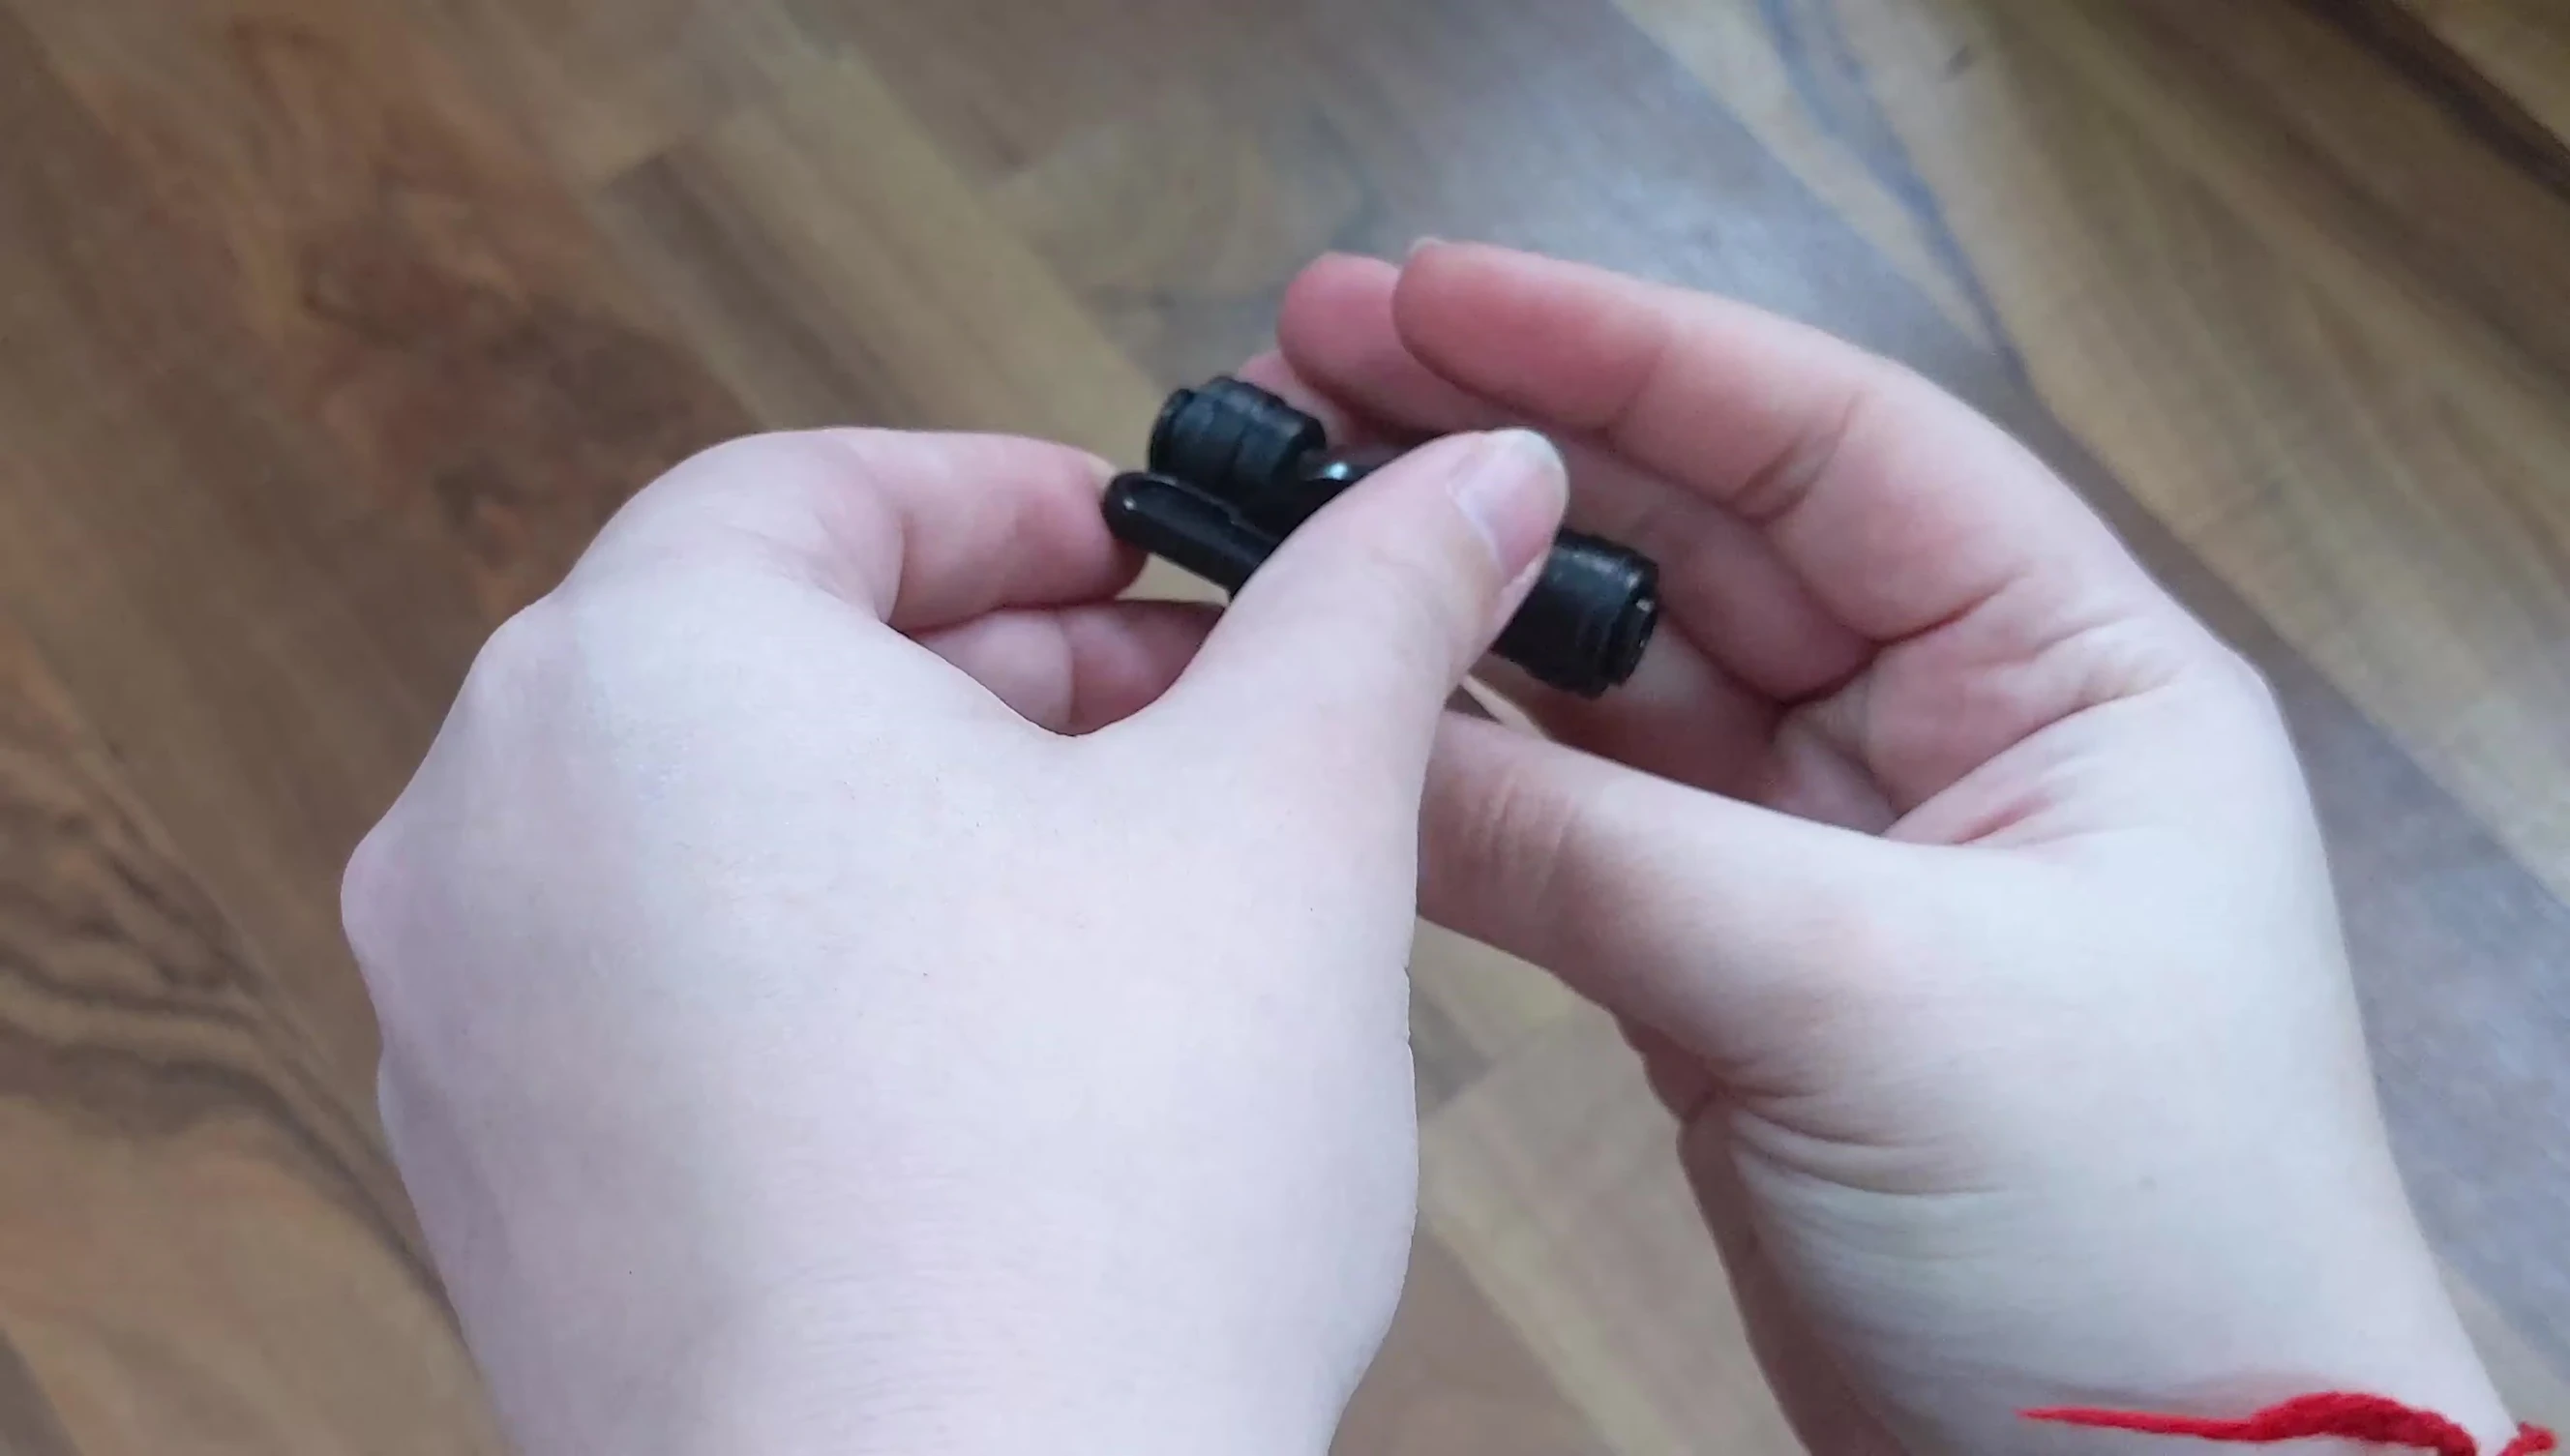
Connect the control valve to the tubing leading from the reservoir to regulate water flow. This allows manual control over the misting system, should you require it. This step provides flexibility in managing the water flow based on your needs.
Electrical Connections and Timer Setup
Connect the power cable and the misting timer (or hydrostat) according to the instructions. Always connect the wires correctly to prevent damage to the equipment. Mismatched wires can lead to malfunctions or worse.
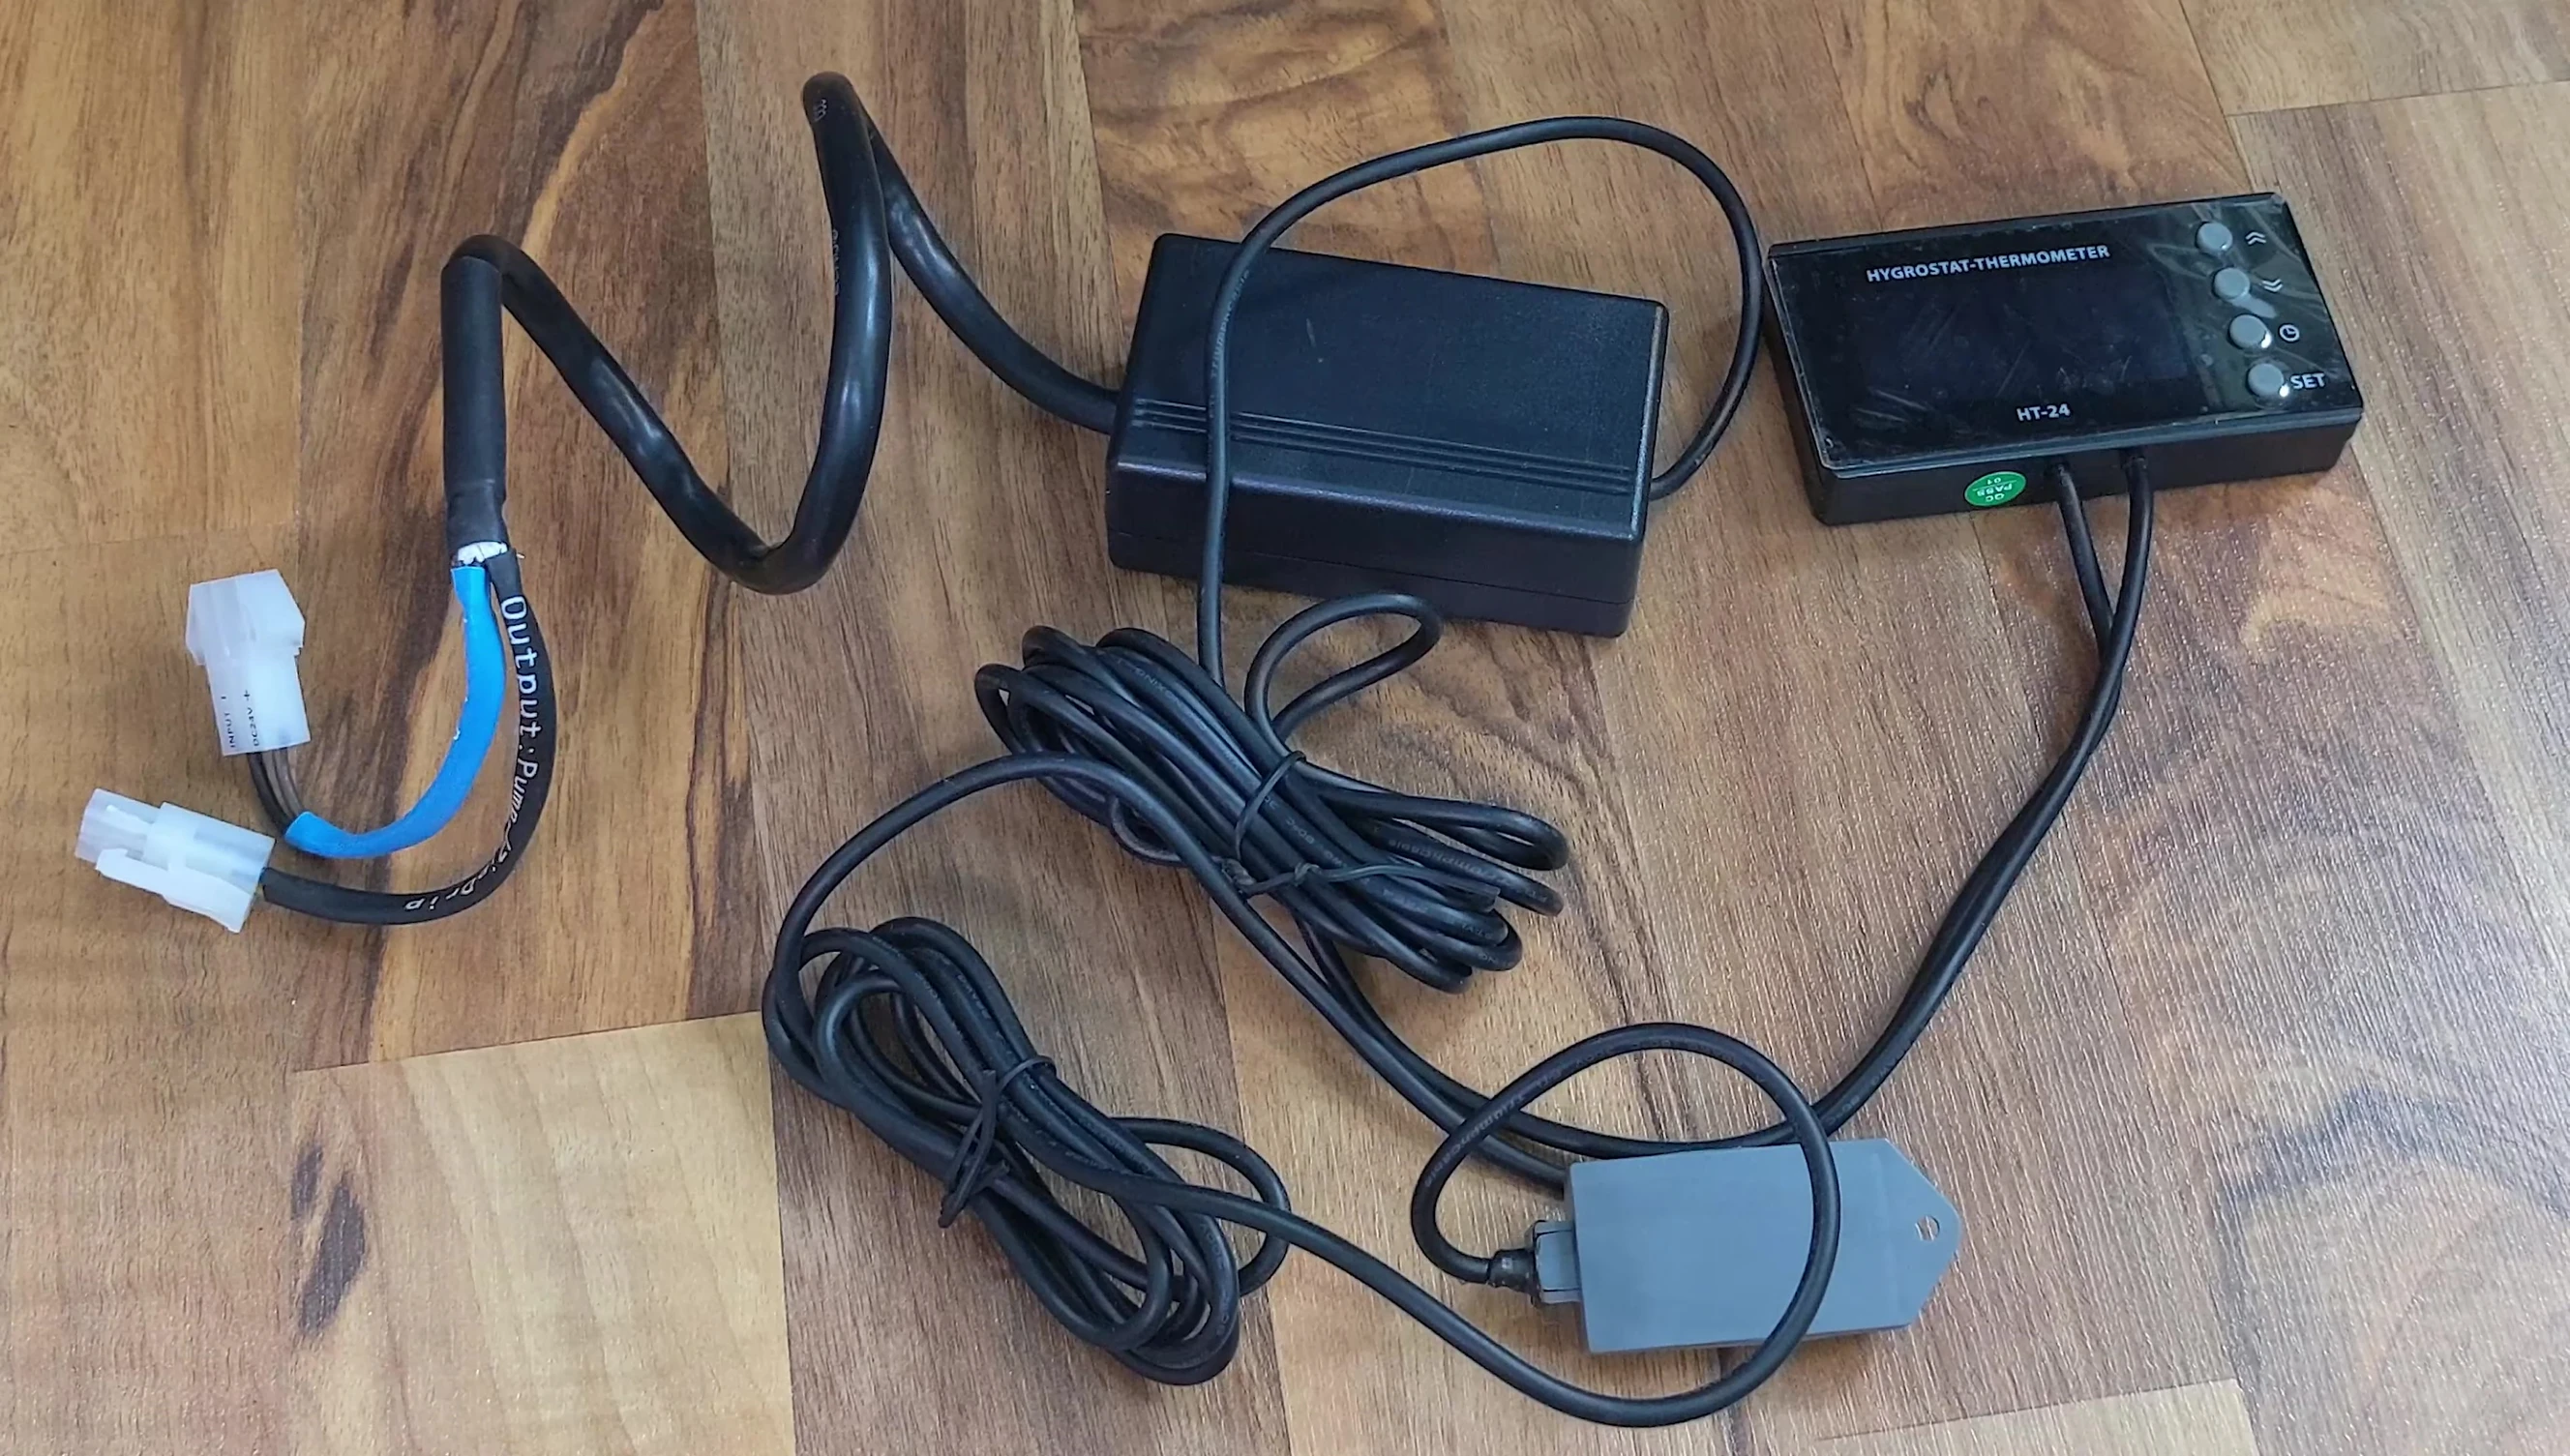
Connect the timer's blue wire to your power supply and the black wire to the zip drip (or pump if not using a zip drip). Make sure all connections are secure. The power supply should be connected only when you are ready to operate the system.
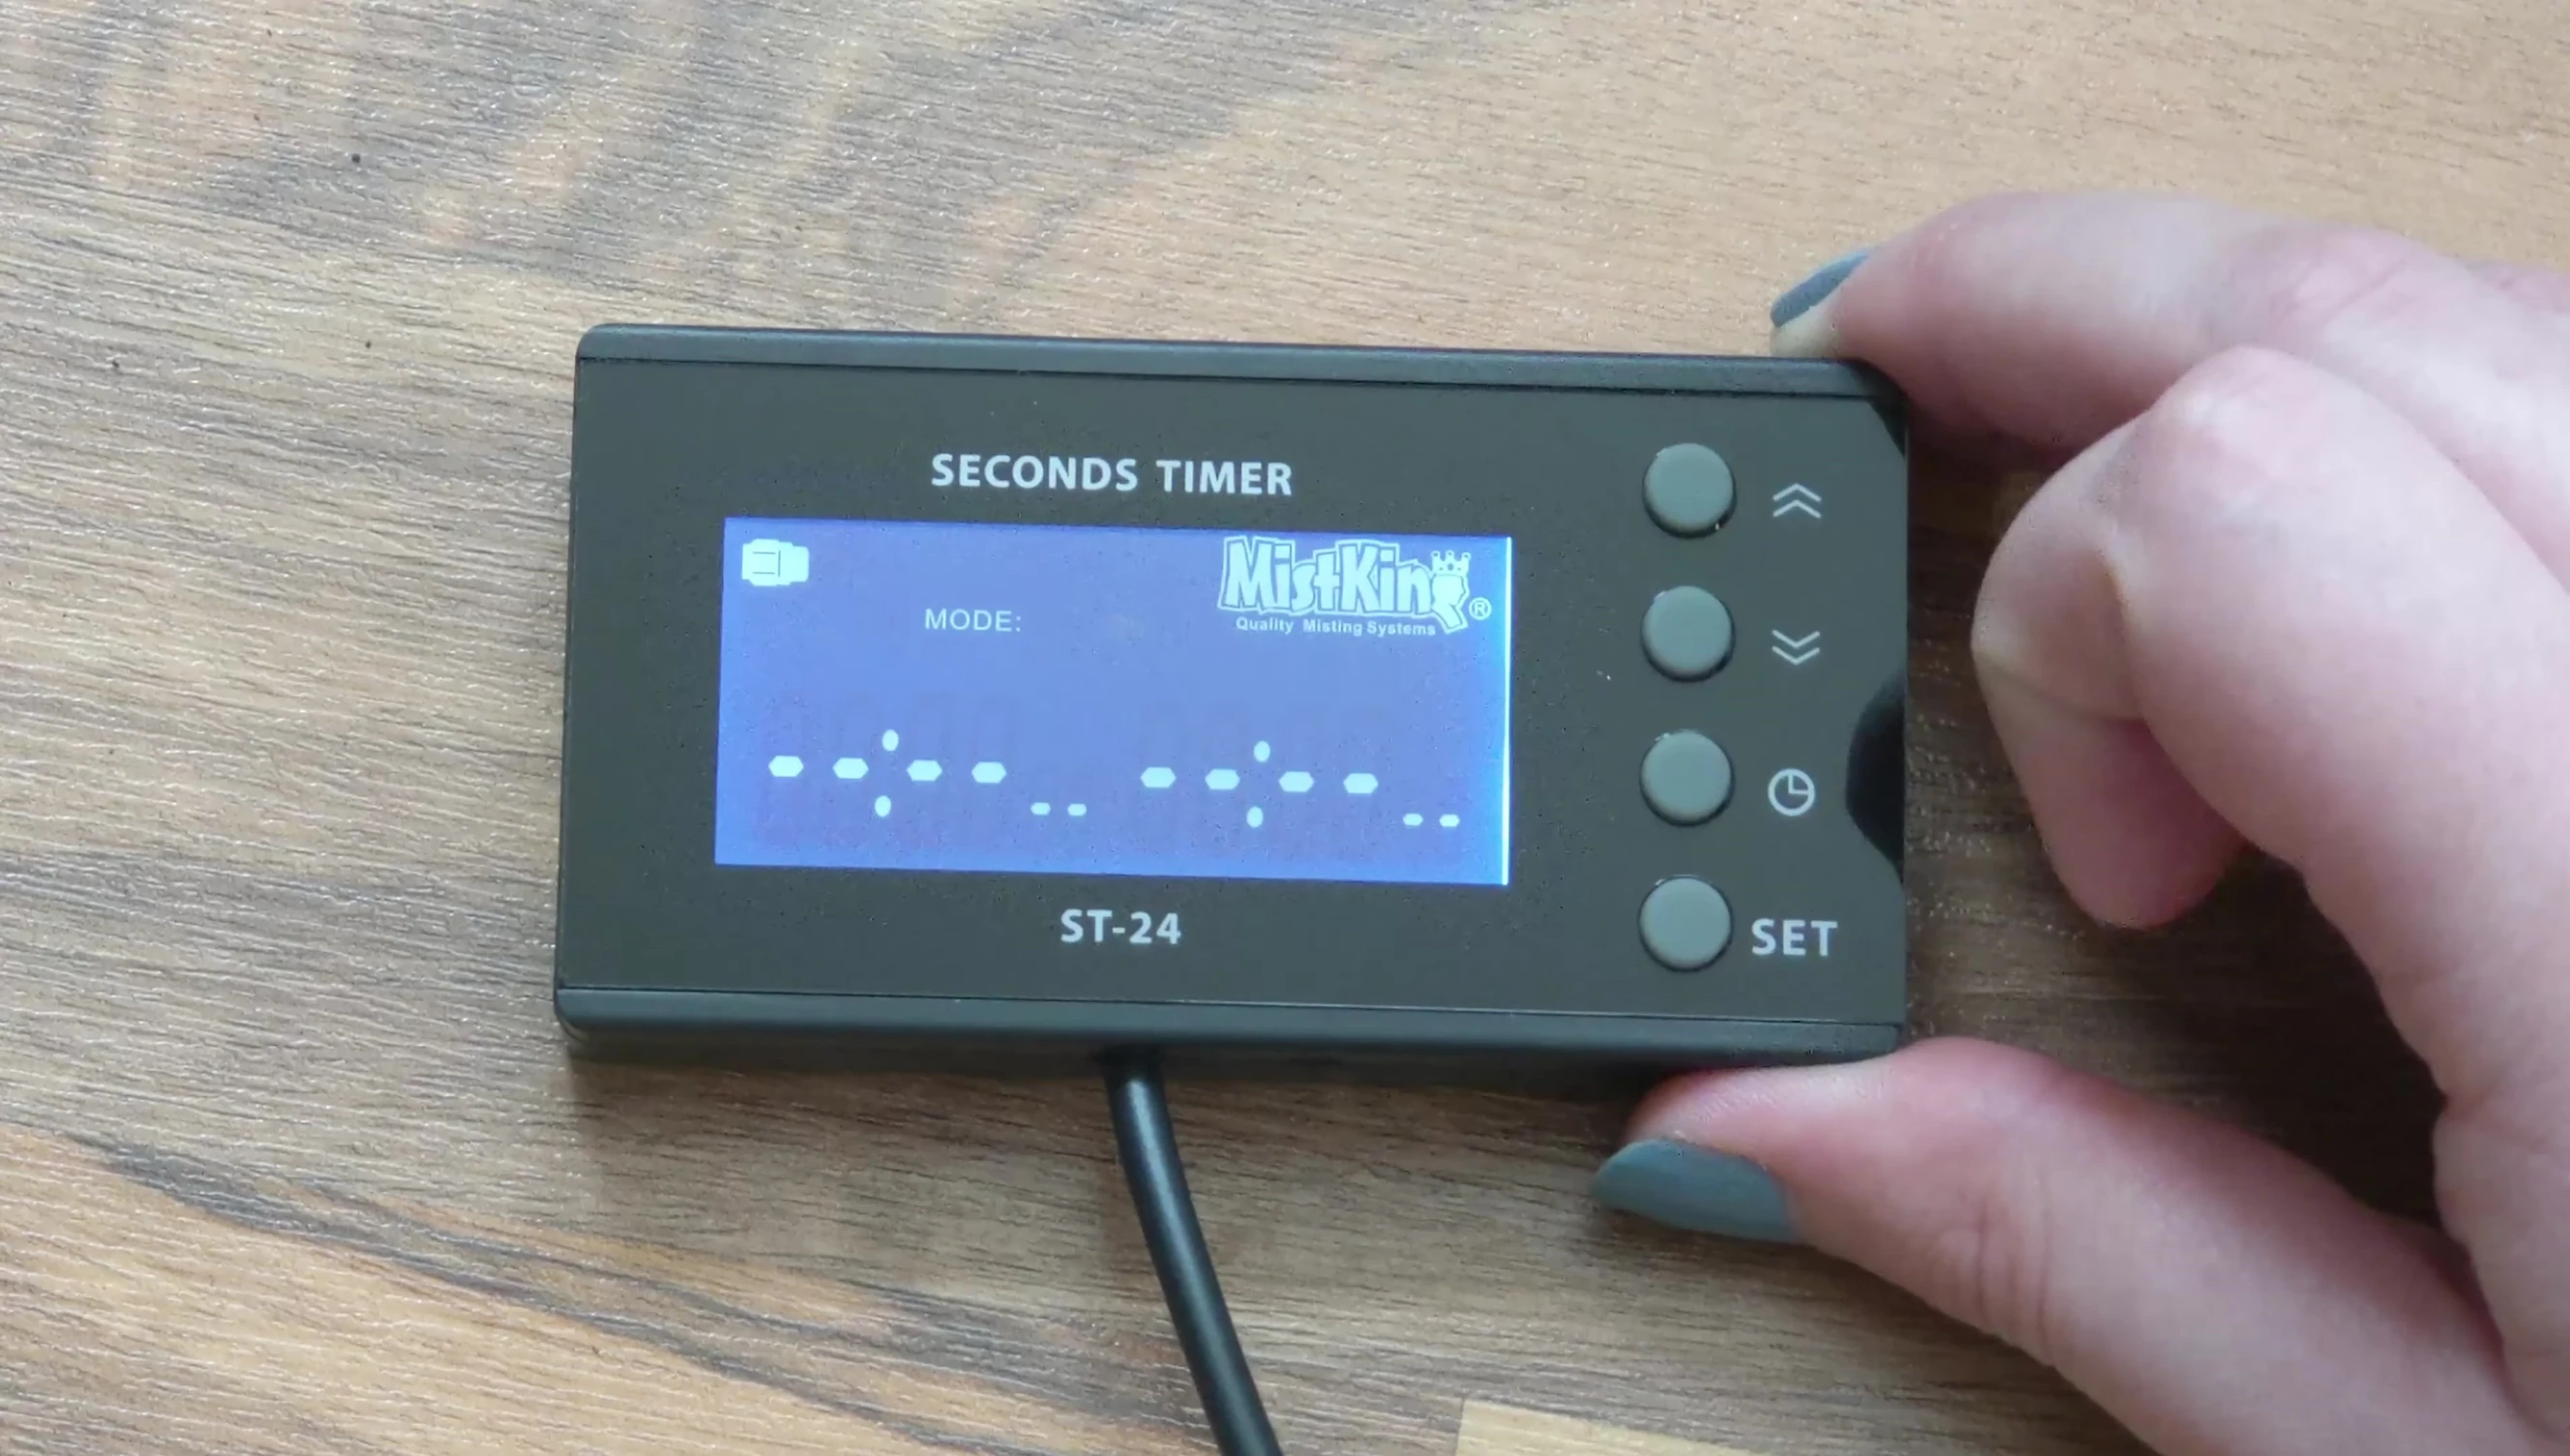
Program the timer by setting the correct time and date. Utilize the up and down arrows to navigate the menu. Always double-check the settings to ensure accuracy, especially for the misting schedule.
Nozzle Installation and Tubing Connections
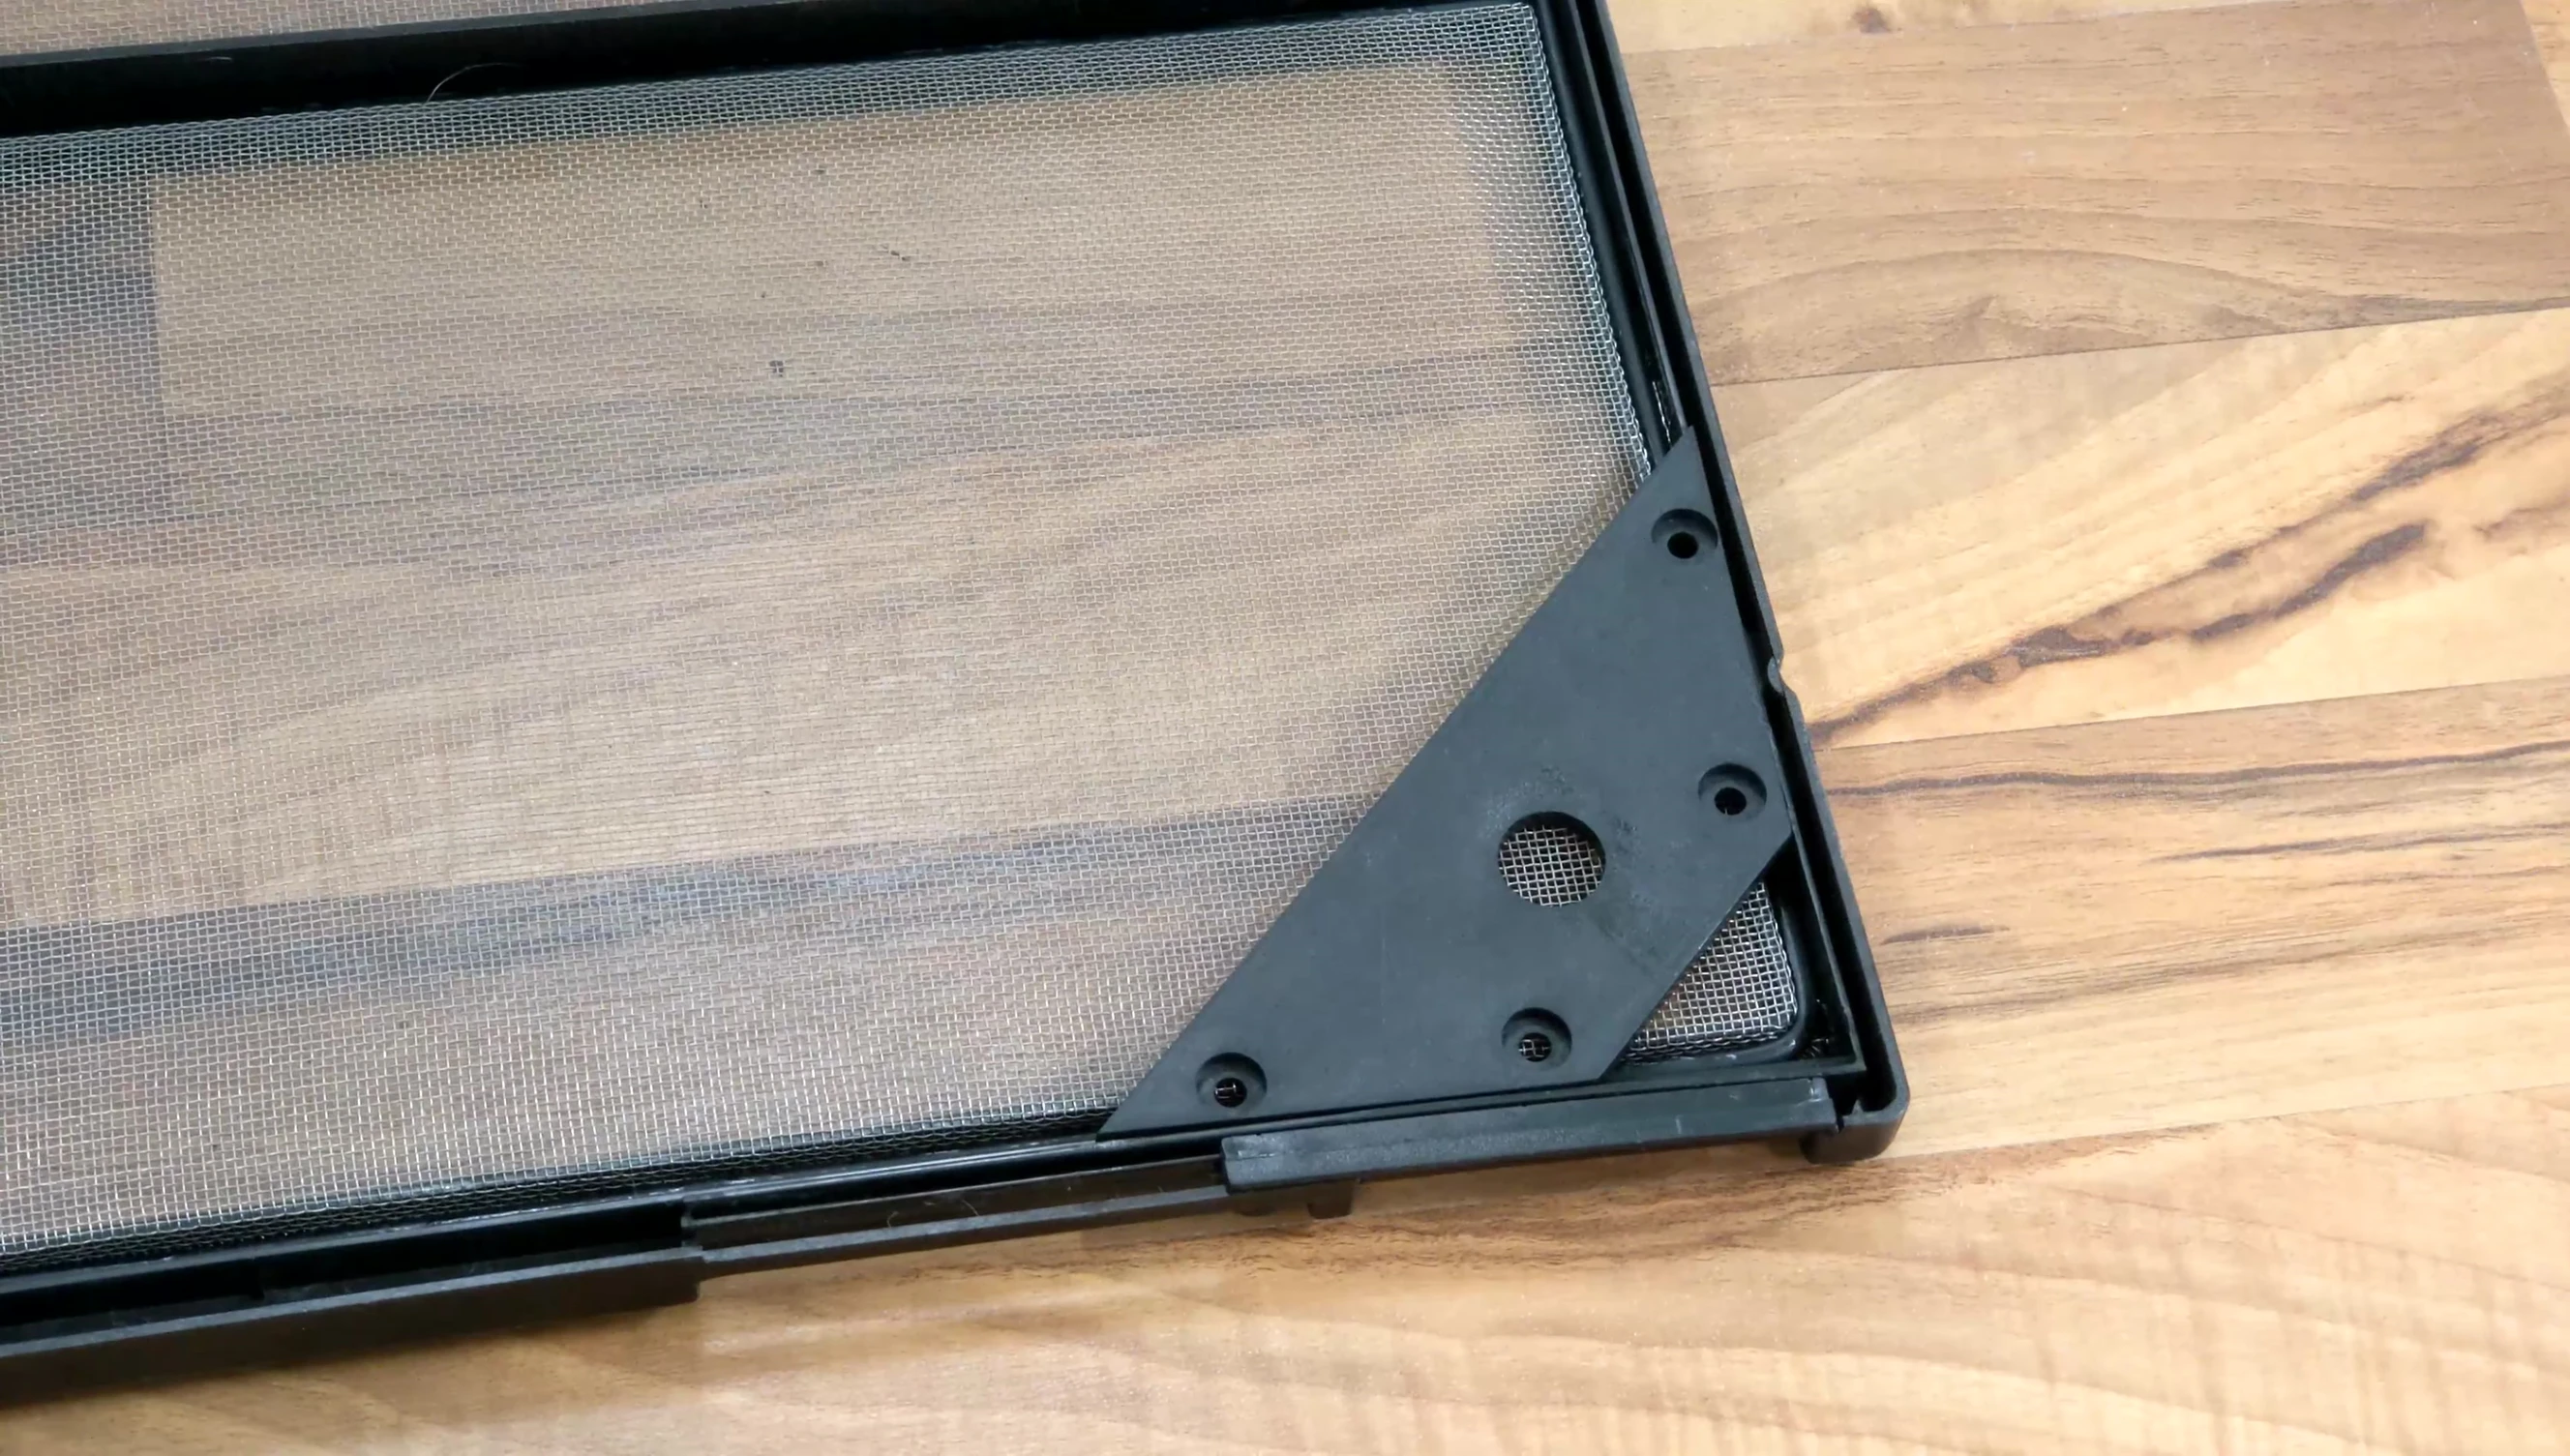
Use the optional screen top corner wedges to secure nozzles to your enclosure lid, preventing damage to the mesh. These wedges provide stability and help protect the enclosure.
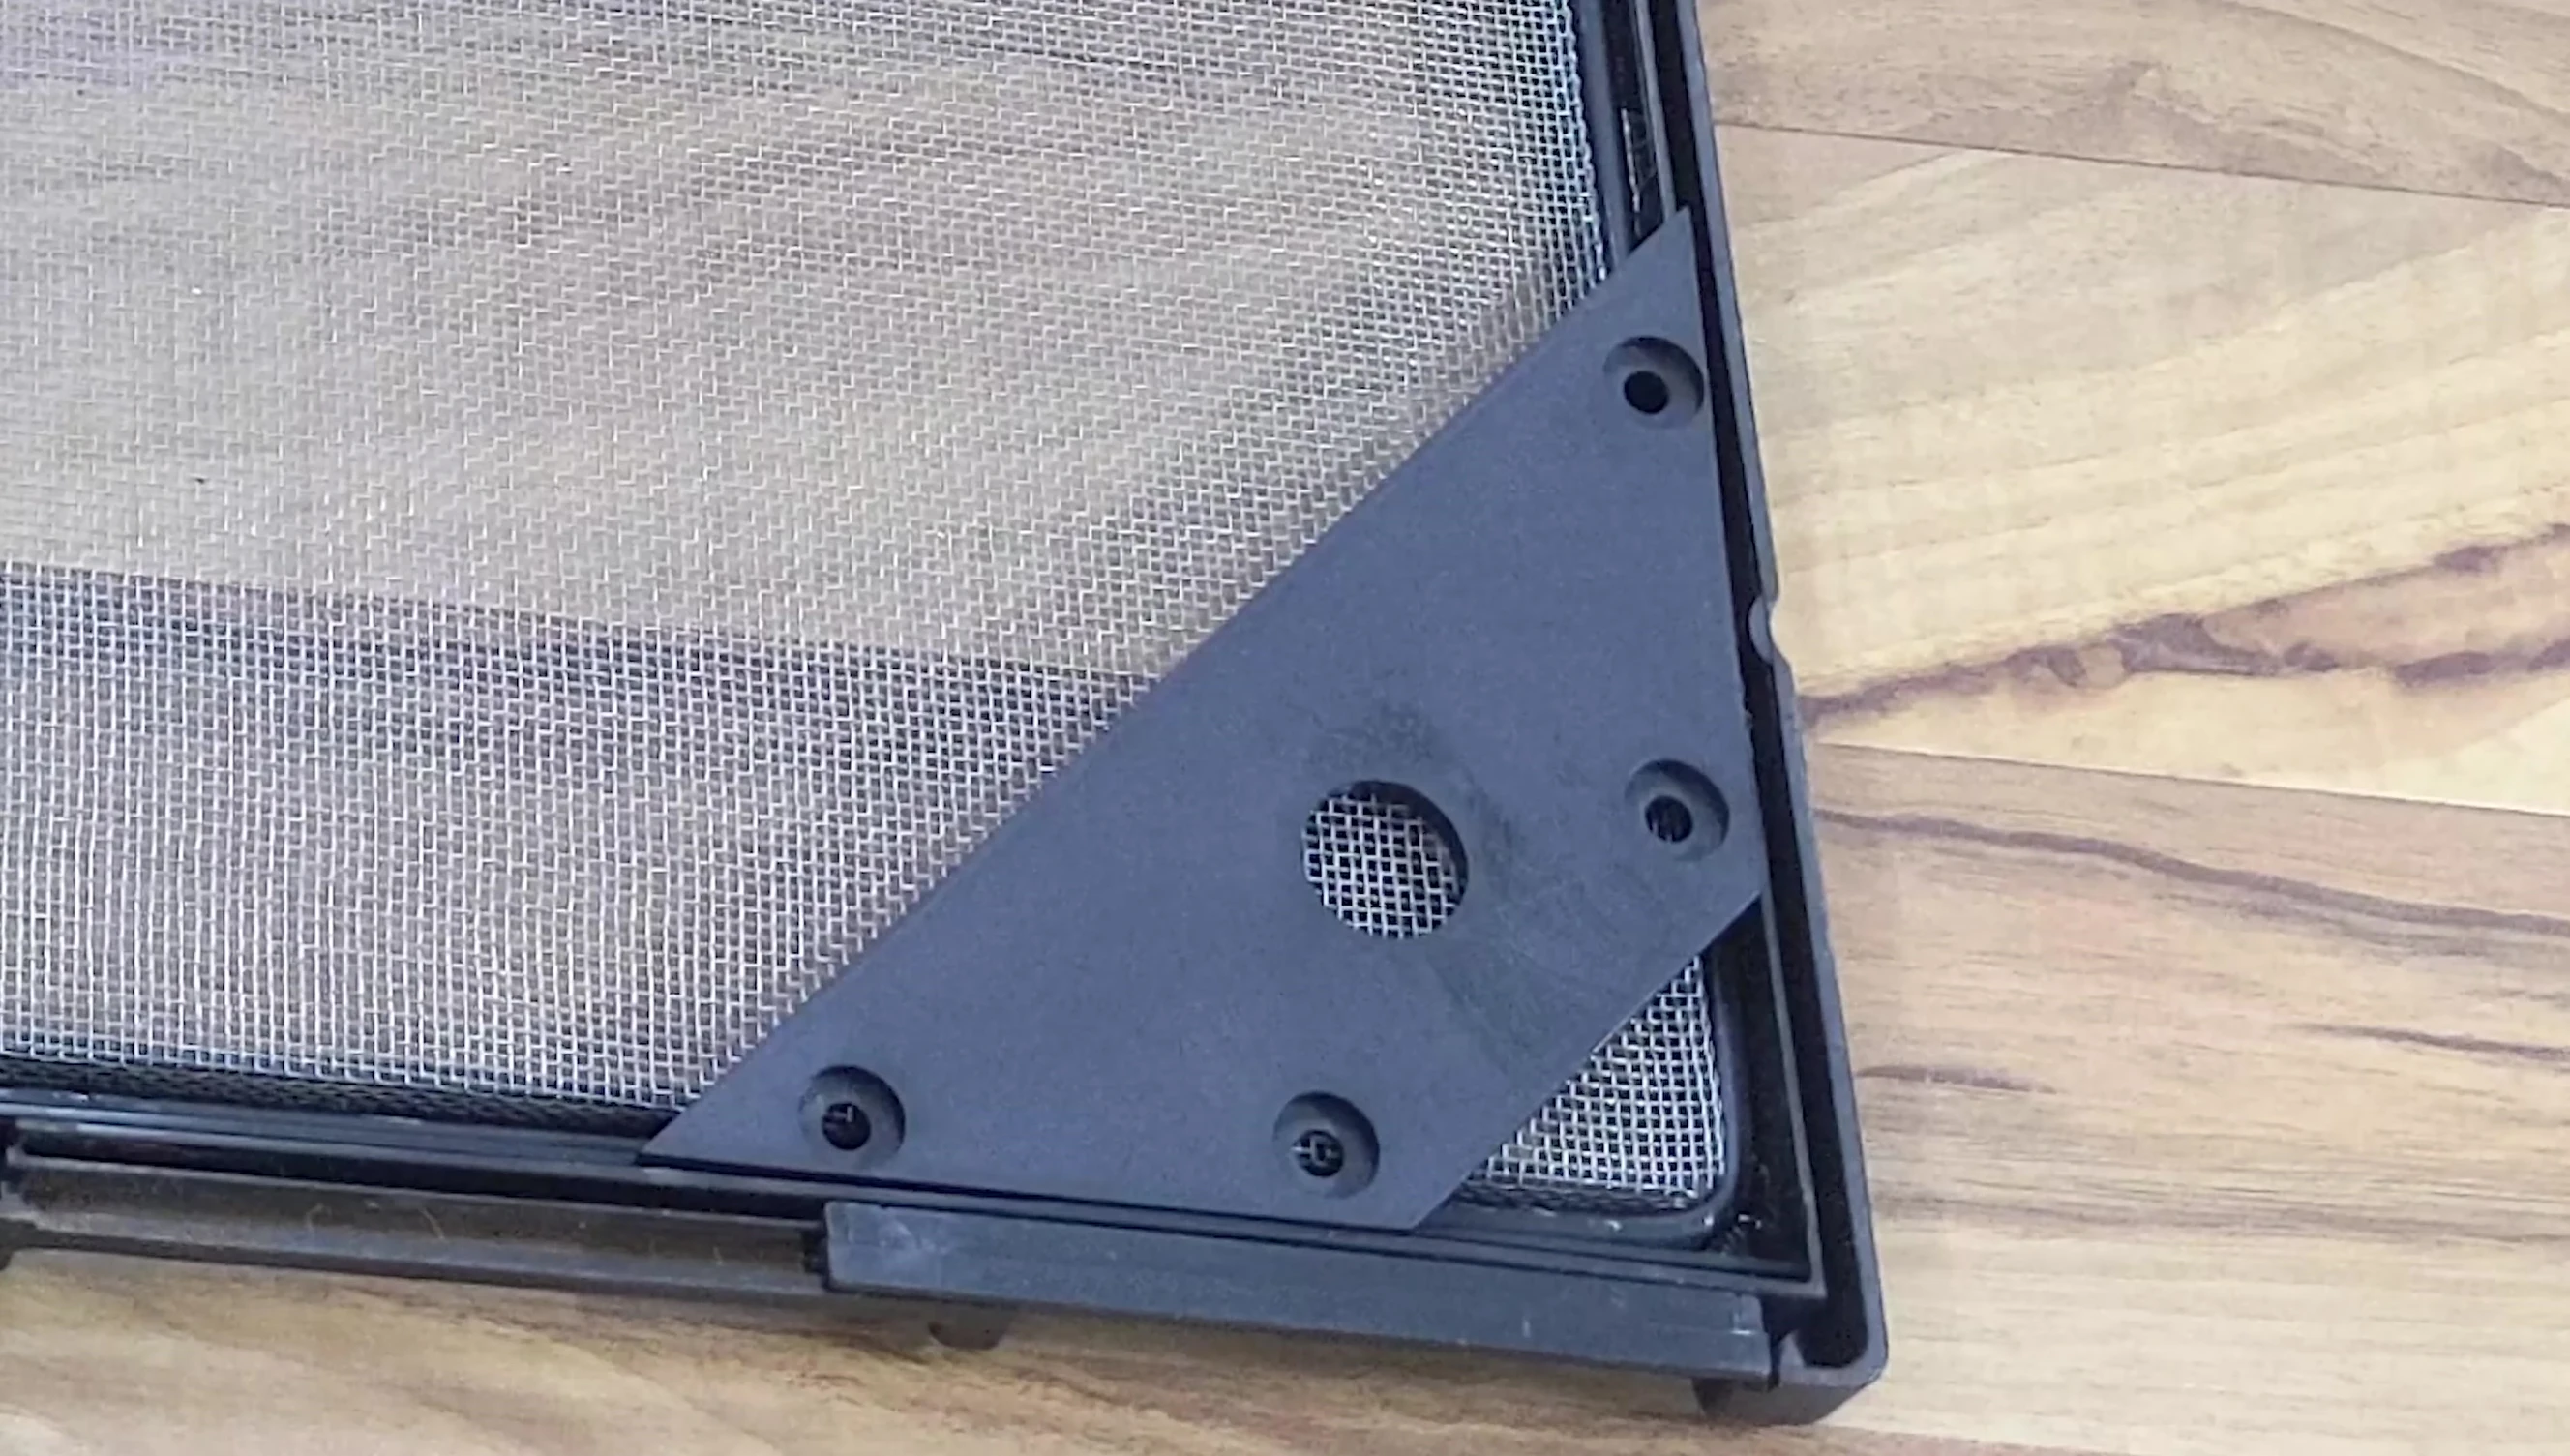
Drill or carefully cut holes in the enclosure lid to accommodate the nozzles. Make sure the holes are sized appropriately to fit the nozzles securely. Secure the nozzles using the provided methods.
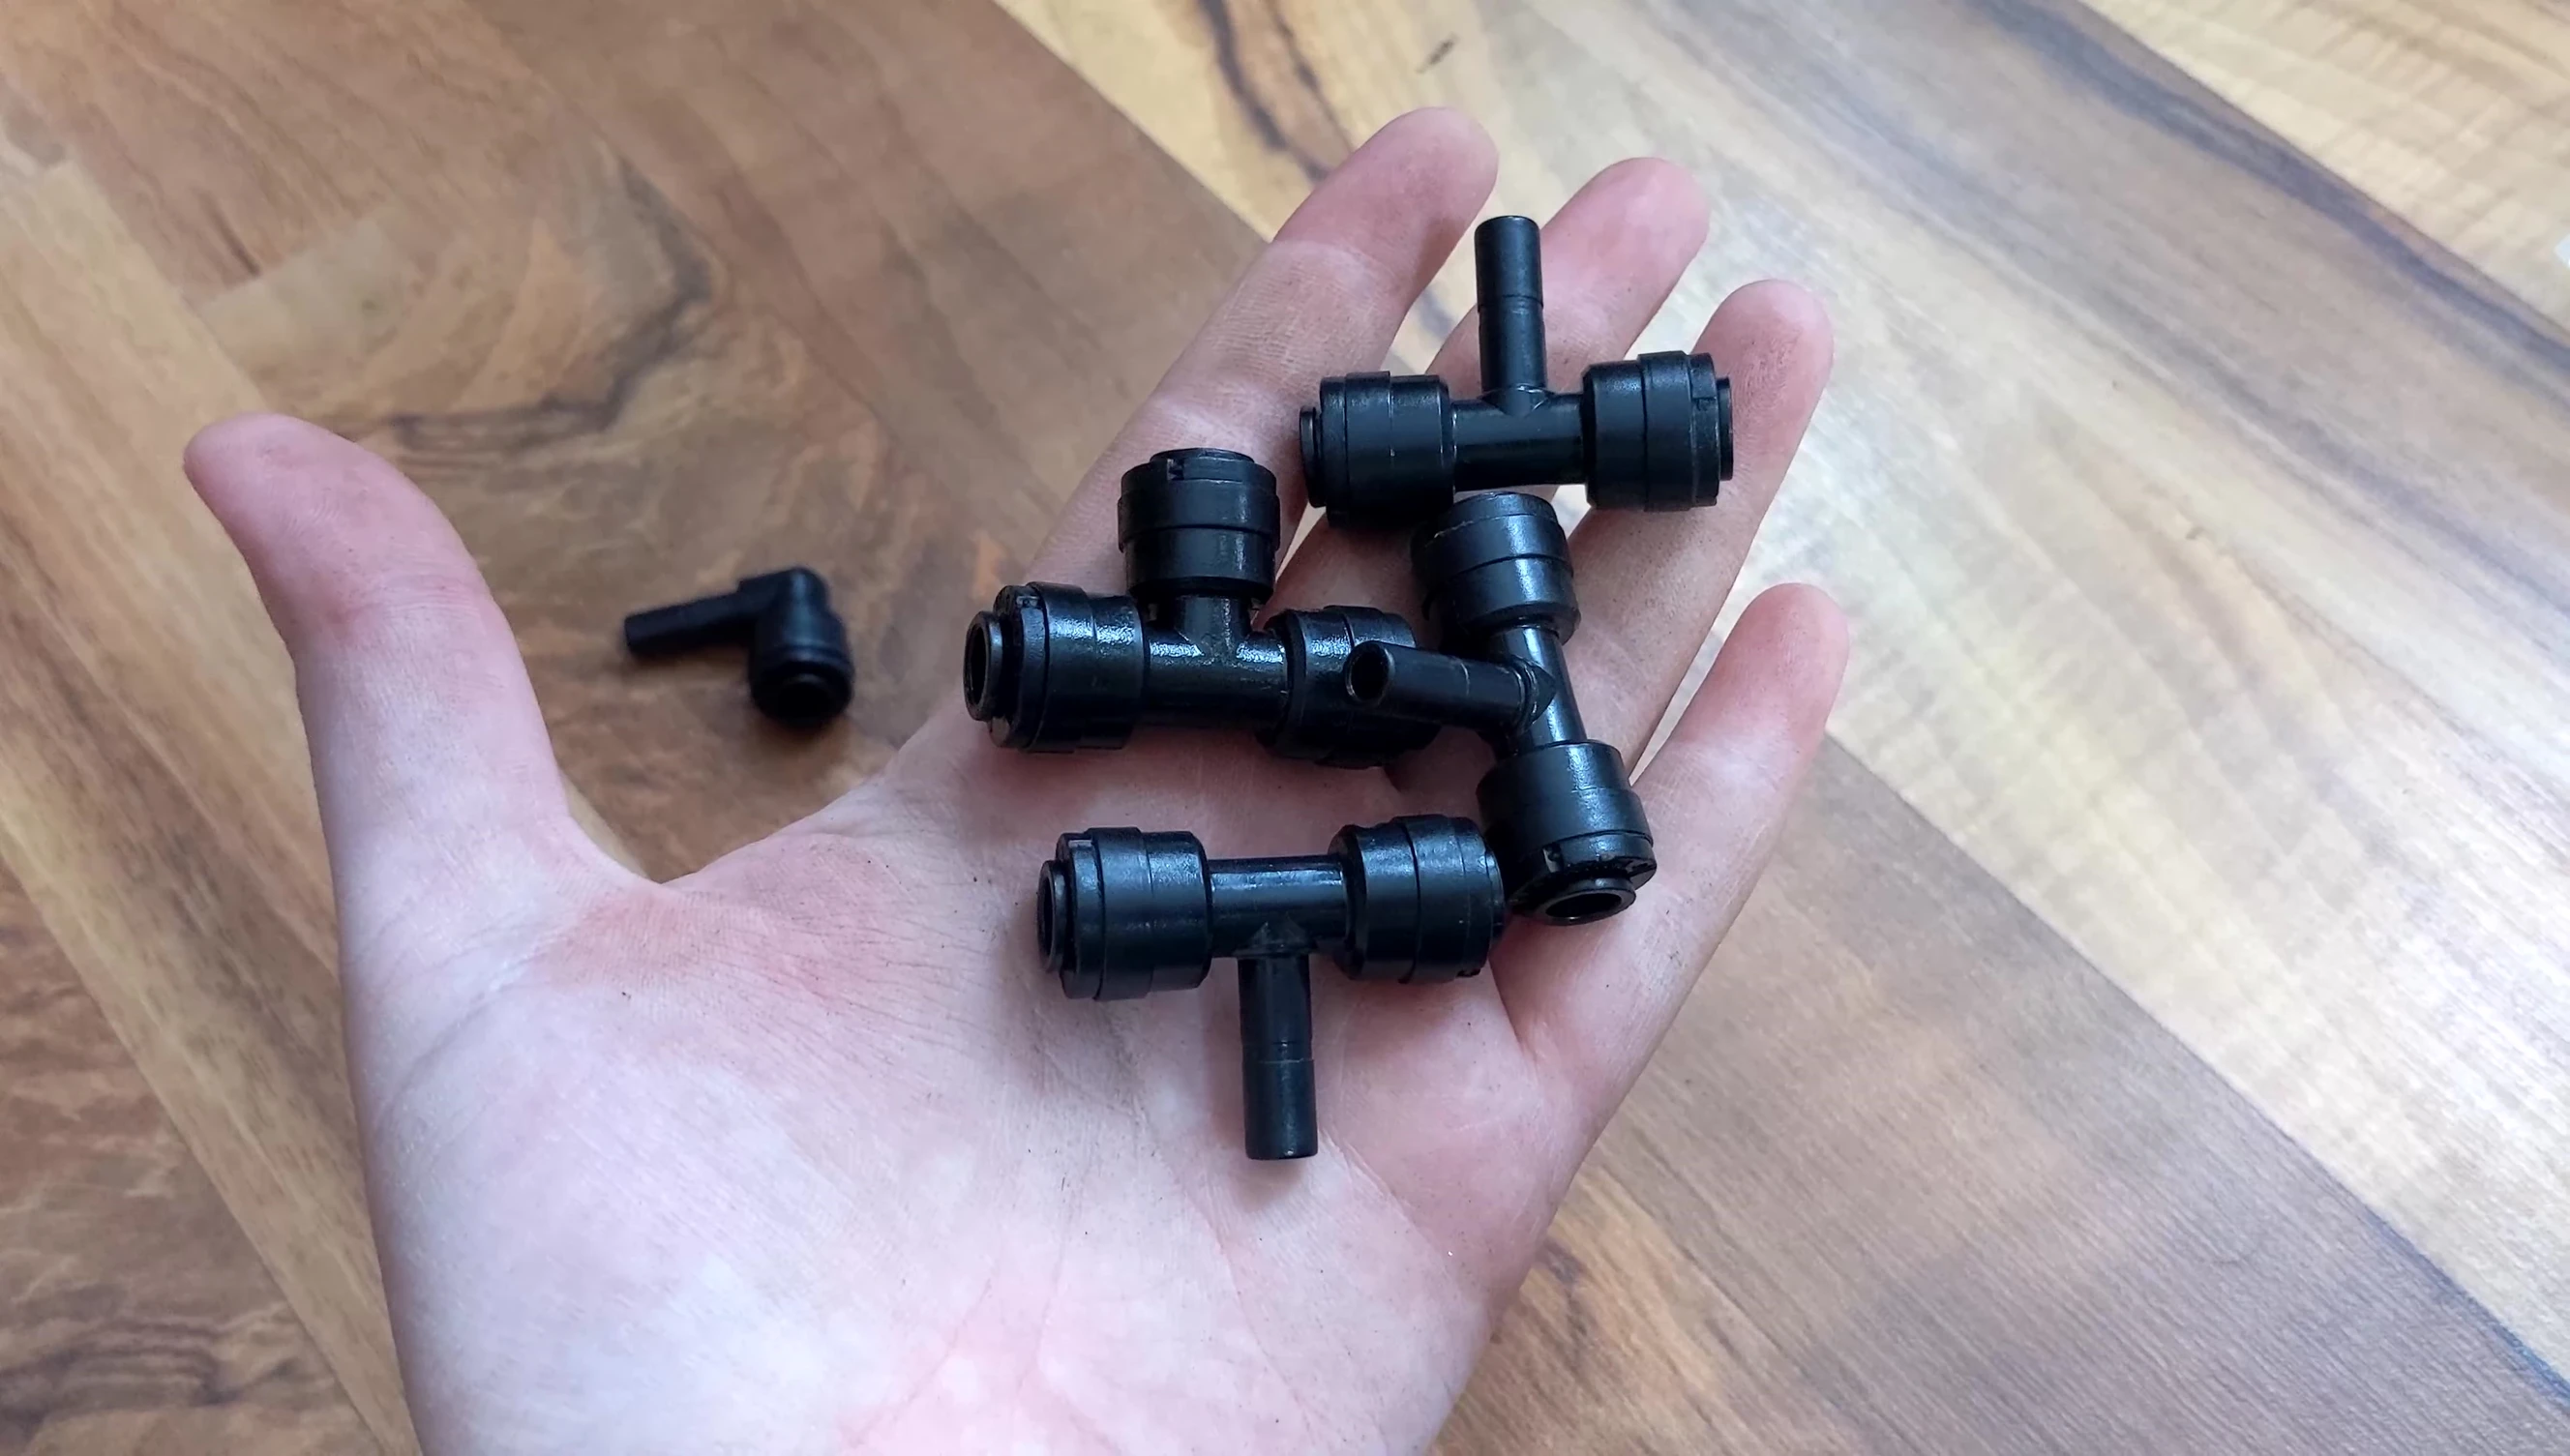
Connect the nozzles to the tubing, starting from the pump. Using elbow connectors to close off unused nozzle ports allows for flexibility in the system. Ensure all connections are watertight.
Timer Programming and Final Checks
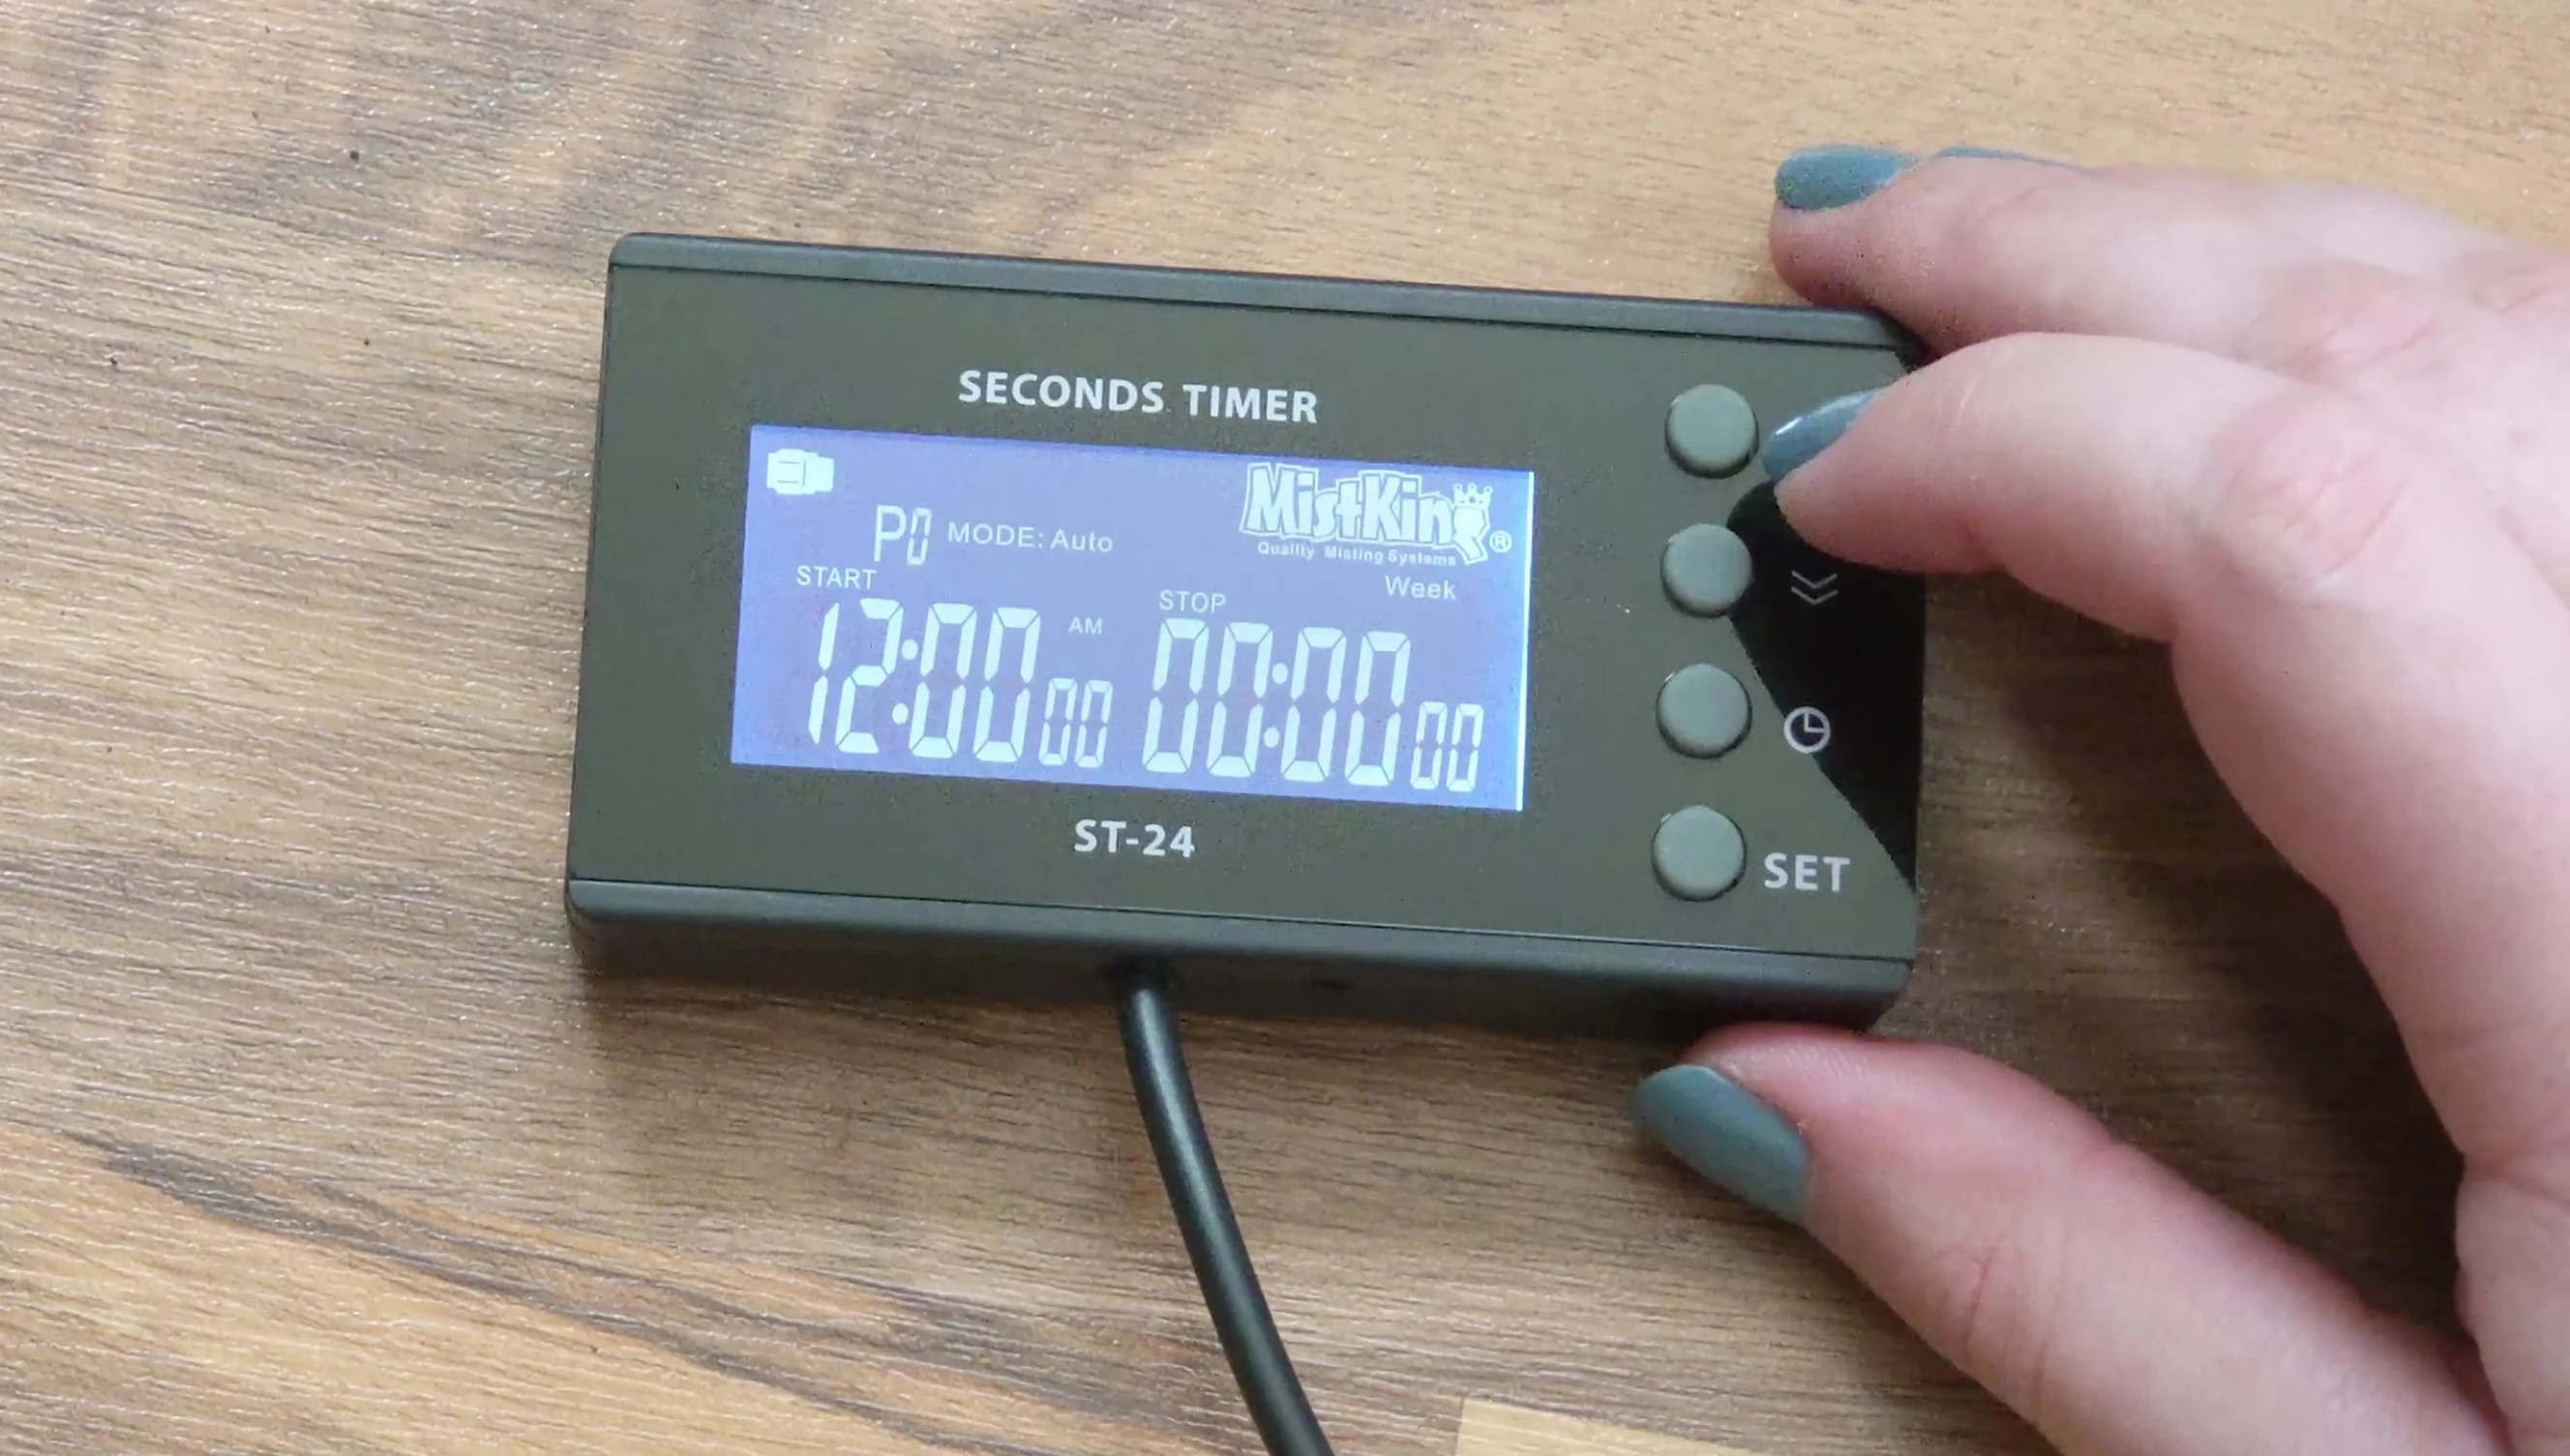
Set the timer to 'auto' mode to create a customized misting schedule. The timer allows for up to ten different programmable spray times, allowing for considerable flexibility.
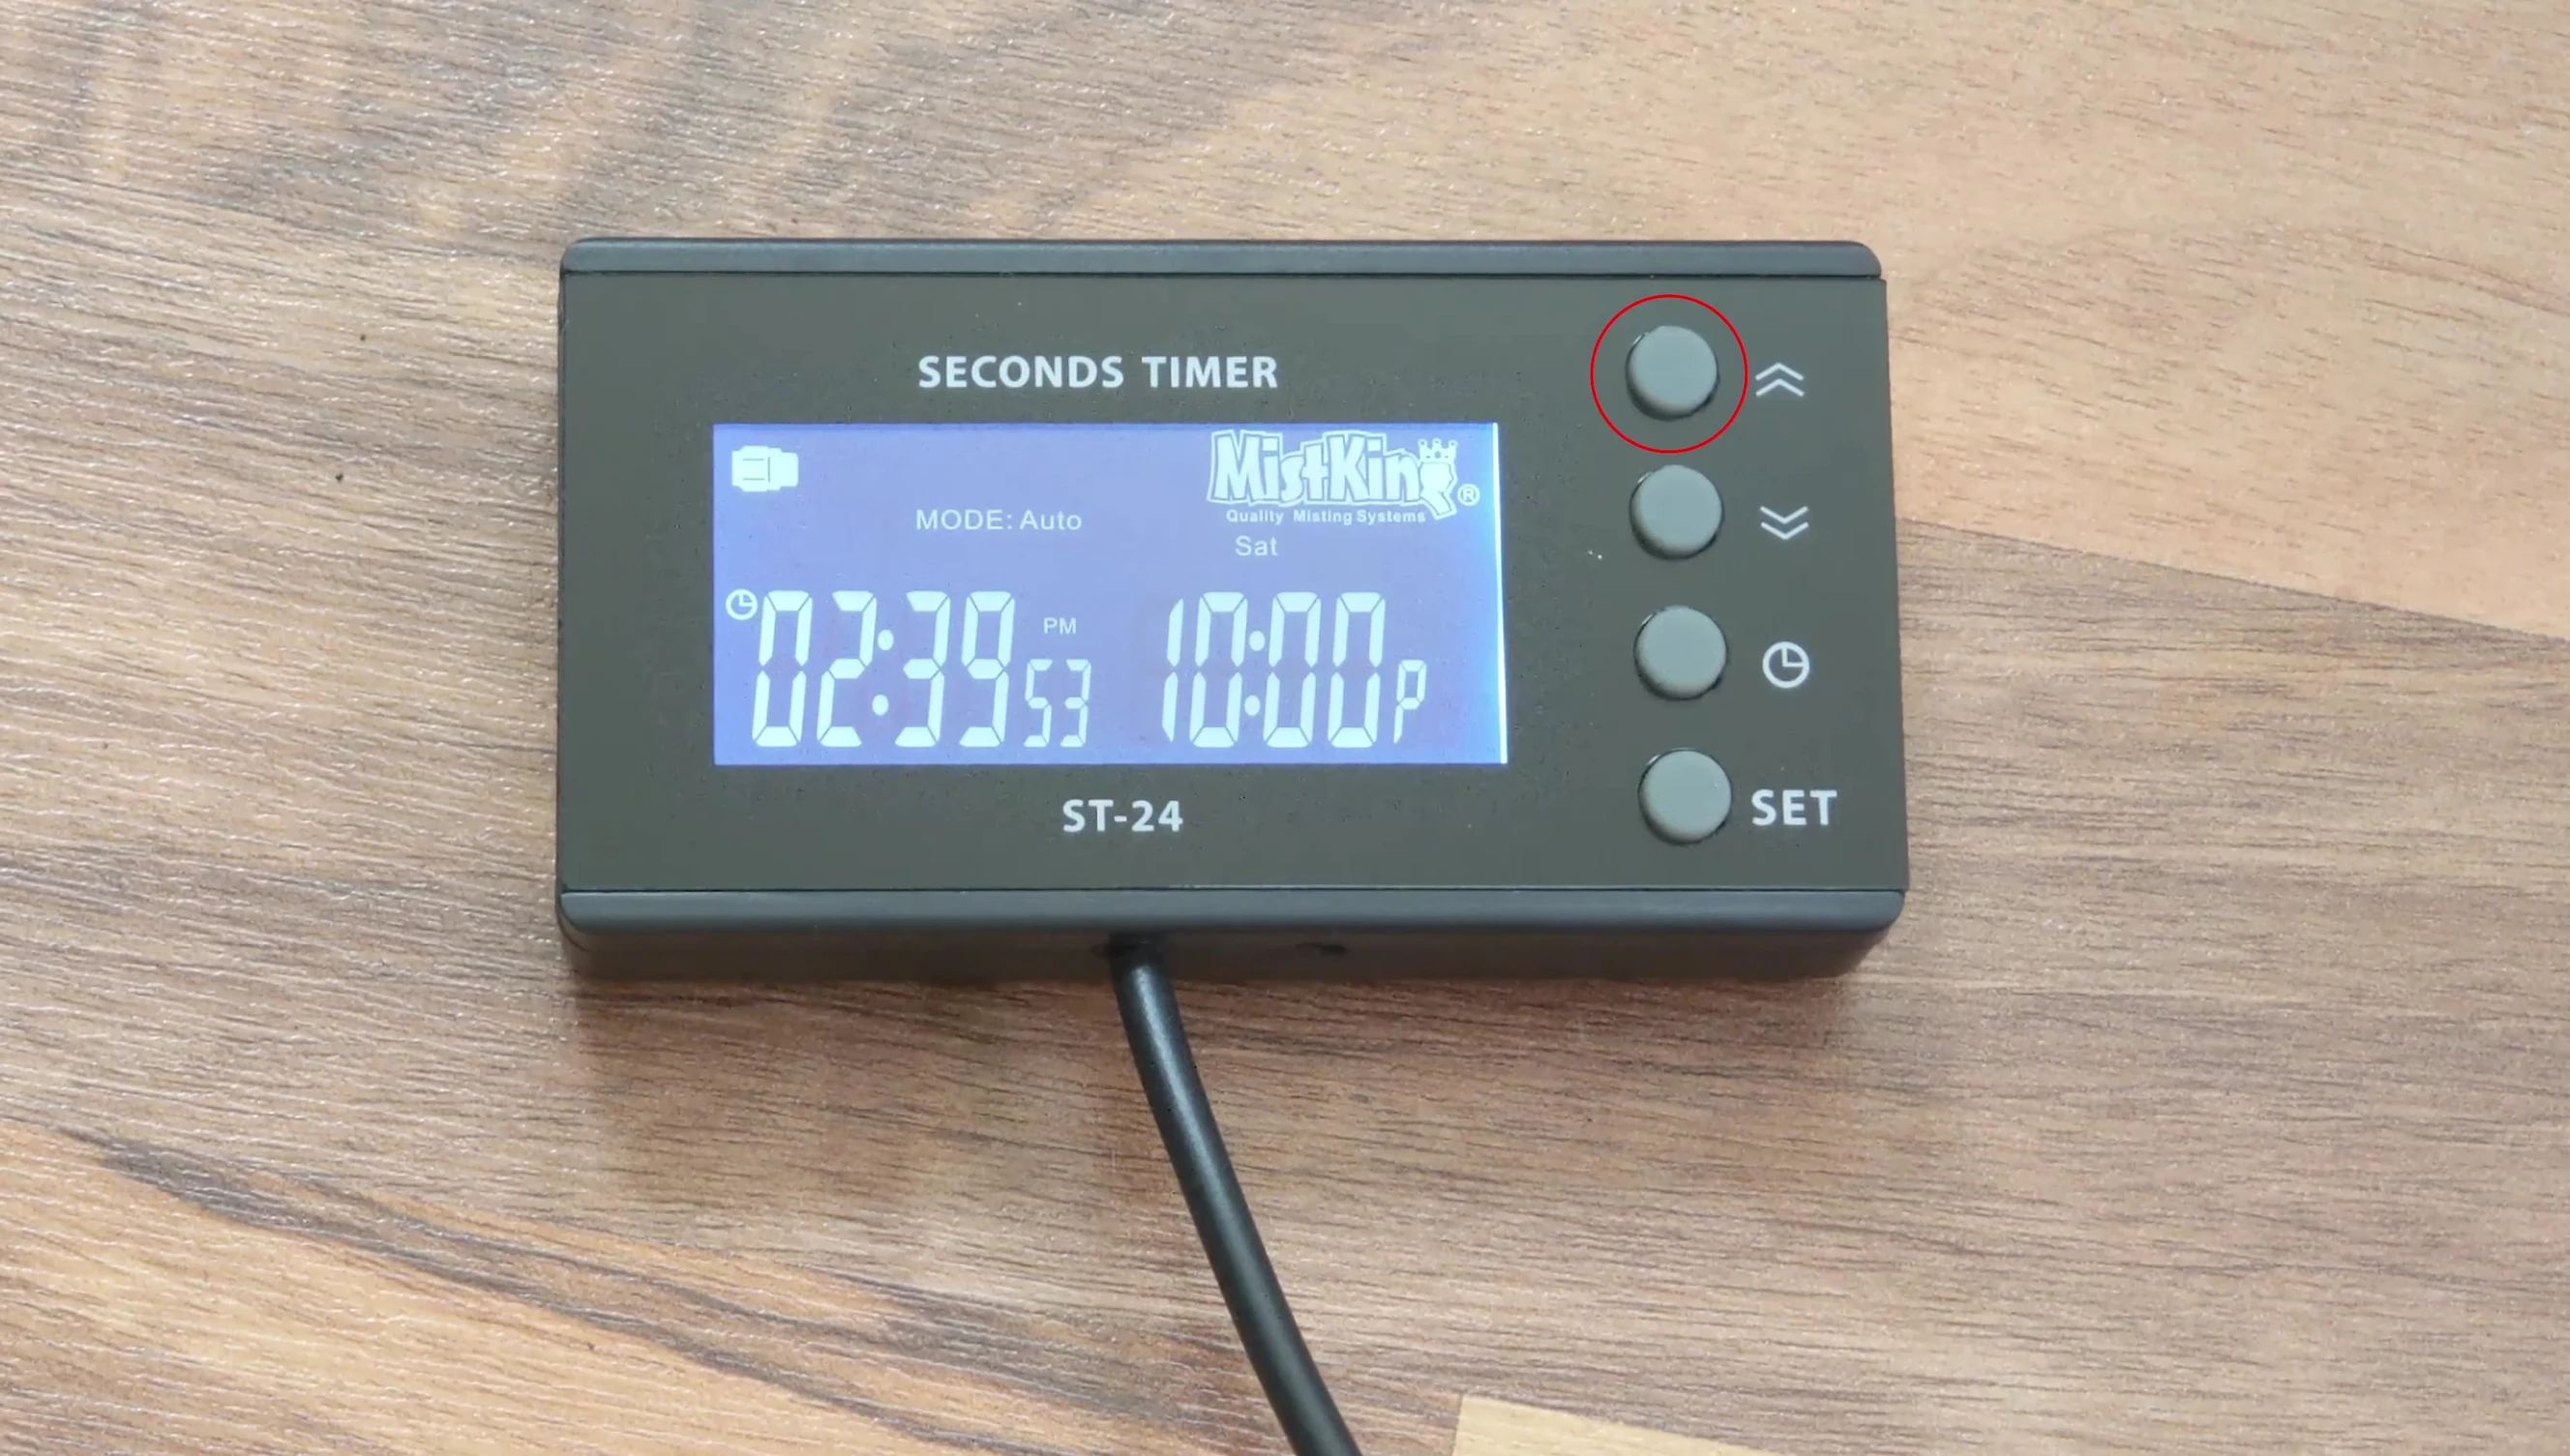
Program the desired misting times and durations for each spray cycle. Ensure the spray times align with your animal's needs. The timer clearly displays the next scheduled spray time.
Test the system and make necessary adjustments. The MistKing system allows for manual activation by holding the up arrow; this enables quick misting if needed. After setup, check for leaks and ensure proper functionality.
Conclusion
The MistKing automatic misting system offers a reliable and efficient solution for maintaining humidity in reptile enclosures. The system's modularity allows for customization to suit various enclosure sizes and animal needs.
The timer's programmability allows for precise control over misting schedules, catering to the specific requirements of your reptiles or amphibians. This ensures the optimal humidity level for your animals’ well-being.
Overall, the MistKing system is highly recommended for those seeking a convenient and effective way to maintain humidity in their reptile or amphibian habitats. The ease of setup and customizable options make it a valuable tool for any reptile keeper.