This review delves into the MistKing starter kit, evaluating its assembly, performance, and overall value. The kit includes essential components like the motor, timer, tubing, and AC adapter, promising a straightforward setup for automated misting. However, the review highlights both positive and negative aspects of the experience, offering insights into potential challenges and solutions encountered during installation and use. From initial unpacking to the final test run, the author documents the entire process, providing a detailed account of the assembly steps and highlighting areas for potential improvement.The focus is on the practical aspects of using the MistKing system, including the challenges associated with installing the bulkhead fitting and mounting the nozzle. The review assesses the quality of the components, particularly noting the durability of the plastic bulkhead fitting. Ultimately, it aims to provide prospective buyers with a realistic understanding of what to expect from the MistKing starter kit, weighing its functionality against potential drawbacks and suggesting modifications for an enhanced user experience.
Pros And Cons
- Includes all necessary hardware (hosing, timer, motor, AC adapter).
- Reservoir bucket not included; requires purchasing separately and drilling a hole.
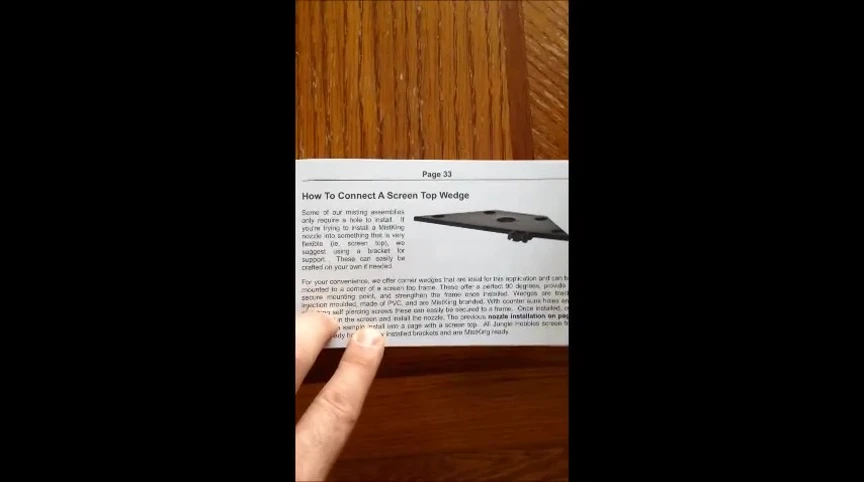
- Instructions for mounting the screen top wedge are vague.
- Self-tapping screws for mounting the wedge may require pre-drilling pilot holes.
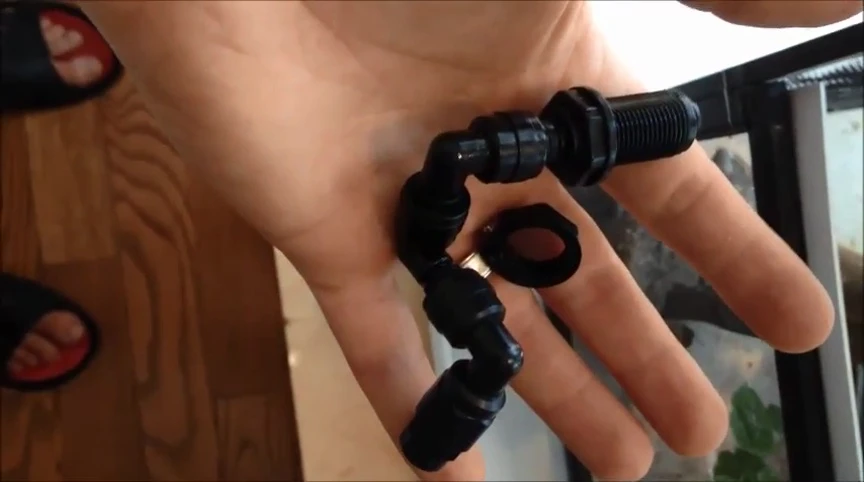
- The plastic bulkhead fitting may be prone to leaking or stripping threads.
- Short hose length between reservoir and pump may require additional hosing.
Read more: 5 Best Misting Systems for Amphibians & Reptiles
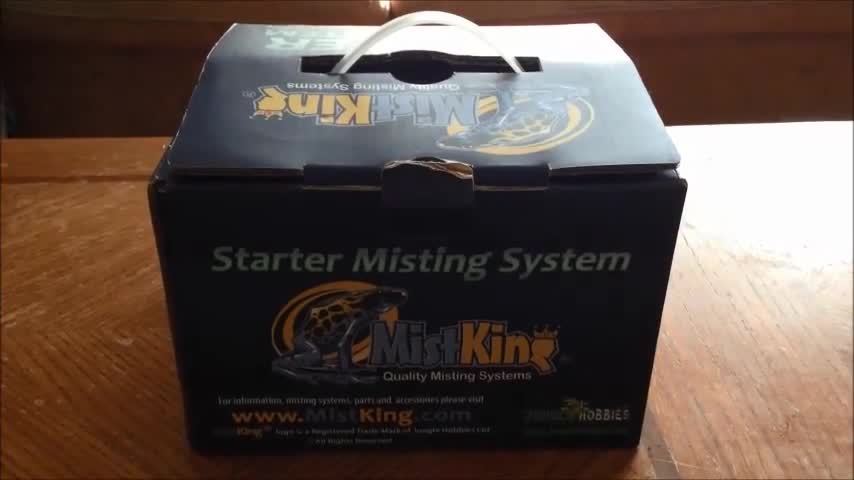
Unboxing and Initial Impressions
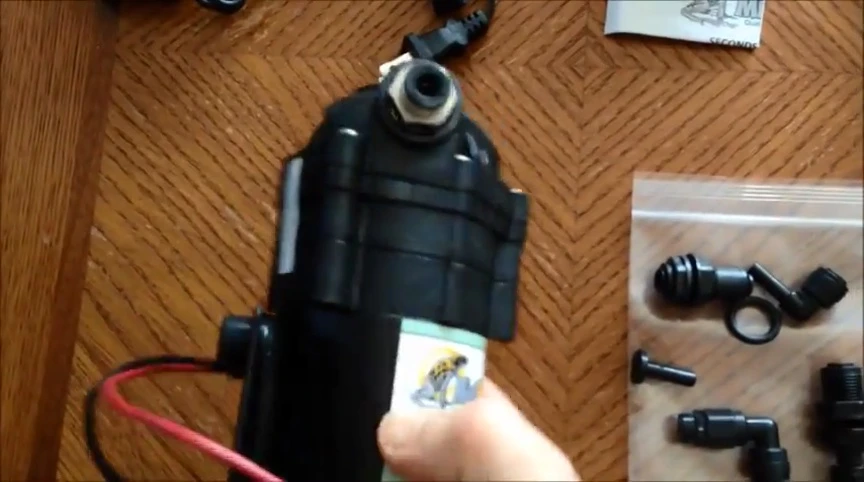
The MistKing starter kit arrived well-packaged. Inside, I found the instruction manual, some promotional items, and the essential components: tubing, the MistKing timer, the motor, and the AC adapter. The motor itself is surprisingly sturdy and weighty, suggesting robust construction.
The mounting kits were purchased separately; they weren't included in the starter kit. Everything else seemed to be present and accounted for.
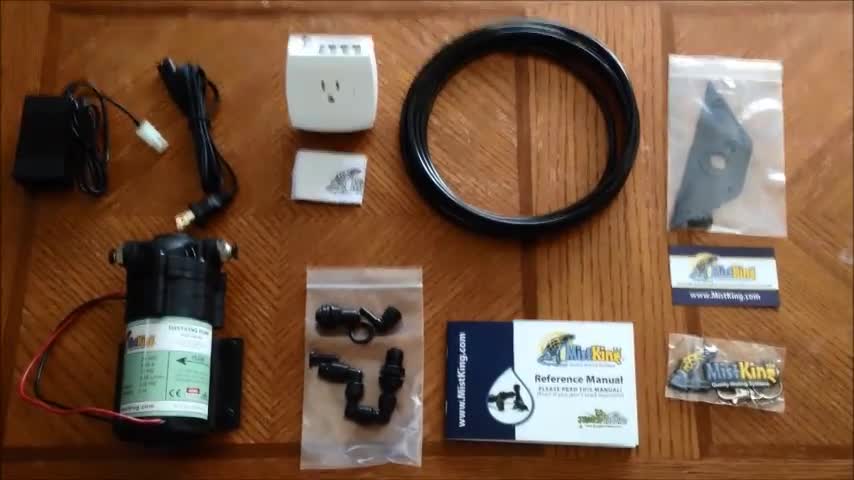
Initial impressions were positive, indicating high-quality materials and a well-thought-out design. However, I did note that some parts, like the reservoir bulkhead fitting, seemed to be made of less durable plastic.
Reservoir Setup: Drilling and Bulkhead Installation
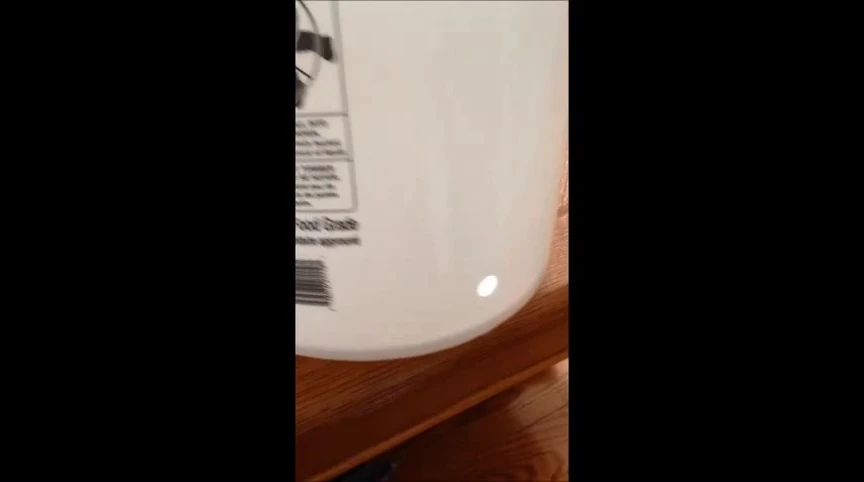
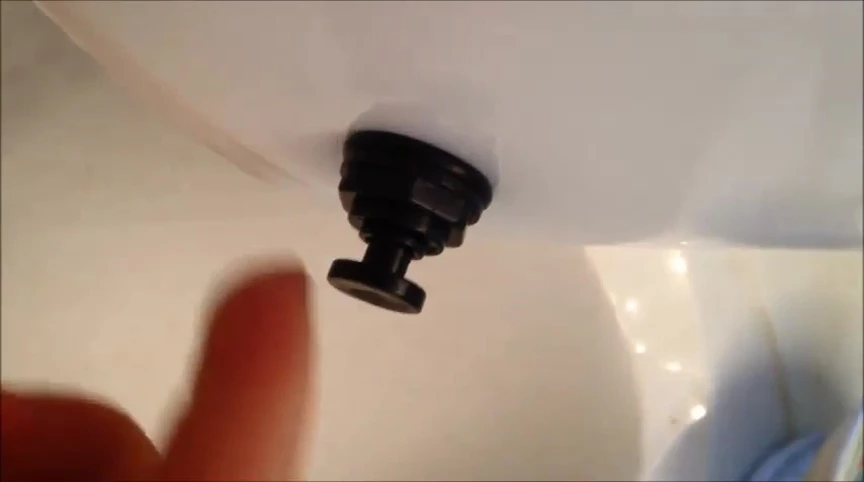
The instructions clearly stated the need to drill a 9/16 inch hole in the bottom of the reservoir bucket for the bulkhead fitting. I opted for a food-grade plastic bucket for safety reasons. The process was straightforward; however, the provided plastic bulkhead fitting was a source of minor frustration.
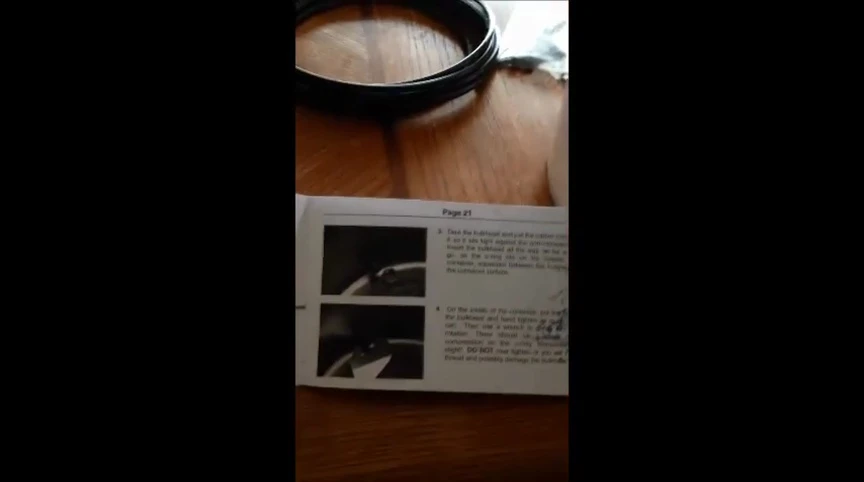
The bulkhead fitting, along with its rubber O-ring, required a bit of force to install. I carefully screwed it into the hole, taking care not to damage the threads. A metal fitting would have been preferable for enhanced durability.
The final assembly involved screwing the inner piece to secure the gasket against the plastic. It's crucial to hand-tighten this; over-tightening can easily strip the plastic threads.

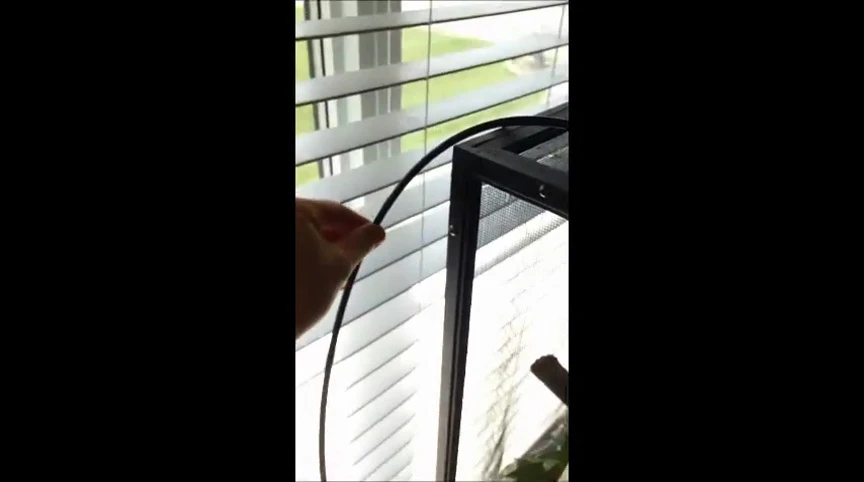
Mounting the Misting Nozzle: Challenges and Solutions
Attaching the misting nozzle to my reptile enclosure proved more challenging than anticipated. The instructions were somewhat vague; the diagrams weren't very helpful.
The self-tapping screws provided were difficult to install directly into the aluminum frame without pre-drilling pilot holes. I had to use a small drill bit to create pilot holes for easier screw insertion.
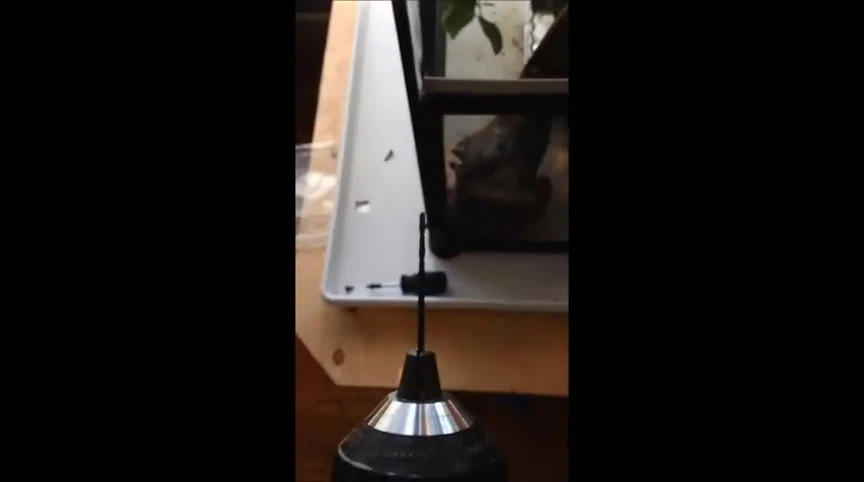
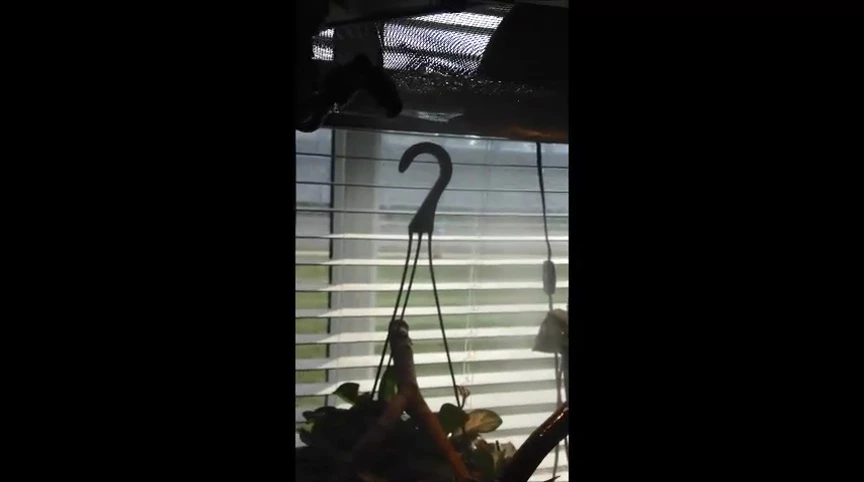
Mounting the nozzle in a corner of the enclosure aimed to optimize mist distribution for my plants, avoiding direct spraying onto the reptile.
Plumbing and System Testing: Leaks and Solutions
Connecting the tubing to the pump and nozzle was relatively straightforward once the nozzle was mounted. I used the included 90-degree elbow to connect to the main tubing.
Testing the system revealed a minor leak at the reservoir bulkhead fitting. Tightening the bulkhead fitting helped, but I added a small plug to mitigate future leakage.
A test run confirmed the system's functionality. The MistKing timer allows for customized misting schedules; mine is set for twice daily misting.
Final Thoughts and Conclusion
Overall, the MistKing starter kit provides a functional and relatively easy-to-assemble misting system. The quality of the components is generally good, although some parts could be improved. The plastic bulkhead fitting is a weak point and could benefit from being metal. This would improve durability and ease of assembly.
The instructions could also be clearer, particularly regarding the nozzle mounting process. Pre-drilling pilot holes is strongly recommended. Despite some minor setbacks during setup, the MistKing system ultimately worked well and provided consistent misting.
The timer is a valuable addition, allowing for precise control over misting frequency. The system's performance makes it a worthwhile purchase for those needing automated misting, although minor improvements could elevate the user experience.