Keeping reptiles healthy requires meticulous attention to their environment, and maintaining the correct temperature and humidity is paramount. For lizard keepers, this often involves carefully insulating their enclosures to prevent drastic temperature fluctuations that can stress or even harm their delicate charges. Expandable foam insulation offers a practical and effective solution for achieving optimal thermal stability within a lizard's habitat, providing a cost-effective alternative to other methods. Its ease of application and excellent insulating properties make it a popular choice among reptile enthusiasts.
This guide will walk you through the process of effectively insulating your lizard enclosure using expandable foam, from preparing the enclosure to the final touches. We’ll cover everything you need to know to create a safe, comfortable, and thermally stable environment for your scaly friend, ensuring their well-being and longevity. Let’s dive into the step-by-step instructions below.
Preparation and Safety Guidelines
- Always ensure the expandable foam is specifically designed for use in reptile enclosures and is non-toxic. Many foams contain harmful chemicals.
- Avoid applying foam directly to the animals or their substrates. Allow the foam to fully cure and off-gas before introducing your lizards.
- Use appropriate respiratory protection (mask) when applying expanding foam, as it can irritate the lungs and eyes.
Step-by-Step Instructions
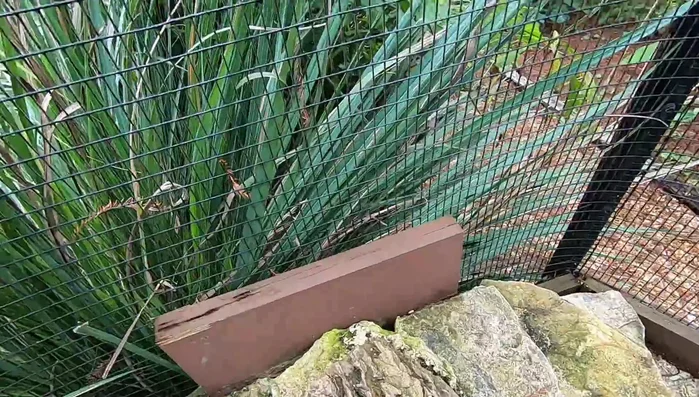
Prepare the Enclosure
- Capture lizards gently and place them in secure carriers.
- Remove rocks from around the enclosure's corrugated pipe cave.

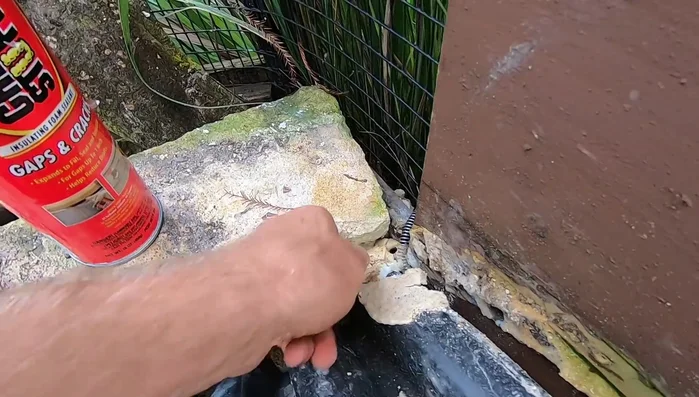
Prepare the Enclosure Apply Insulating Foam
- Apply expandable foam to seal gaps and crevices around the cave entrance.
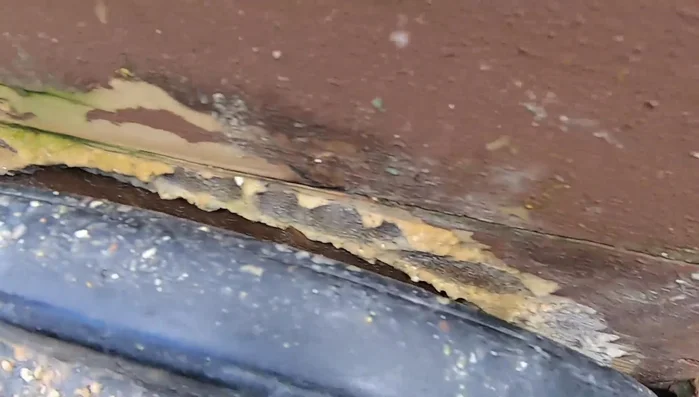
Apply Insulating Foam Cure the Foam
- Allow the foam to expand and cure (a couple of hours).
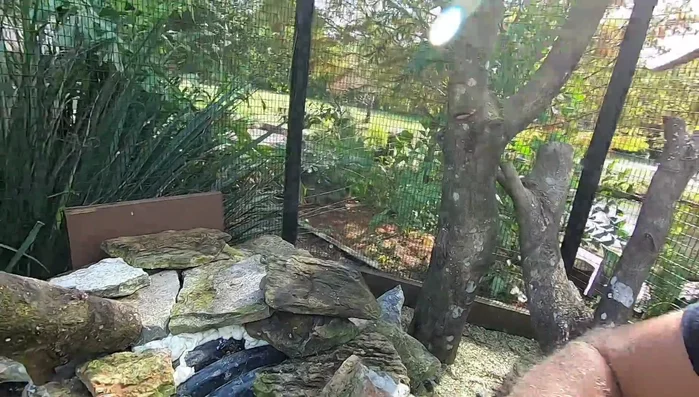
Cure the Foam Finish and Seal
- Touch up any remaining gaps with aquascape foam sealant.
- Apply sand and coquina to the foam to blend it with the enclosure's natural look.
Finish and Seal Return Lizards
- Return the lizards to their improved, insulated enclosure.
Return Lizards


Read more: DIY Bioactive Bearded Dragon Enclosure: A Step-by-Step Guide for Special Needs Dragons
Tips
- Use a gentle approach when handling lizards to avoid injury or stress.
- Expandable foam expands significantly, so apply it sparingly to avoid excess.
- Use materials like sand or coquina to disguise the foam and create a natural look.
- Regularly inspect and maintain the enclosure to ensure its effectiveness and the lizards' well-being.