Creating a stimulating and enriching environment for your reptile companion is crucial for their well-being, and a key component of that is providing appropriate hiding places and textured terrain. Store-bought options can be expensive and often lack the unique character and customization possibilities that a DIY approach offers. Building your own reptile rocks and hides allows you to tailor the design and size perfectly to your pet's needs, using materials that are safe, durable, and aesthetically pleasing. You can even incorporate specific features to create a truly bespoke habitat.
This guide will walk you through the process of crafting several different types of reptile rocks and hides, from simple caves to more intricate structures. We'll cover a range of materials and techniques, from readily available supplies to more specialized options, ensuring you find a project that matches your skill level and your reptile's specific requirements. So, let's dive in and get started with our step-by-step instructions!
Preparation and Safety Guidelines
- Cardboard
- Styrofoam
- Balloon
- Newspaper
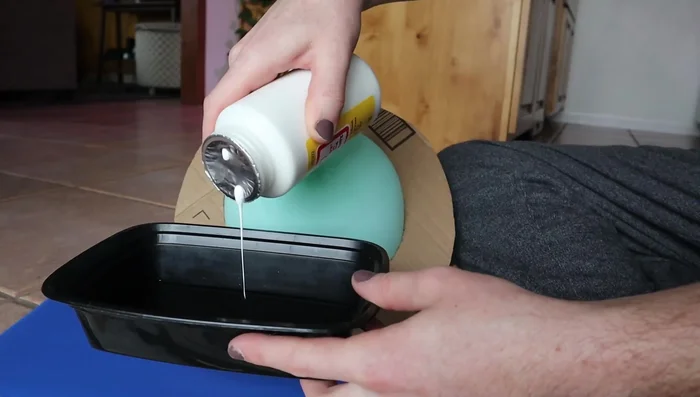
- Mod Podge
- Water
- Grout
- Hot Knife
- Liquid Nails
- Acrylic Paints
- Sand
- Paintbrushes
- Optional: Moss
- Moss
- Always use non-toxic materials. Avoid paints, sealants, and adhesives containing lead, zinc, or other substances harmful to reptiles. Opt for reptile-safe options specifically designed for terrarium use.
- Ensure all rocks and hides are securely fastened to prevent collapse or accidental injury to your reptile. Sharp edges and points should be sanded smooth to prevent cuts and abrasions.
- Thoroughly bake or heat-treat any natural materials (rocks, wood) before use to kill parasites and bacteria. Never use materials collected from outdoors without proper cleaning and sterilization.
Step-by-Step Instructions
Rock Shape Creation
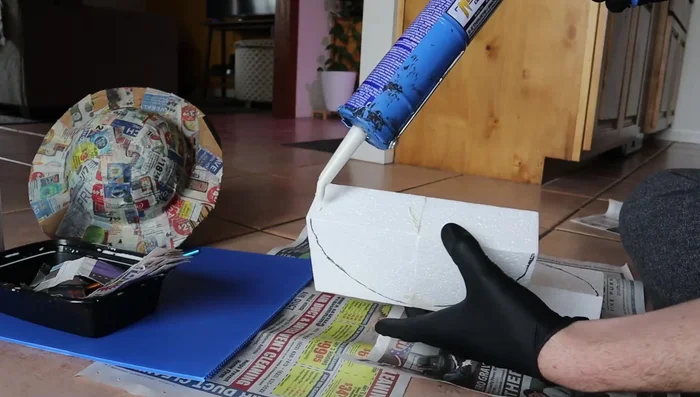
- Sketch the desired rock shape on cardboard or use styrofoam as a base.
- Cut out the cardboard or sculpt the styrofoam to create the rock's basic form.
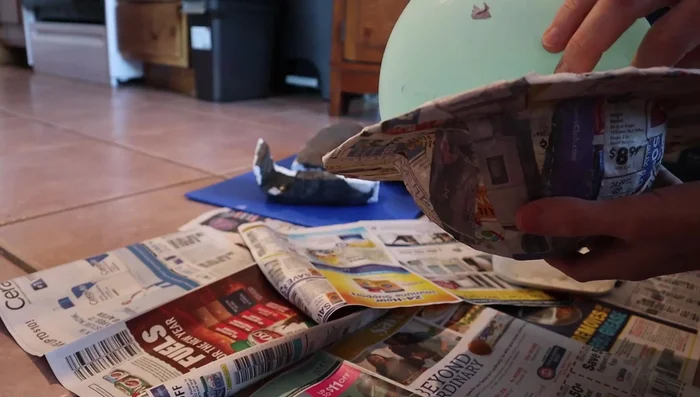
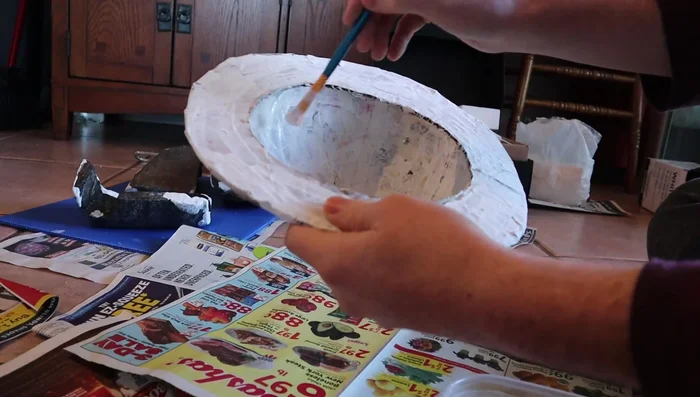
- Use a balloon to create a spherical shape for a more natural look. Apply papier-mâché (newspaper and Mod Podge) over the balloon and cardboard/styrofoam base.

Rock Shape Creation Papier-Mâché Drying
- Let the papier-mâché dry completely.
Papier-Mâché Drying Balloon Removal
- Remove the balloon carefully.
Balloon Removal Grout Application
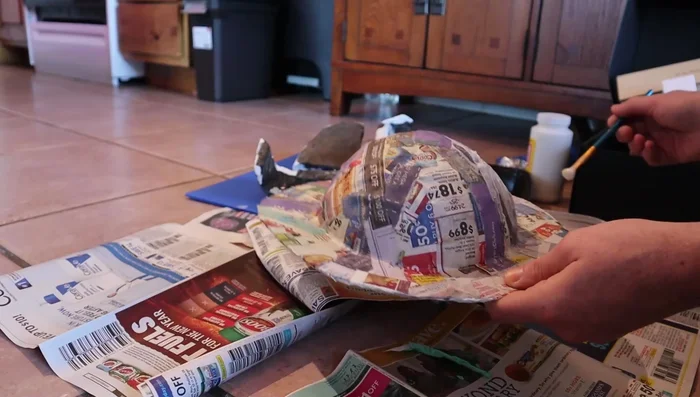
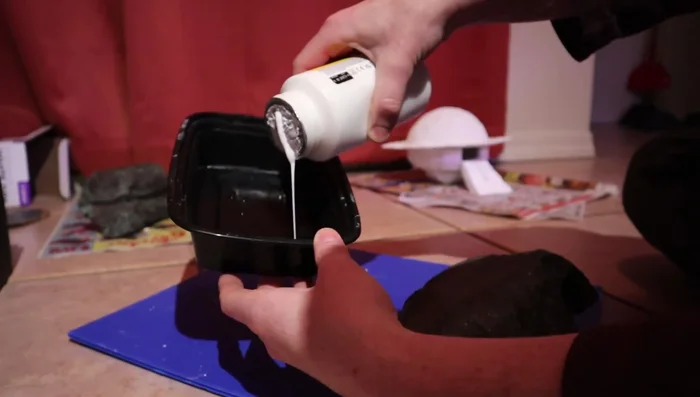
- Apply a thin, watery first layer of grout to the papier-mâché form.
- Let the first layer of grout dry.
- Apply subsequent layers of grout, ensuring complete coverage of the underlying material.
- Let the grout dry completely.
Grout Application Base Coat Painting
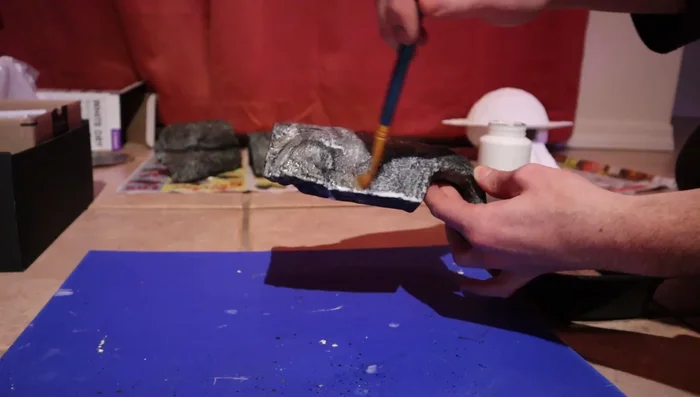
- Apply a base coat of paint to the entire rock.
Base Coat Painting Detailing and Texturing
- Add details and texture using different colors and techniques (flicking paint, dabbing moss, etc.).
- Let the paint dry completely.
Detailing and Texturing Sealing and Finishing
- Seal the rock with Mod Podge (multiple layers recommended). Sprinkle sand for added texture.
- Let the sealant dry completely.
Sealing and Finishing


Read more: DIY Bioactive Bearded Dragon Enclosure: A Step-by-Step Guide for Special Needs Dragons
Tips
- Don't worry about making it perfect; imperfections add to the natural look.
- Use a hot knife to easily sculpt styrofoam without creating messy particles.
- Use a thin, watery first layer of grout for better adhesion.