Maintaining the correct humidity levels is crucial for the health and well-being of many reptile species. Fluctuations can lead to respiratory issues, shedding problems, and even death. While commercial humidifiers can be expensive, a DIY misting system offers a budget-friendly and surprisingly effective alternative for providing consistent humidity in your reptile enclosure. This method utilizes readily available materials, allowing you to customize the system to perfectly suit the size and needs of your pet's habitat, saving you money in the long run and giving you greater control over the environment.
This guide will walk you through a simple, step-by-step process of constructing your own reptile misting system. You’ll learn how to assemble the components, program the misting intervals, and troubleshoot any potential issues – all while staying well within a reasonable budget. By the end, you'll have a reliable humidity control system that will keep your scaly friend thriving.
Preparation and Safety Guidelines
- MOA reptile misting system
- 2-2 gallon water reservoir (or gallon jug)
- PVC pipe (for enclosure construction - mentioned but not the focus)
- wire, connectors
- hose cutter
- Drill
- Thin plastic sheet
- Always use a low-voltage transformer (12V or less) with your misting system to prevent electric shock. Never use household voltage directly.
- Ensure the misting system is placed securely and out of reach of your reptiles to prevent them from chewing on wires or components. Securely fasten any components that could become loose.
- Regularly inspect the system for leaks or malfunctions. Water damage can cause electrical hazards or create breeding grounds for bacteria, potentially harming your reptile.
Step-by-Step Instructions
Enclosure Preparation
- Remove the lid and cover the enclosure to prevent escape.
Misting System Assembly
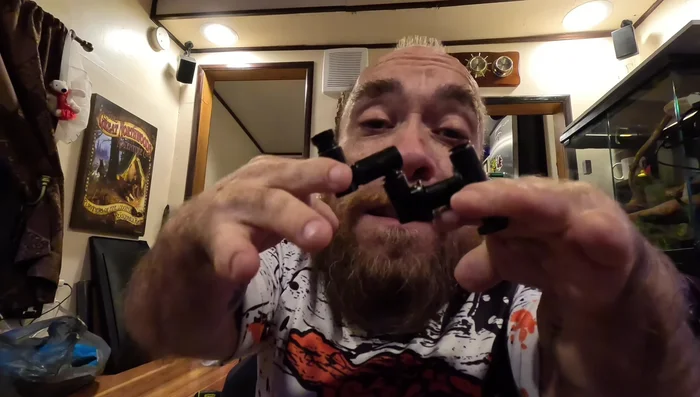
- Connect the hoses, nozzles, and fittings according to the instructions (though the video notes the instructions are poor). Note that separating the nozzles requires pressing a ring while pulling; this step may require fingernails or tools.
- Connect hoses to nozzles. This can be challenging due to size constraints; the speaker used their mouth.

Misting System Assembly Lid Modification and Nozzle Installation
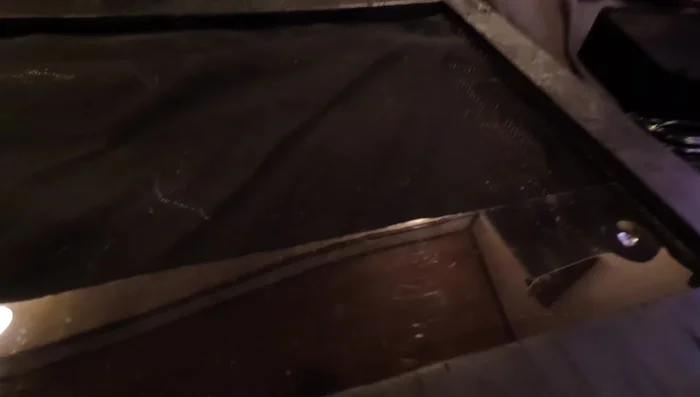
- Drill holes in the enclosure lid for the nozzles and insert the assembled nozzles securely.
- Cover some screen openings with thin plastic sheeting to retain humidity.
Lid Modification and Nozzle Installation Reservoir Connection and System Mounting
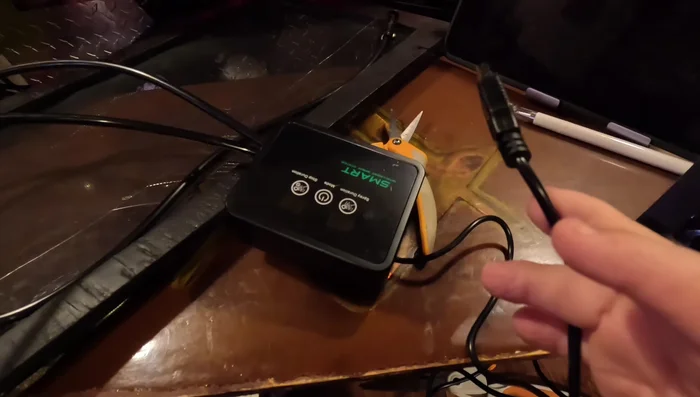
- Connect the tubing to the water reservoir. Ensure enough tubing length to reach reservoir.
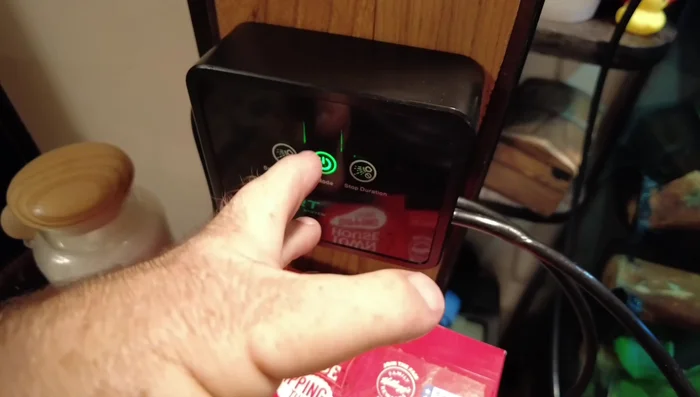
- Mount the system inside the enclosure, connect to power, and program timer (60 seconds every 12 hours is suggested).
Reservoir Connection and System Mounting
Read more: DIY Budget-Friendly Automatic Misting System: Migi Kaka Tutorial
Tips
- Consider using a larger water reservoir than a gallon jug for longer misting cycles.
- Improvise if instructions are unclear. The speaker struggled to disassemble a nozzle fitting.
- Ensure adequate tubing length to connect to a water reservoir conveniently located outside the enclosure.