In the quest for a lush, thriving garden, maintaining optimal humidity levels can often feel like an expensive and time-consuming battle. But what if we told you that you could create your own automatic misting system, significantly boosting your plants' health and happiness without breaking the bank? This tutorial, affectionately dubbed "Migi Kaka," will guide you through a budget-friendly DIY project that will leave your garden looking vibrant and feeling refreshed. Forget expensive commercial systems – with a few readily available components and a little elbow grease, you'll be misting your way to horticultural success.
This "Migi Kaka" method utilizes simple materials to construct a reliable and effective automatic misting system, perfect for beginners. We’ll walk you through each step, from gathering the necessary supplies to the final assembly and testing. Ready to transform your gardening routine and create a thriving oasis? Let's dive into the step-by-step instructions and build your own Migi Kaka automatic misting system!
Preparation and Safety Guidelines
- Migi Kaka Automatic Misting System
- Water Reservoir (optional, use existing container)
- Scissors
- Drill or other hole-making tool (optional)
- Always disconnect the power supply before making any adjustments or repairs to the system. Electricity and water are a dangerous combination.
- Use only food-grade tubing and connectors if the system will be used near edible plants. Non-food-grade materials can leach chemicals.
- Ensure proper ventilation in the area where the misting system is installed to prevent the buildup of moisture and mold, especially in enclosed spaces.
Step-by-Step Instructions
Unboxing and Component Check
- smart box, nozzles, zip ties, brackets, water filtration system, connector pieces, cable cutters, and instructions.

Unboxing and Component Check Nozzle Assembly
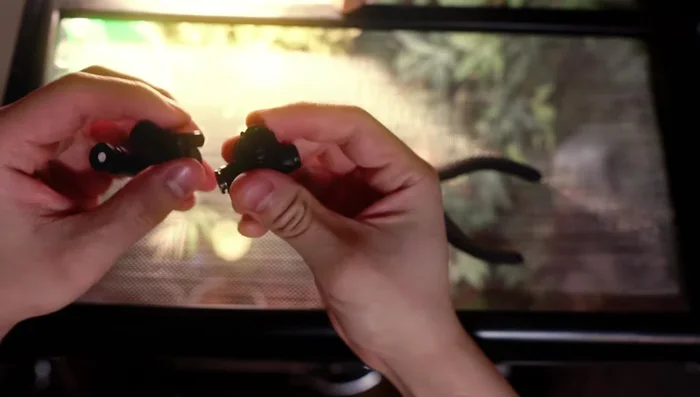
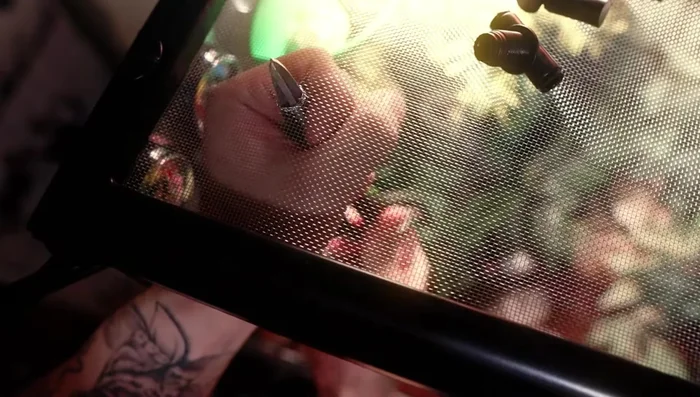
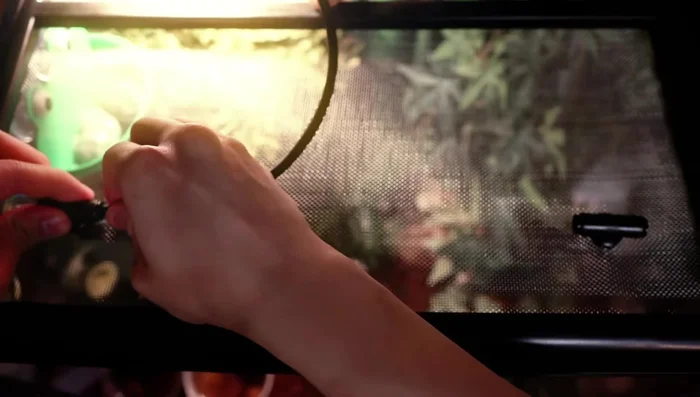
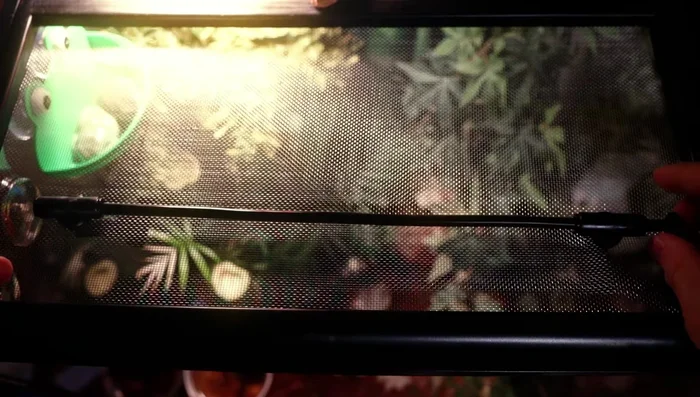
- Assemble the nozzles. Press down on the side of the nozzle to release it from the spraying system. Unscrew the T-bracket components. Make a hole in the bracket (using scissors if necessary). Insert the T-bracket, secure with a screw.
- Attach nozzles to the T-bracket. The T-bracket allows for three points of articulation per nozzle for directional control.
Nozzle Assembly Tubing Preparation and Attachment
- Cut tubing to length and insert into T-brackets. The teeth will clamp down to secure the tubing.
- Add stoppers to the tubing ends where you don't want water to come out.
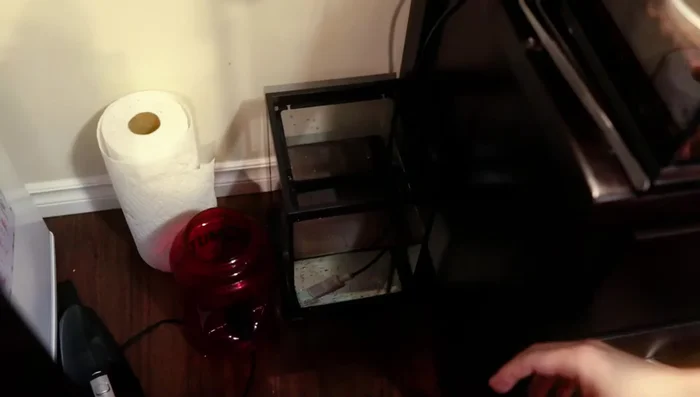
Tubing Preparation and Attachment Connecting to Water Reservoir
- Connect the tubing to your chosen water reservoir. Connect the tubing to the *outlet* of the reservoir, not the inlet. Secure the tubing using the teeth.
Connecting to Water Reservoir Installing Water Filtration System
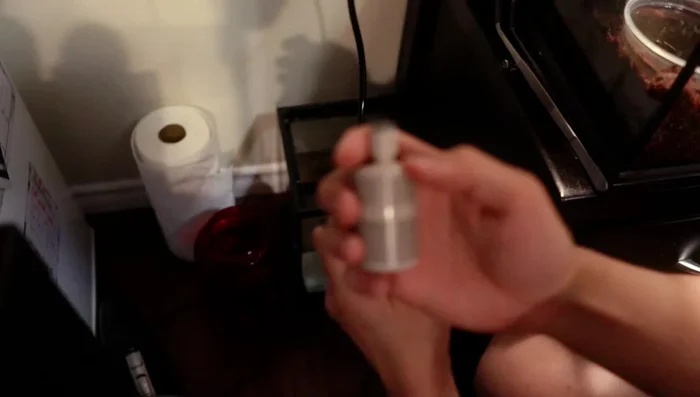
- Attach the water filtration system to the end of the tubing connected to the reservoir. Use the clamp if necessary to secure it in place.
- Submerge the filtration system into the water reservoir. Use the included clamps to secure the filtration system if needed.
Installing Water Filtration System System Connection and Powering On
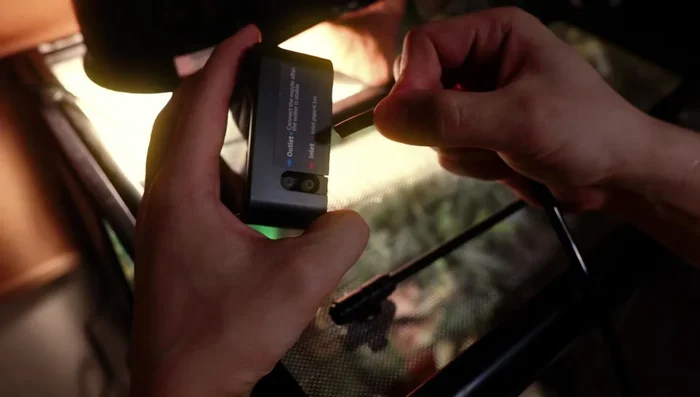
- Connect the system to power. **Before powering on, ensure the nozzles are pointed away from you and in the desired direction.**
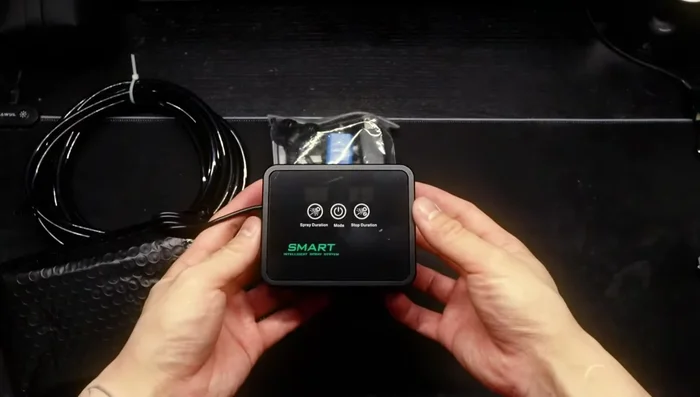
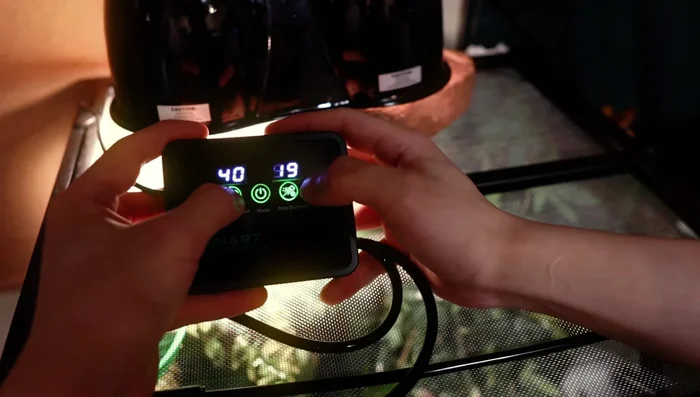
System Connection and Powering On Programming the Smart Box
- Set the spray interval (hours) and duration (seconds) using the control panel.
Programming the Smart Box

Tips
- Use scissors to easily create holes in the brackets if you encounter difficulty using other tools.
- Ensure you connect the tubing to the outlet, not the inlet, of your water reservoir.
- Always point the nozzles away from yourself before turning on the system to prevent accidental spraying.