This review covers the ZooMed Excavator Clay Cavern Kit, a DIY project for creating custom reptile hides. The kit promises a fun and engaging way to build intricate tunnel systems within a terrarium, offering a unique and stimulating environment for your reptile. We'll explore the ease of use, the effectiveness of the included materials, and the overall process of creating these custom hide structures, from mixing the clay to the final drying and installation. We'll also address potential challenges encountered during the process, such as achieving the right clay consistency and managing the lengthy drying time.This hands-on review details each step, from unpacking the kit and mixing the clay to the crucial drying phase and the final reveal of the subterranean hideaway. We evaluate the effectiveness of the balloons and tubes in forming the tunnels, highlighting both the intuitive aspects of the design and any potential pitfalls. Ultimately, we assess whether this kit delivers on its promise of providing a creative and rewarding way to enhance your reptile's terrarium, considering both the pros and cons of using this method to create a naturalistic and enriching habitat.
Pros And Cons
- Can be used to create custom tunnel systems for reptiles.
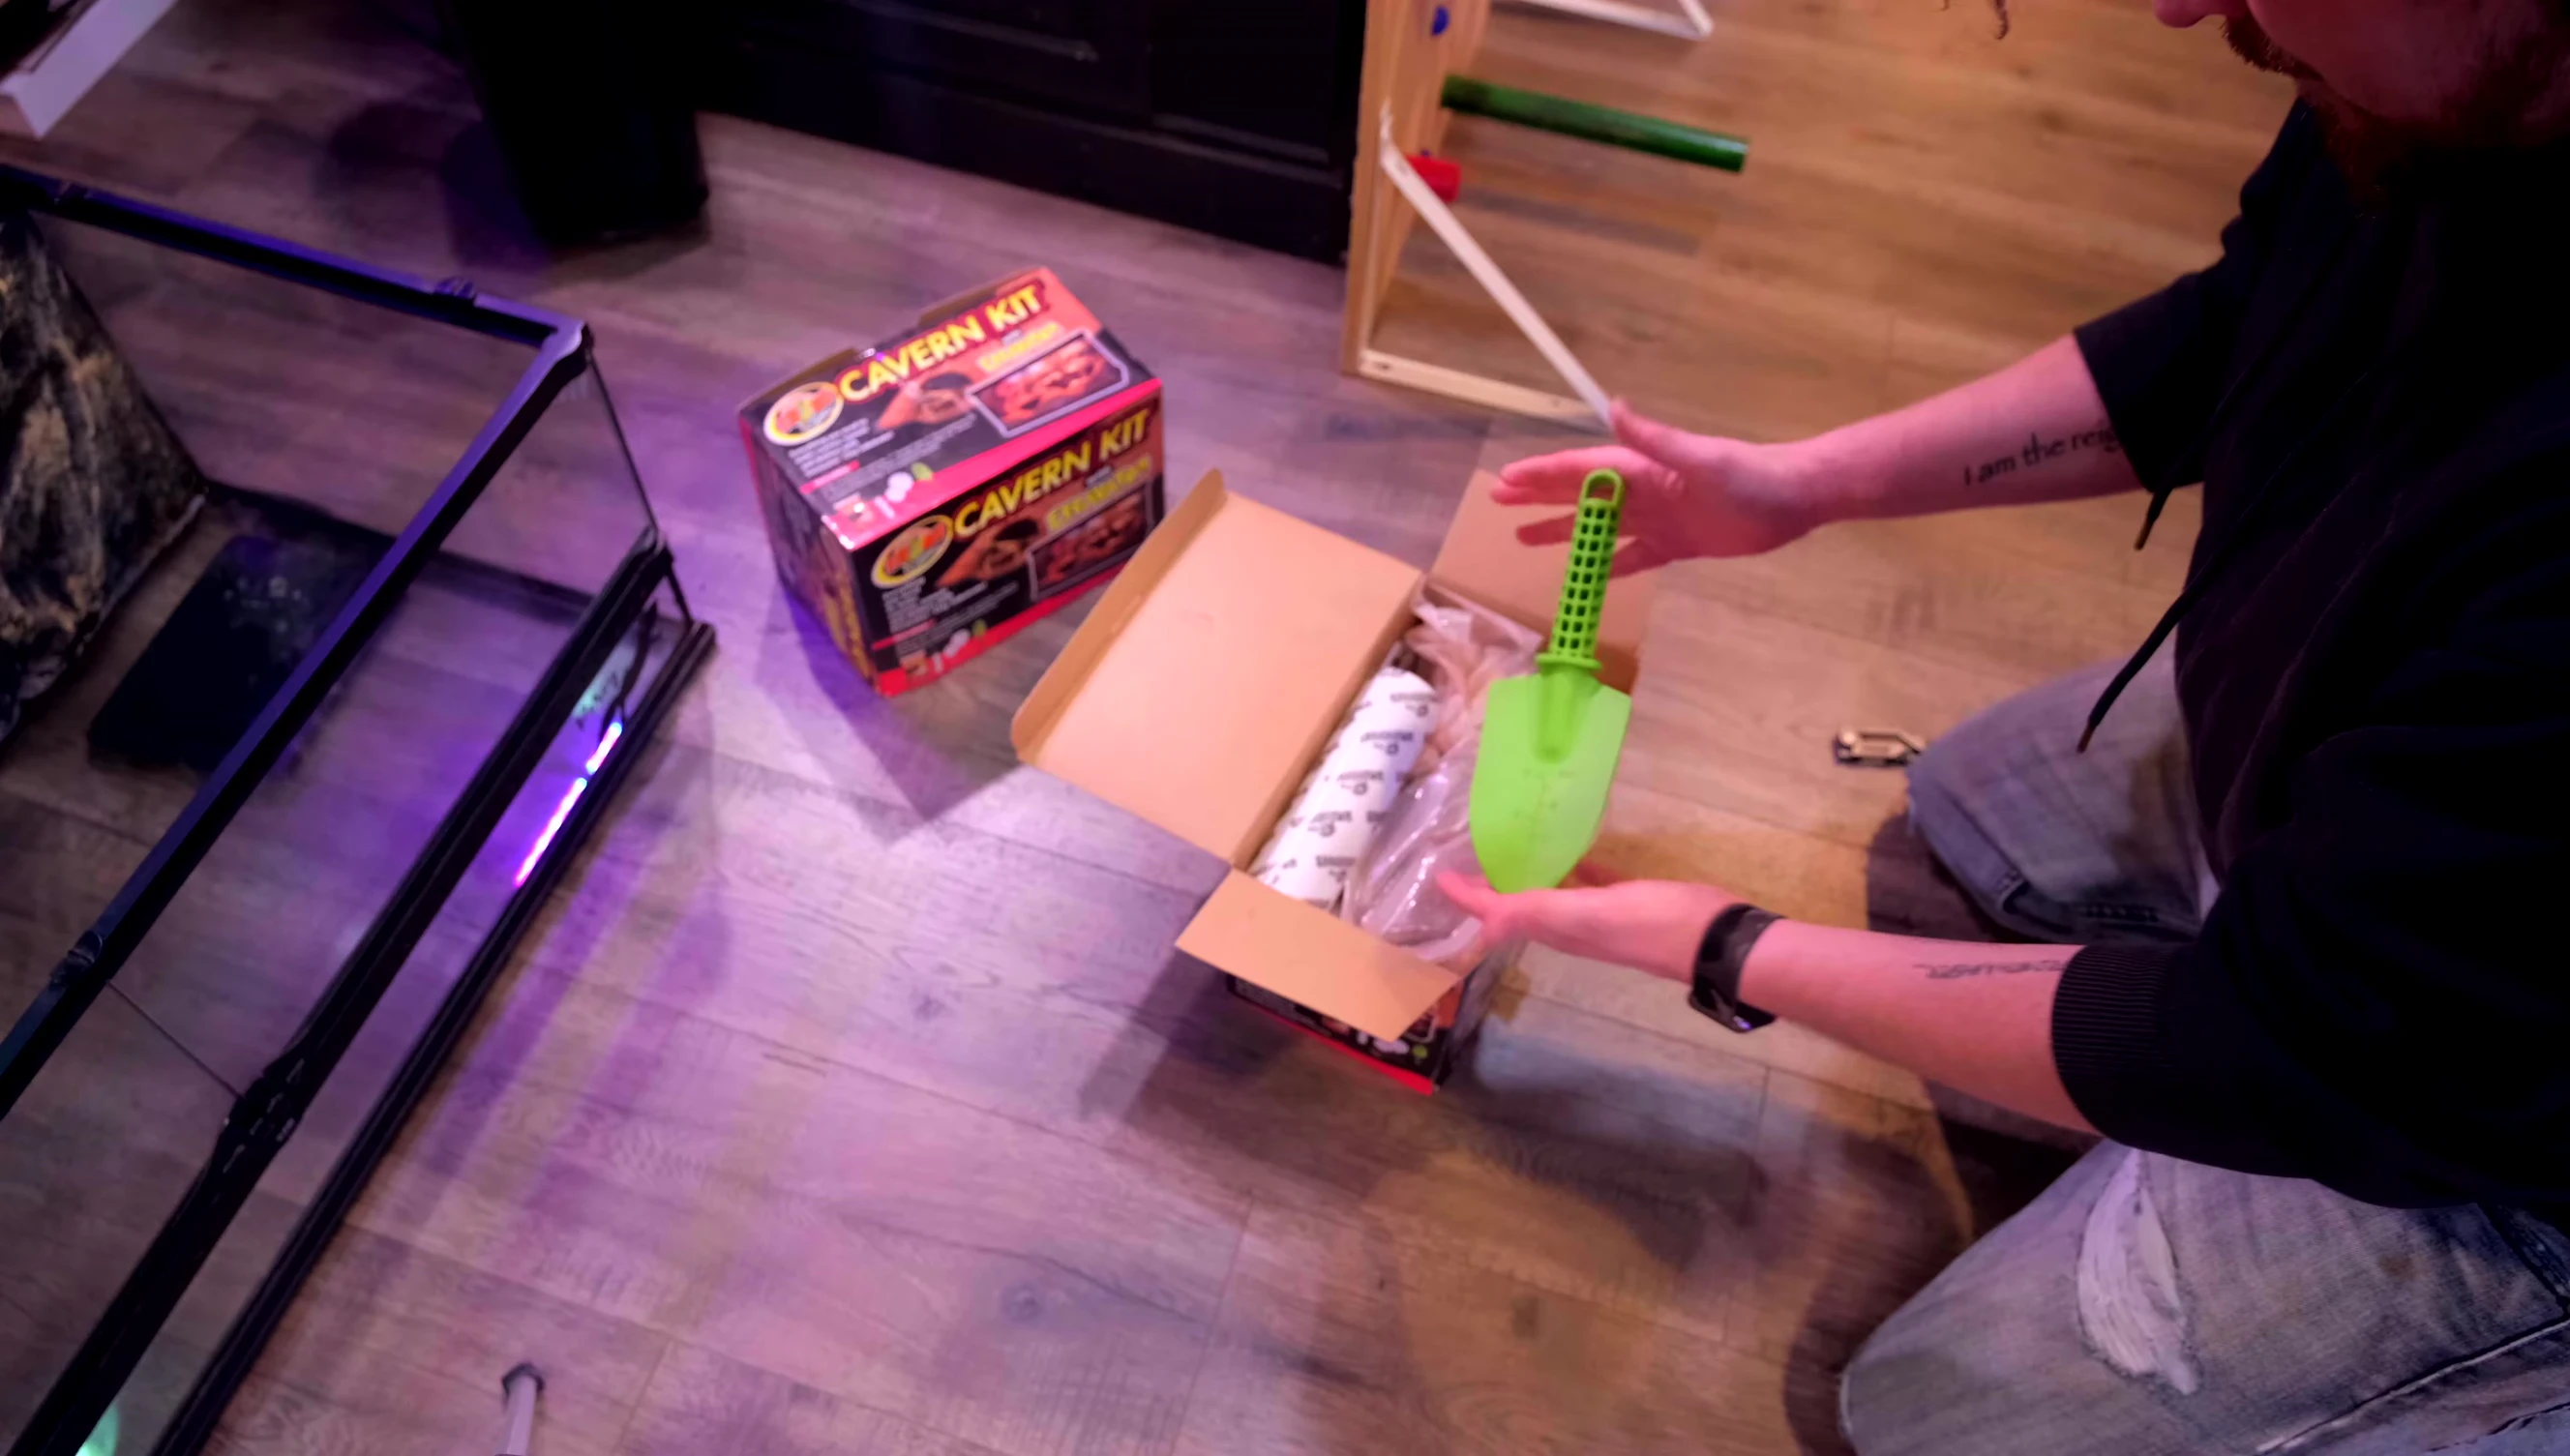
- Comes in a kit with balloons, tubes, string, and a popsicle stick for easier tunnel creation.
- Color changes as it dries, indicating dryness.
- Creates a solid structure once dry.
- Takes several days to dry.
- Can crack during drying, especially if mixed wetter than instructions indicate.
- May require additional water beyond instructions for even consistency.
- Balloon pieces must be removed carefully to avoid ingestion by reptiles.
Read more: 5 Amazing Natural Caves Perfect for Reptiles
Unboxing and Initial Impressions
The ZooMed Excavator Clay Cavern Kit arrived, promising a fun DIY project for creating custom reptile hides. The box contained everything needed: Excavator Clay, balloons, tubes, and small tools. First impressions were positive; the packaging was clear and the included instructions seemed straightforward.

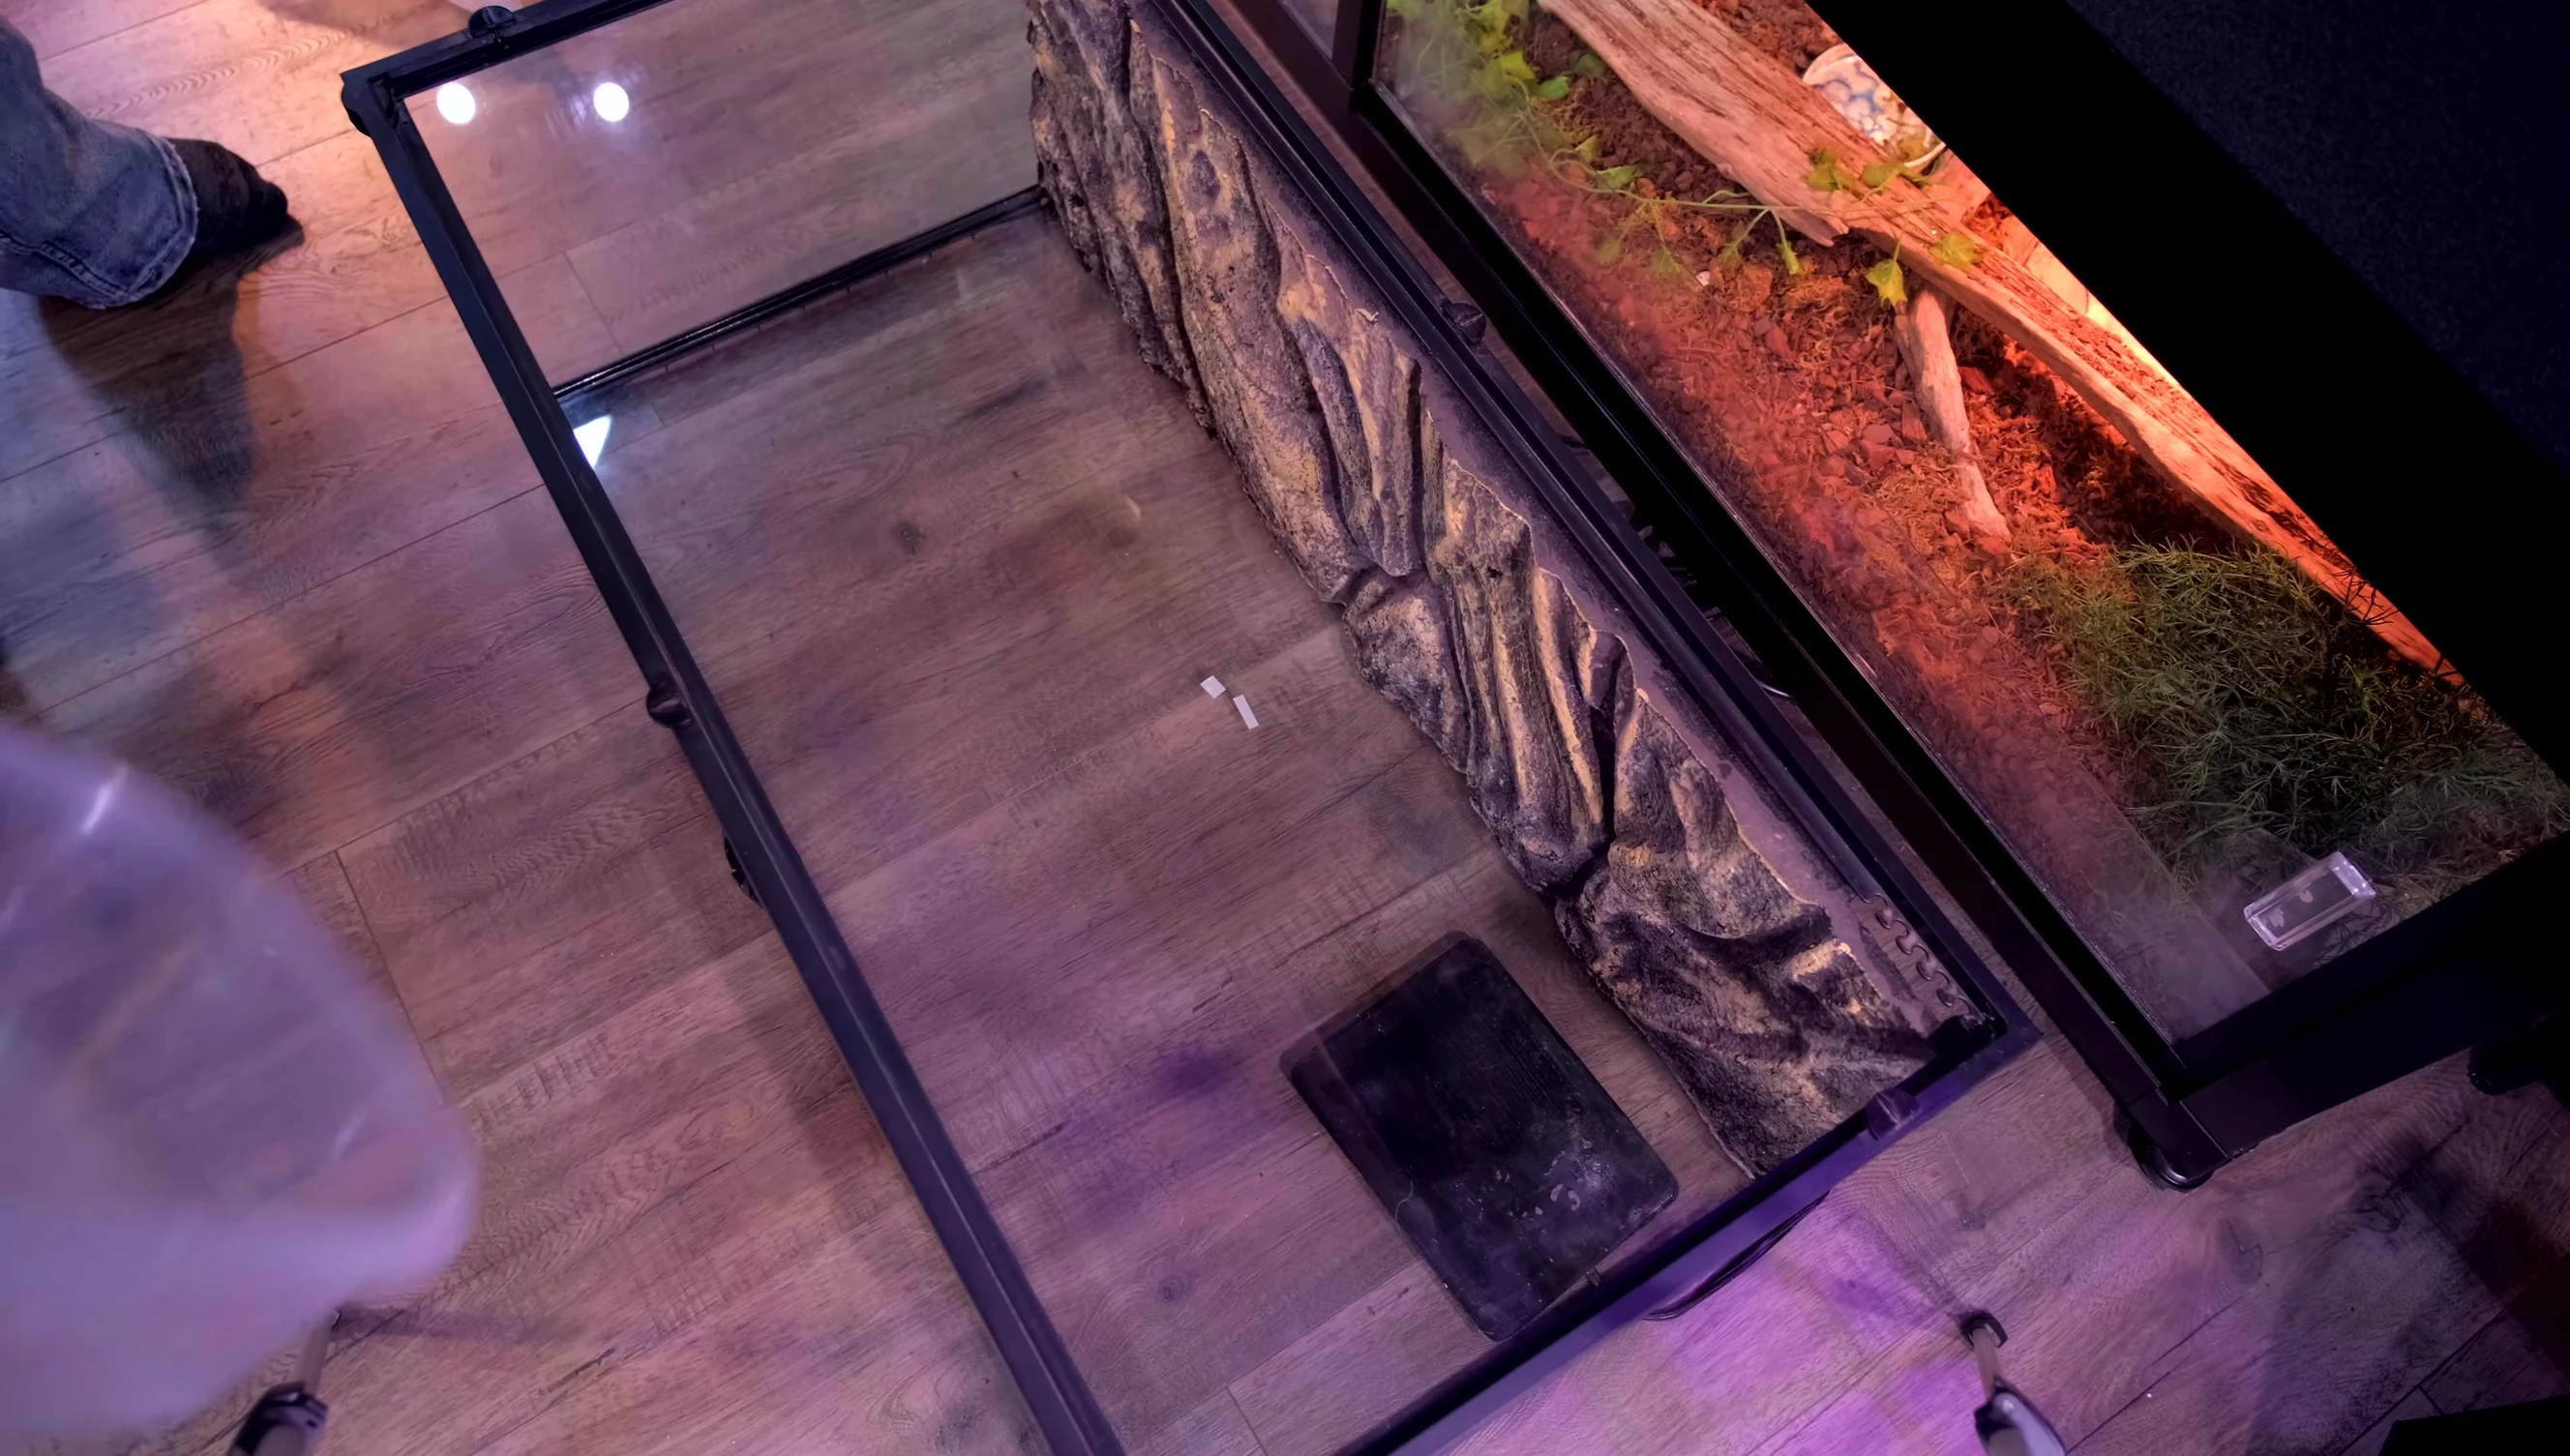
The kit is designed to create intricate tunnel systems within a terrarium. The concept of using balloons to form the tunnels was intriguing, as it offered the potential for unique and complex hide structures that would be difficult to achieve by hand.
Mixing the Excavator Clay
Mixing the Excavator Clay according to the instructions was relatively easy. The instructions specify a ratio of clay to water, which should be followed carefully. However, I found it necessary to add extra water to ensure a workable consistency.
Using the provided bag as a mixing container is convenient. The consistency of the clay should be smooth and moldable, resembling play-dough. If the clay remains too dry, it will be difficult to shape and could lead to cracks after drying.
Creating the Tunnel System
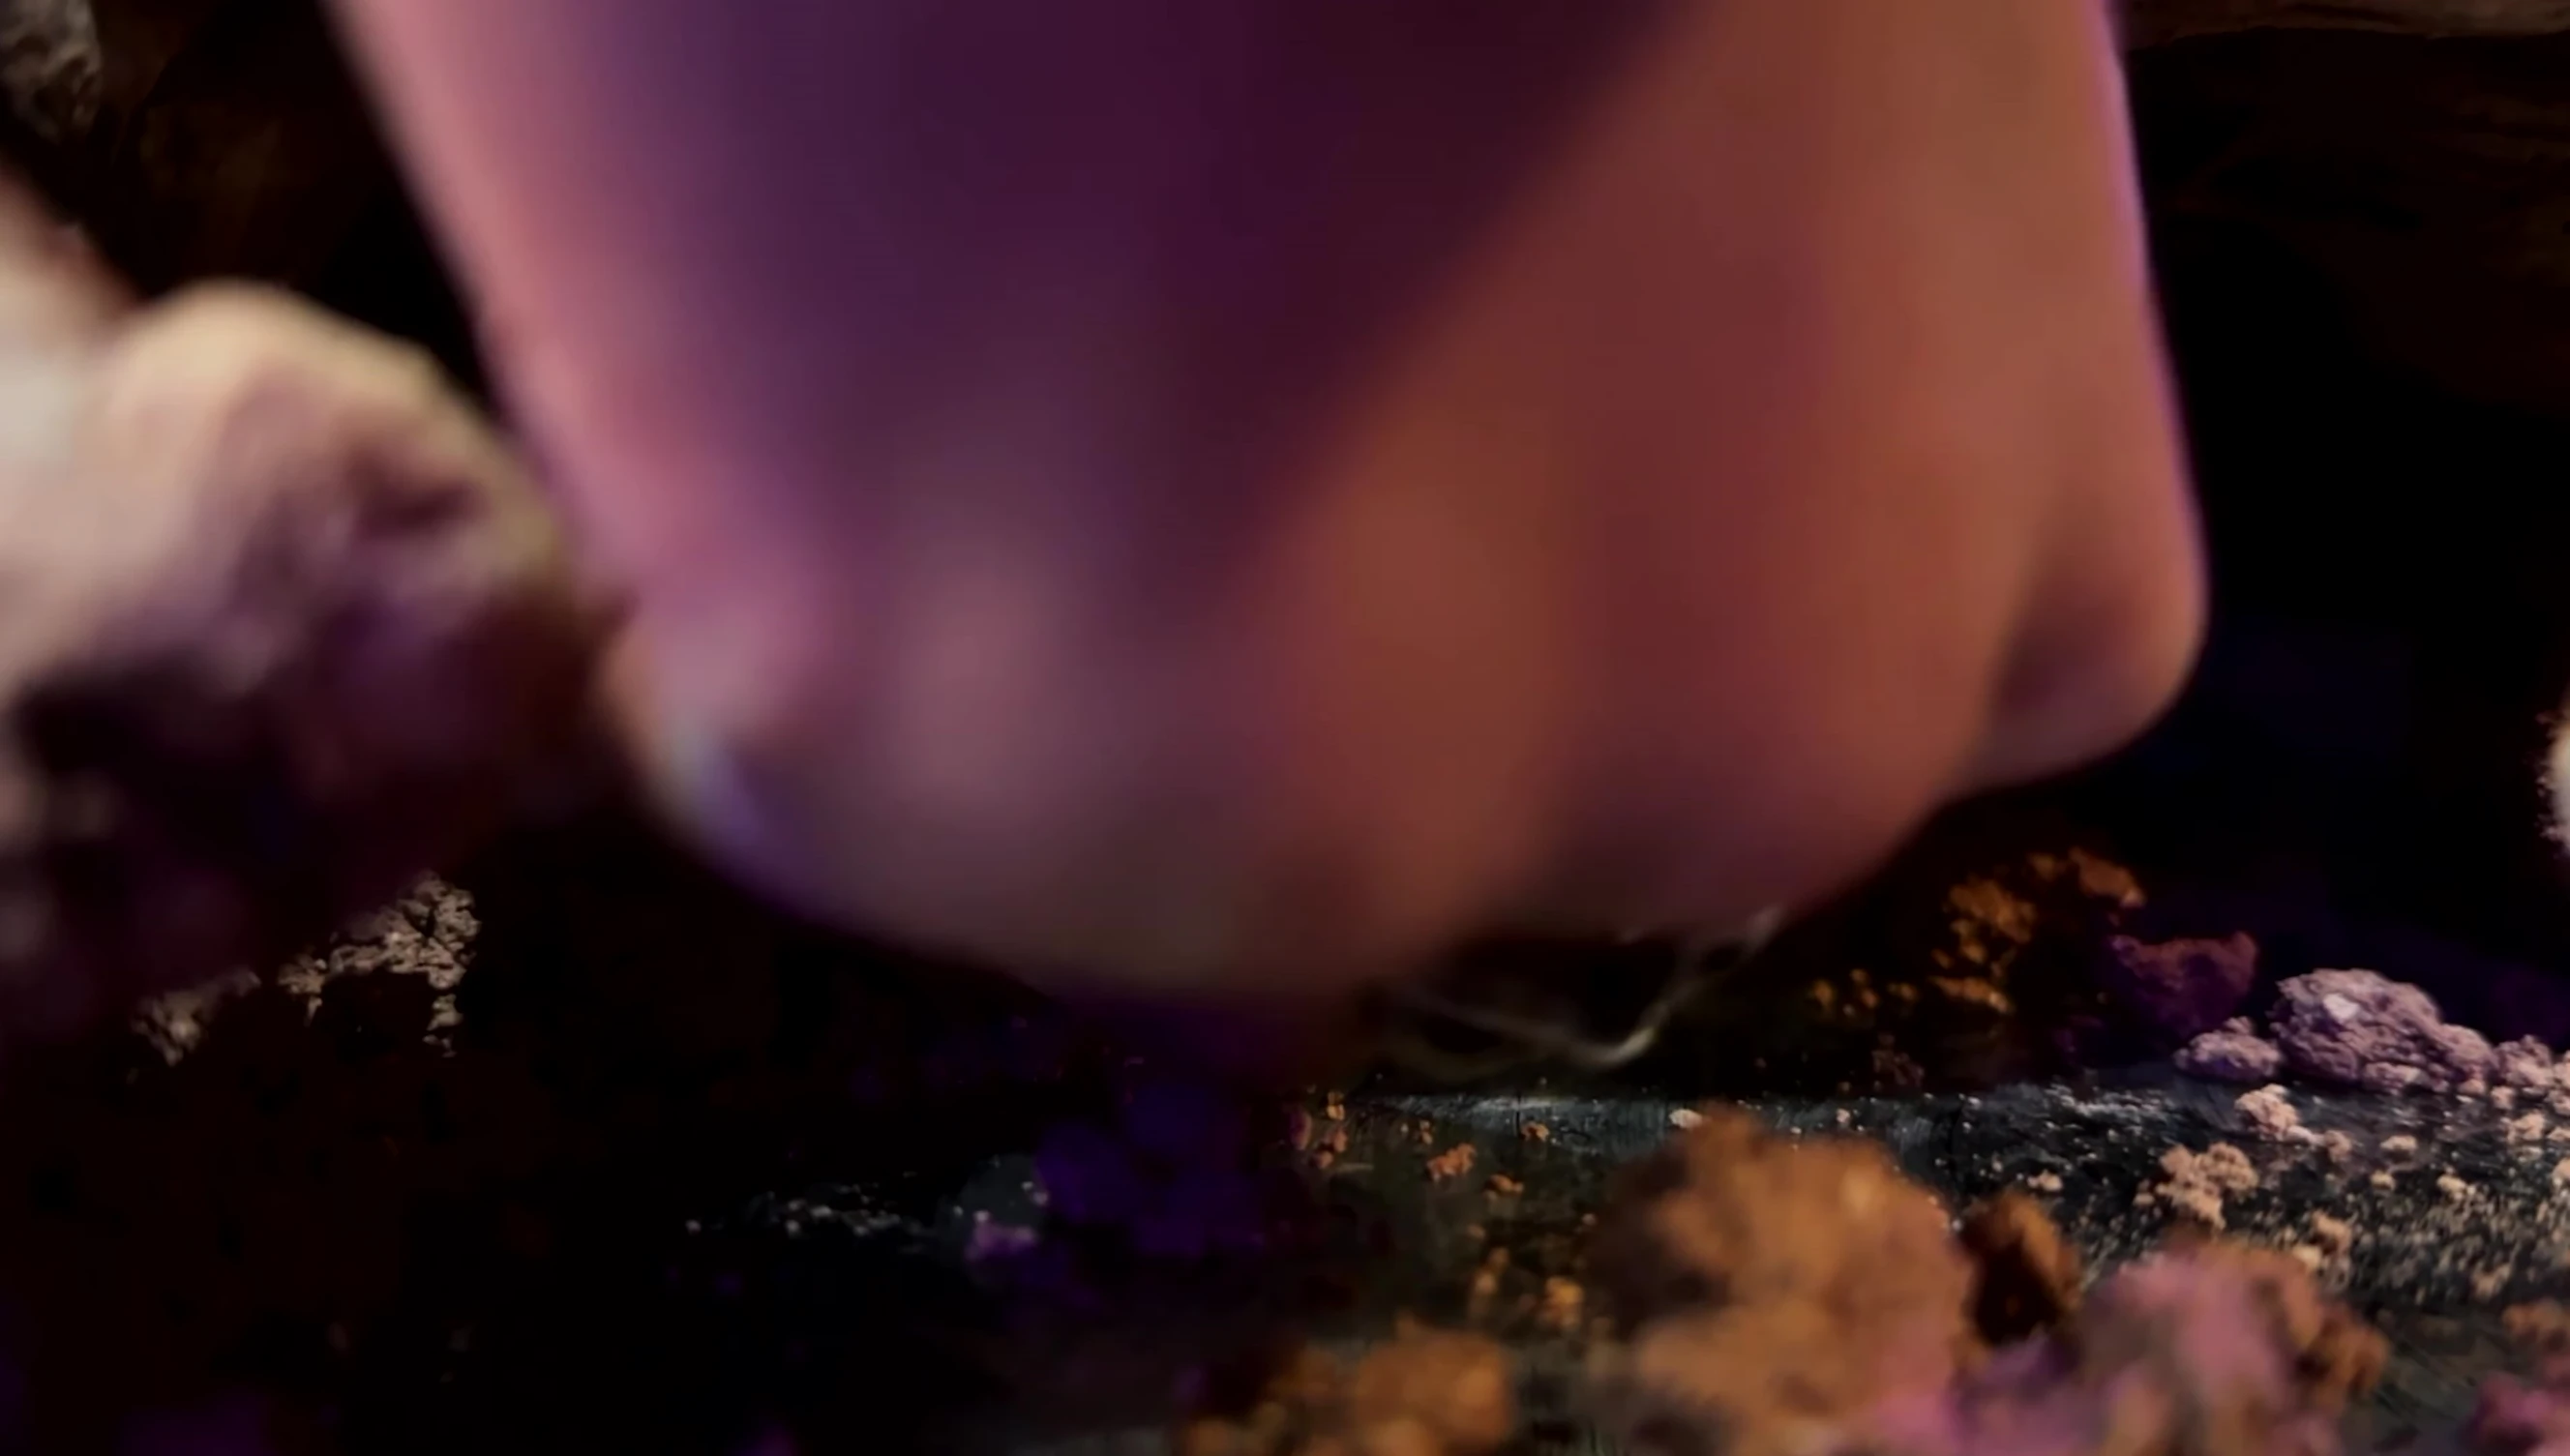
The process of creating the tunnel system using balloons and tubes was surprisingly intuitive. The kit's design made it easy to create a network of interconnected tunnels and chambers. The strings and popsicle sticks aid in pulling out the deflated balloons once the clay has dried.
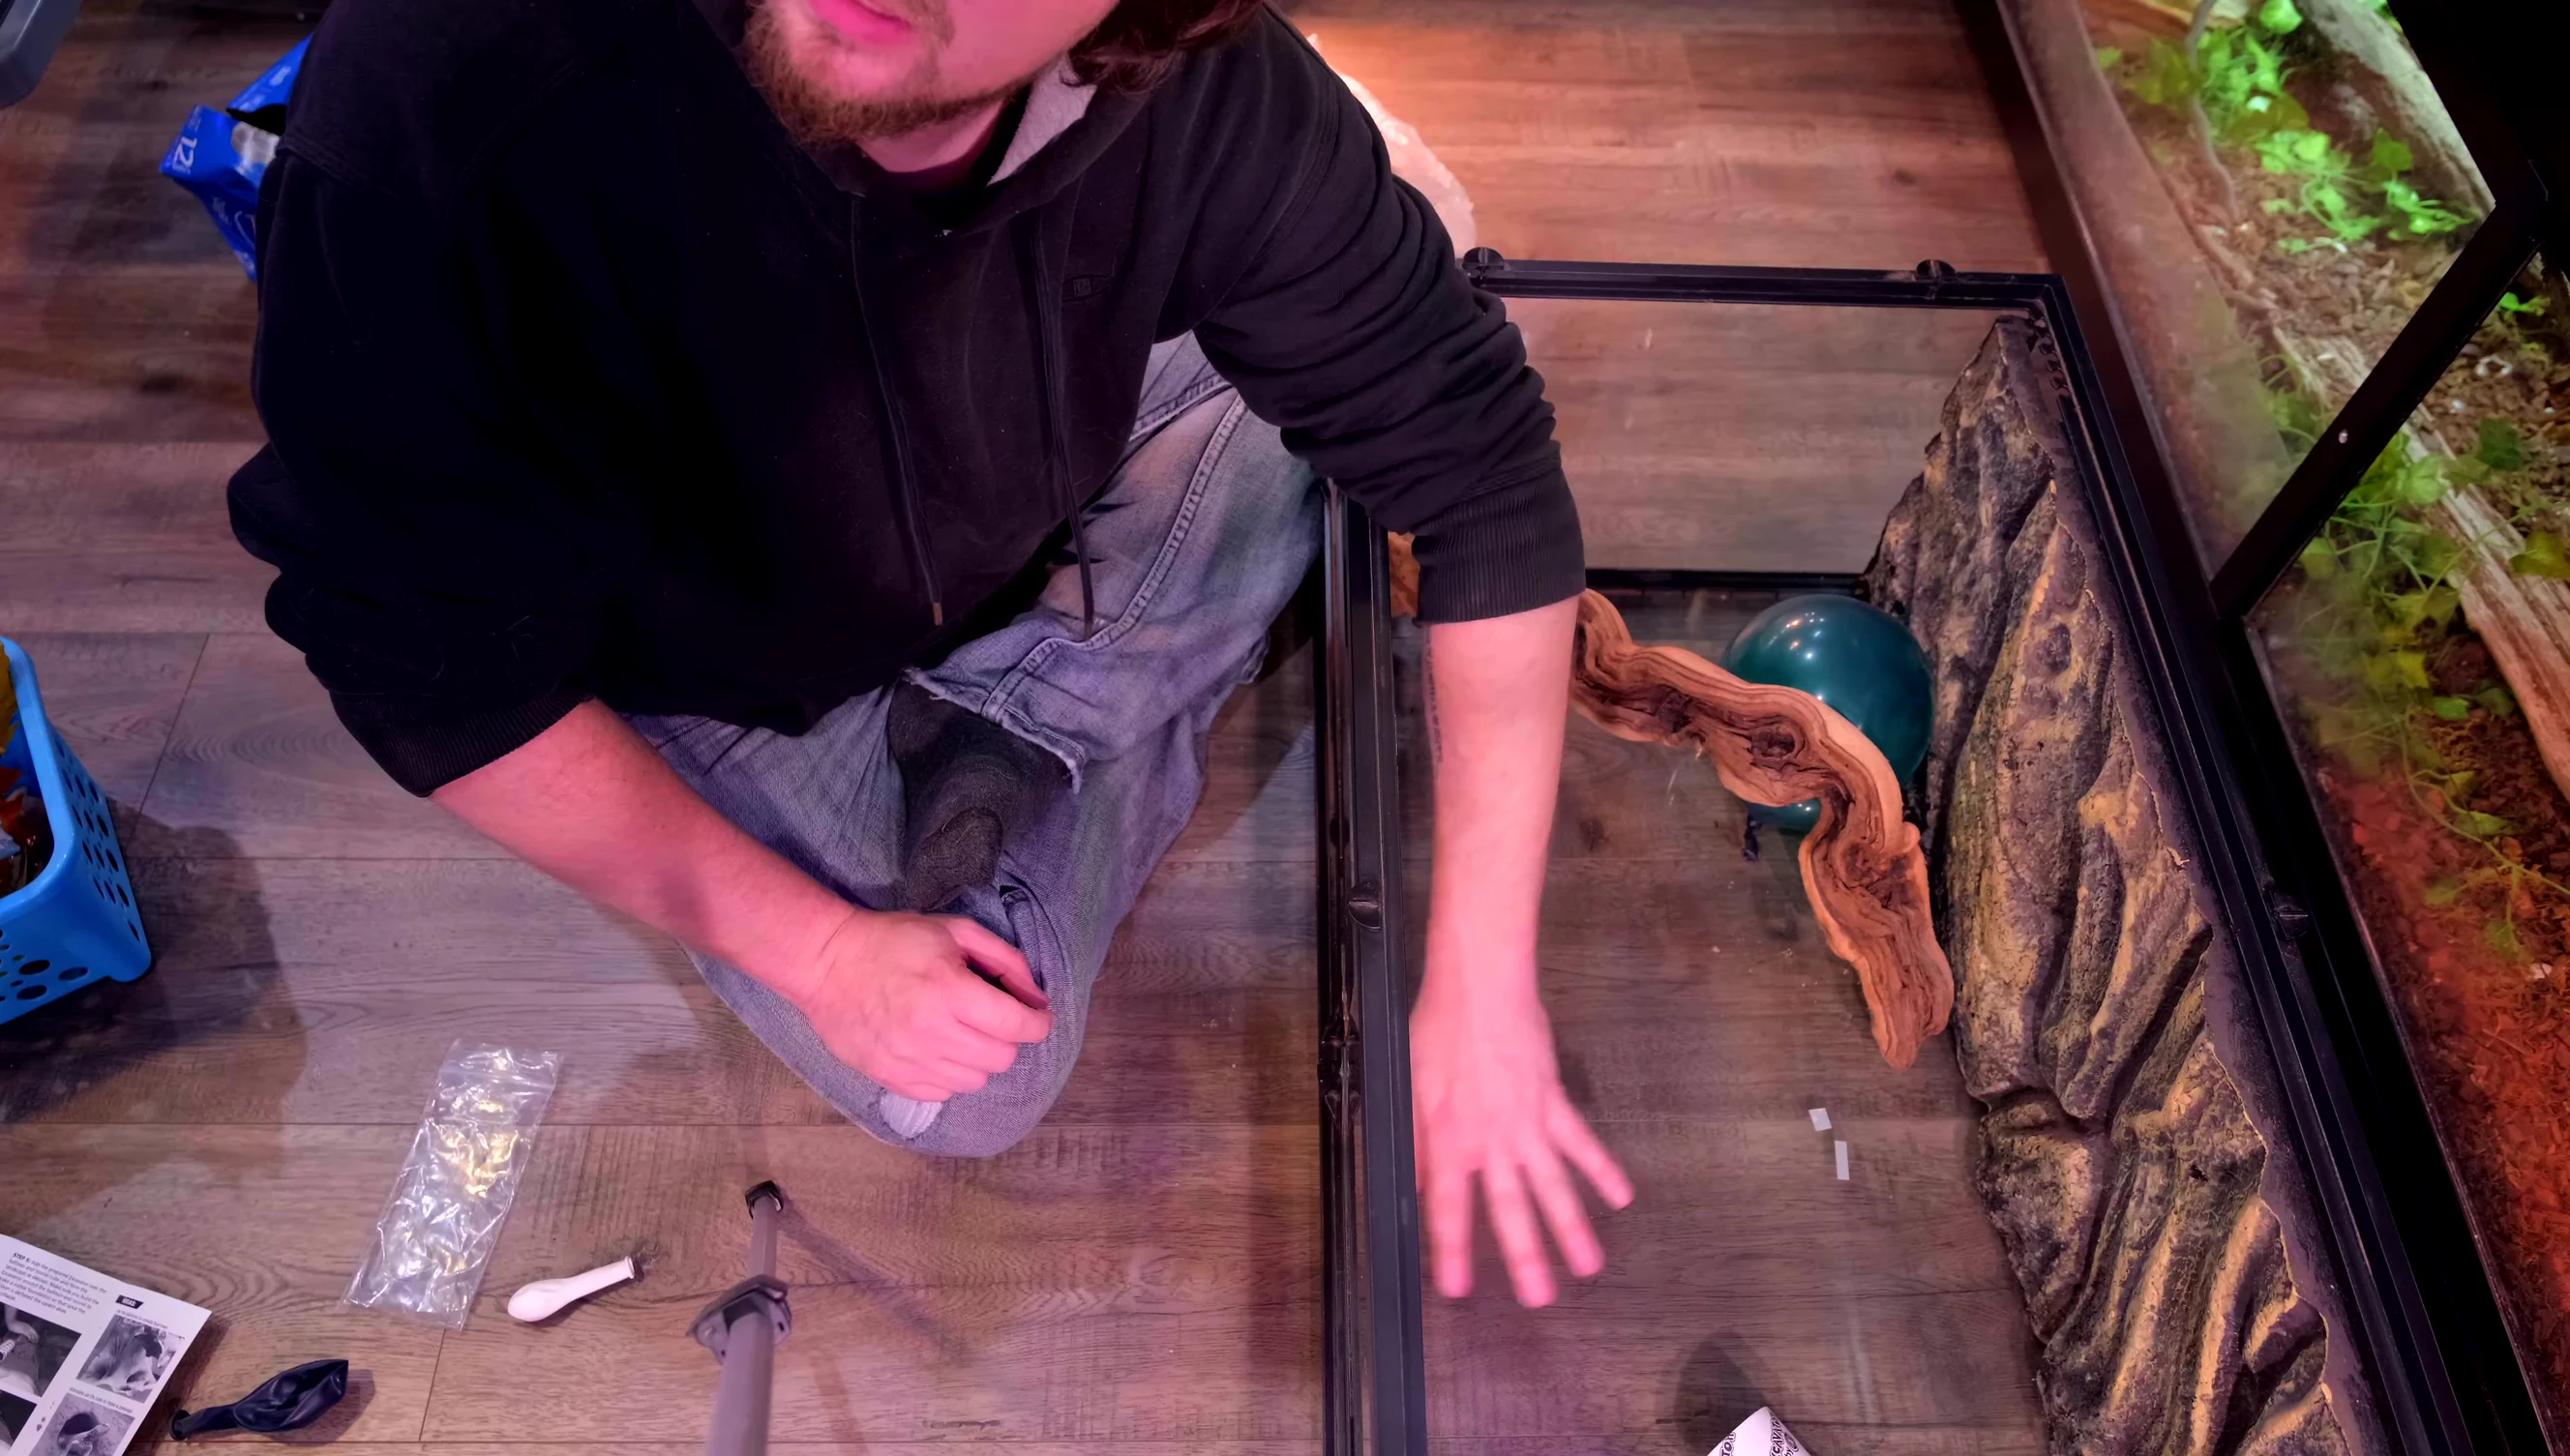
It is crucial to ensure the clay is thoroughly dry before attempting to remove the balloons. Premature removal can collapse the entire structure. If you choose to pop the balloons instead of deflating them, ensure all fragments are removed to prevent accidental ingestion by the reptile.
Drying and Finishing
The drying process is the most time-consuming aspect, taking several days. The color change in the clay provides a visual indicator of drying progress; lighter areas indicate dryness. Cracks are common, especially in wetter areas, but these are typically covered by substrate in the finished terrarium.
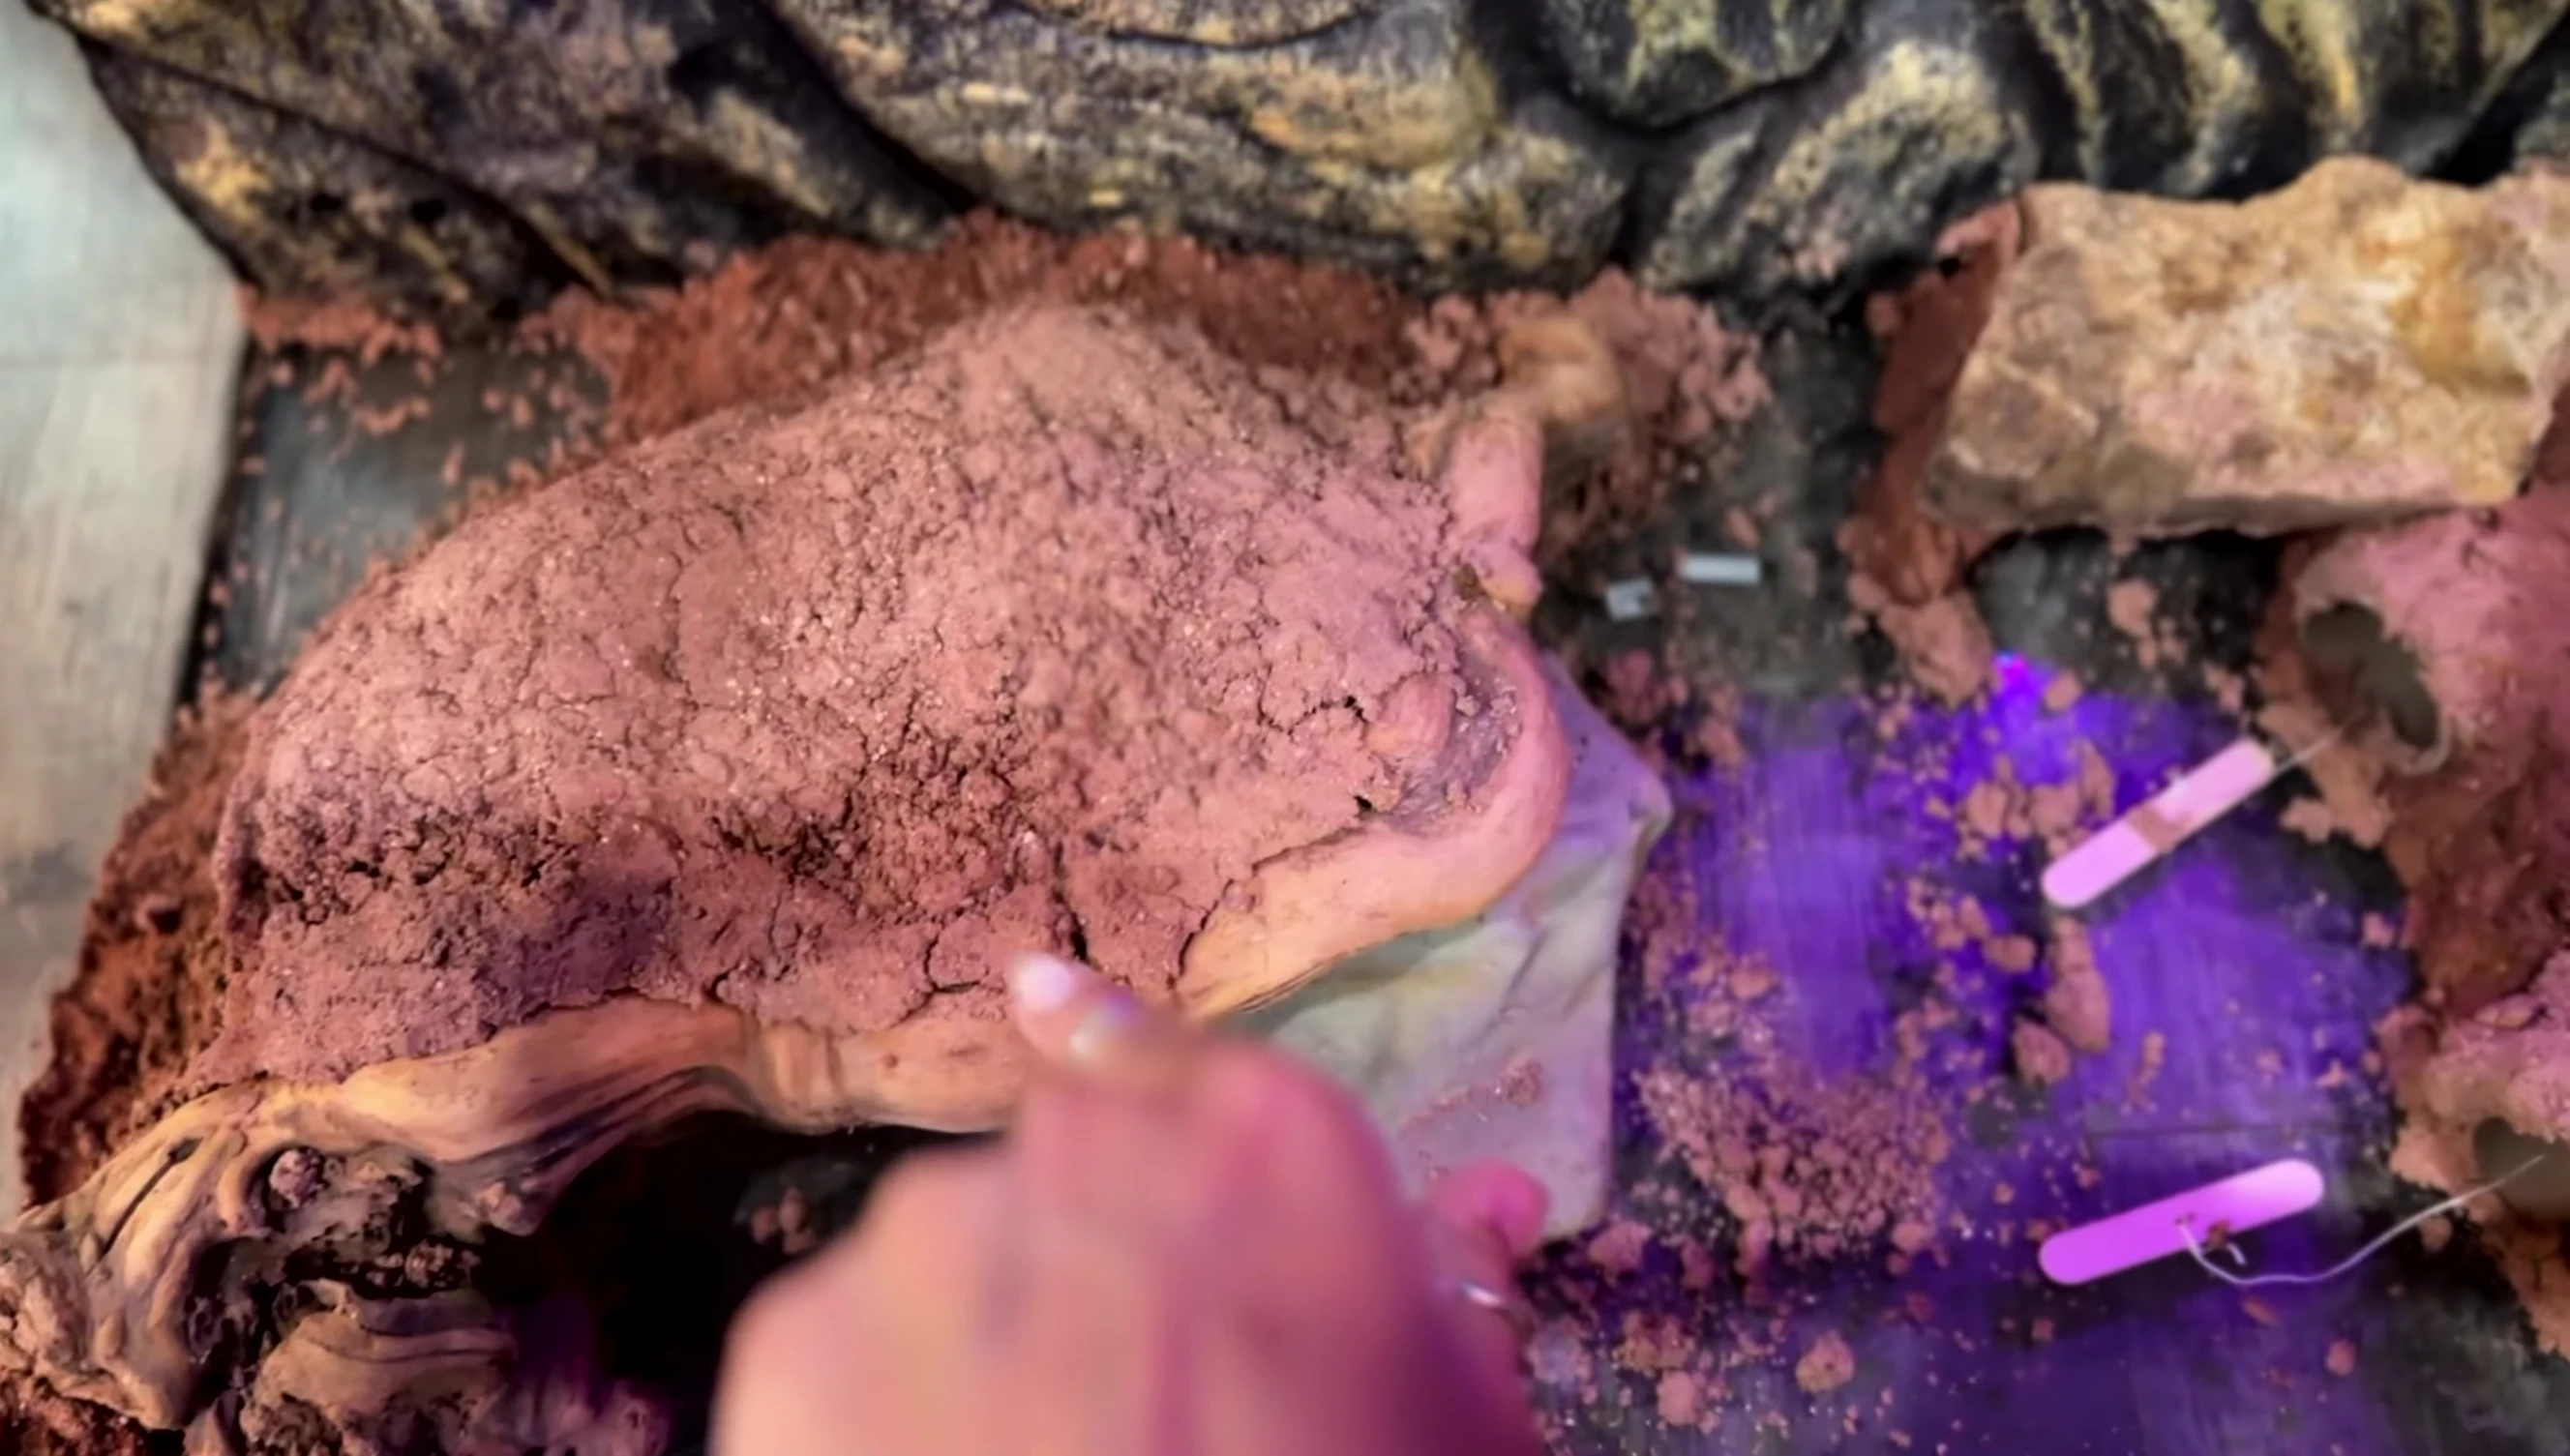
Once completely dry, the string attached to the balloons are pulled to remove the balloons, revealing the hollow tunnels. After removing the balloons, the structure is solid and ready to be incorporated into the reptile's enclosure. Adding substrate will further conceal any cracks.
Final Thoughts and Conclusion
The ZooMed Excavator Clay Cavern Kit is a fun and relatively easy way to create unique and stimulating hides for reptiles. While the drying time is lengthy, the final product is durable and provides a natural-looking habitat feature. The kit provides all necessary components and clear instructions.
The greatest challenge is achieving consistent moisture in the clay, which can impact drying time and crack formation. Overall, the kit provides a good balance of ease of use and creative potential, making it a worthwhile purchase for reptile keepers looking to enhance their terrarium designs. However, be prepared for a considerable drying time.