Setting up a new reptile habitat can be daunting, especially when it comes to choosing and installing the right filtration system. This guide provides a simple, step-by-step walkthrough for assembling the Zilla Basking Platform Filter, a user-friendly option designed to maintain a clean and healthy environment for your reptile. We'll cover the unpacking process, component identification, and the straightforward assembly procedure, making the entire setup quick and easy, even for beginners. Forget complicated instructions and frustrating installations; this guide will equip you with the knowledge to have your filter up and running in minutes.This review will not only detail the effortless assembly of the Zilla Basking Platform Filter but also offer initial impressions of its performance. We'll assess the clarity of the instructions, the ease of connecting the various components, and the overall functionality of the filter system. While long-term durability is something only time can reveal, this review focuses on the initial setup experience and provides a helpful overview for reptile keepers considering this filtration solution. Discover how simple it is to create a pristine and thriving environment for your scaled companion.
Read more: 5-Star Reptile Basking Platform with Hiding Spot
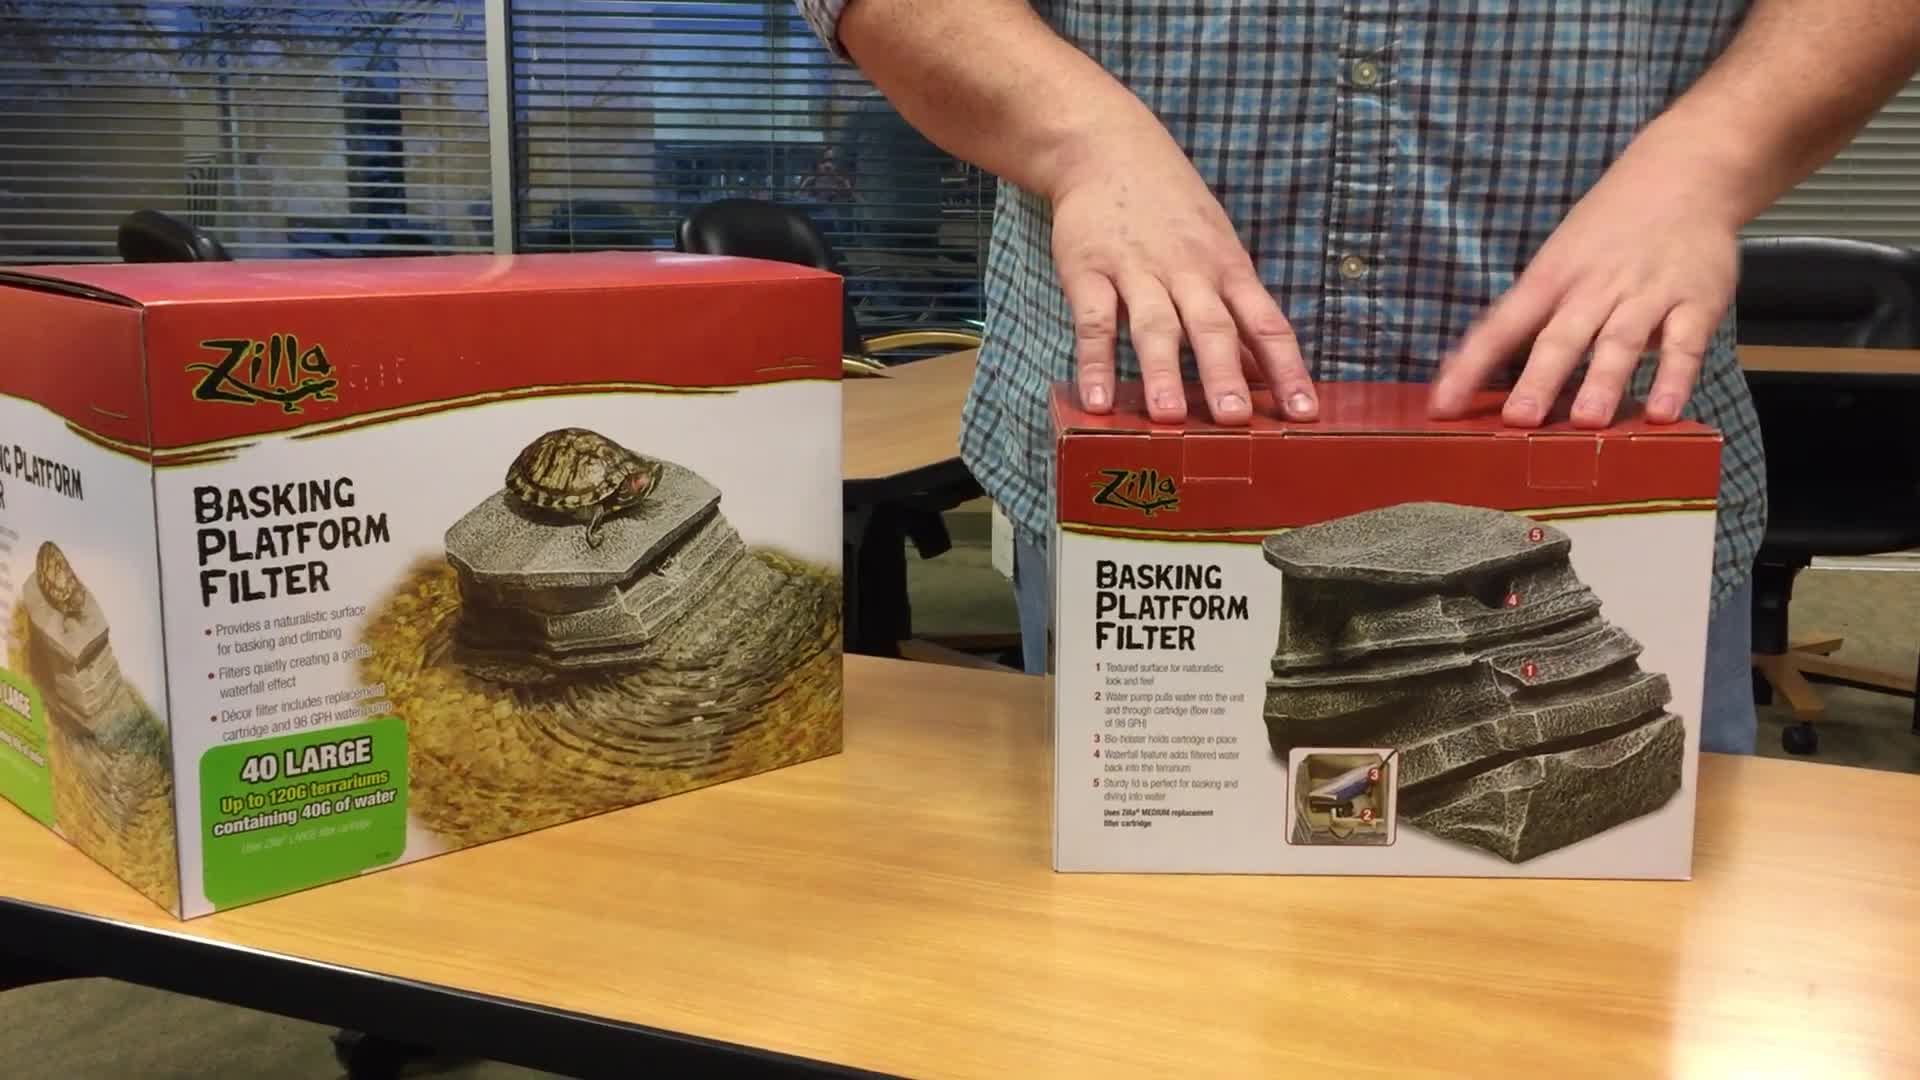
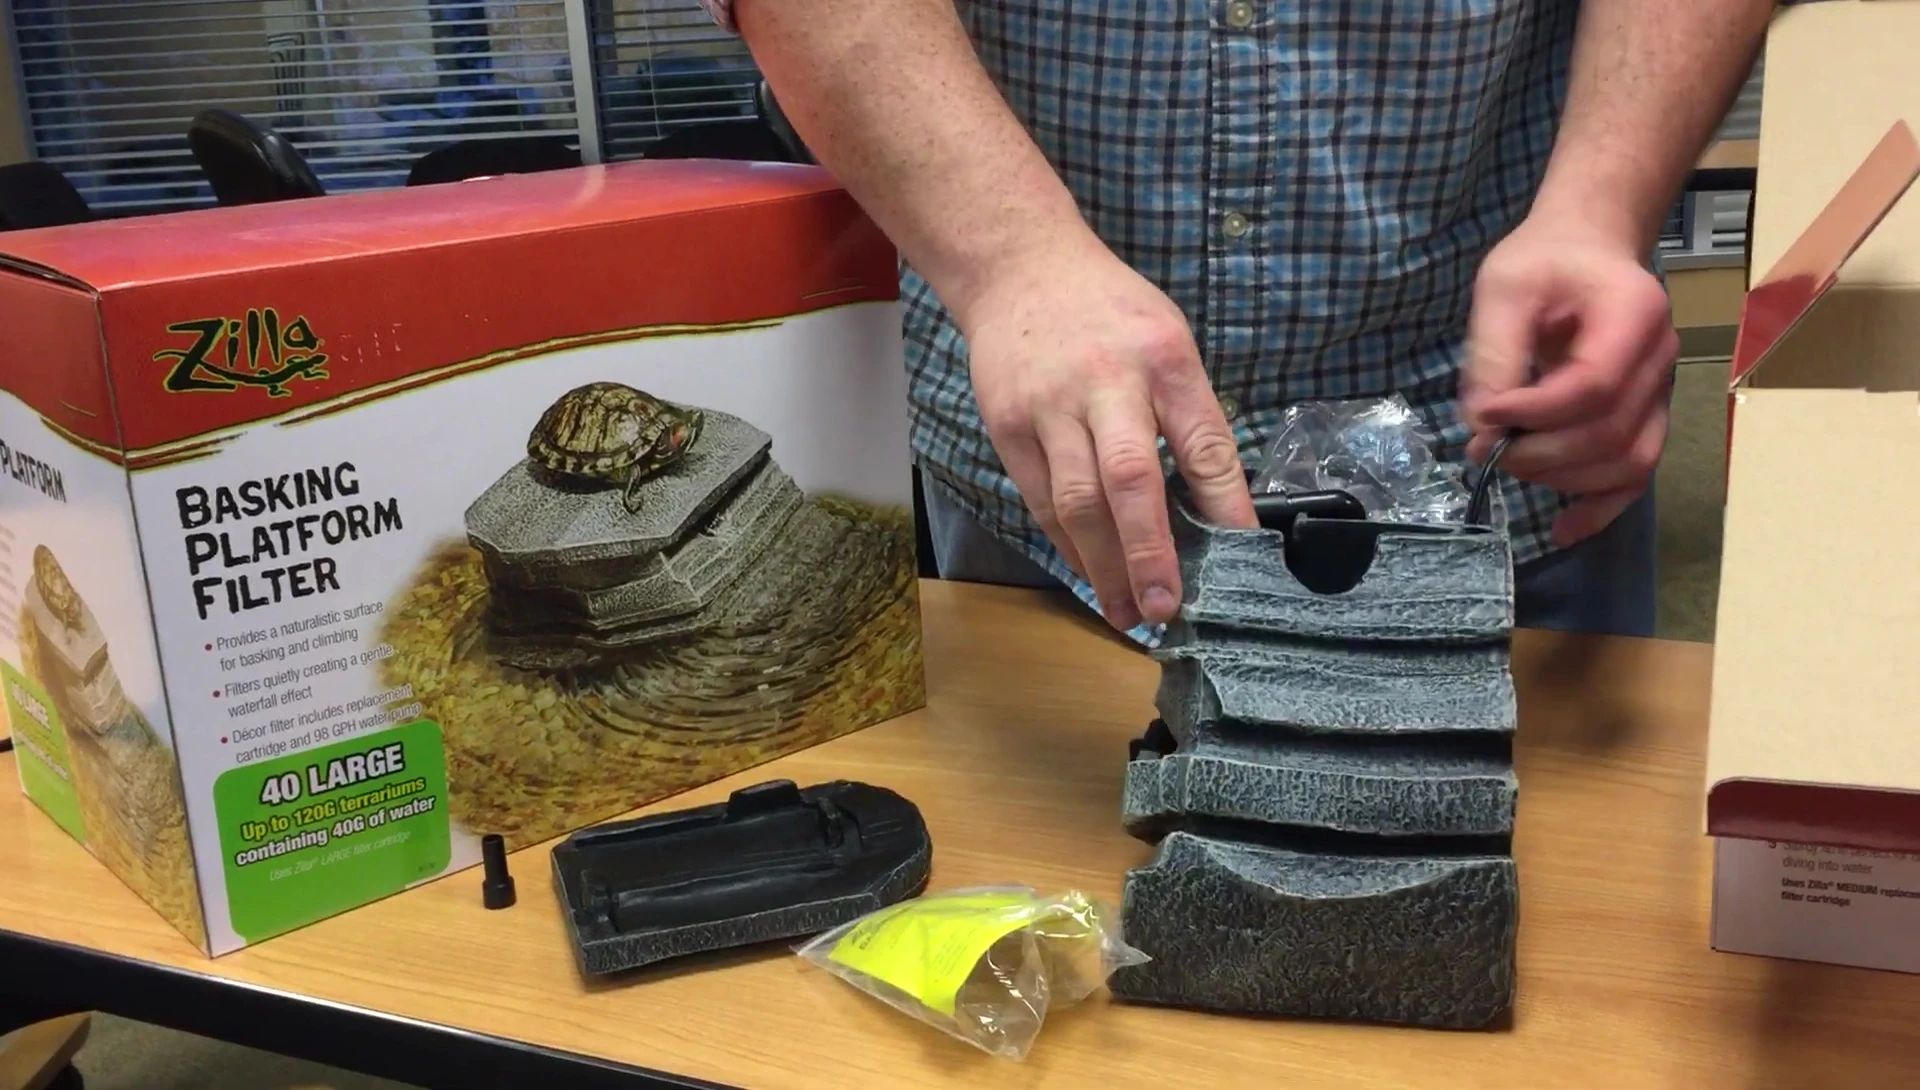
Unboxing and Package Contents
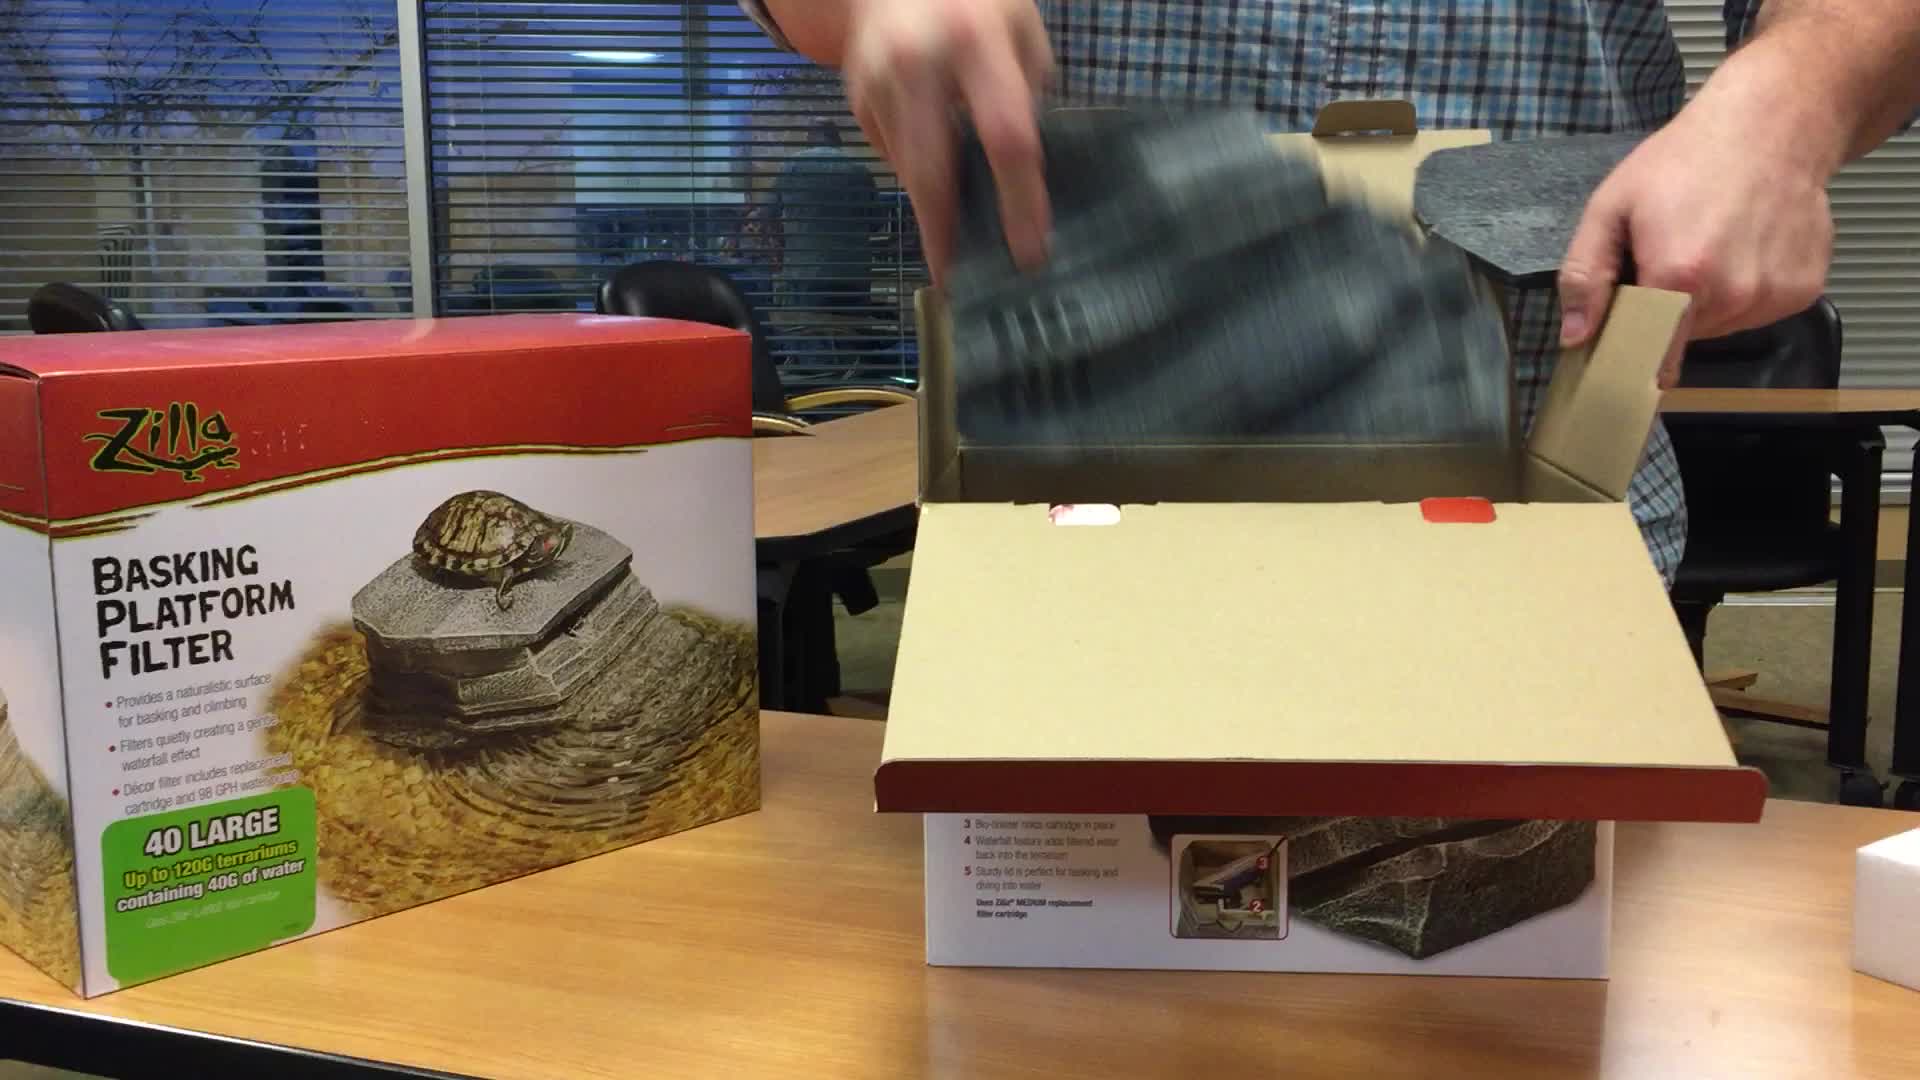
The Zilla Basking Platform Filter arrives in a straightforward package. Inside, you'll find the filter unit itself, along with two main components, a small bag containing several smaller parts, and the instruction manual. Remember to carefully review the instructions before beginning assembly; it will make the process much smoother.
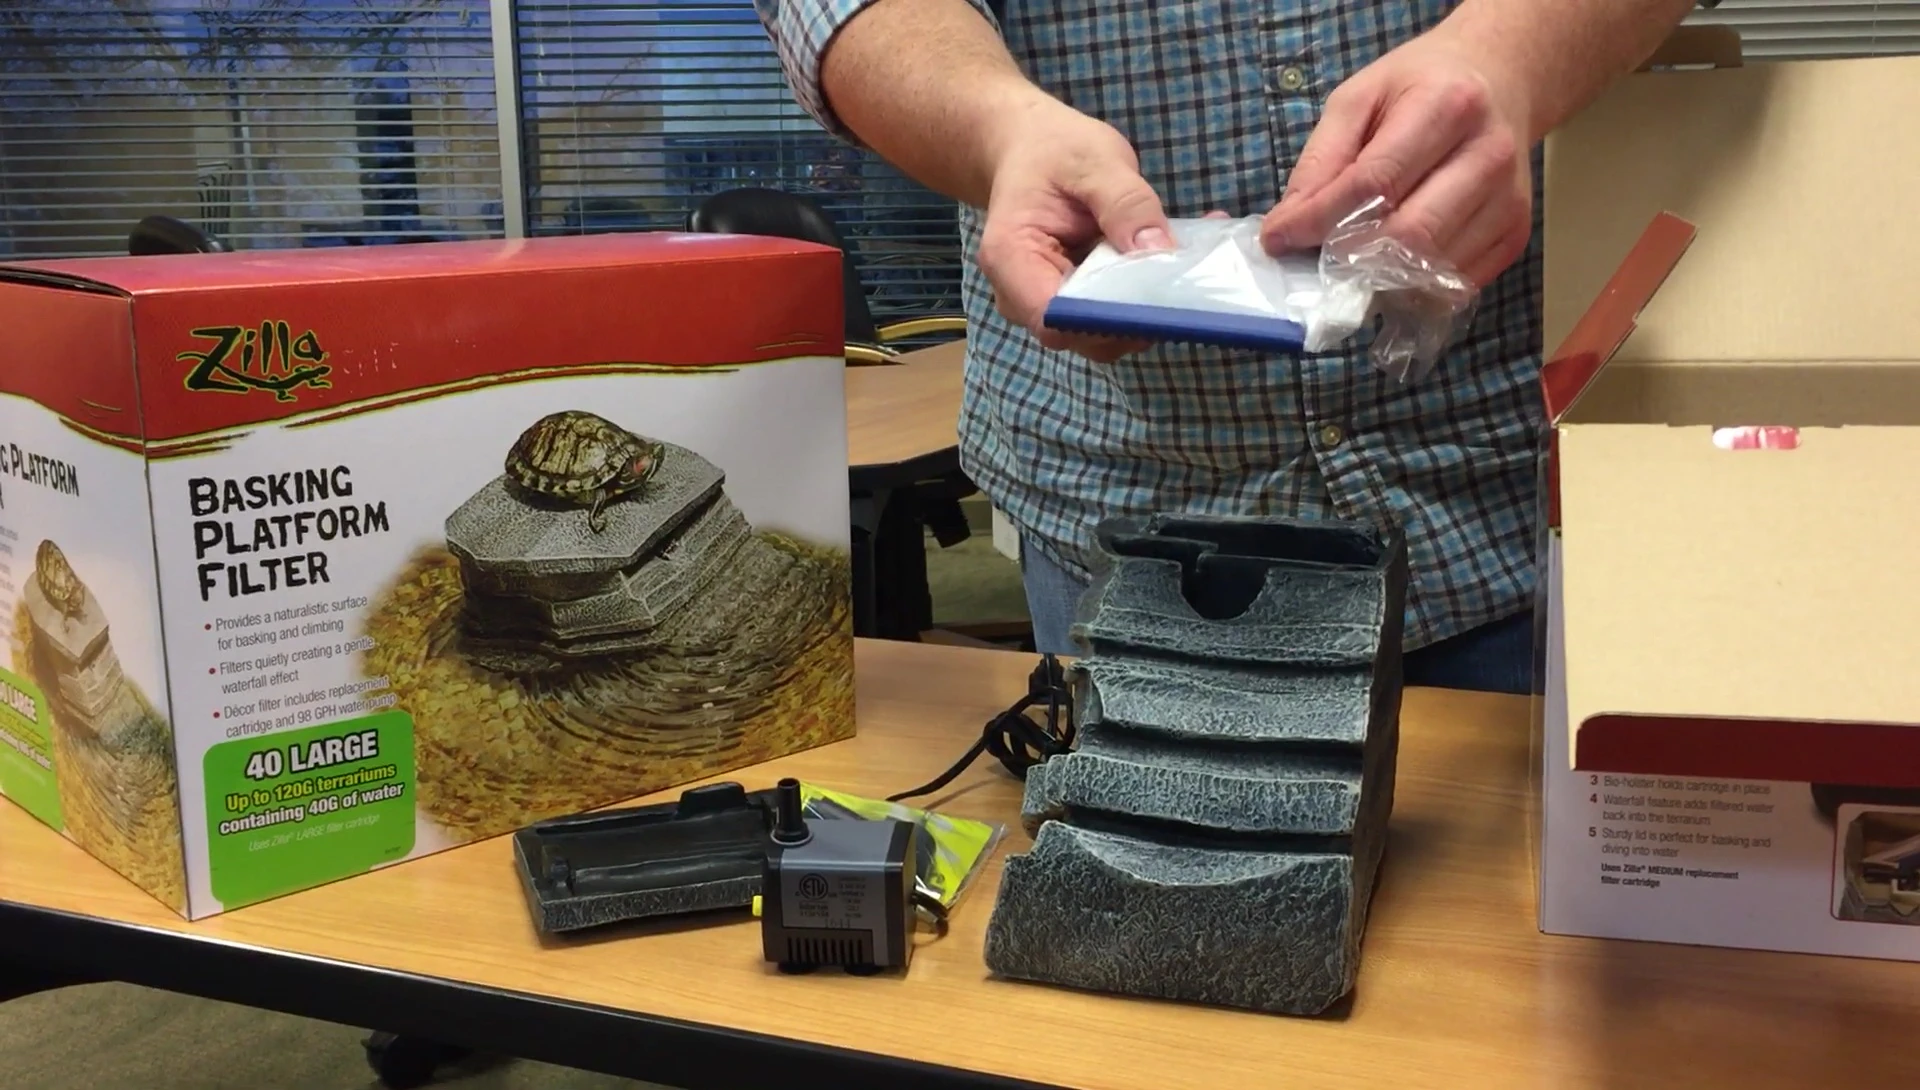
The two main components are easily identifiable. The bag contains smaller components vital for proper filter function. Taking a moment to inspect all parts before assembly helps to avoid any unexpected issues later.
Assembling the Filter Components
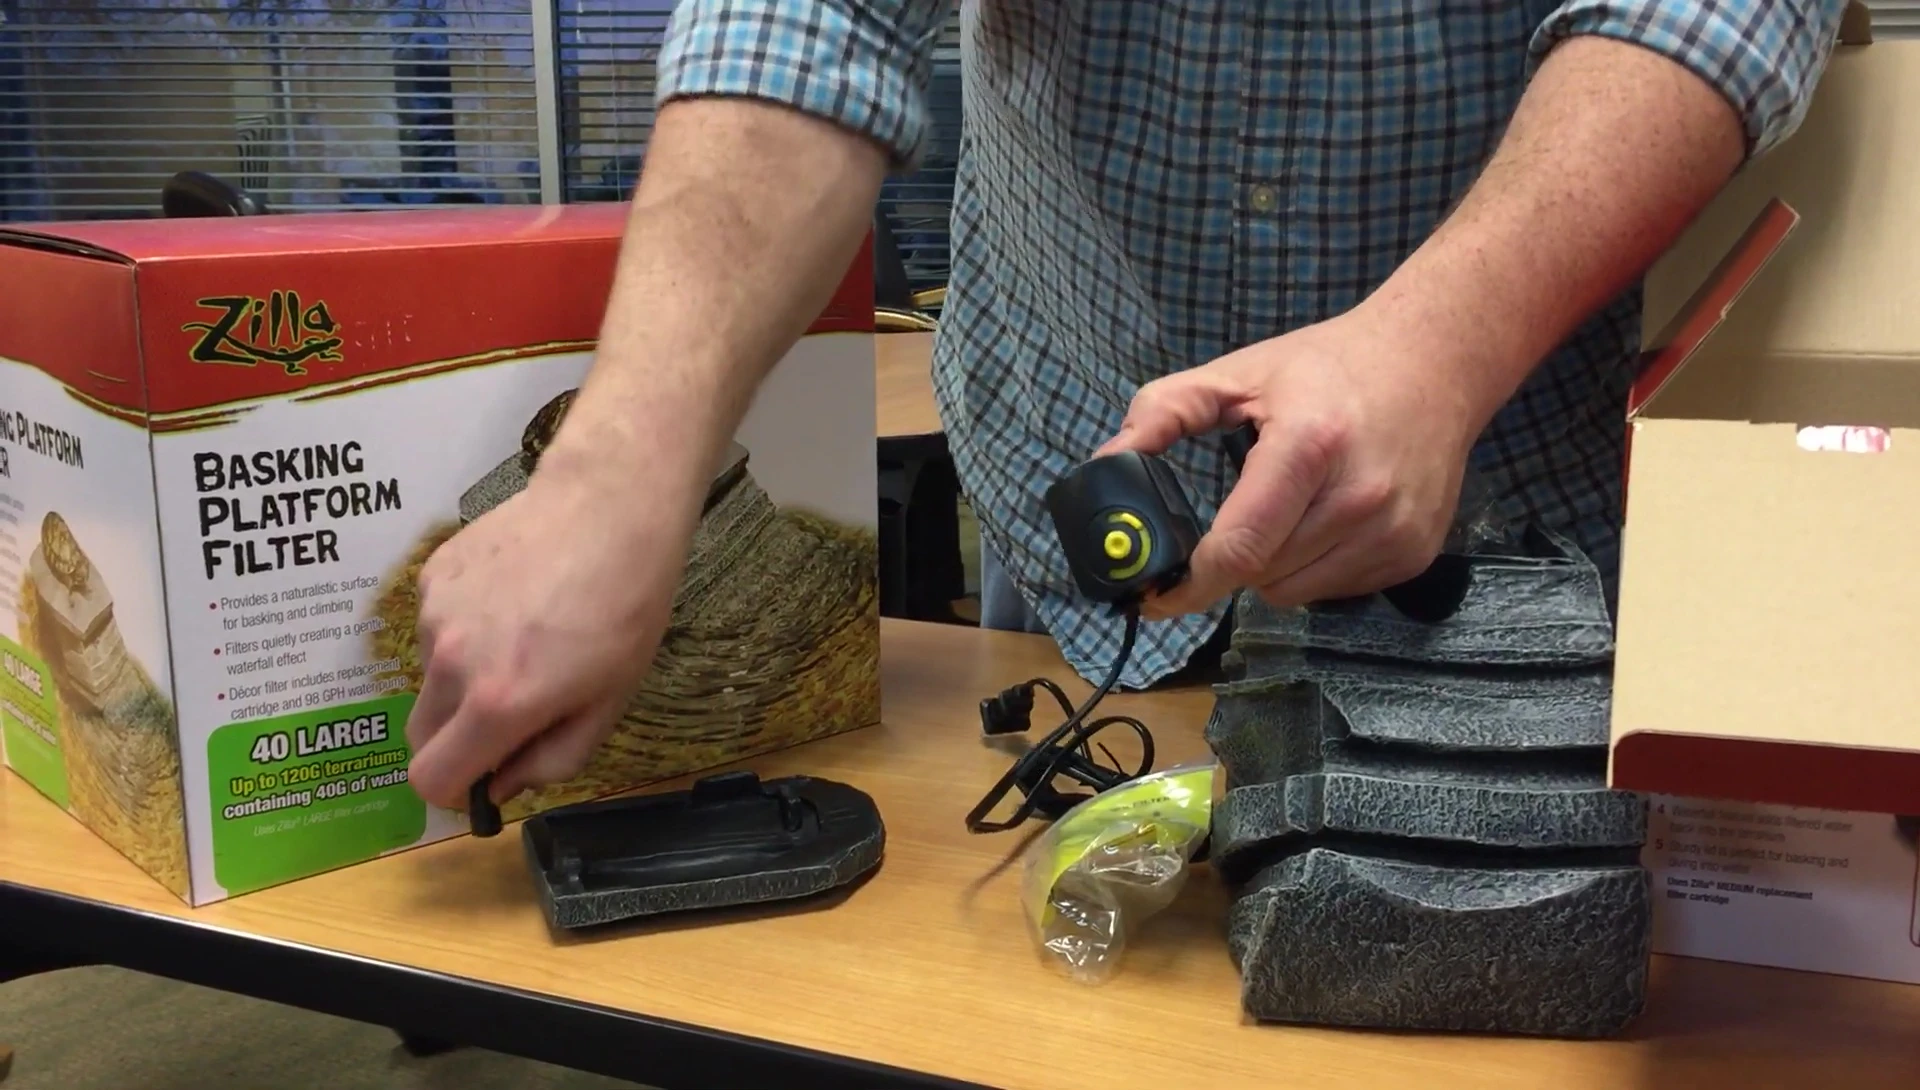
Start by removing a small piece from the filter unit—it's not needed for assembly. Next, insert the pump and attach the hose to its designated port. Pay close attention to the orientation of the pieces to ensure a secure and proper fit.
The two remaining pieces assemble easily. Insert the long end of one into the metal bracket (or L-shaped tube). Then, slide the assembled bracket onto the end of the pump component, creating the complete filtration assembly.
Final Assembly and Setup
With the filtration system assembled, attach the tube to its appropriate channel on the main filter unit. The connection should be snug and secure. Routing the cord properly ensures a clean and efficient setup.
Once the tube is connected, route the power cord neatly to the back of the filter. Secure the filter onto its base and you're ready to place the Zilla Basking Platform Filter in your reptile habitat.

Overall Review and Conclusion
The Zilla Basking Platform Filter boasts a straightforward design, making assembly quick and uncomplicated. The instructions are clear and easy to follow, allowing for a smooth setup process. The filter system itself is efficient and performs as expected.
While the ease of assembly and effective filtration are major pluses, the durability and long-term performance remain to be seen with extended use. Based on the initial setup, however, this filter appears to be a worthwhile addition for reptile keepers seeking a reliable and user-friendly filtration solution.