Creating a safe and enriching habitat for your reptile requires careful consideration of every element, and the wood used in their enclosure is no exception. Untreated wood can harbor harmful bacteria, fungi, and parasites that could seriously endanger your pet's health. This article details two safe and effective methods for sterilizing wood intended for use in reptile enclosures, ensuring a clean and healthy environment for your scaled companion. We'll cover selecting appropriate wood types, preparing the wood for sterilization, and the crucial steps involved in both baking and bleaching methods.This guide provides clear instructions and precautions to help you successfully sterilize wood, minimizing the risk of introducing harmful organisms into your reptile's habitat. We'll walk you through the process step-by-step, highlighting important considerations for different wood sizes and the importance of thorough rinsing and drying to prevent mold growth. By following these methods, you can create a beautiful and safe environment that promotes the well-being of your reptile.
Pros And Cons
- Safe for terrarium animals if properly treated
- Provides natural enrichment for terrarium
- Can harbor microbes and bacteria if not treated
- May have sharp edges or loose bark if not prepared properly
- Can deteriorate over time in bioactive enclosures
Read more: 5 Amazing Wooden Climbing Branches for Your Reptile
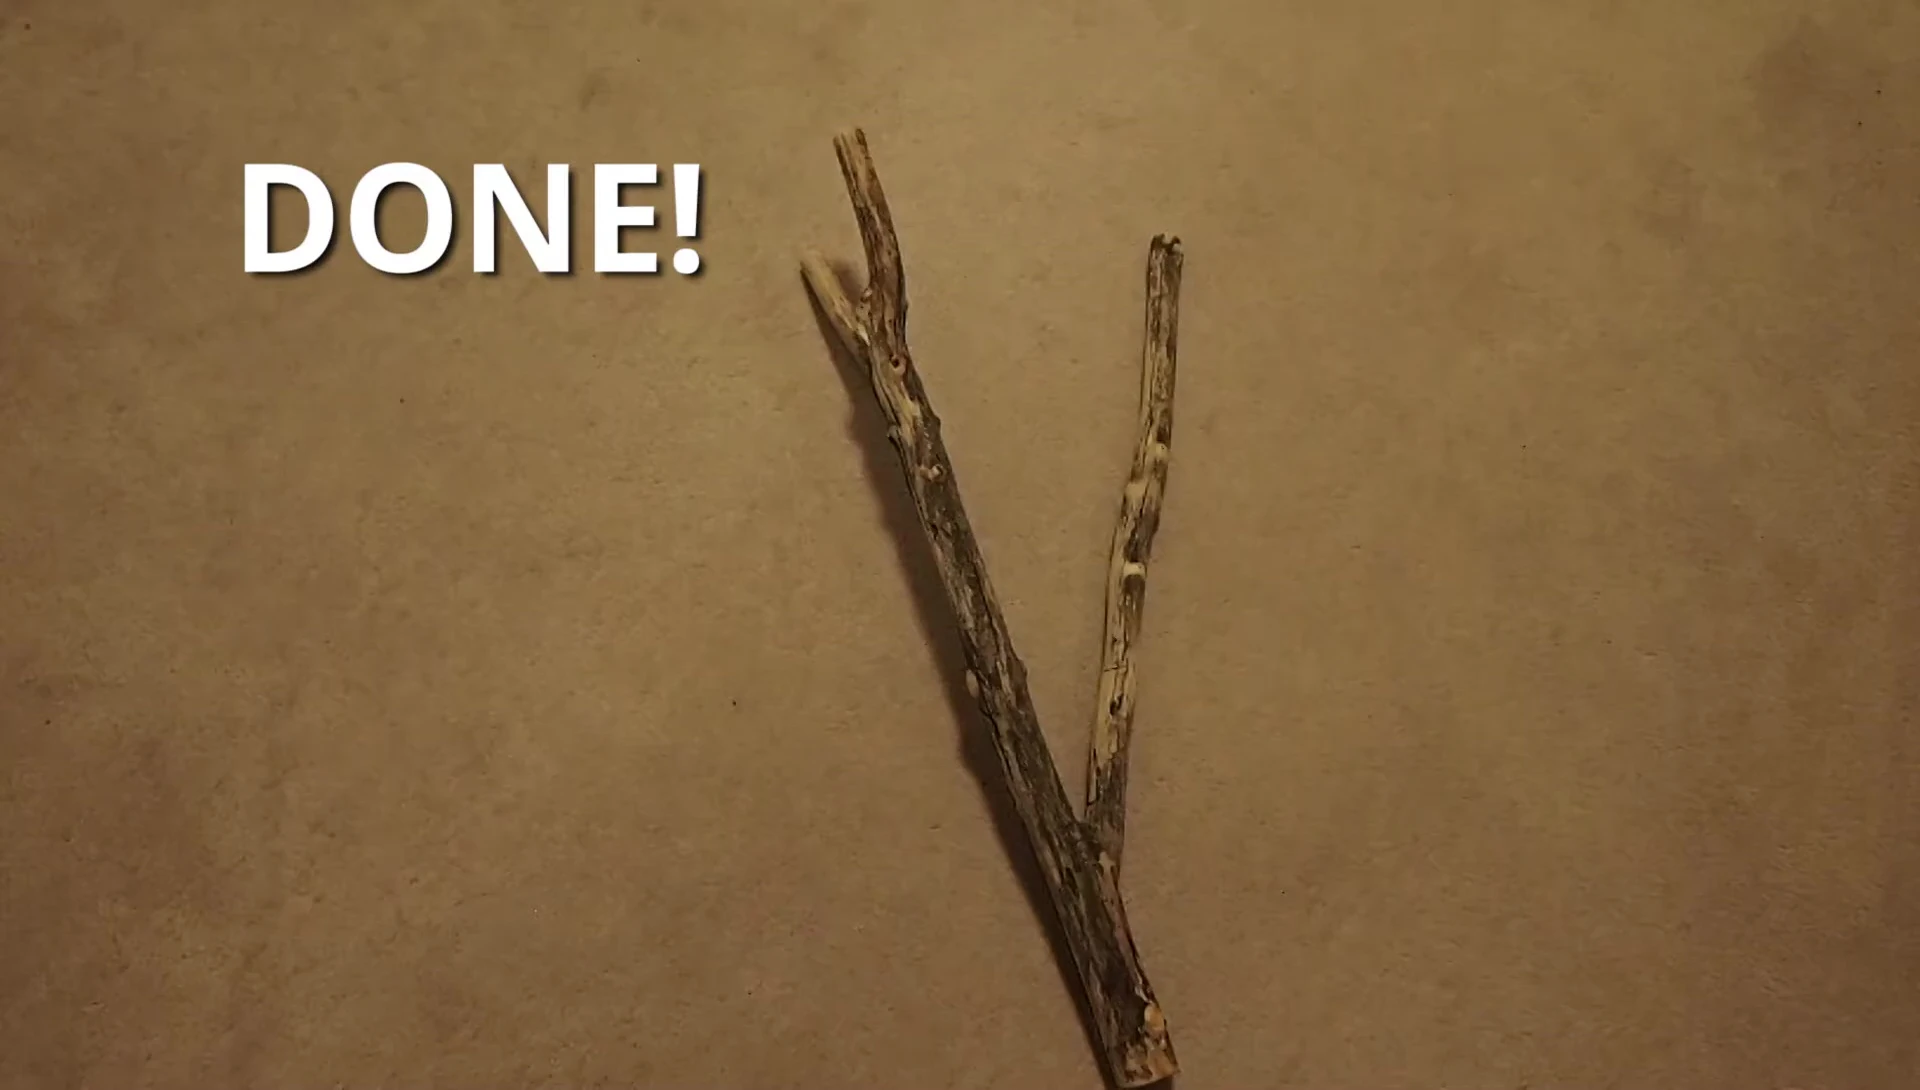
Gathering Suitable Wood
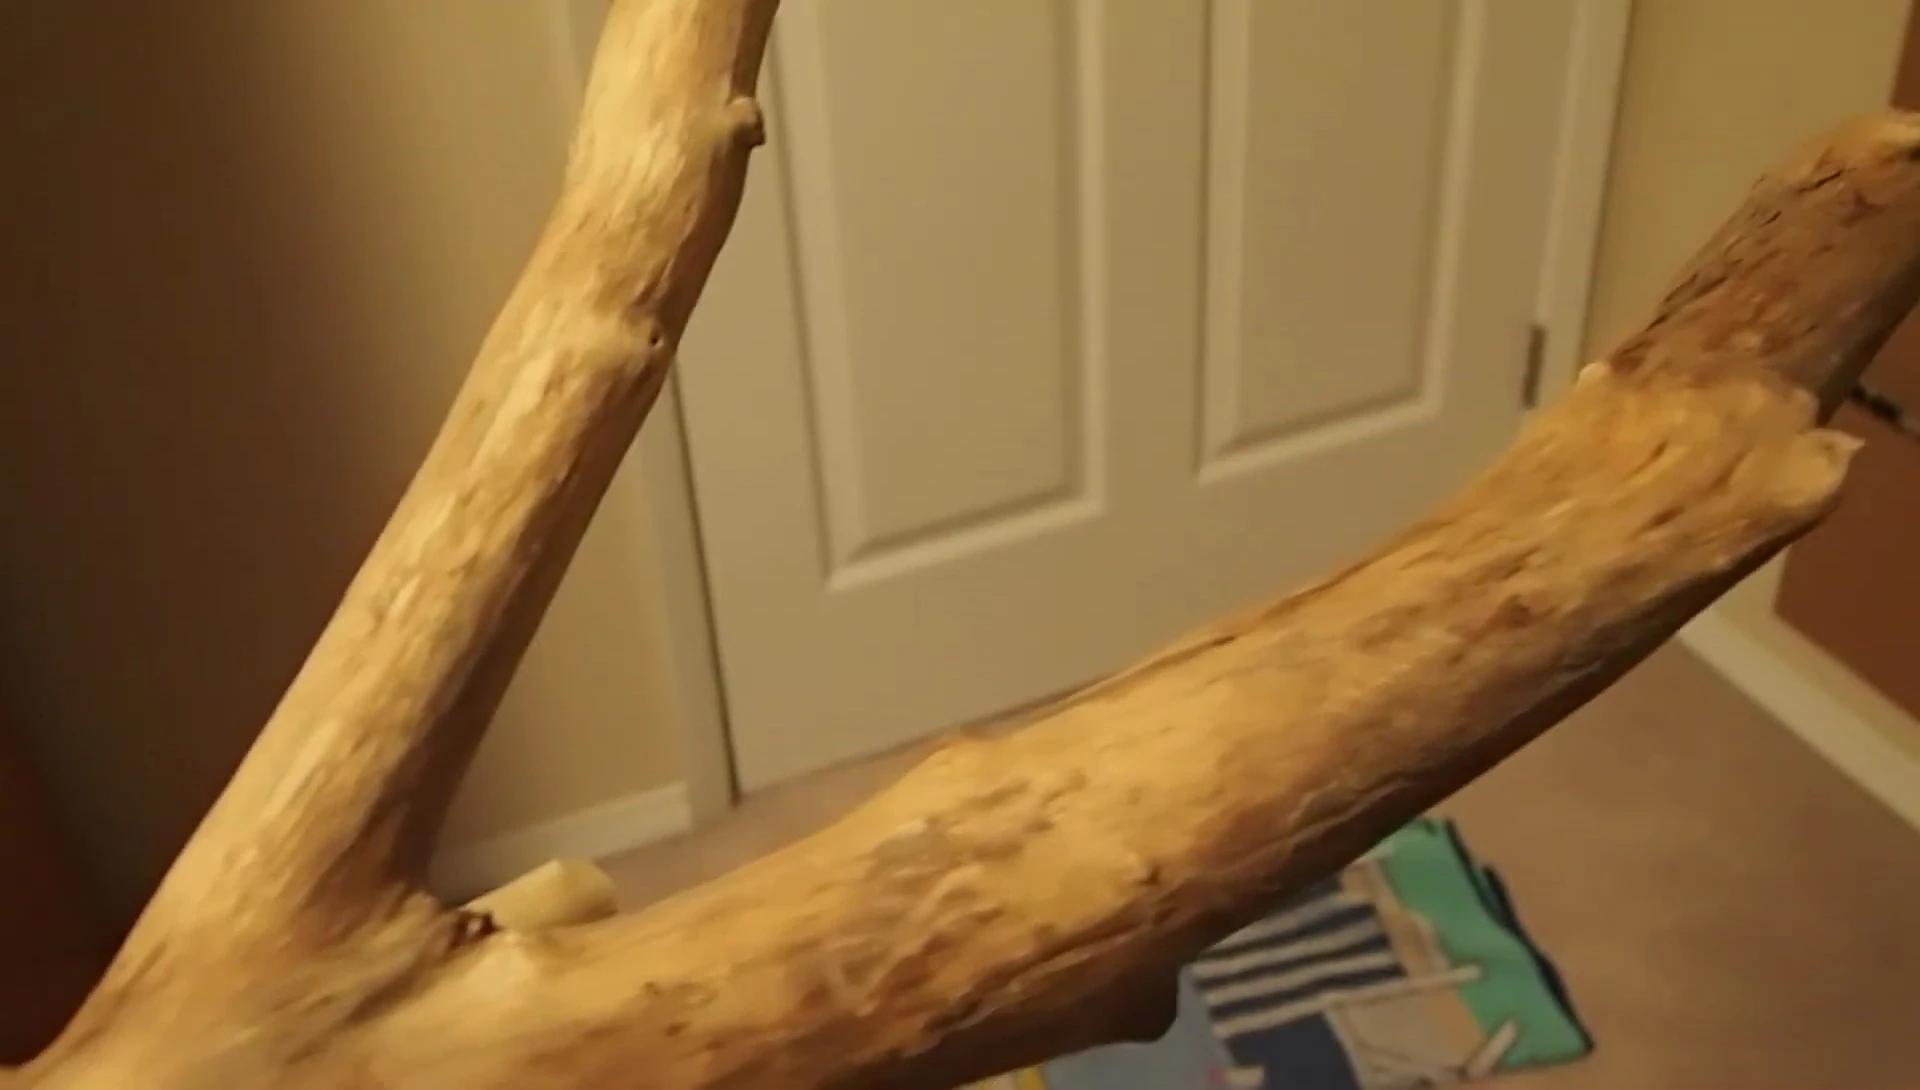
Finding the right wood is crucial. Look for recently fallen hardwoods like oak, ash, or maple. Avoid softwoods (pine, spruce, cedar) and hardwoods with excessive sap, as these contain harmful chemicals. Always source wood from areas free of pesticides.

Inspect the wood carefully for any signs of rot or decay. The wood should be firm and free from any soft or mushy spots. This will ensure the longevity of the wood in your terrarium.

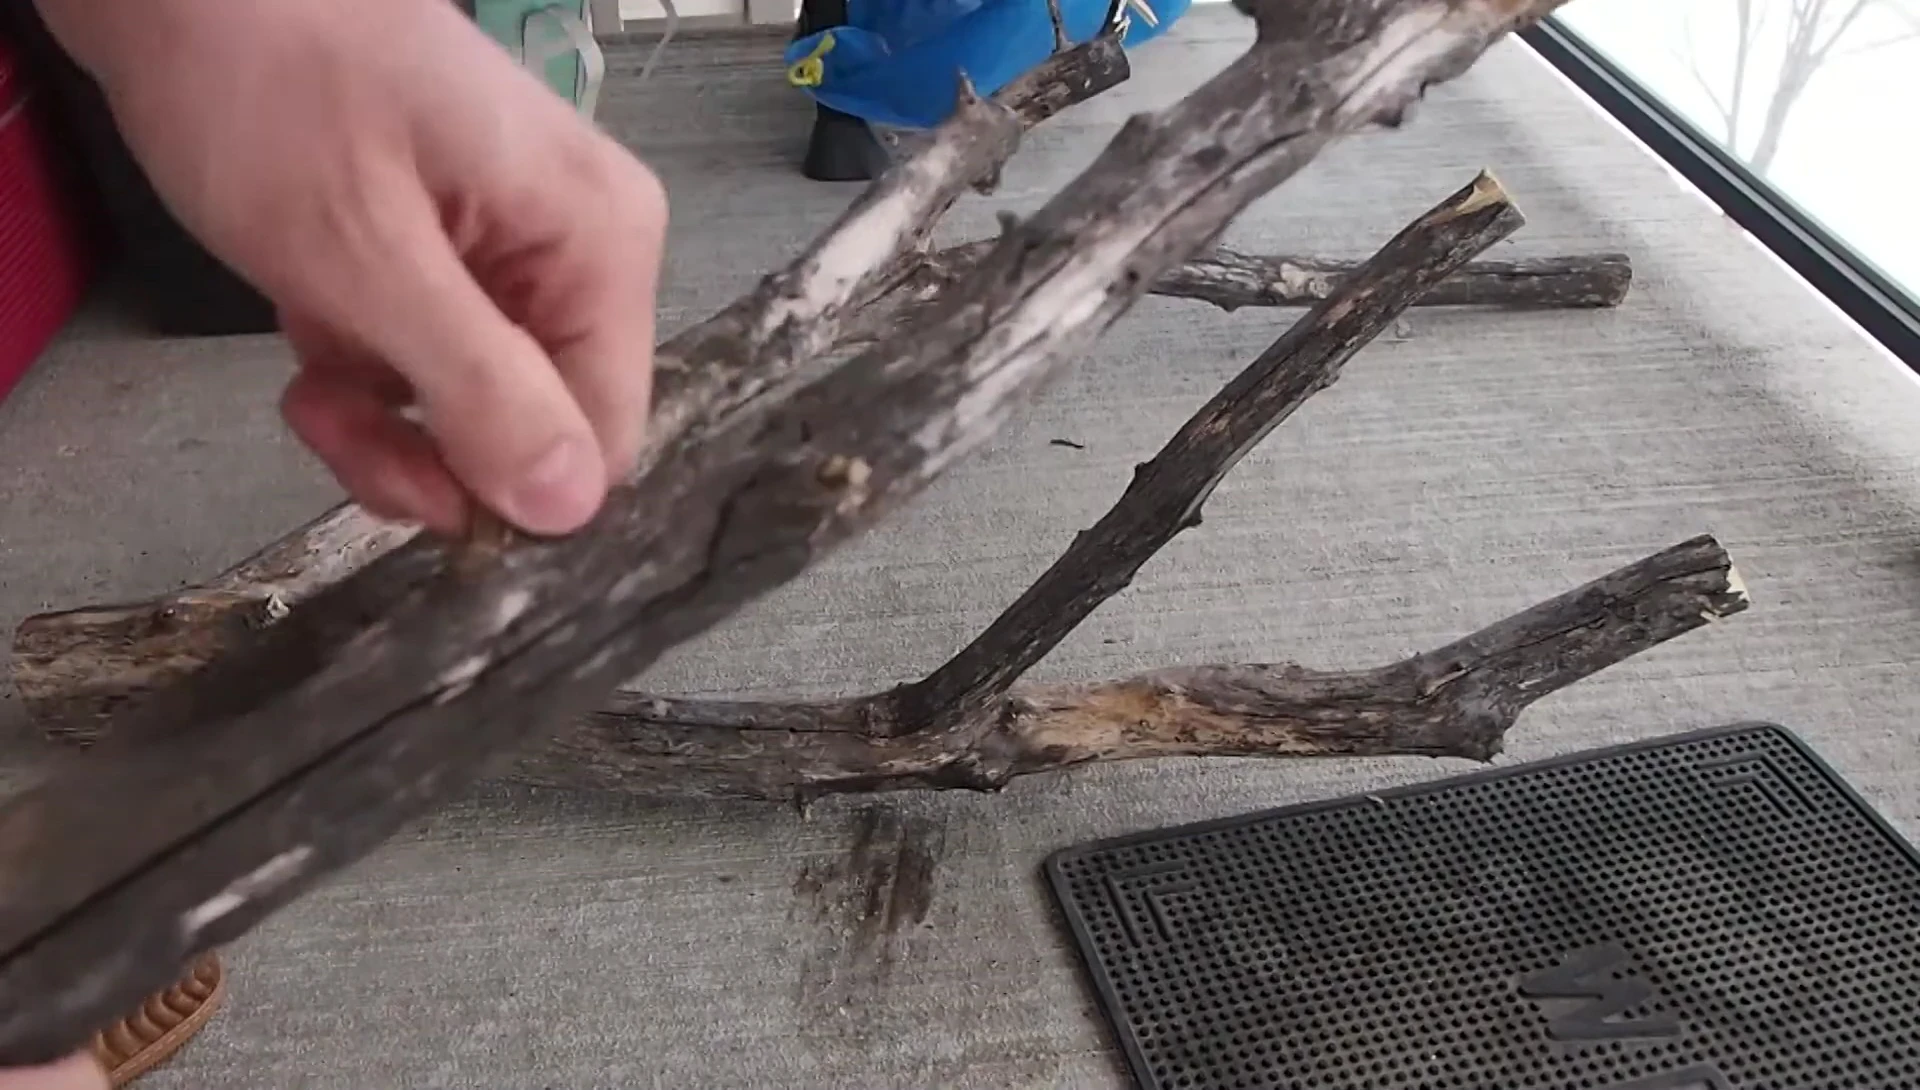
Collect branches of varying sizes to accommodate different needs within your reptile enclosure. Larger branches can create basking spots or climbing structures, while smaller branches can be incorporated into the overall landscape.

Preparing the Wood
Before sterilization, smooth out any rough edges and sharp points using a rasp or sandpaper. This prevents injury to your reptile. Remove any loose bark to prevent shedding and potential hazards.
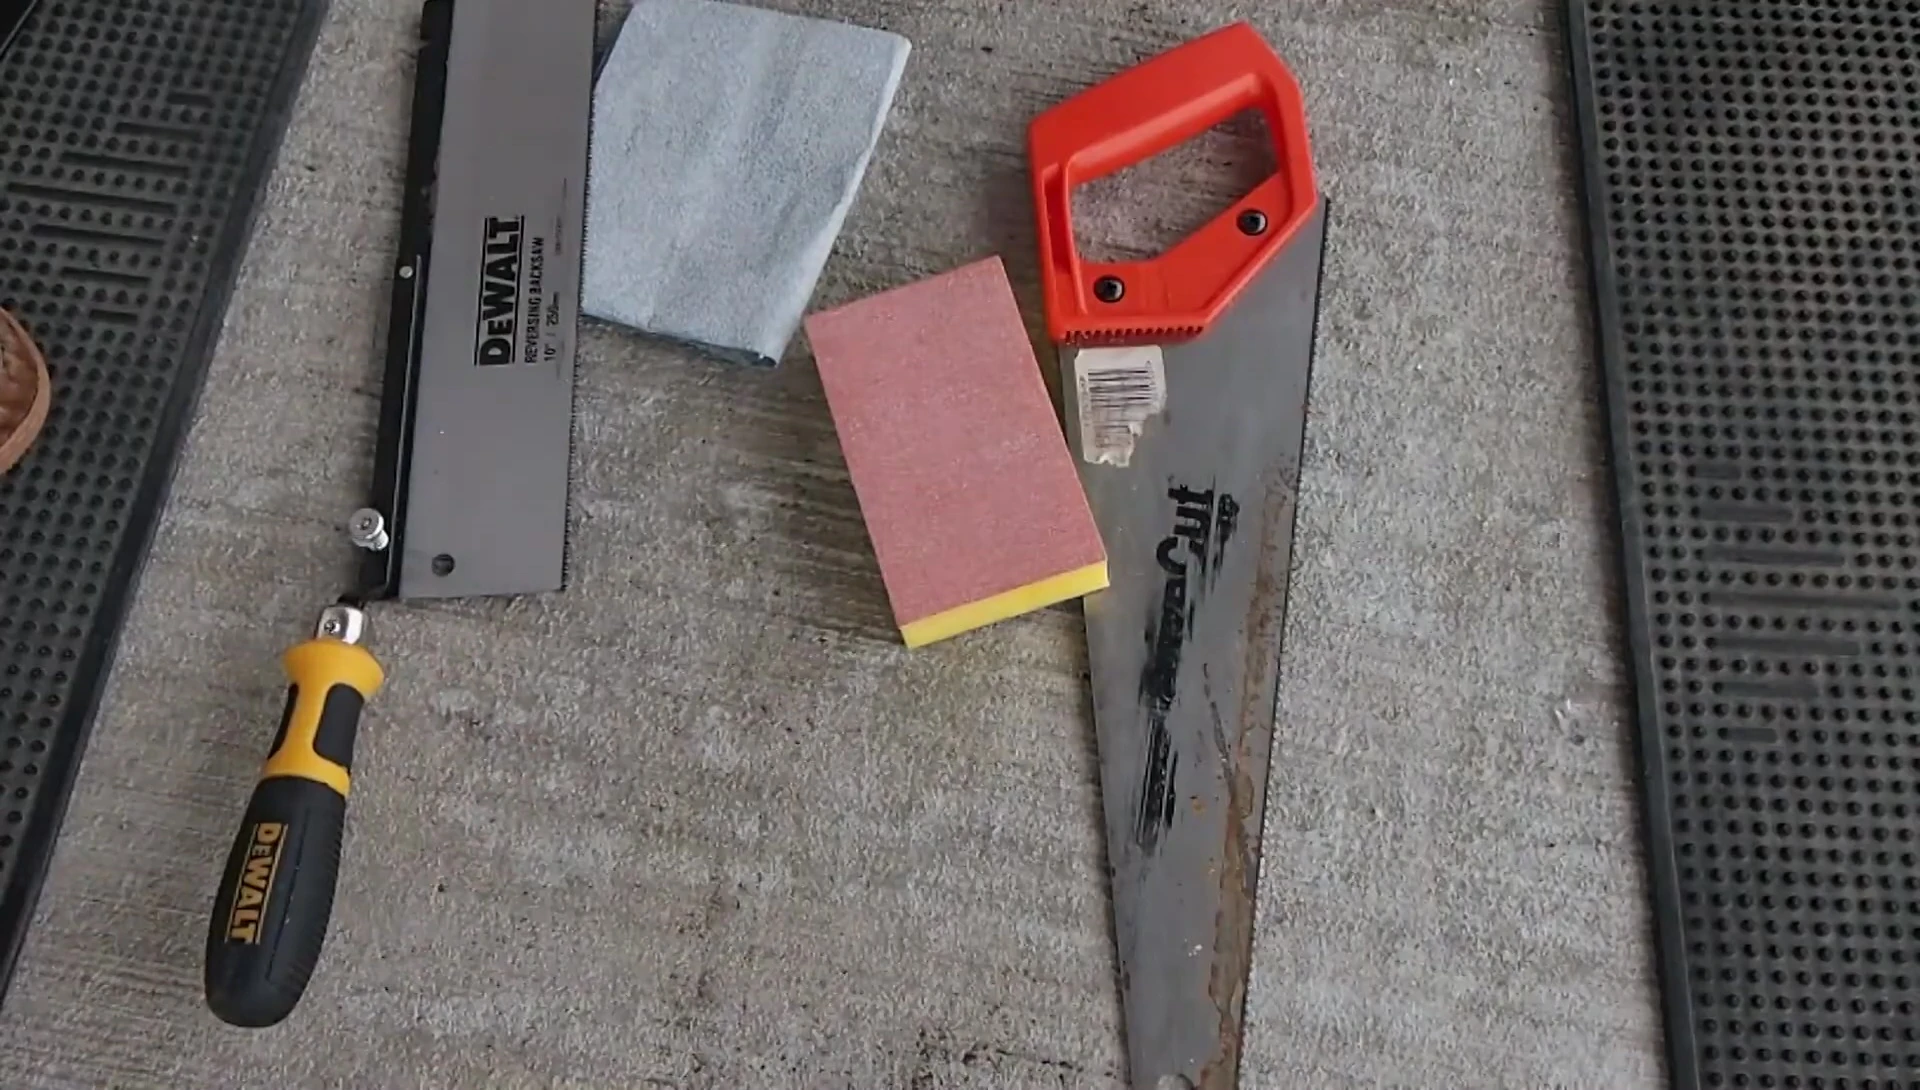
Thoroughly examine the wood after sanding. Run your hands along the surface to ensure there are no sharp edges or splinters left. A smooth finish is vital for the safety of your pet.
Some minor roughness is acceptable, as this can provide beneficial texture for shedding or climbing. The goal is to remove hazards, not to create a perfectly polished surface.
Sterilization Method 1: Oven Baking
This method is ideal for smaller branches. Bake at 250°F (121°C) for two hours. Monitor closely to prevent burning. Small pieces of bark or hairs can ignite at lower temperatures.

Set a timer and check the wood every 10 minutes for any signs of burning or smoking. Adjust the oven temperature if necessary to maintain a consistent baking process.
This method effectively kills microbes and bacteria within the wood, ensuring a safe environment for your reptile.
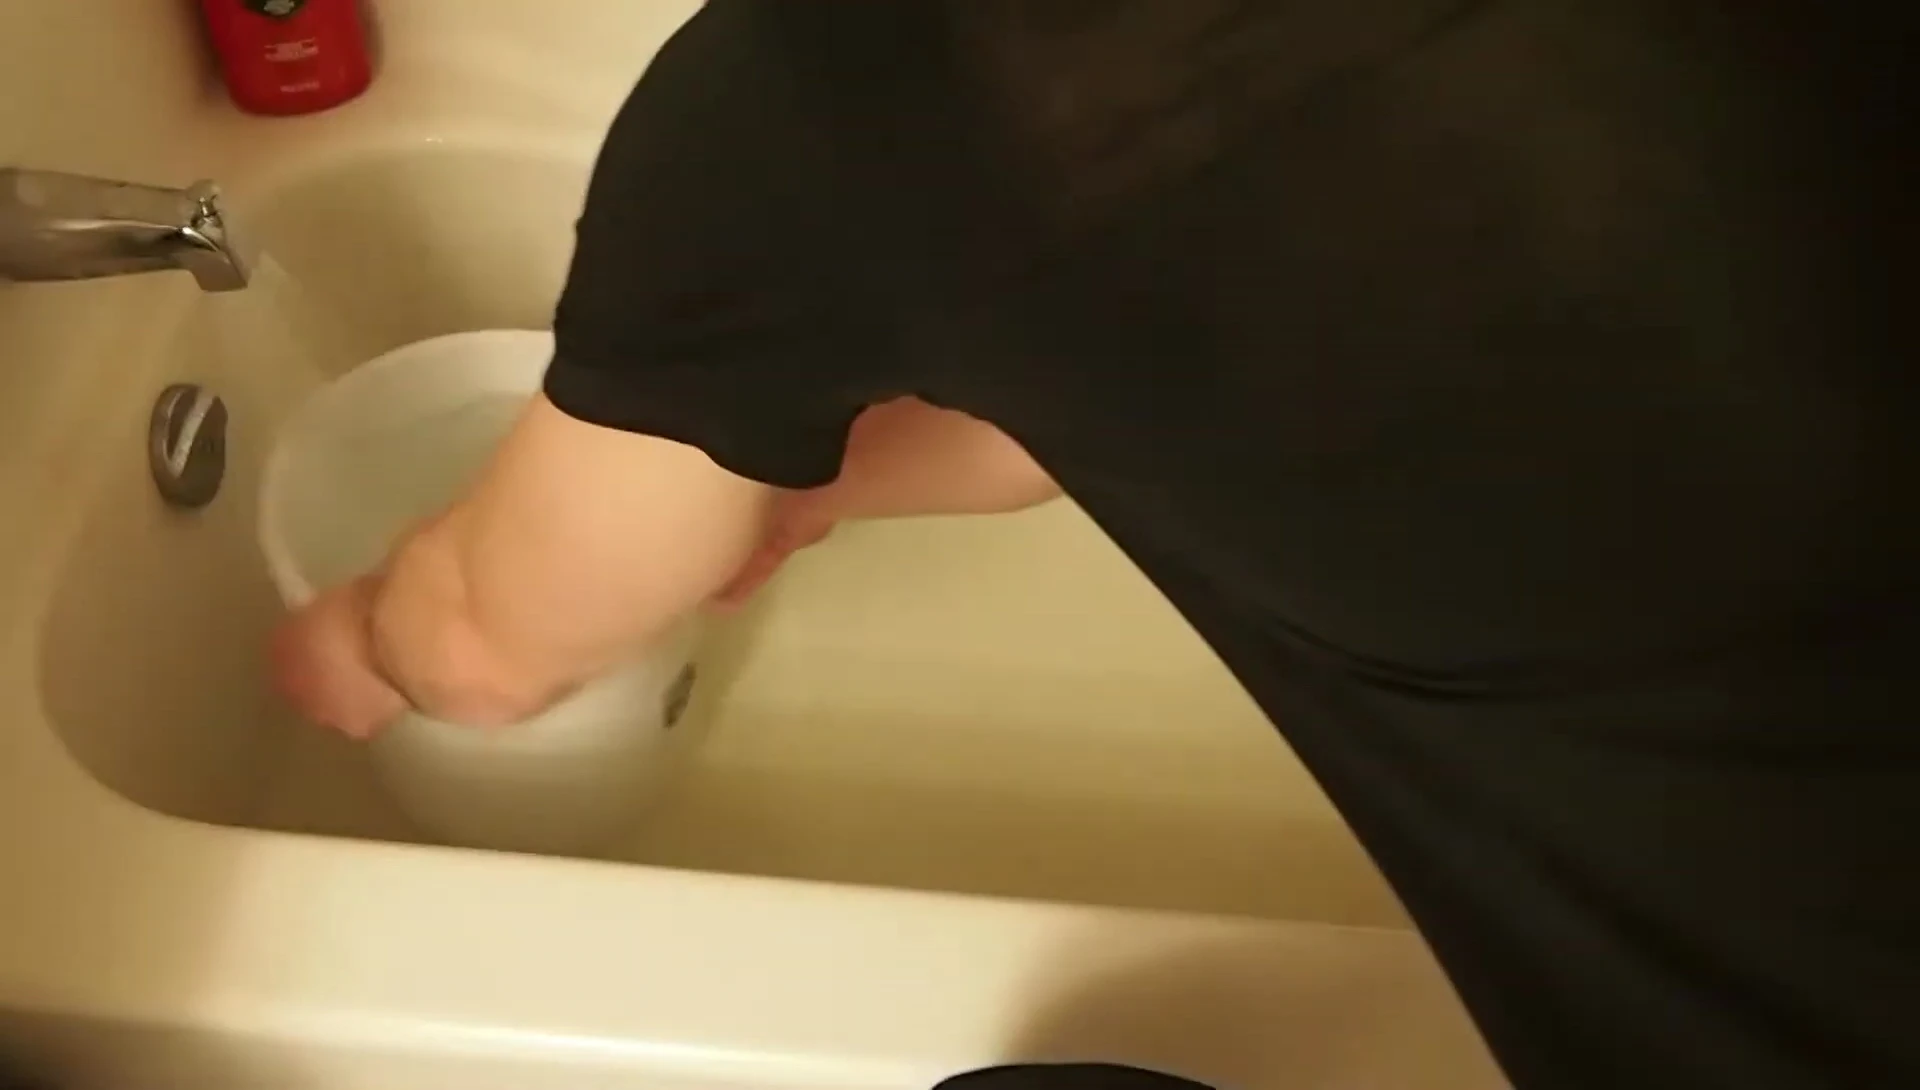
Sterilization Method 2: Bleach Soaking
This method works best for larger pieces. Soak the wood in a solution of 1/3 to 1/2 cup of bleach per gallon of water for 24 hours. Submerge the wood completely; you may need to flip larger pieces.

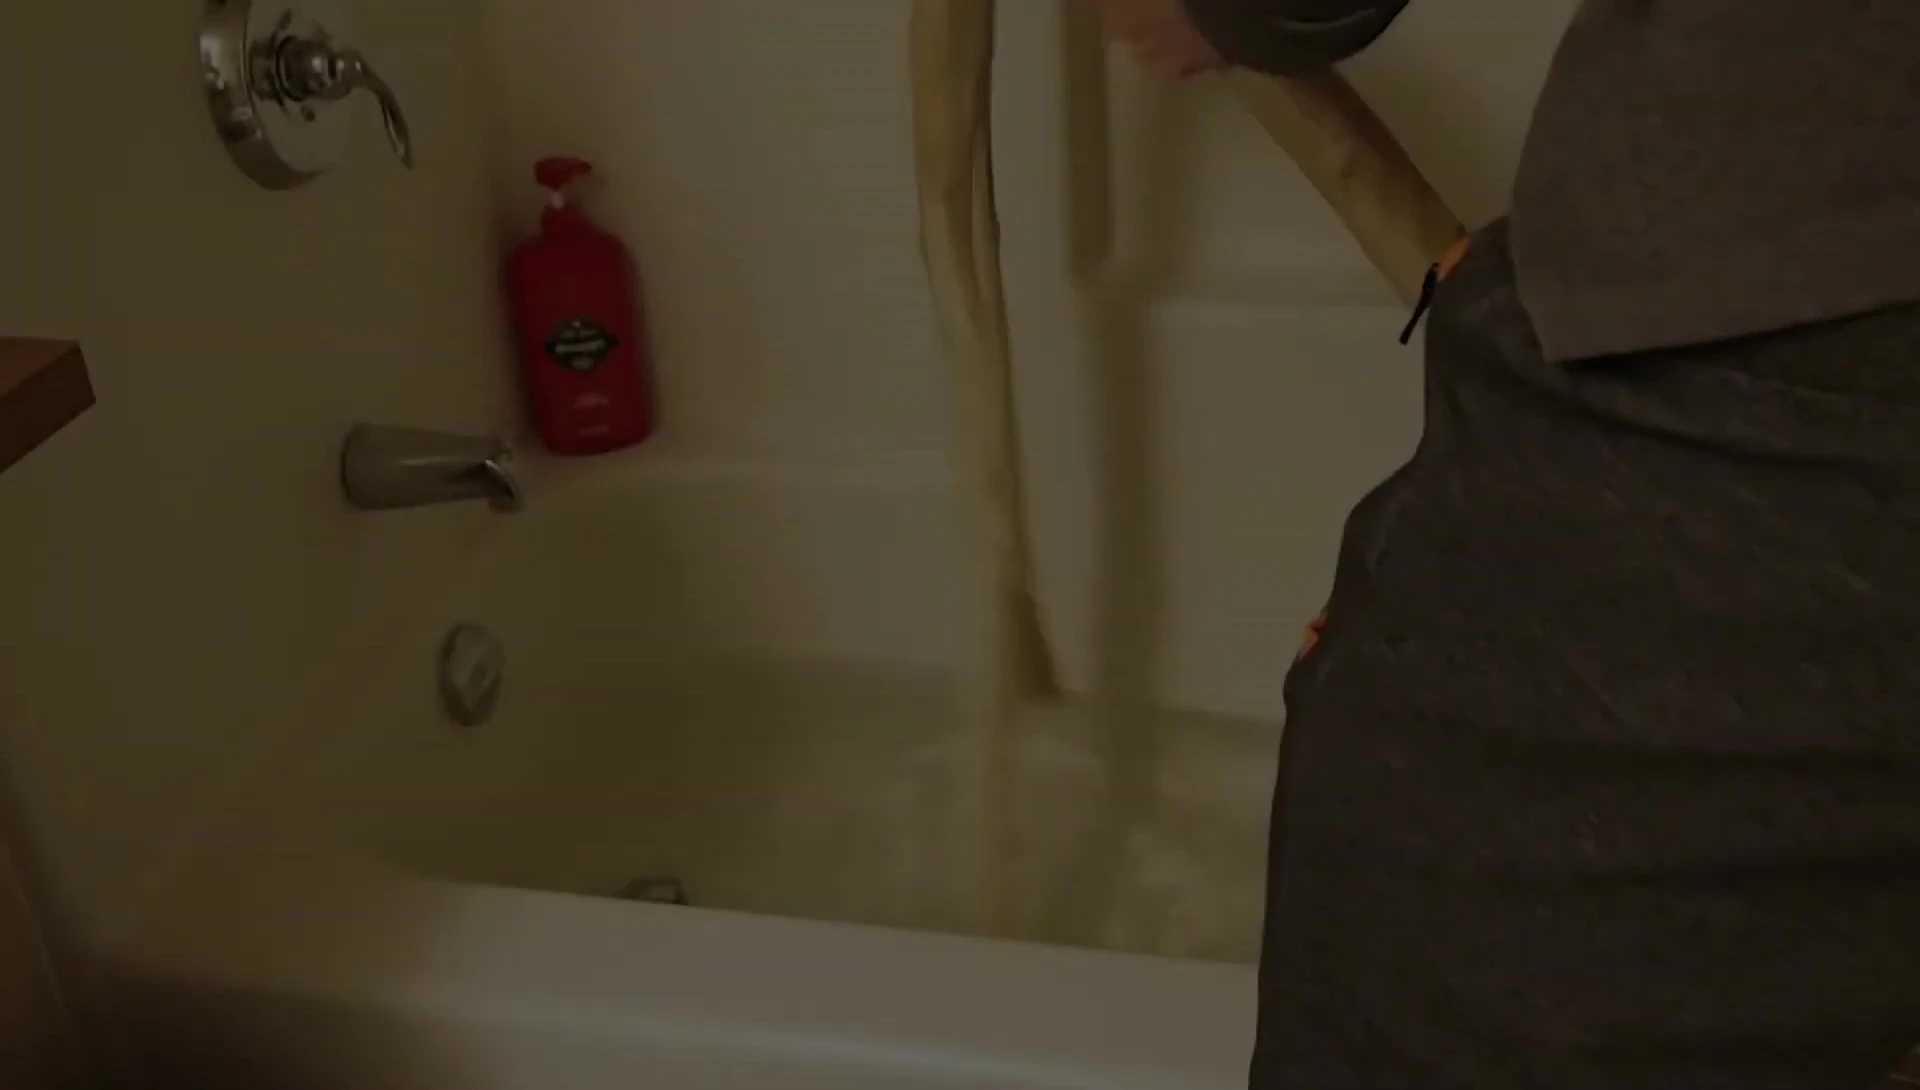
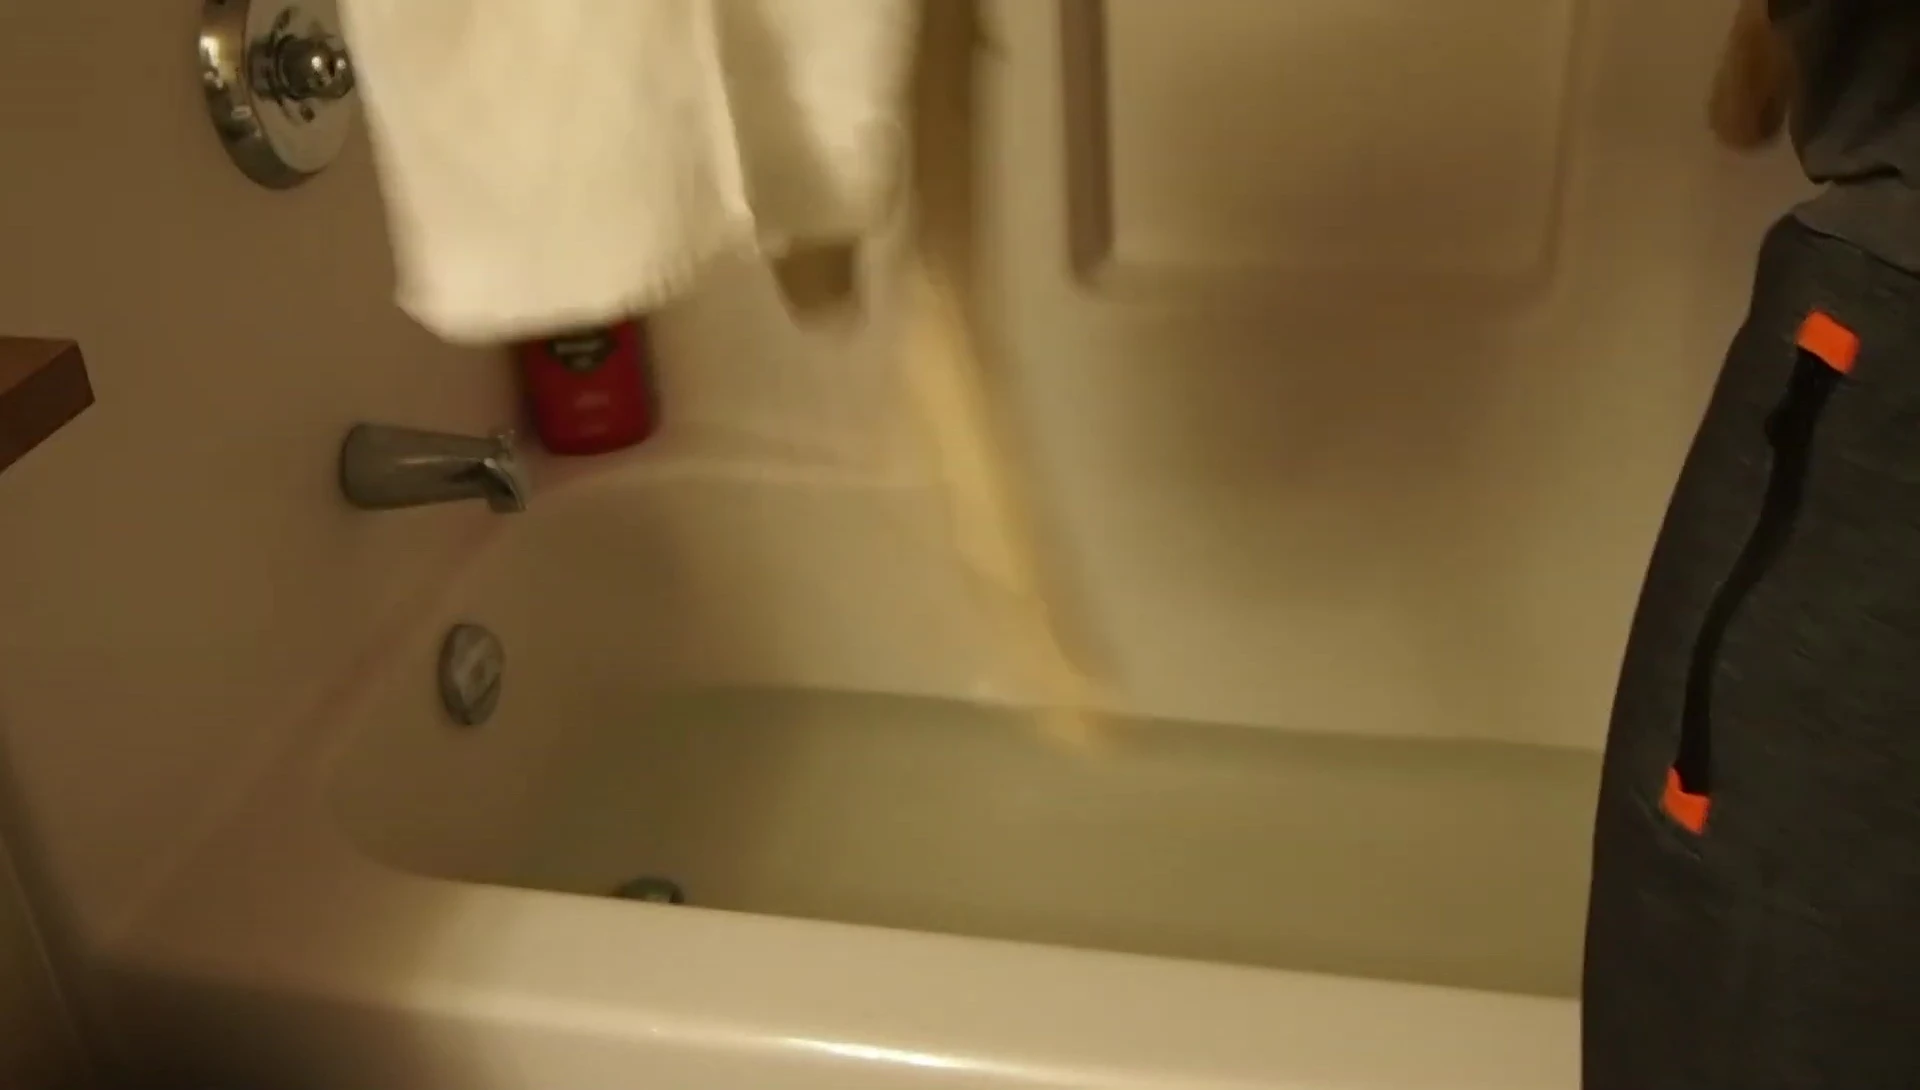
After 24 hours, drain the bleach solution and thoroughly rinse the wood with fresh water. The wood will be much lighter in color after this process.
Following the bleach soak, flush the wood with fresh water for 48 hours, changing the water and repositioning the wood every few hours. This removes all traces of bleach.

Drying and Final Considerations
After bleaching and flushing, allow the wood to air dry completely for 3-5 days. This prevents mold growth in humid environments and humidity spikes in arid environments.
Remember that wood will eventually decompose in contact with moist soil in bioactive enclosures. This is a natural process that requires eventual replacement of the wood components.
Choose the sterilization method that best suits the size and type of wood you're using. Both methods effectively sterilize the wood to ensure a safe environment for your reptile.