This step-by-step guide shows you how to create a stunning DIY terrarium perfect for housing an orchid mantis. Forget expensive pre-made terrariums; this project utilizes readily available materials like frameless picture frames and aquarium-grade silicone to construct a custom enclosure tailored to your needs. Learn how to precisely cut and assemble the glass panels, creating a watertight and aesthetically pleasing habitat. We'll cover techniques for incorporating essential ventilation, drainage, and a lush, miniature ecosystem.The process involves building a robust base with a drainage layer and a carefully constructed background using sphagnum moss and egg crate dividers. You'll discover how to select and arrange plants to create a thriving environment, including securing them within the terrarium. This guide details the entire process, from initial construction to the final introduction of your orchid mantis, ensuring a successful and rewarding experience of creating a self-sustaining miniature world. Get ready to embark on a fascinating journey of building and nurturing a beautiful and functional home for your captivating insect companion.
Read more: Top 5 Turtle Terrariums: Reptile Habitats Reviewed
Building the Glass Tank
The foundation of this project is a custom-built glass terrarium. Instead of buying a pre-made tank, I opted for a more cost-effective and customizable approach using frameless picture frames. The key is to find frames with sufficiently thick glass (at least 2mm) to ensure durability and prevent breakage during construction.
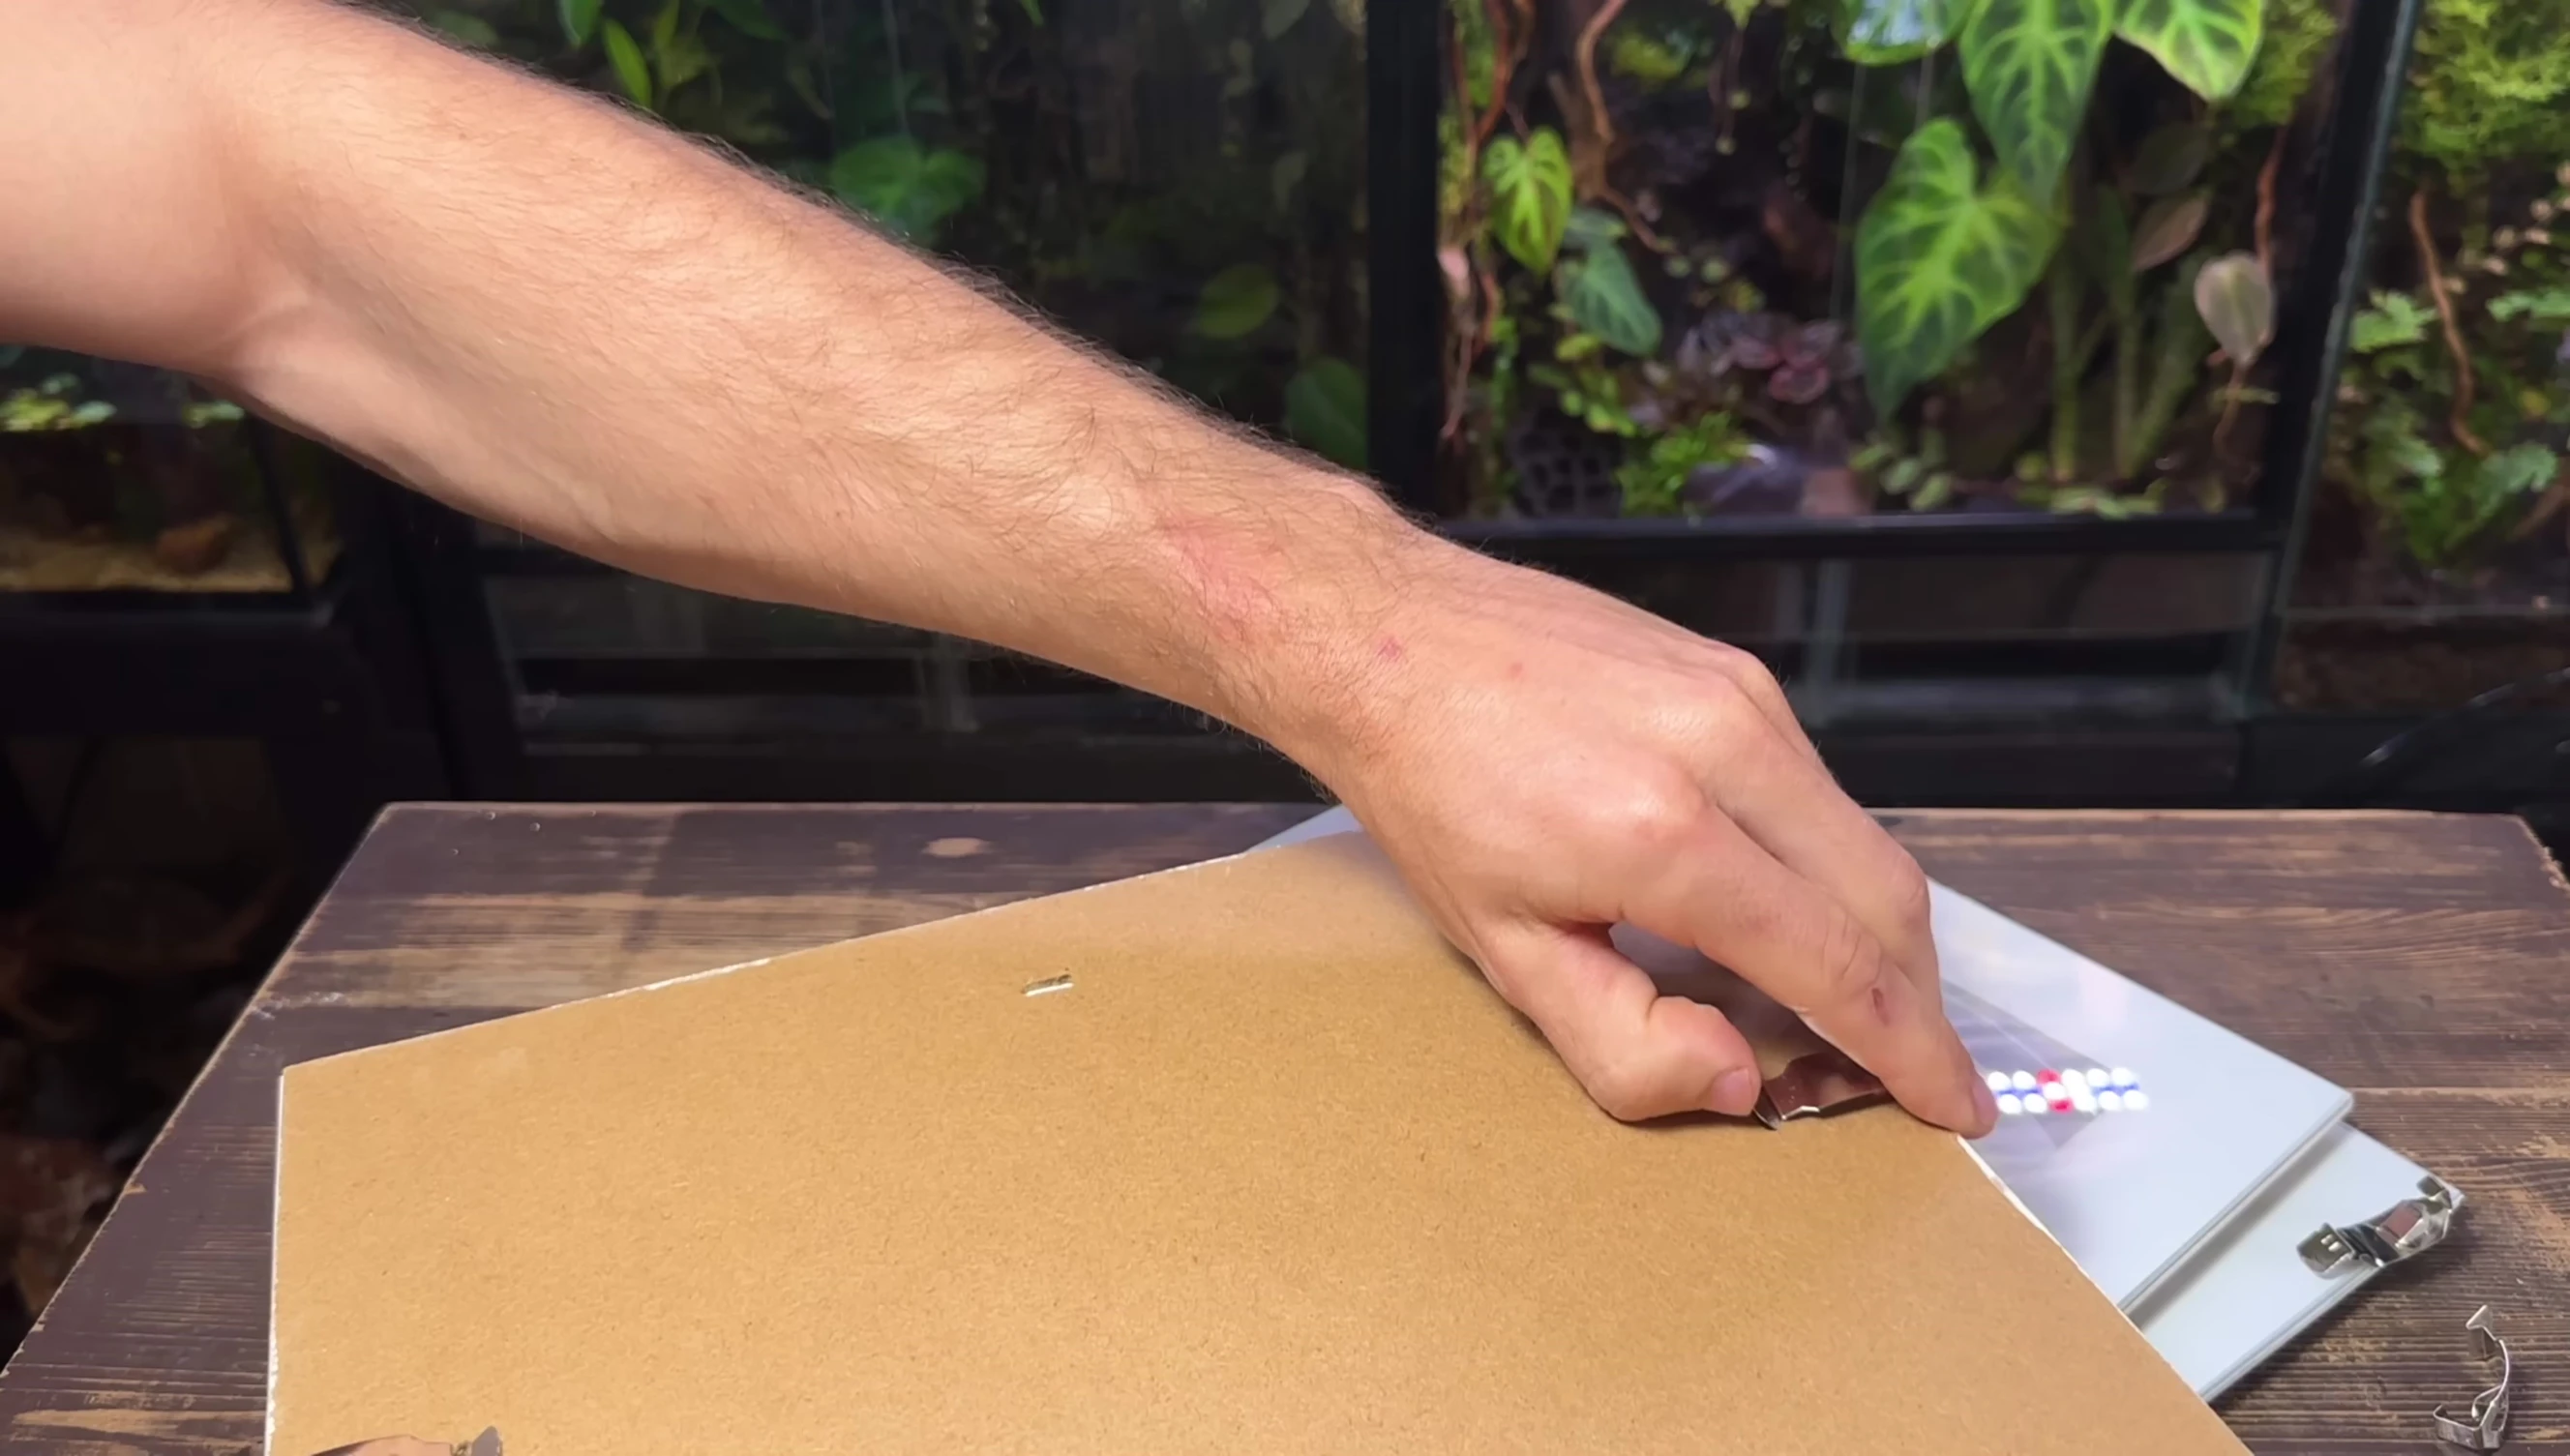
Precise measurements are crucial for a seamless fit. I used a ruler, marker pen, and glass cutter to carefully cut the glass to my desired dimensions. A helpful tip is to secure the ruler with blue tack to prevent slipping and achieve straight cuts.

After cutting, I performed a test fit using electrical tape to check for errors before sanding. This prevents wasted effort on incorrectly sized pieces. Only the cut edges needed sanding, and I remembered to wet the glass and sandpaper to minimize dust.
Assembling and Sealing the Tank
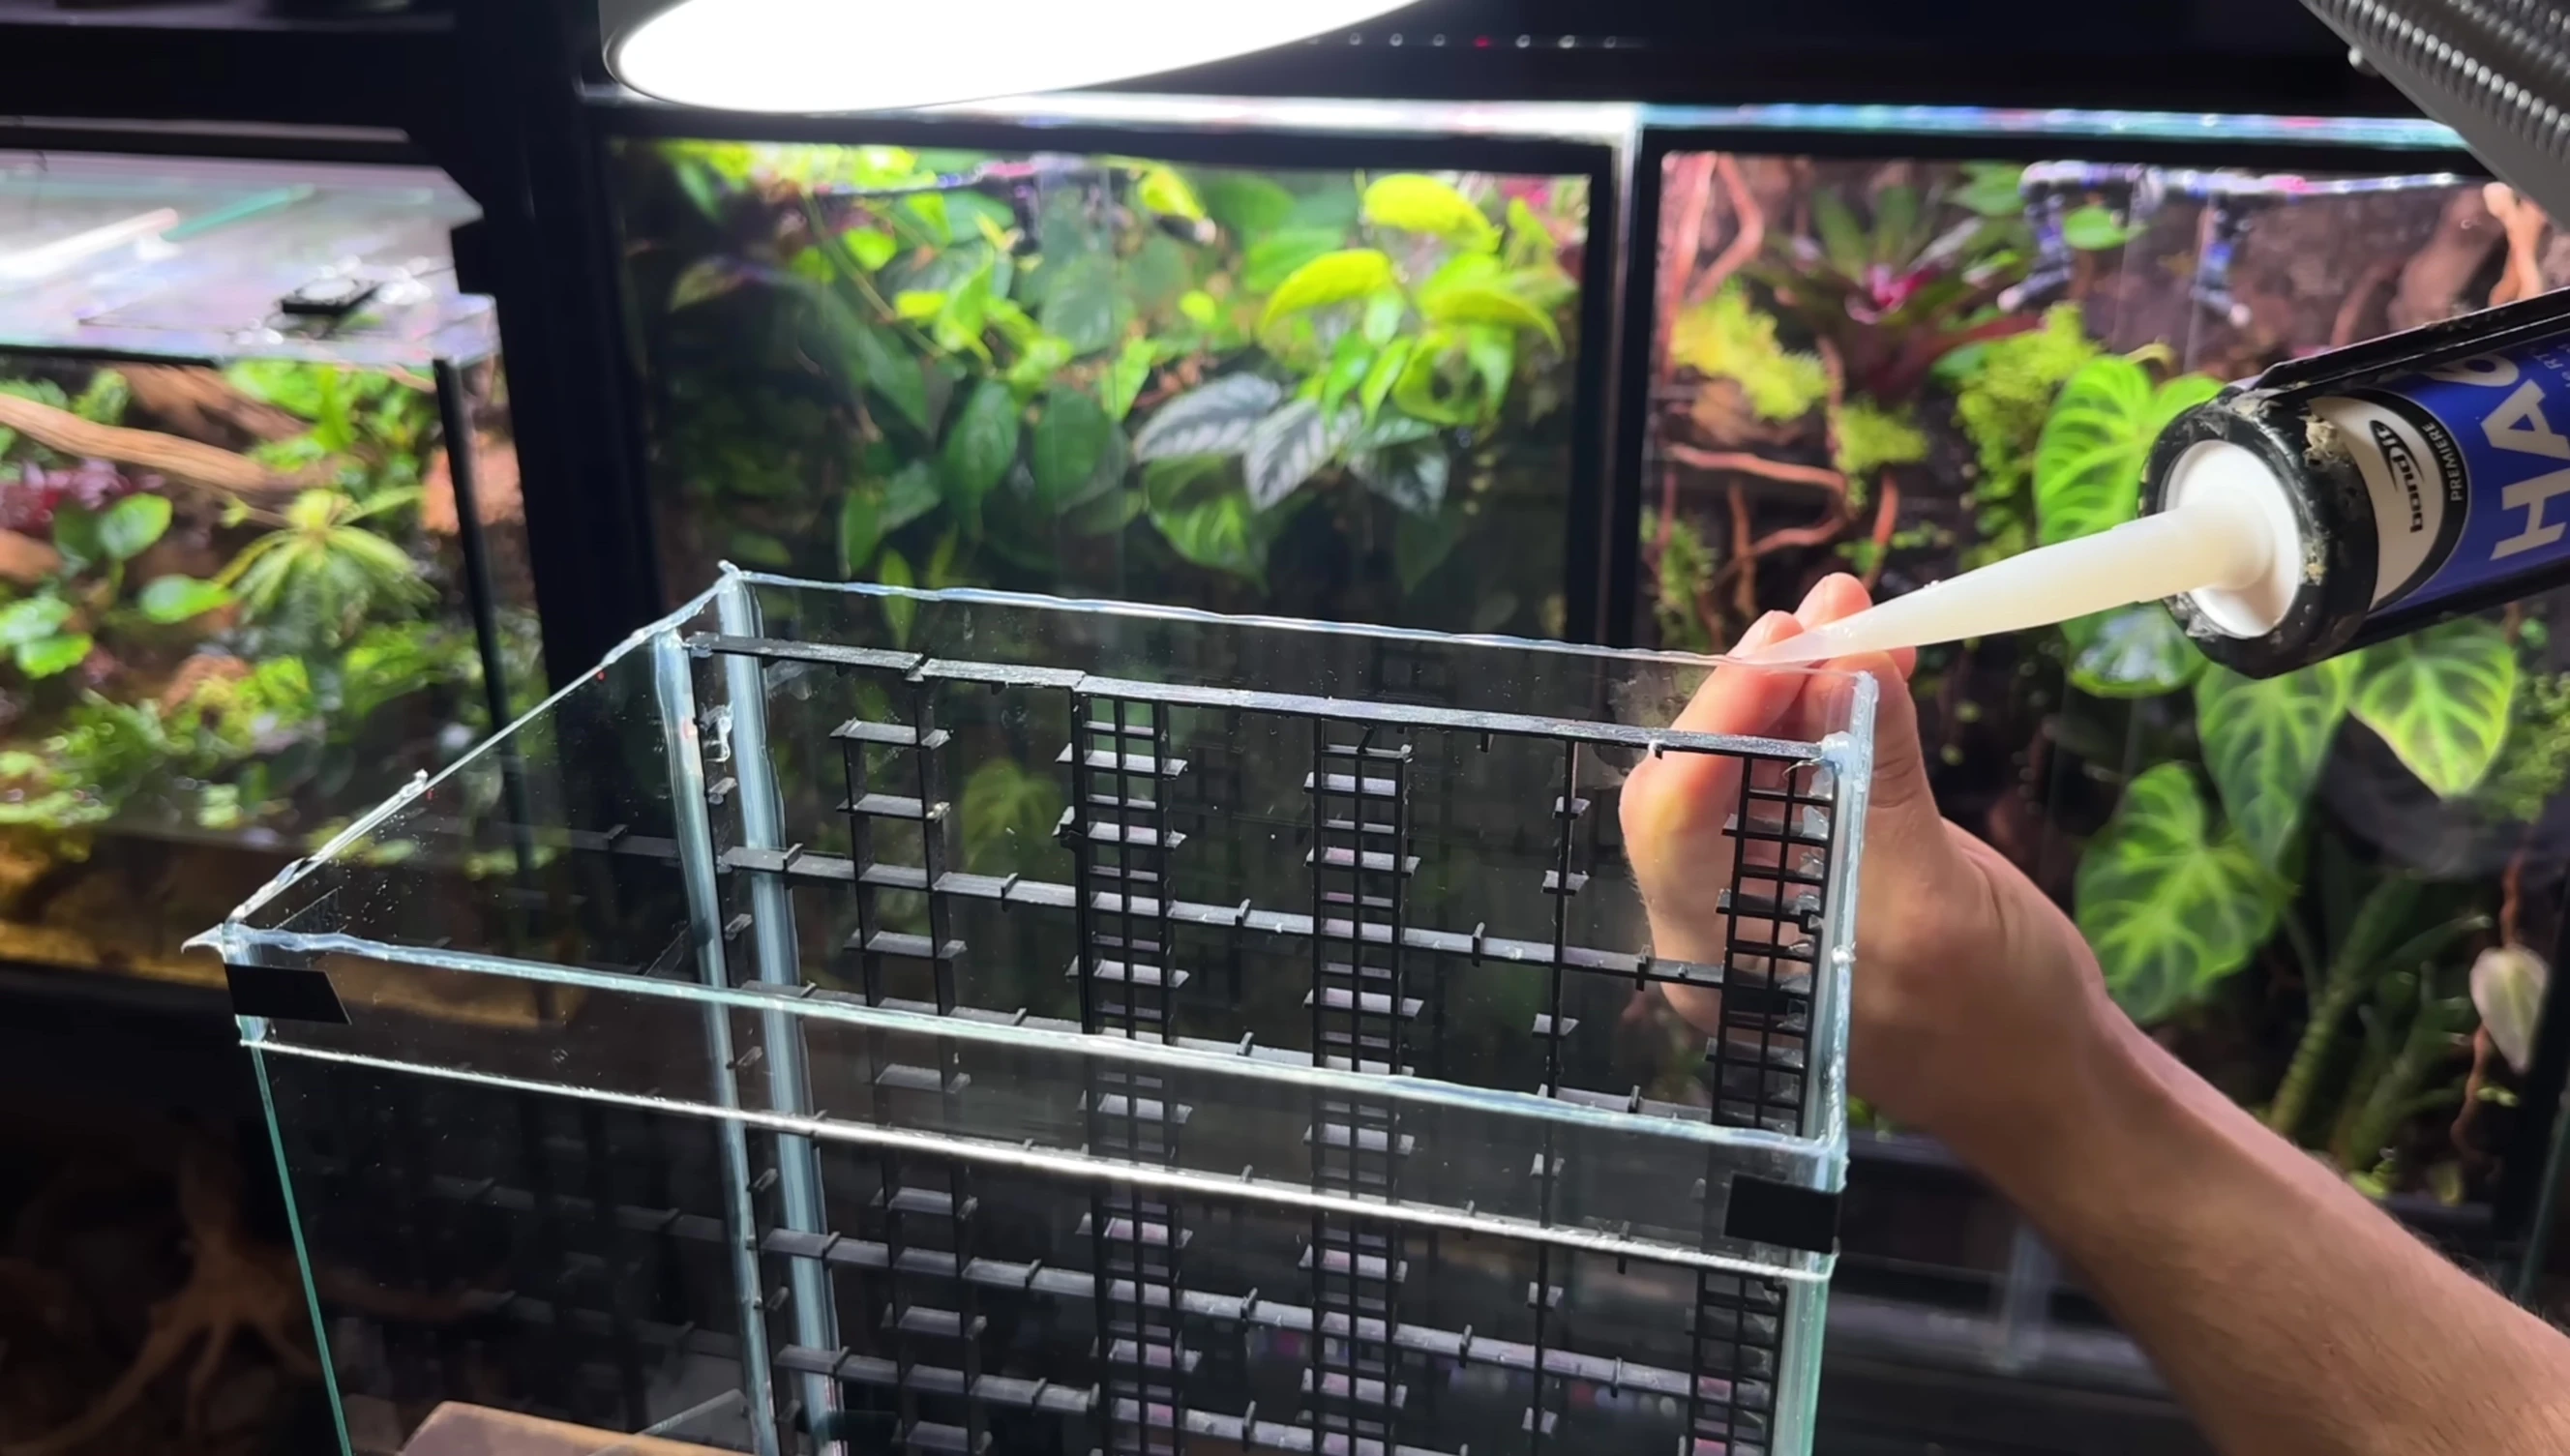
With all the glass pieces cut and sanded, it's time for assembly. Aquarium-grade silicone is essential for creating a watertight seal. A thin bead, no thinner than the glass thickness (2mm in this case), is applied to the edges.
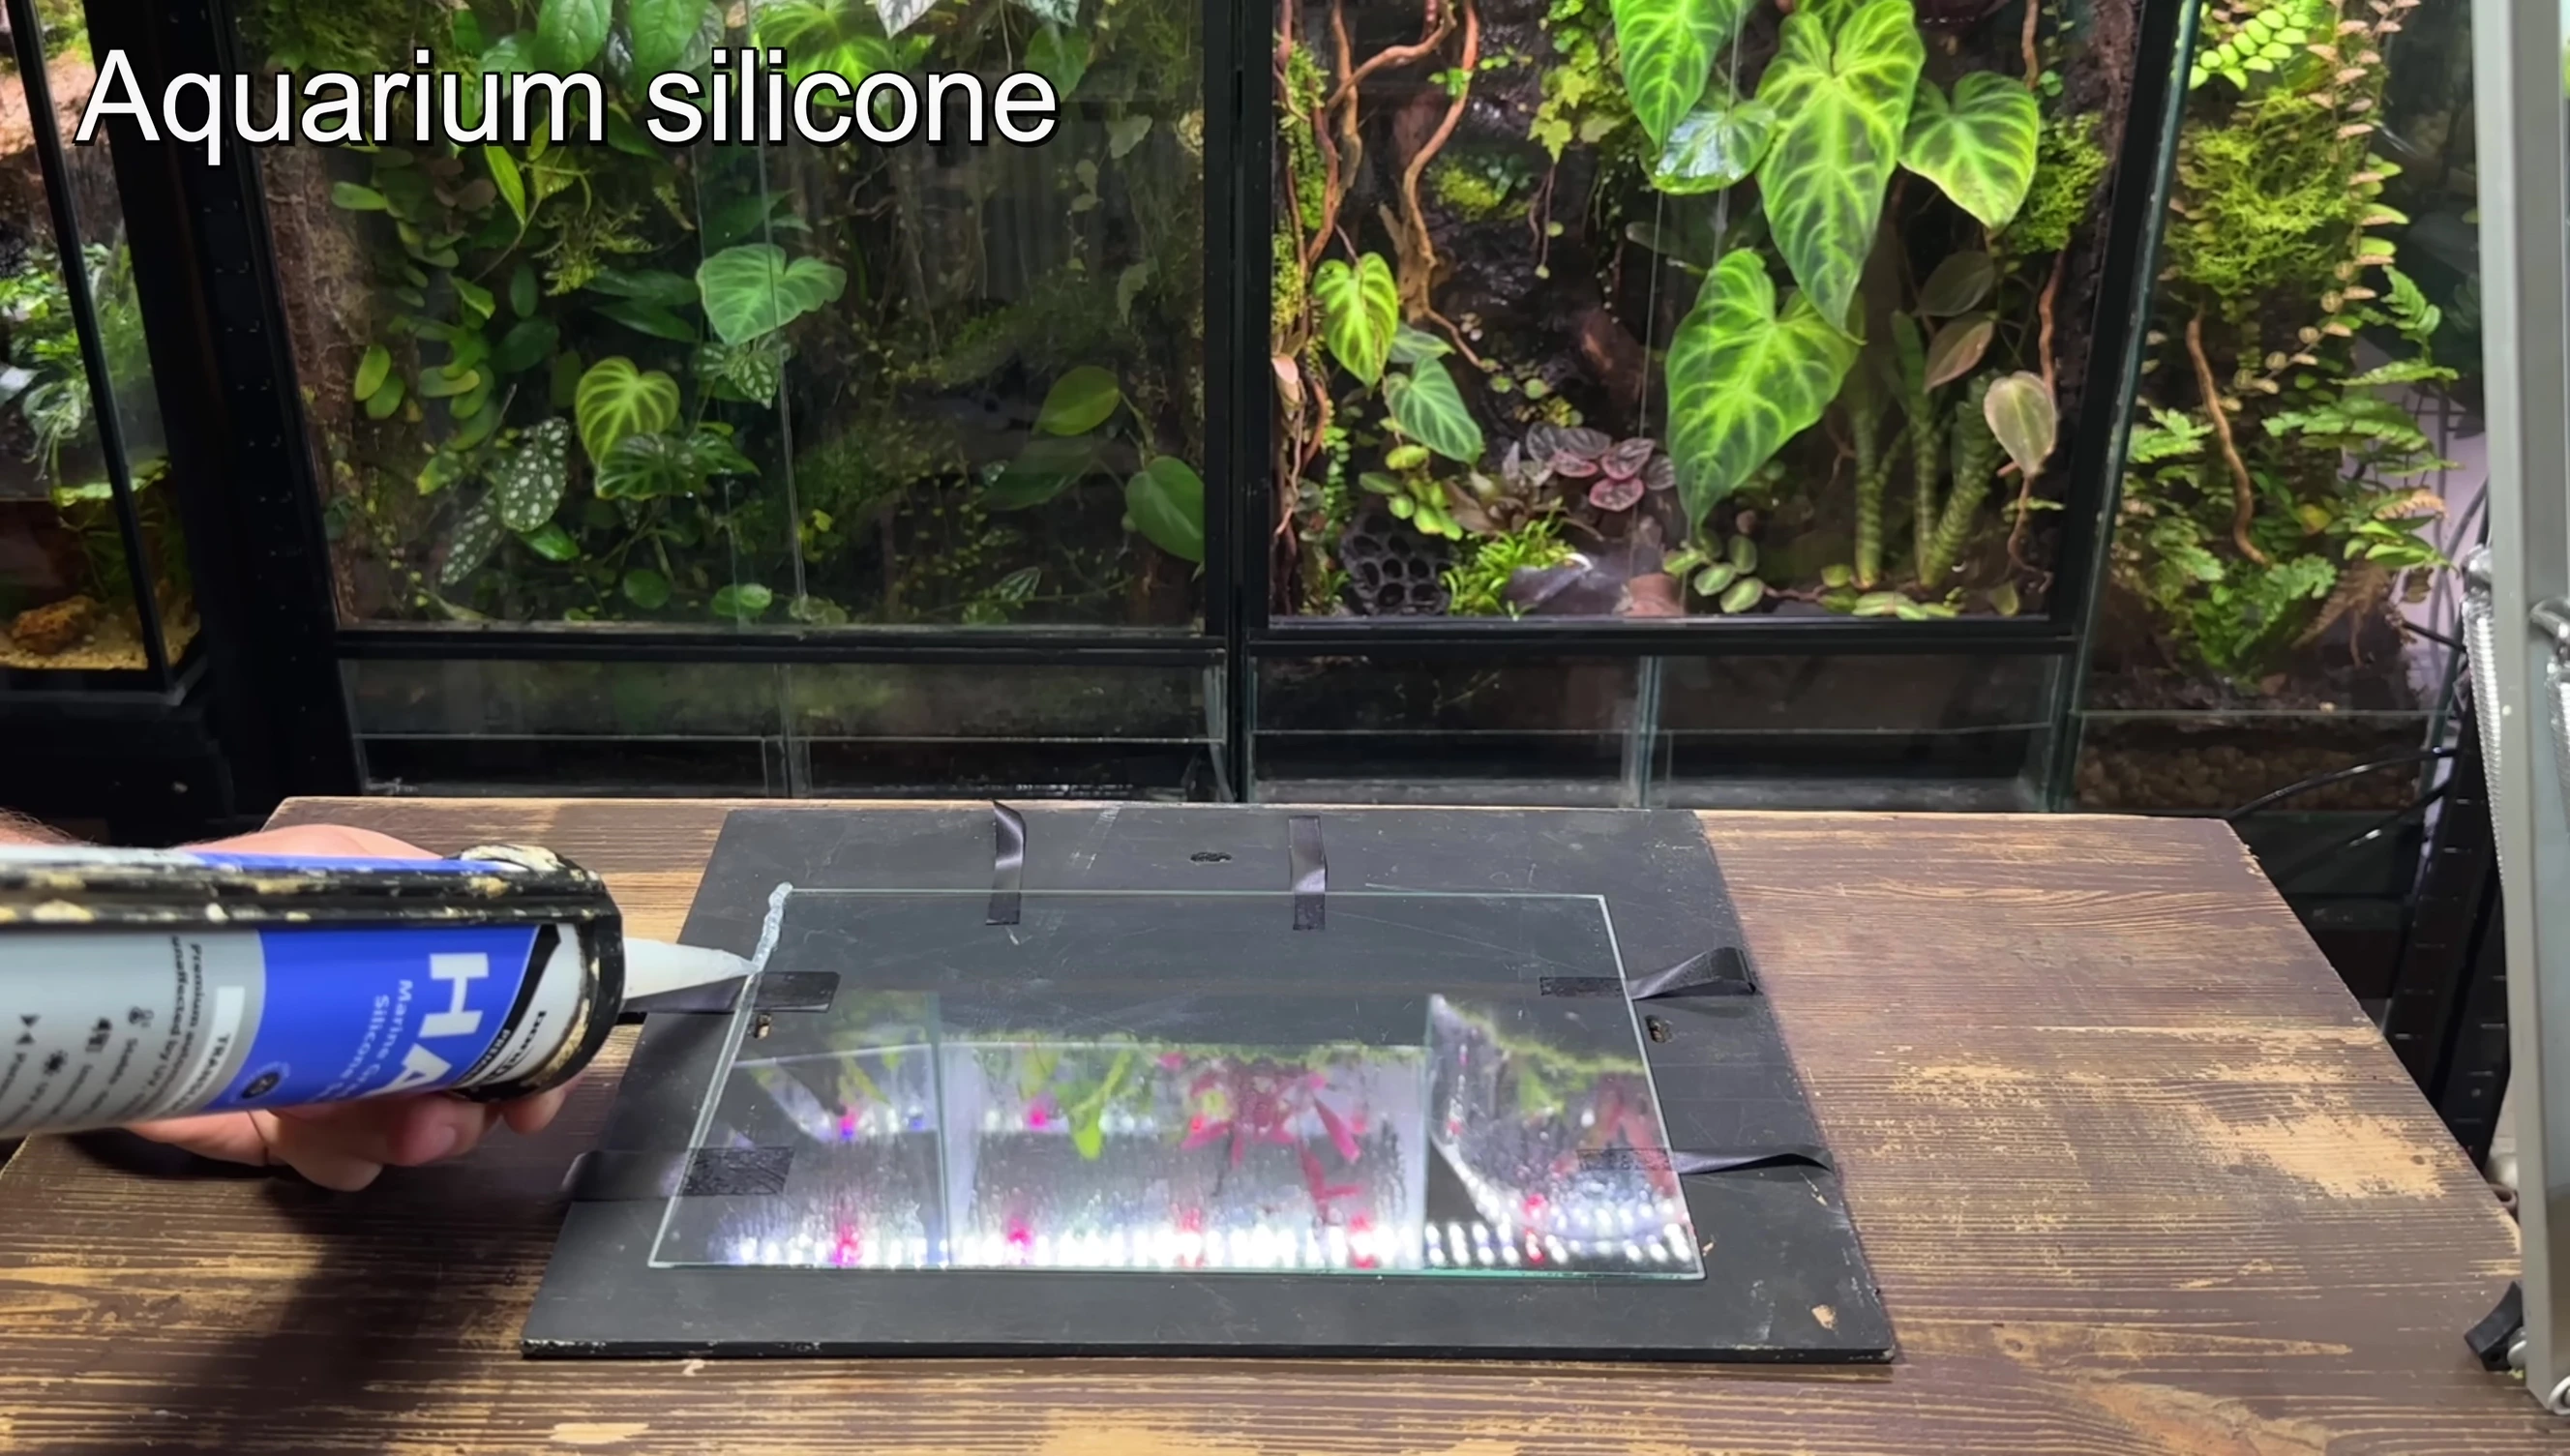
Careful assembly is critical to avoid shifting pieces while the silicone cures. A secondary bead of silicone is added to the interior seams and smoothed for a professional finish. Allowing 24 hours for the silicone to fully cure ensures a strong and durable seal.
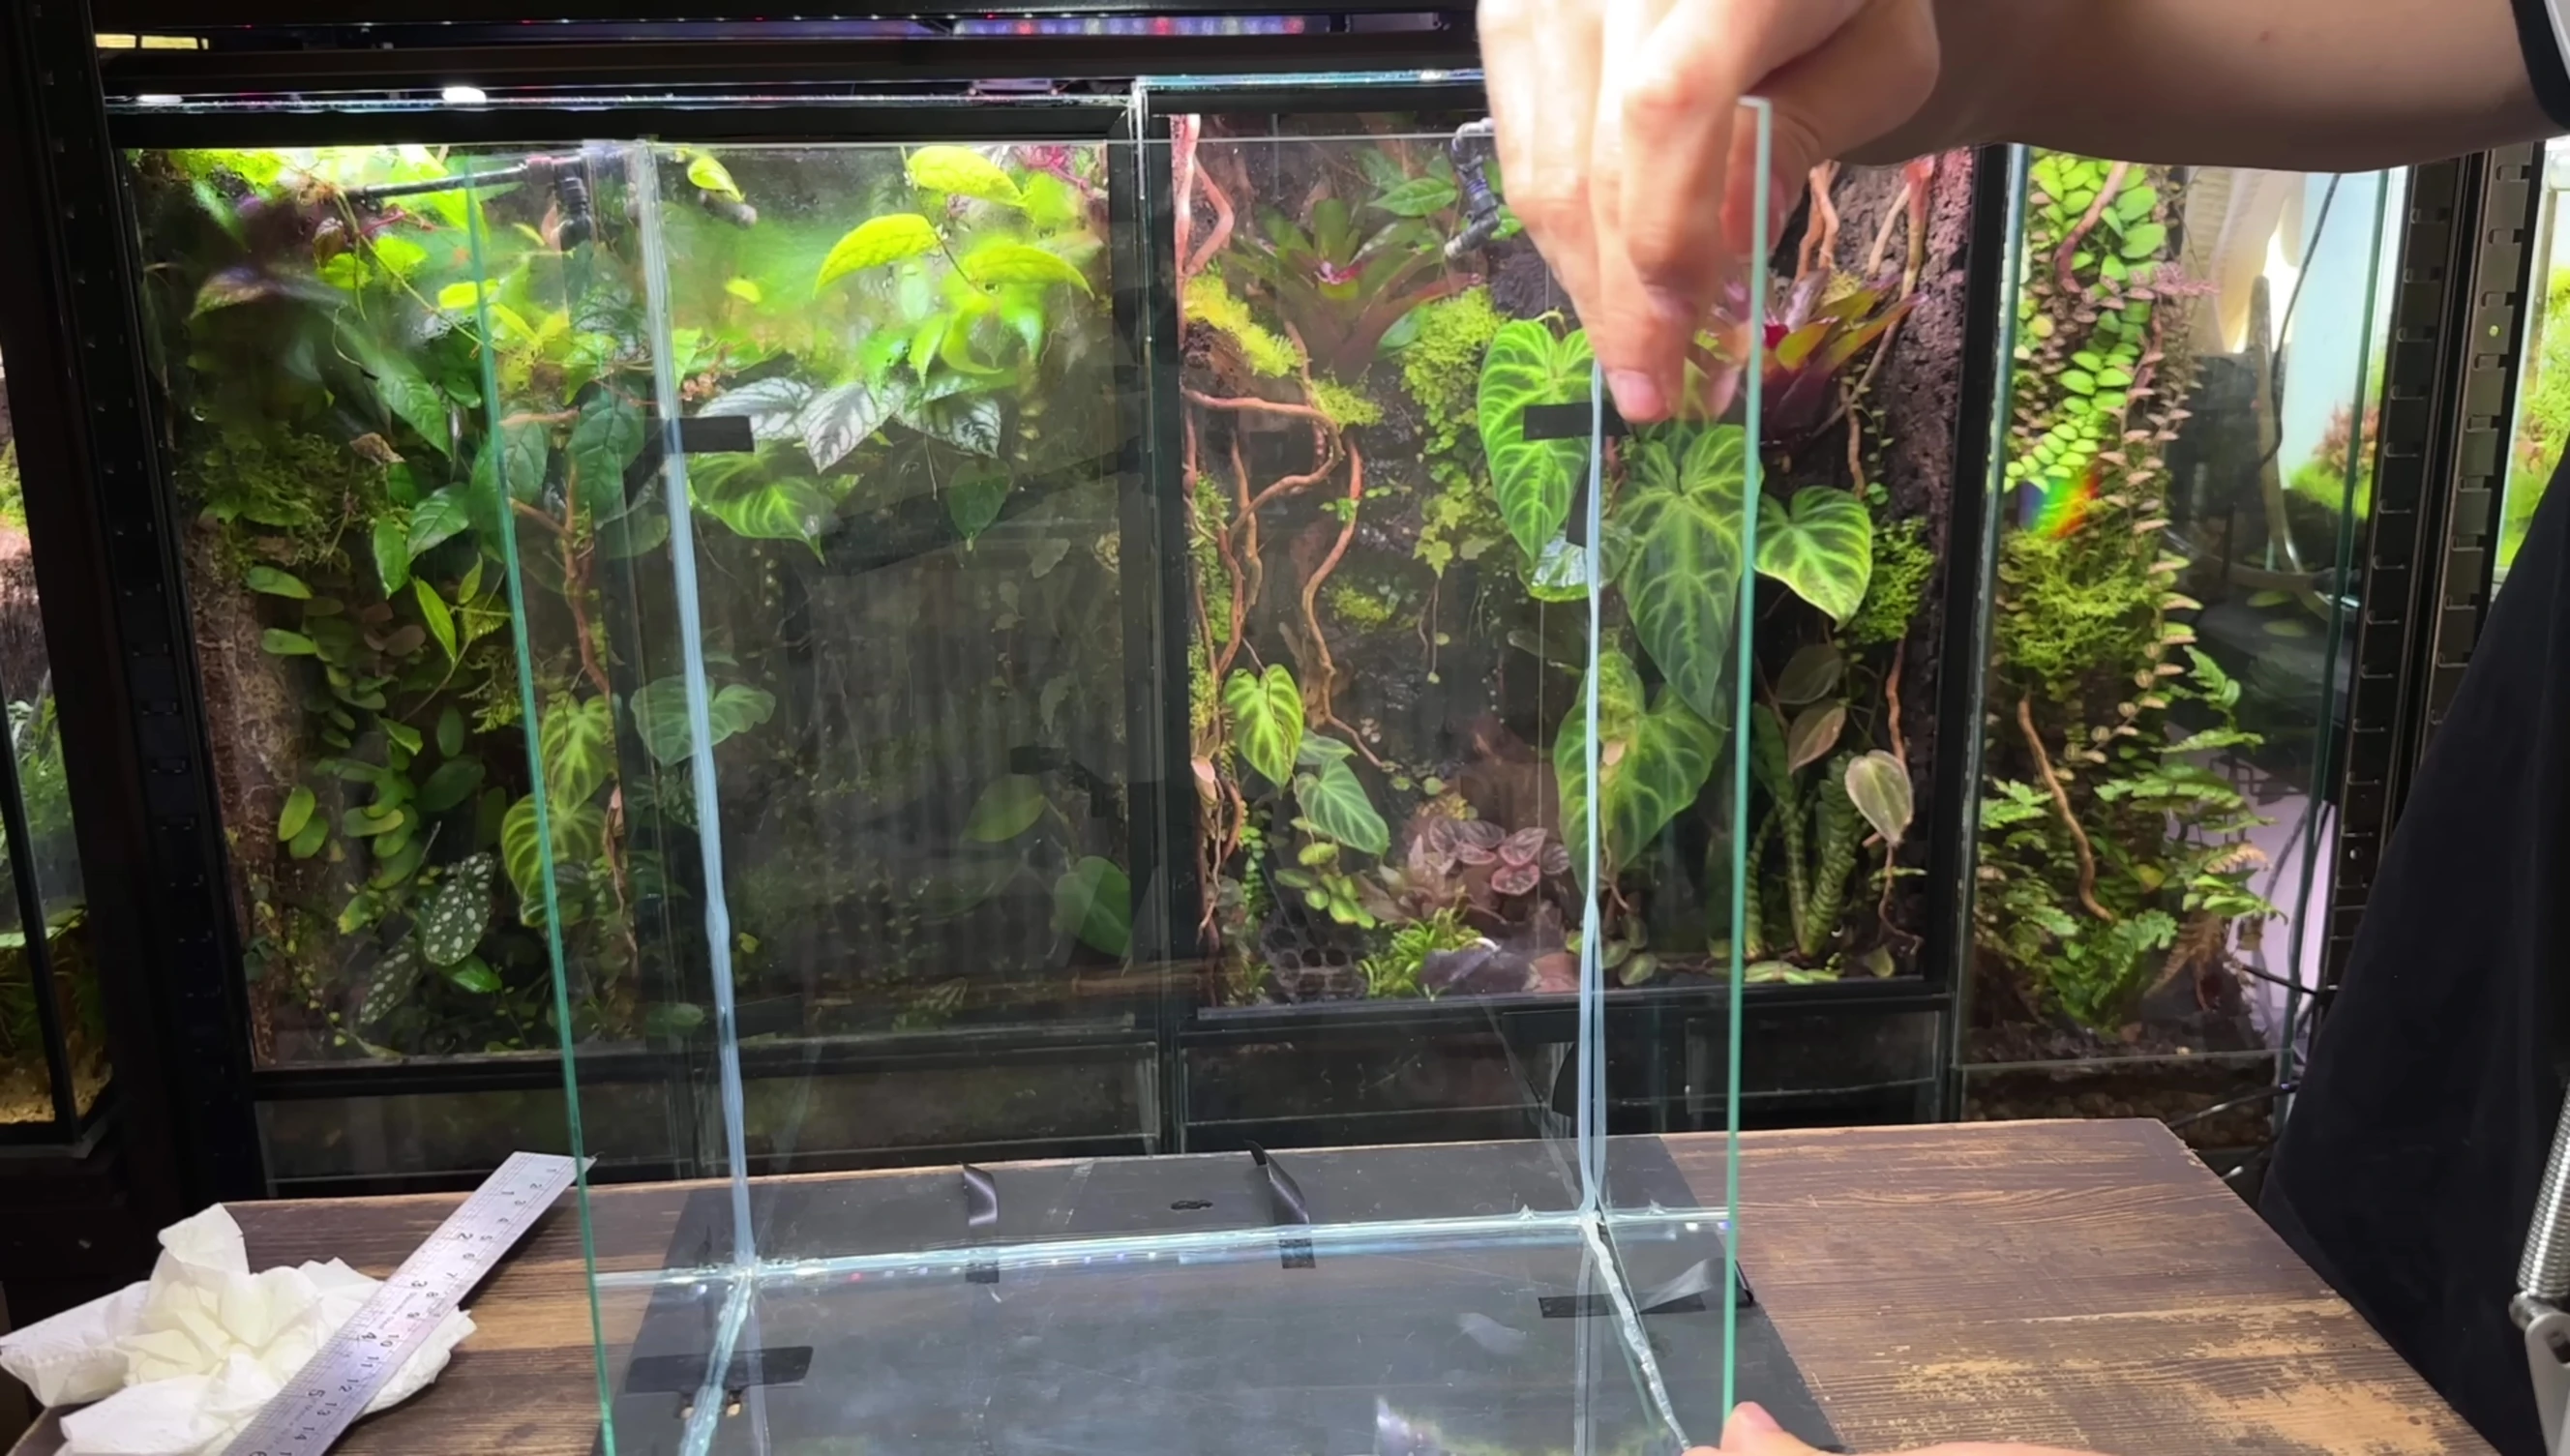
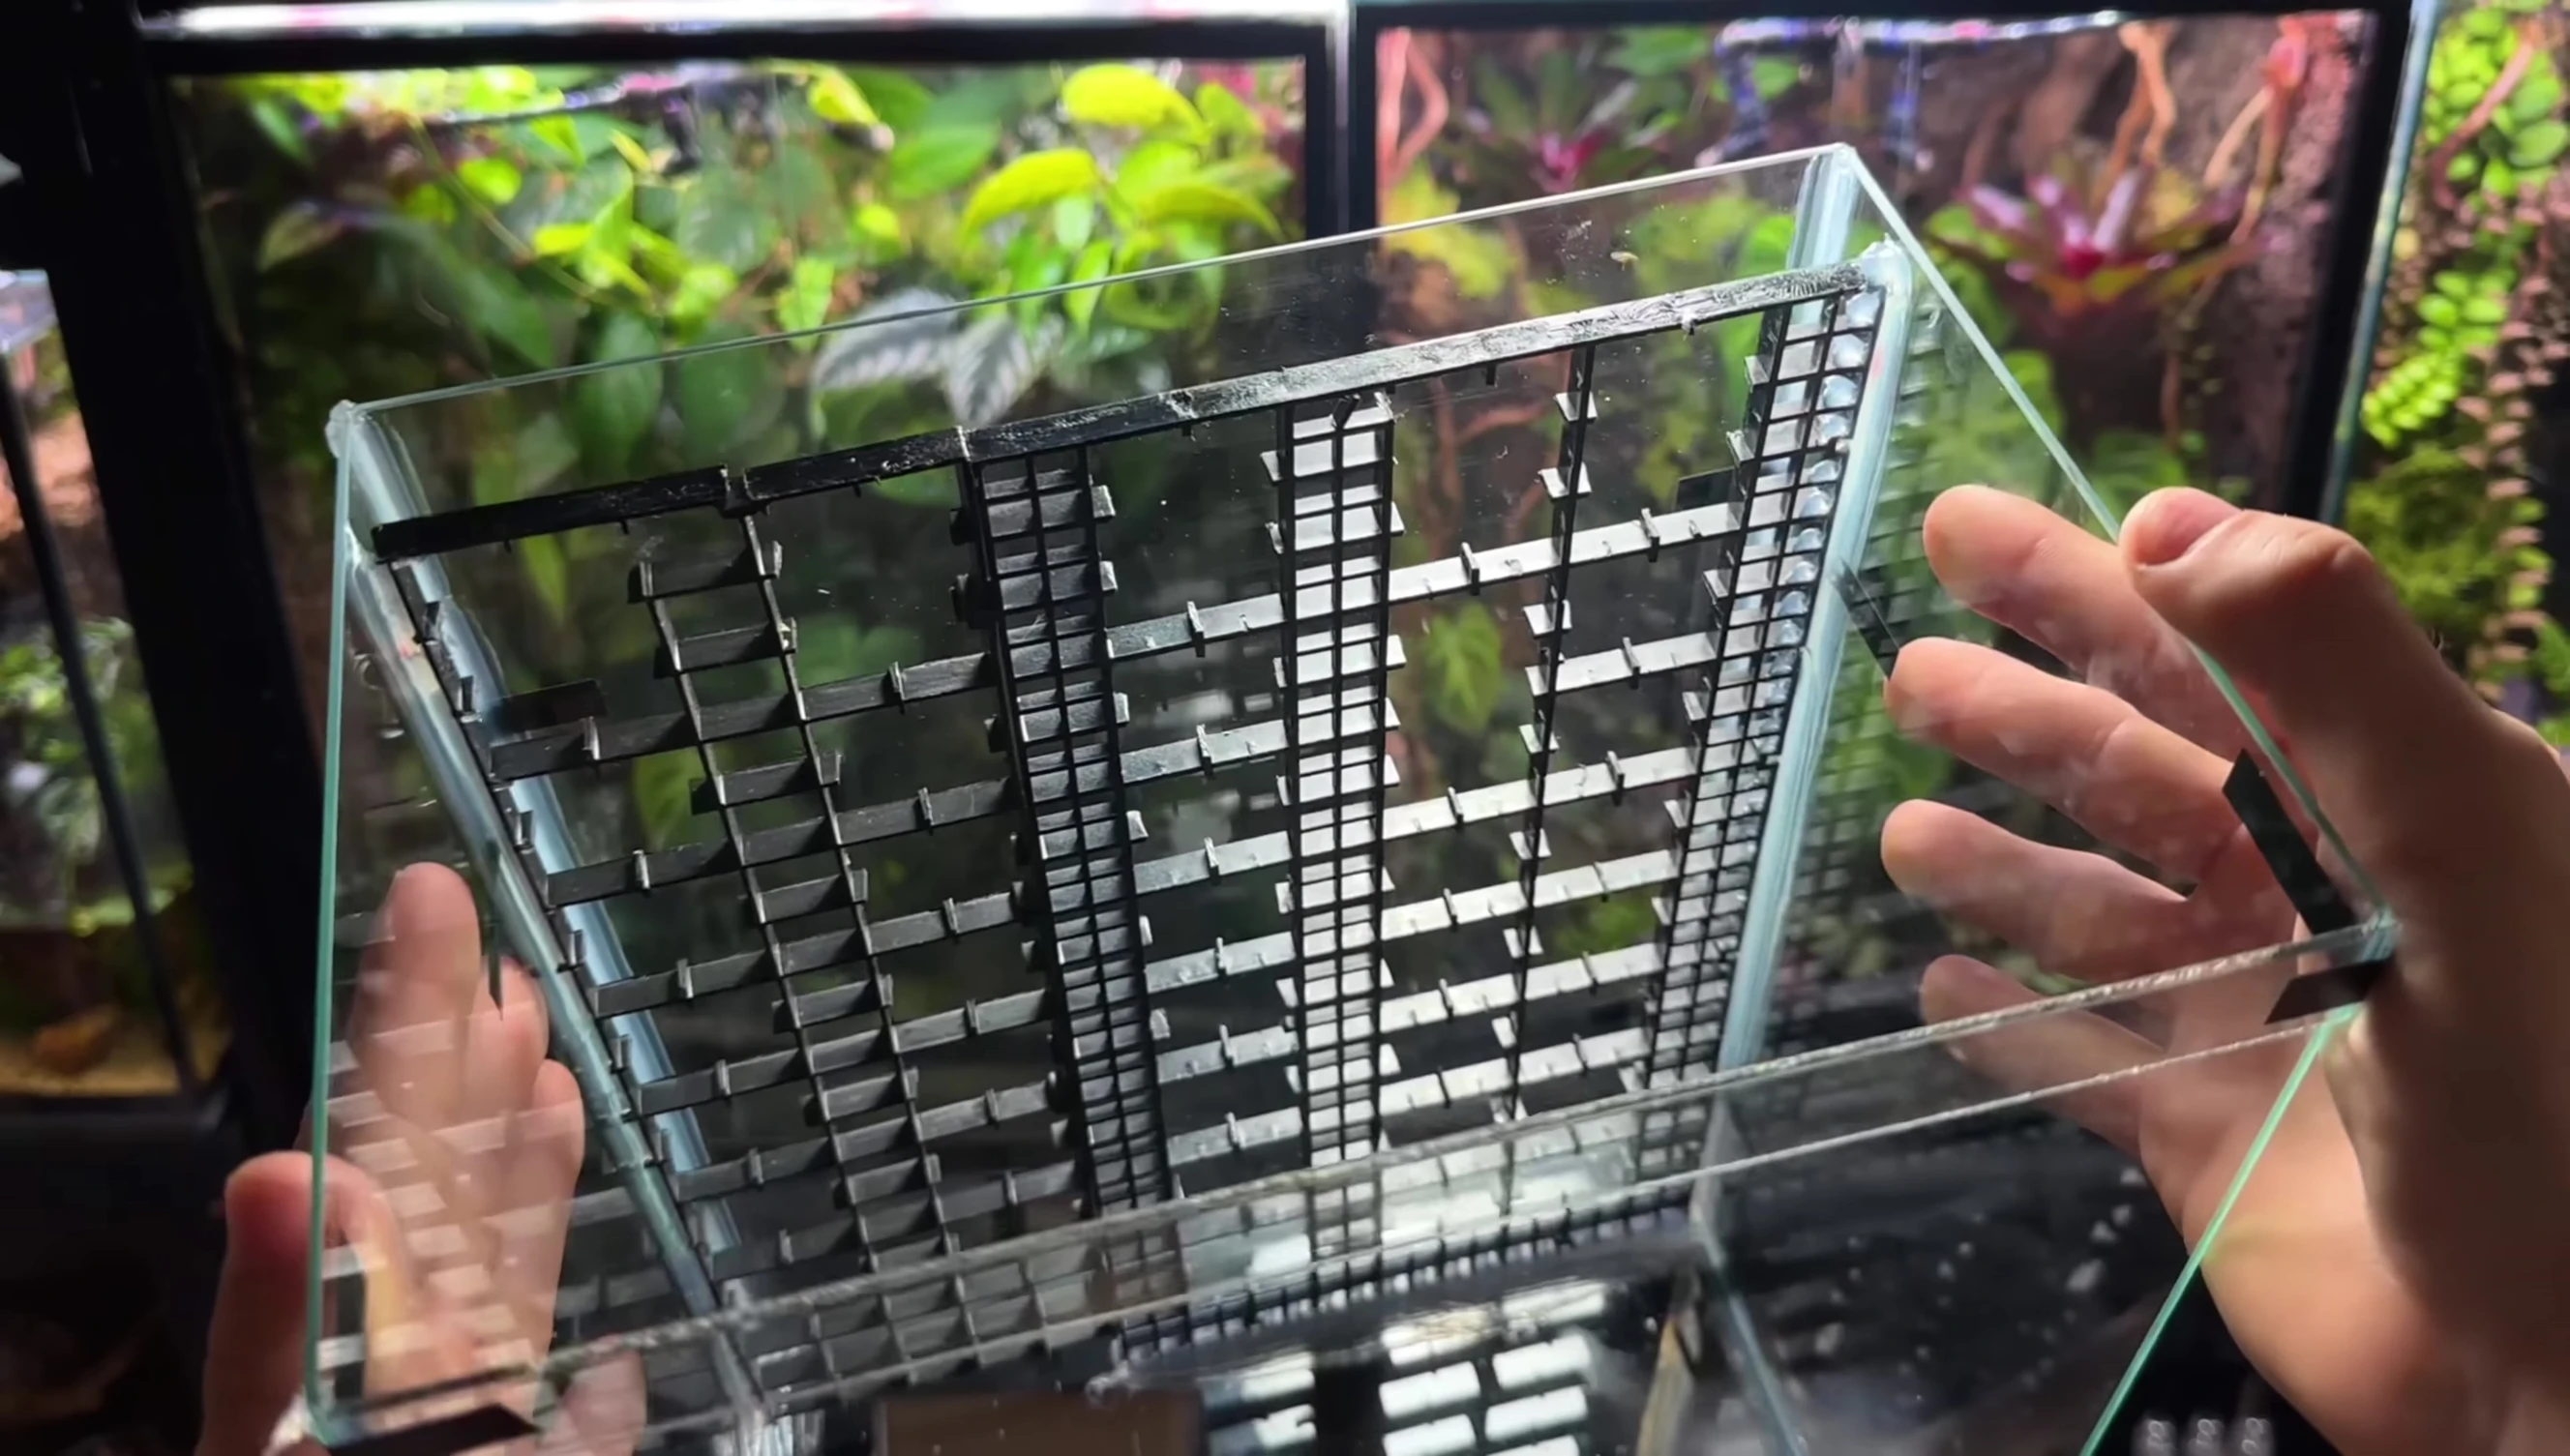
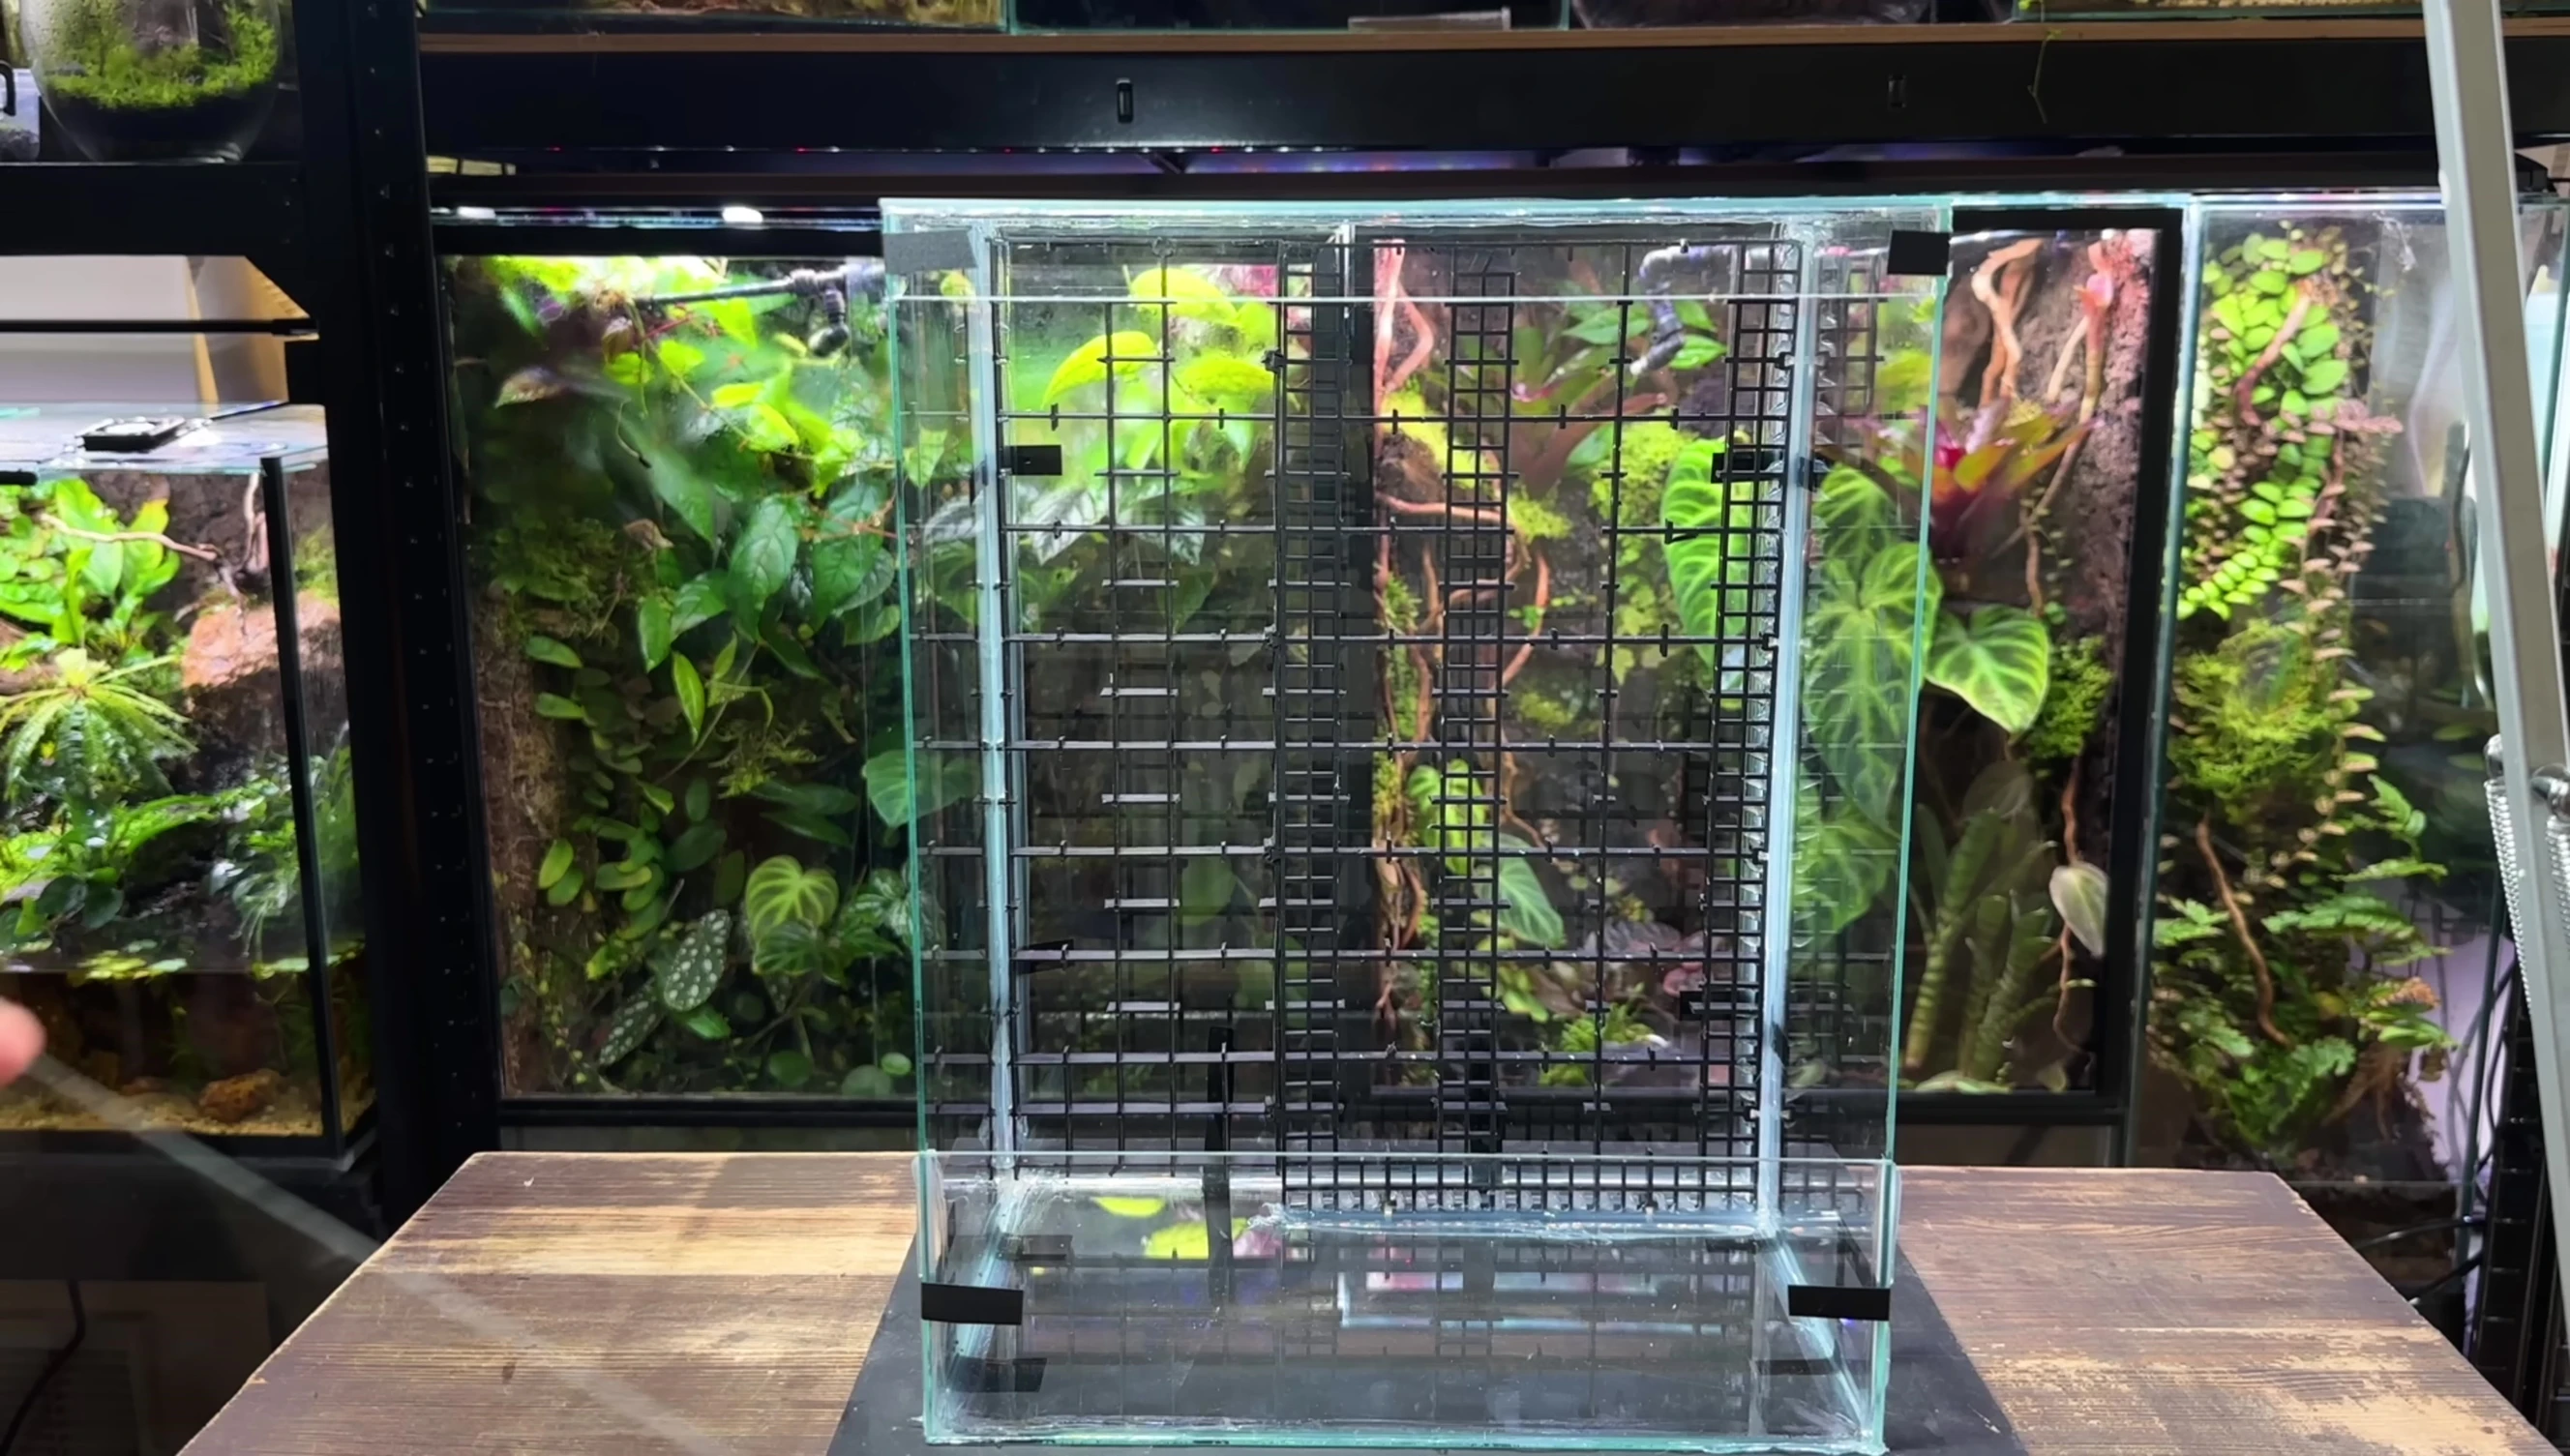
After curing, I added the back panel and lid, using more silicone and further enhancing the structure with egg crate dividers for moss and plant growth.
Creating the Lid and Ventilation
The lid consists of two glass pieces with a gap for ventilation, covered with window screen mesh. Masking tape helps to guide the silicone application and keep the mesh secure. Silicone is applied in two beads, creating a sandwich effect around the mesh to ensure a secure and durable seal.
The silicone is smoothed with a ruler to create a neat finish. Remember to glide the ruler gently to avoid removing the silicone. Once the silicone cures, the masking tape is removed, leaving a clean vent for airflow.
The front of the terrarium is completed with a glass door, carefully attached using silicone and electrical tape for initial placement, creating a hinged system for easy access.
Preparing the Terrarium Interior
Before adding plants, I added a drainage layer (leca) for excess water, ensuring a flat and even surface. This prevents waterlogging the substrate.

The background was prepared with sphagnum moss, wedged behind the egg crate, its excellent water retention qualities promoting high humidity ideal for tropical plants. A window screen mesh acts as a substrate barrier.
Terrarium substrate was added on top of the mesh barrier. I used a pre-mixed blend; details on creating this mix can be found in a separate video tutorial on my channel.
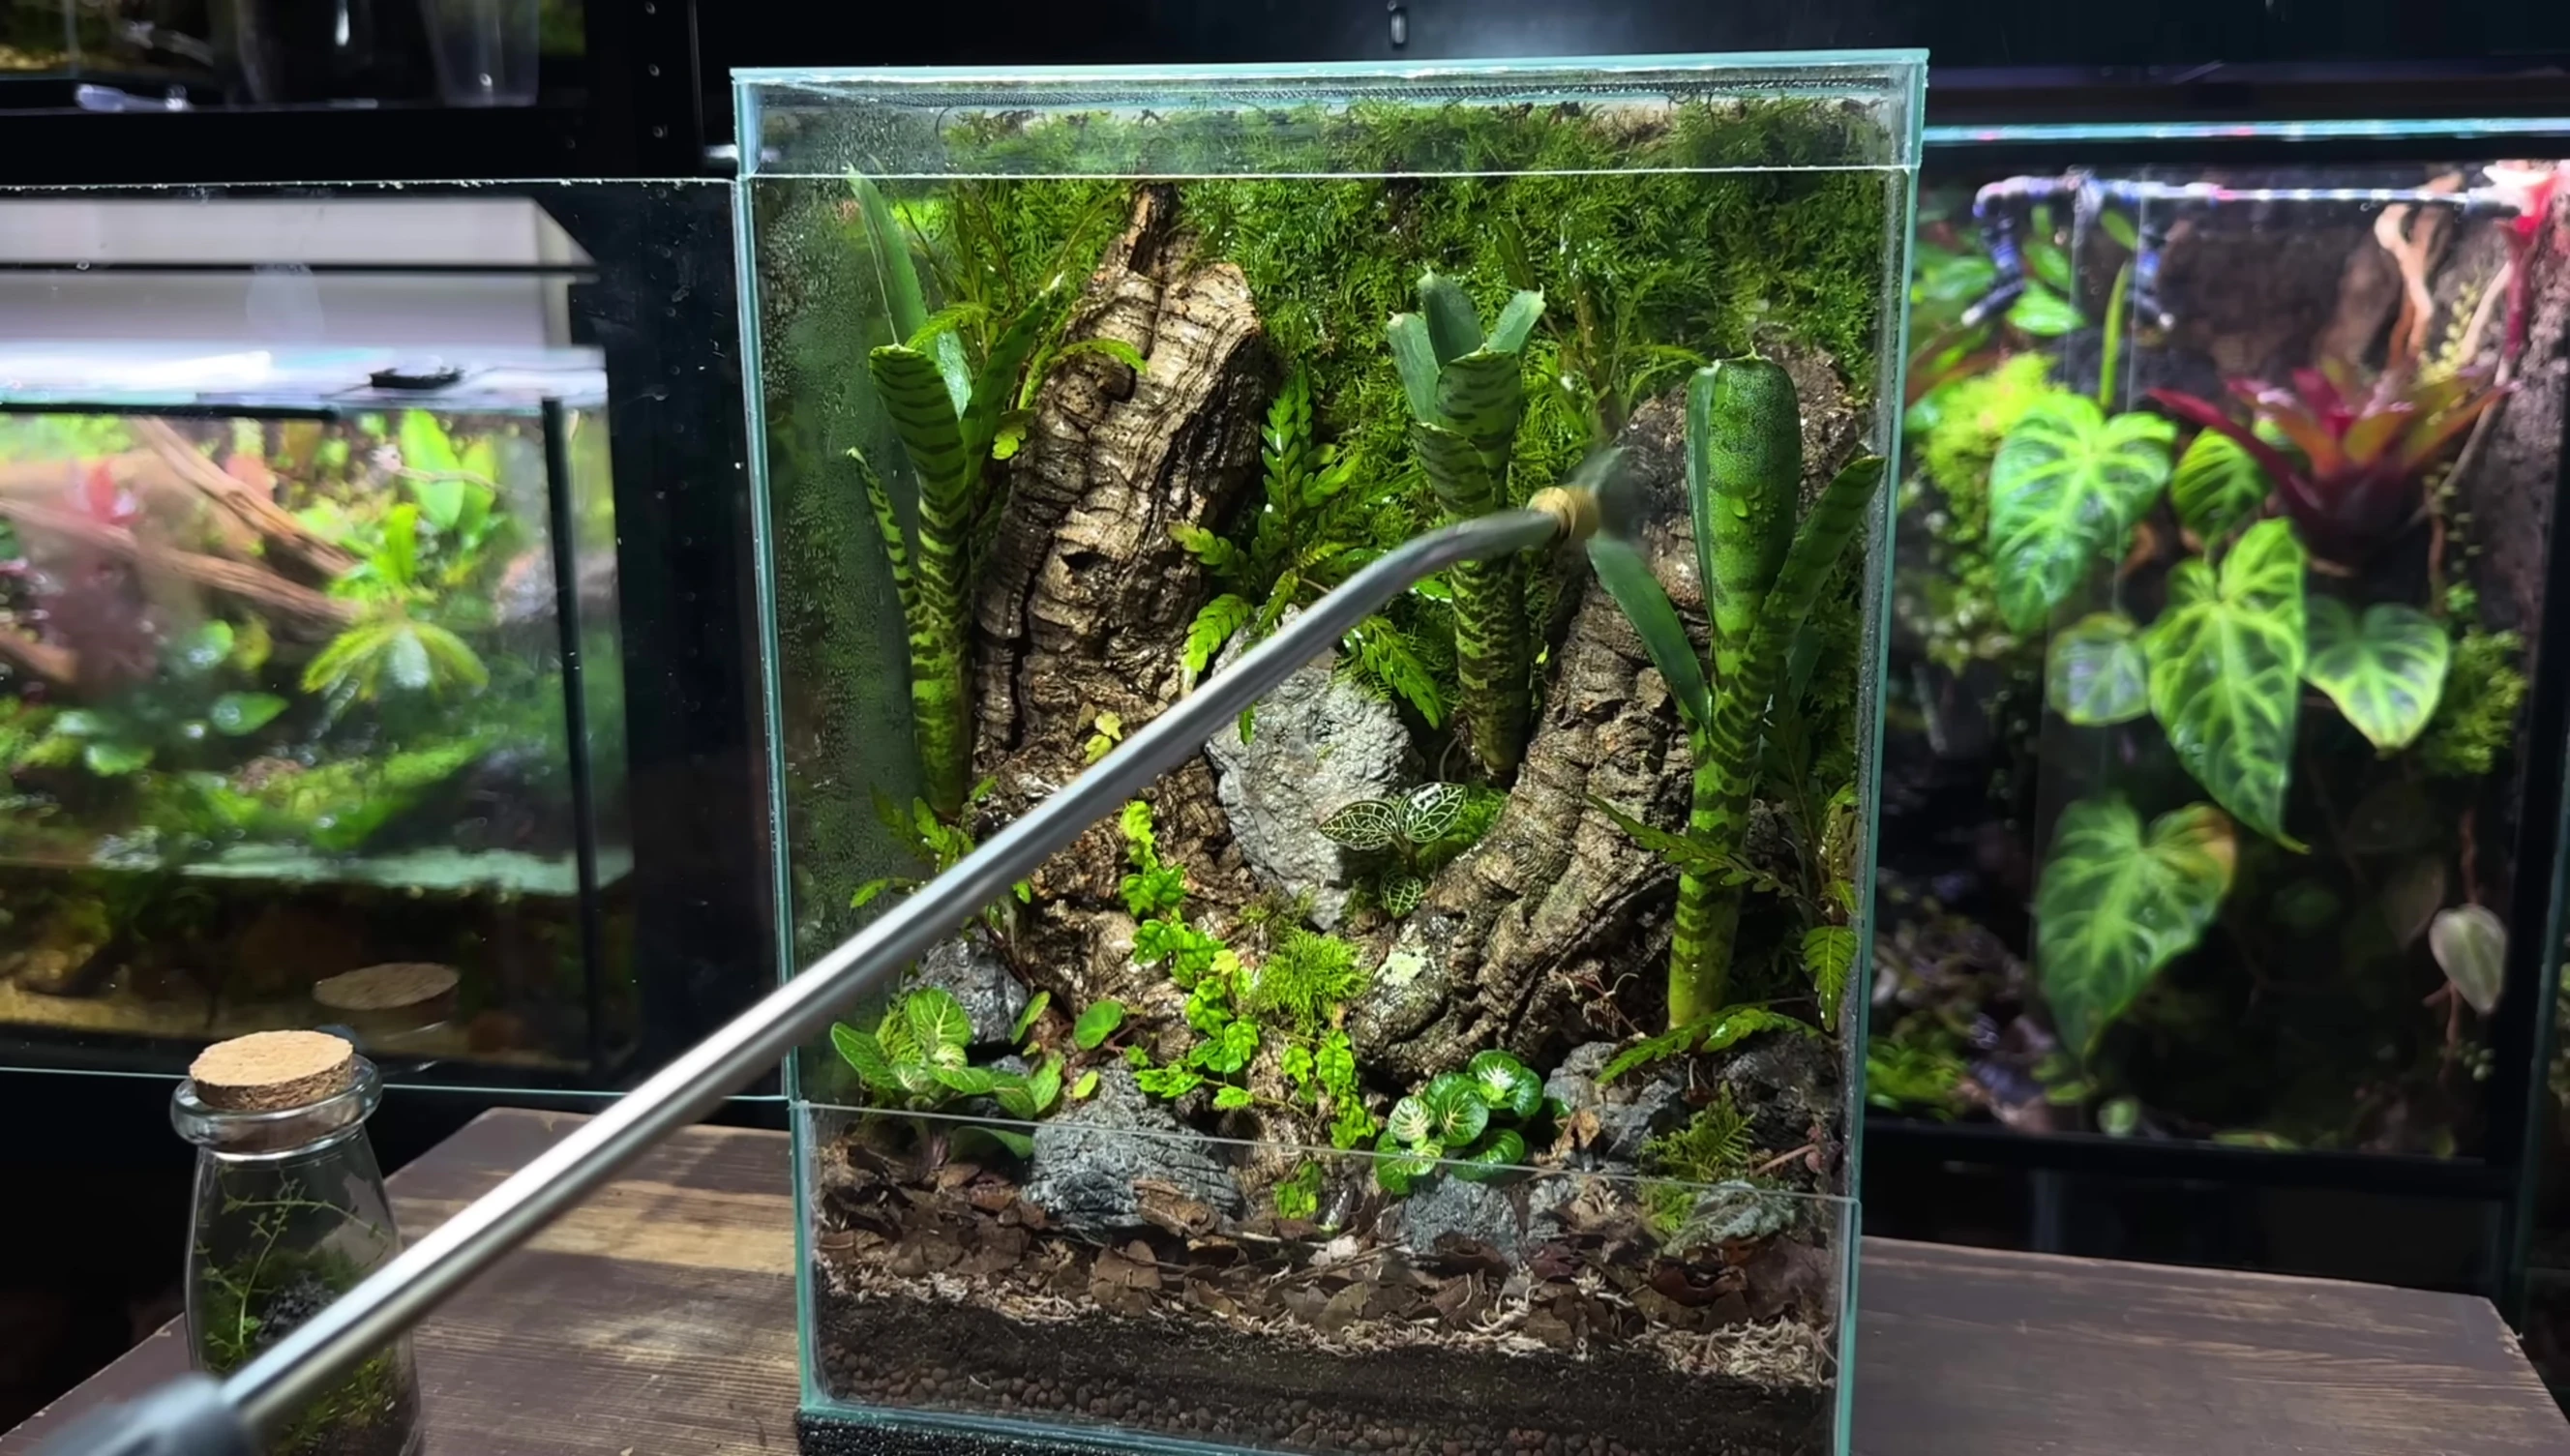
Hardscaping and Planting
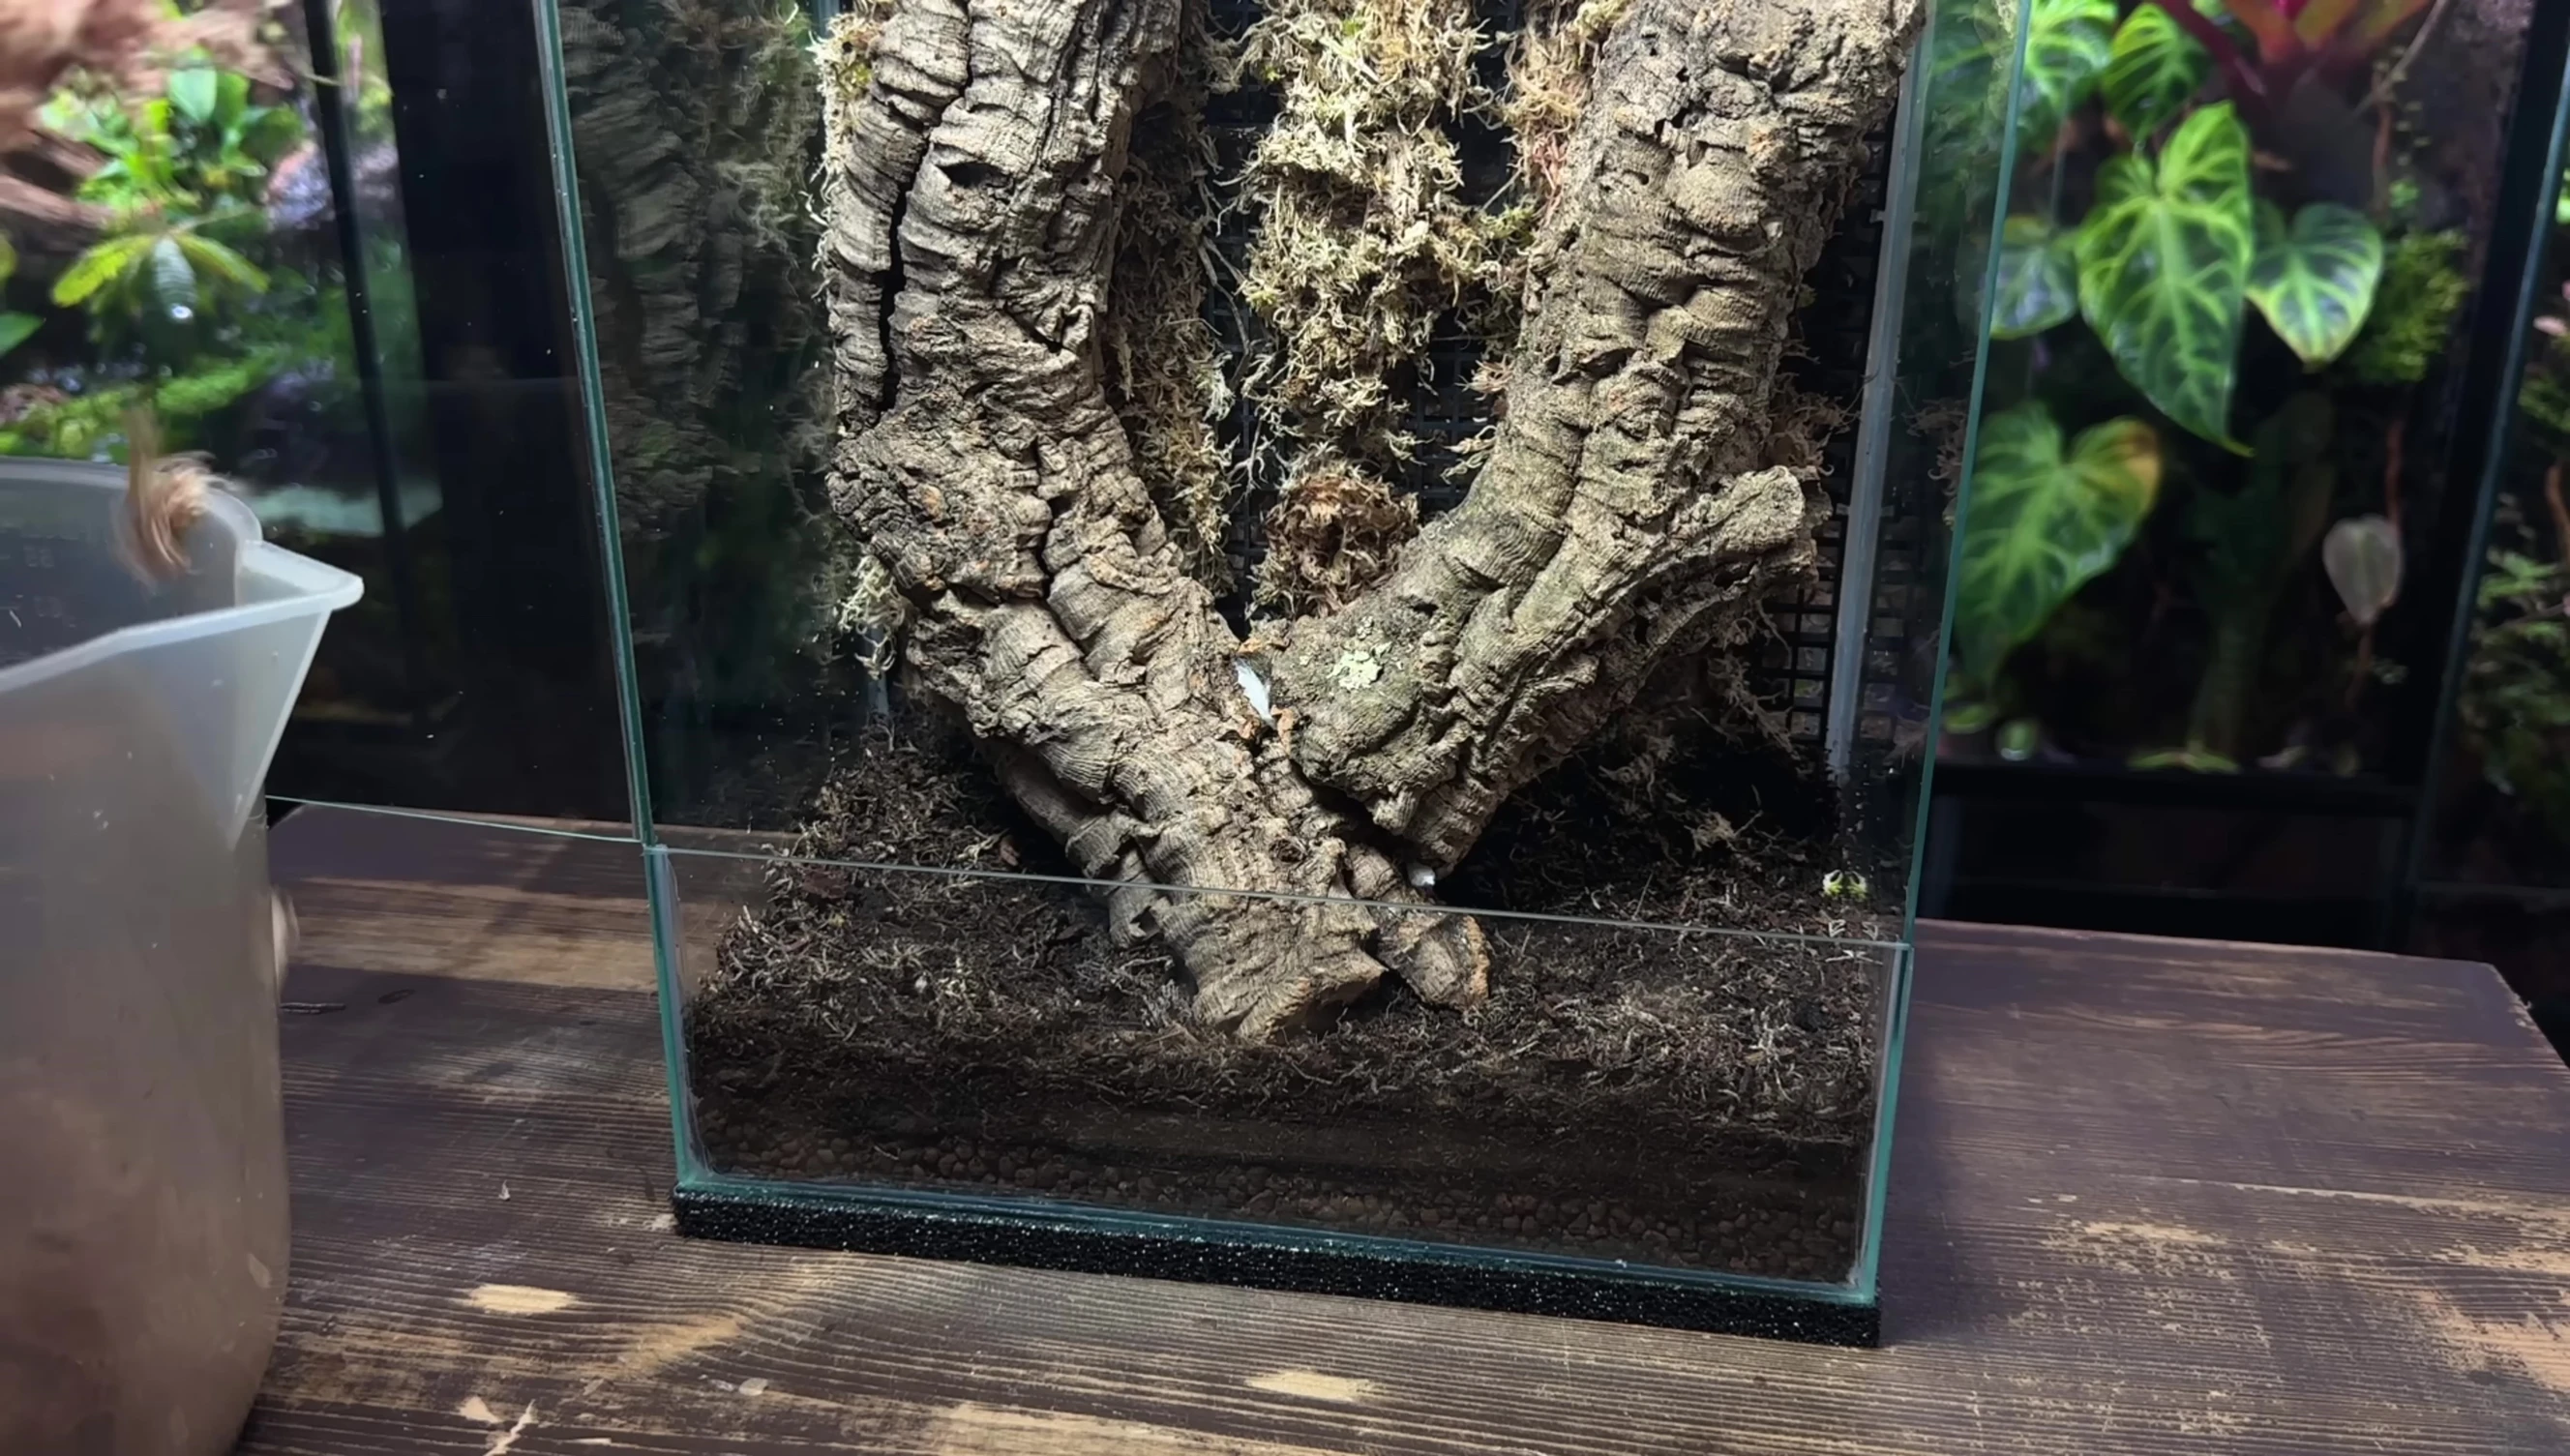
Cork bark branches were arranged to mimic a fallen tree, secured with superglue and tissue paper for a strong bond. They were also affixed to the egg crate for added stability.

A layer of sphagnum moss was added to create a supportive base for delicate plants. Geor rocks provided additional textural interest and detail.
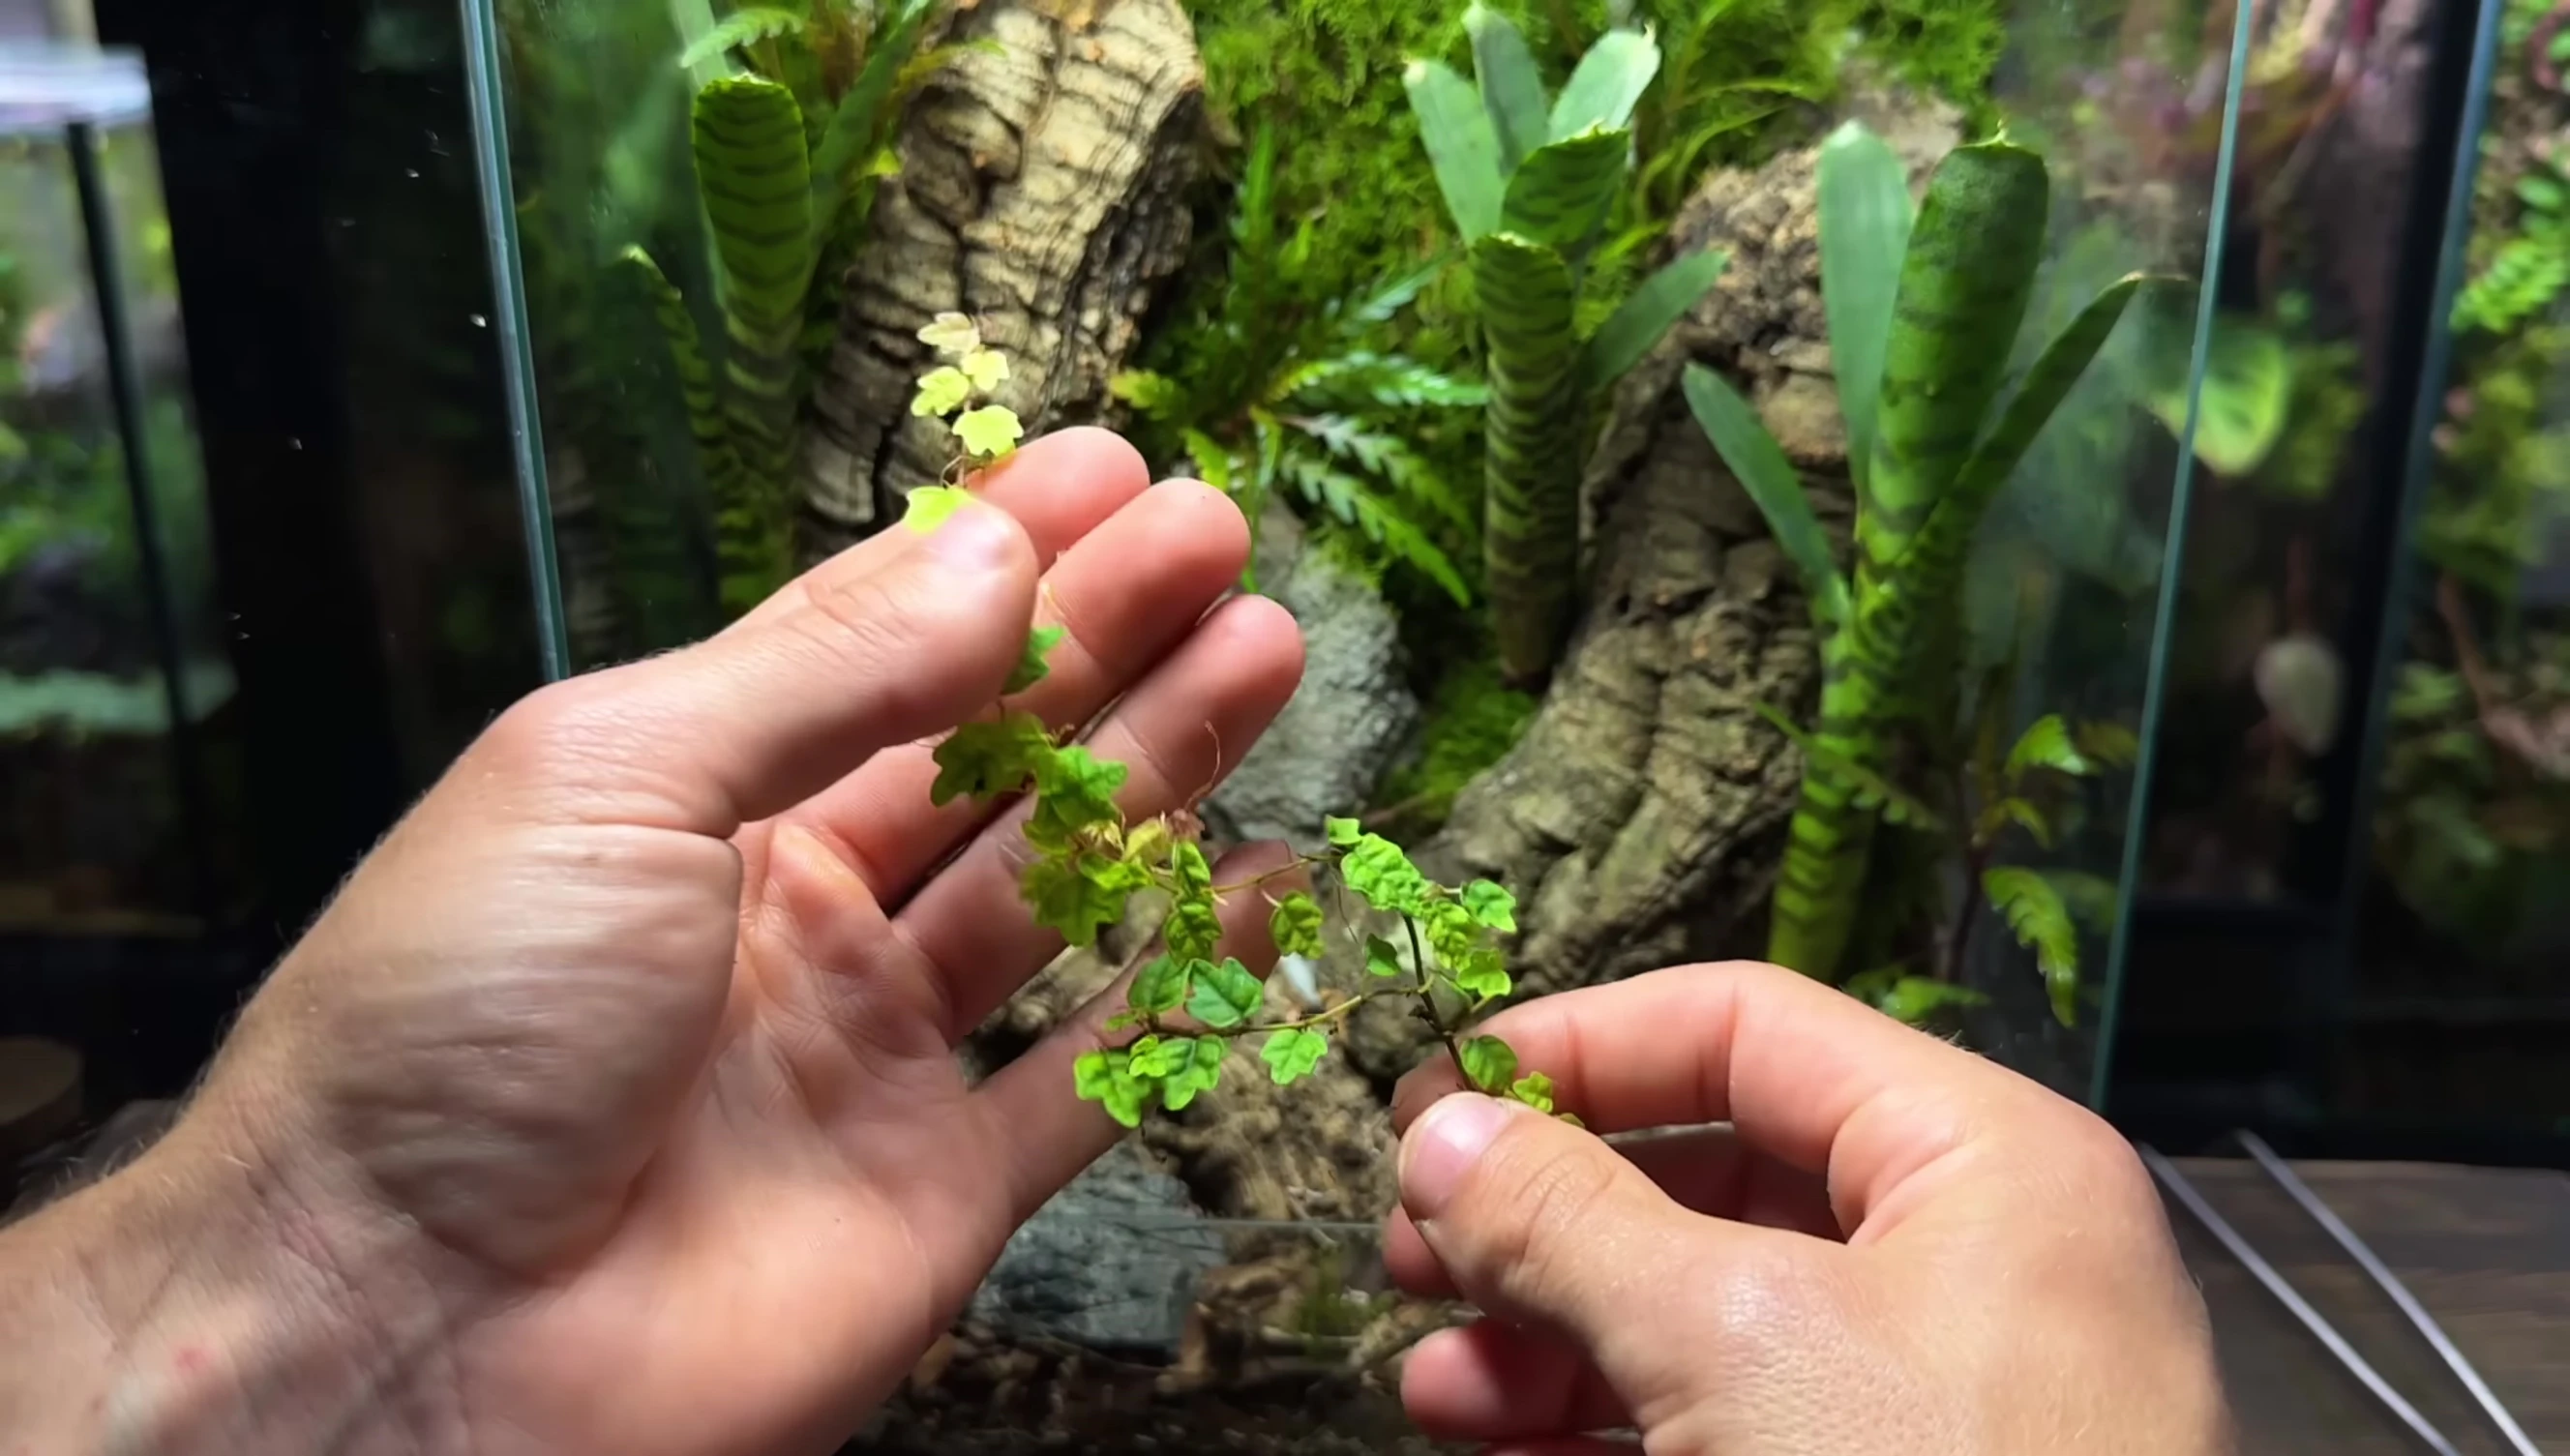
Various plants were carefully added, including fern moss, bromeliads, and Ficus cuttings, each strategically placed to create a lush and thriving ecosystem. Some plants were secured with gel superglue or thread.
Final Touches and Mantis Introduction
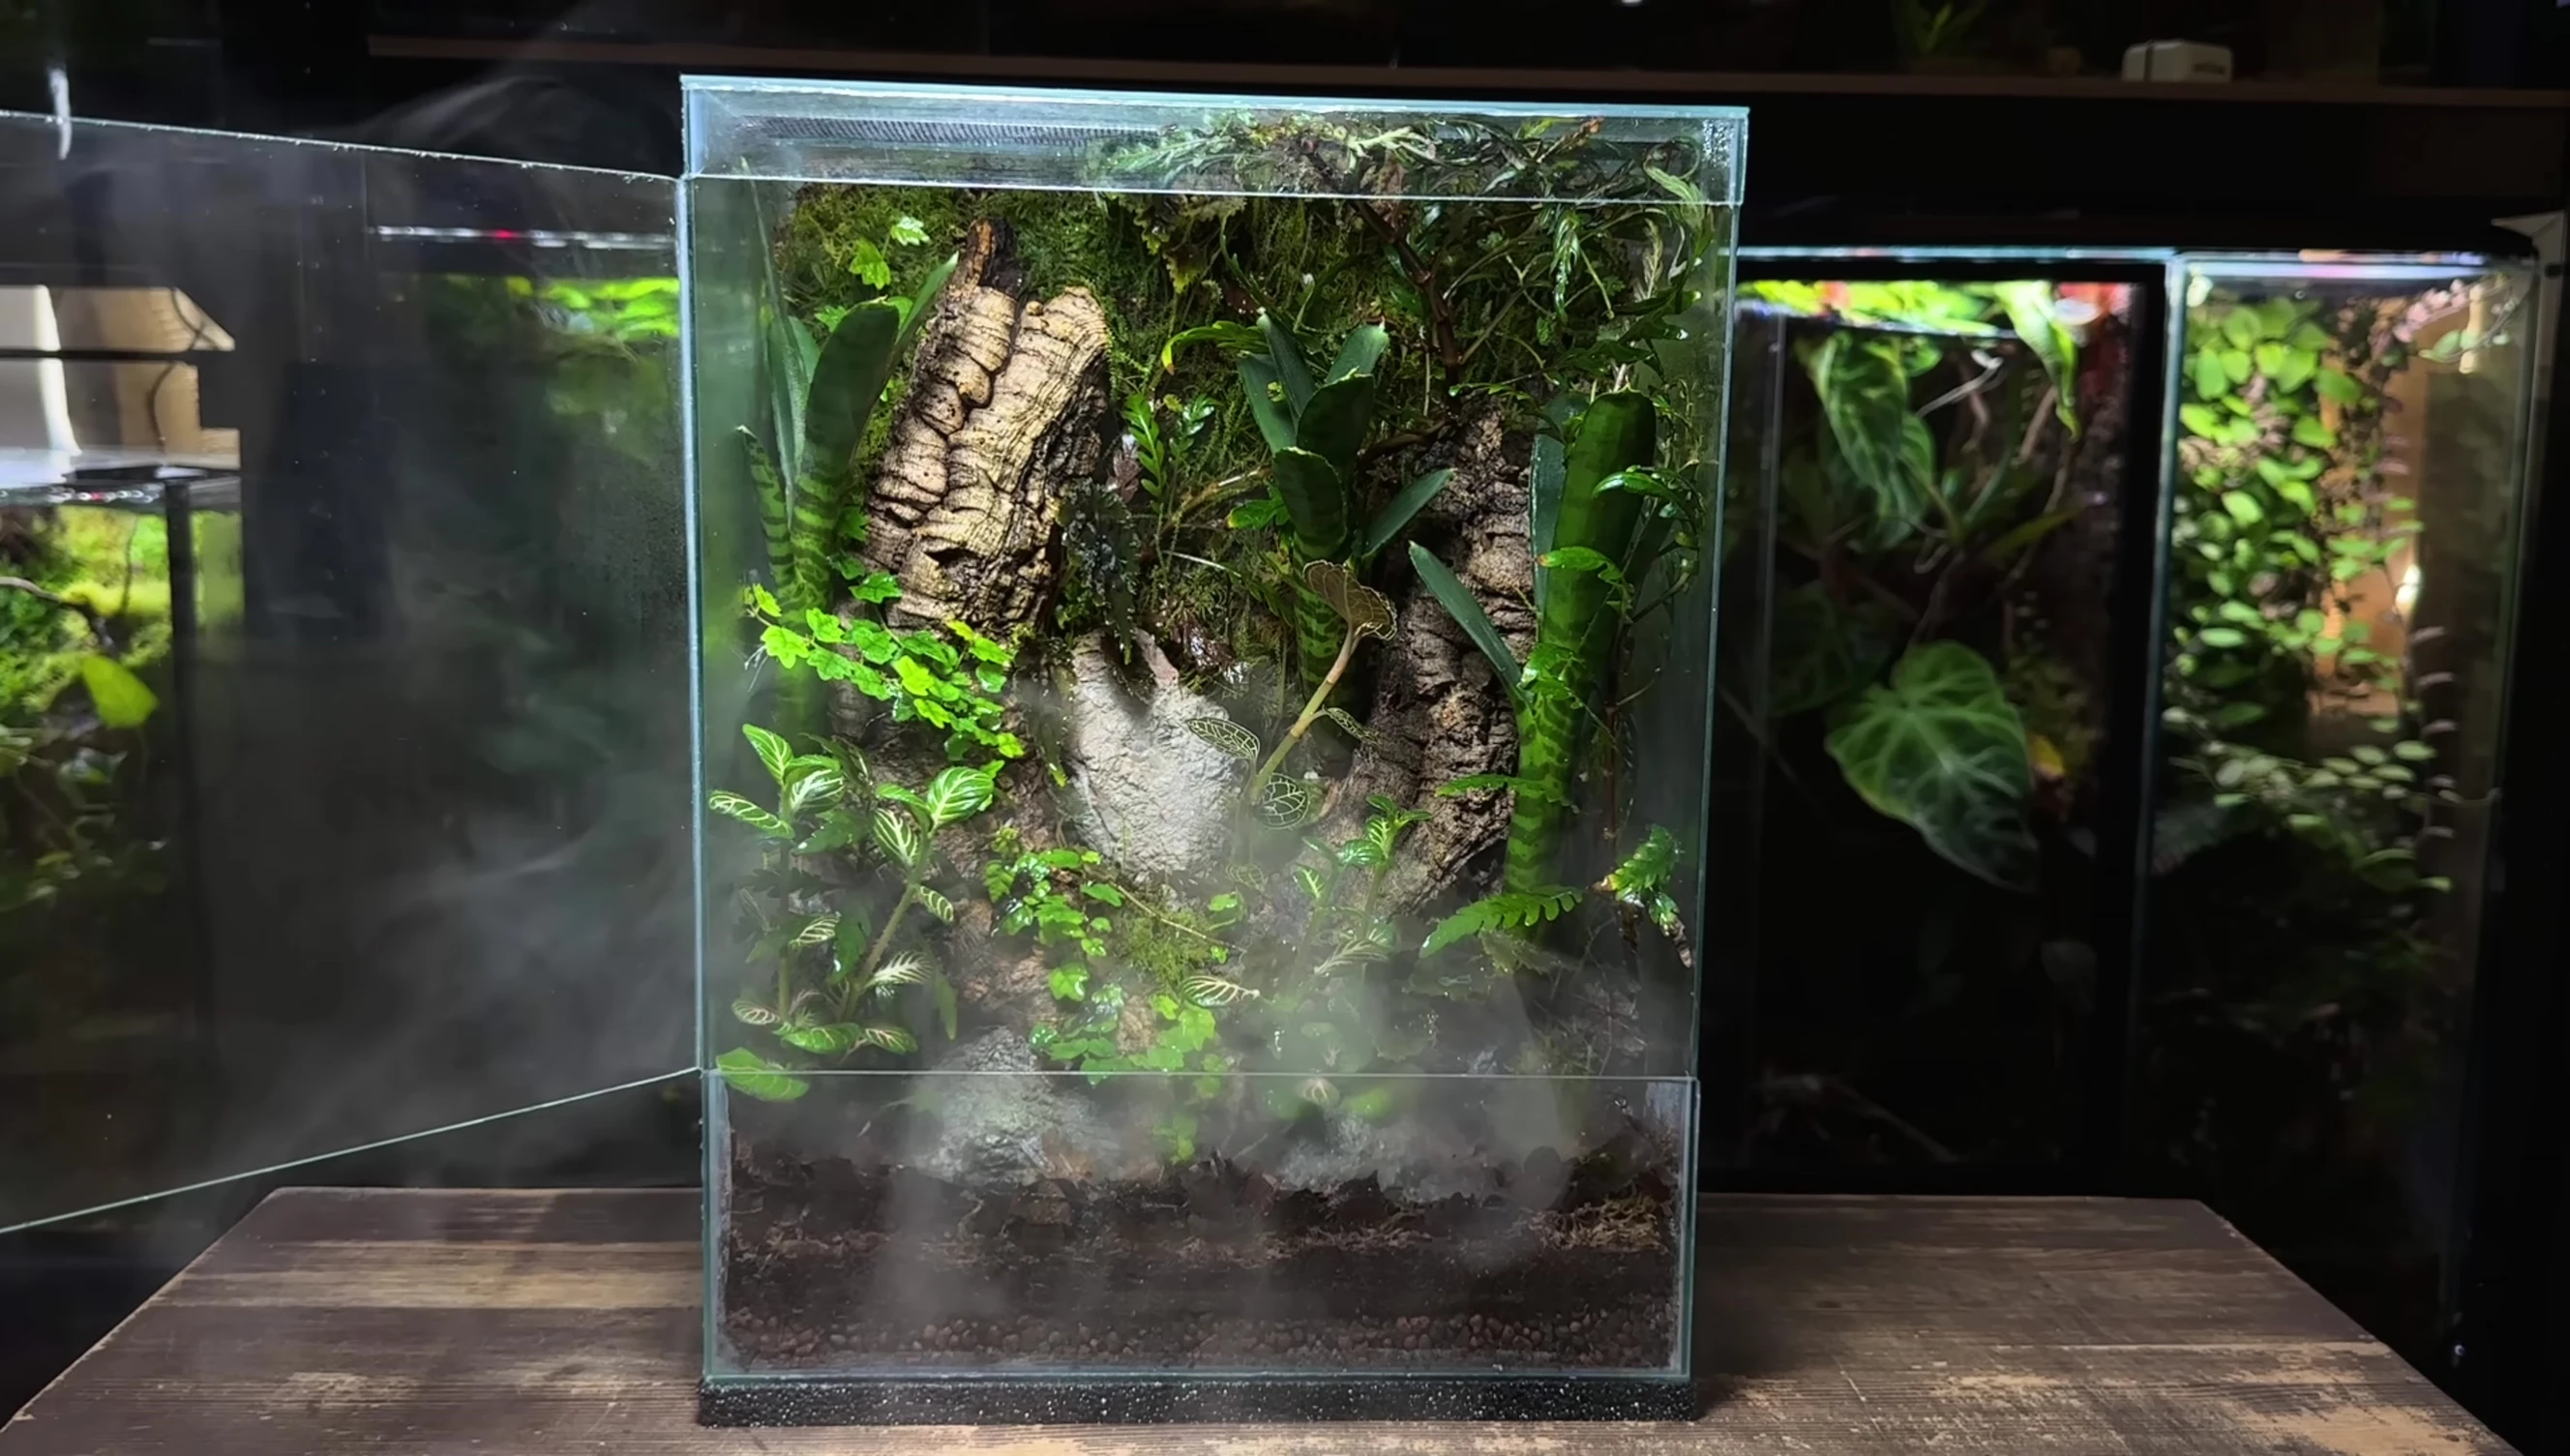
After planting, the terrarium received a thorough spray to maintain humidity. Springtails were added to aid in waste decomposition and maintain cleanliness.
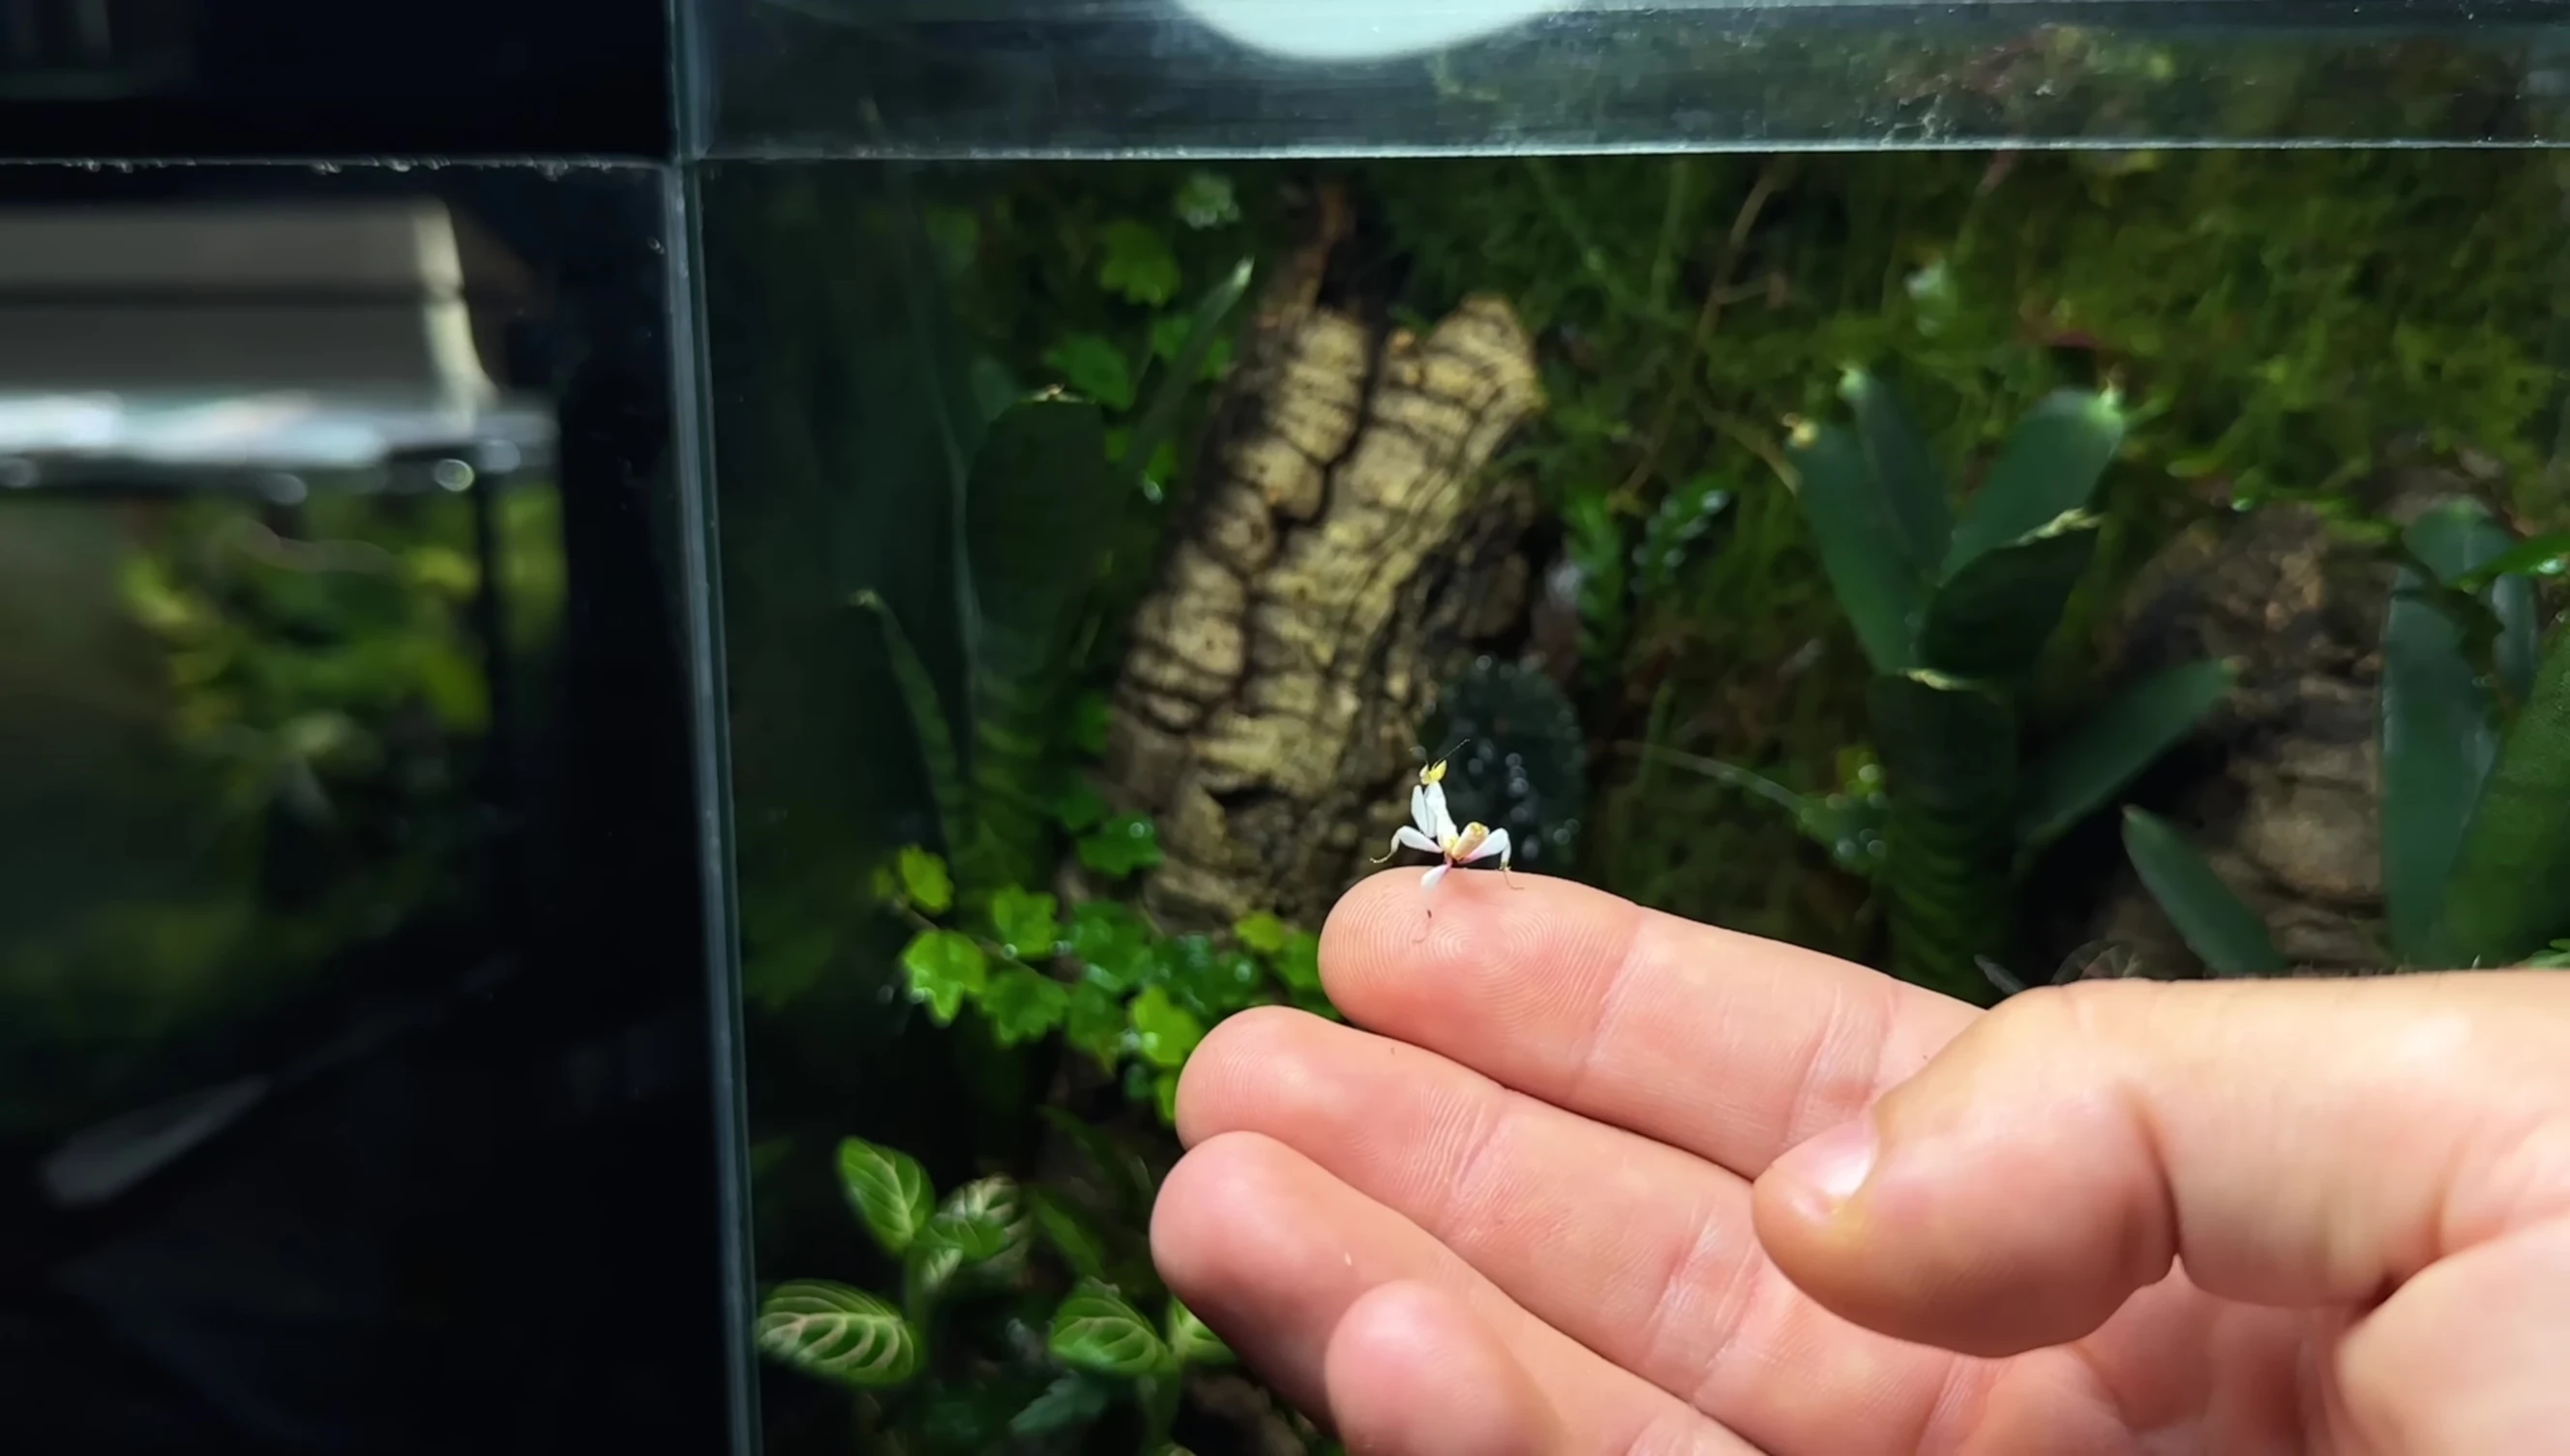
The terrarium was allowed to establish for four months before introducing the orchid mantis. During this time, plants grew and flourished, creating a suitable environment for the mantis.
The mantis was carefully introduced to its new home, showing immediate adaptation to its surroundings. Footage was captured showcasing the mantis's impressive hunting skills.
Conclusion
This project demonstrates how to build a thriving miniature ecosystem from simple materials. The combination of careful planning, precise construction, and a well-chosen selection of plants resulted in a beautiful and functional home for the orchid mantis.
The terrarium's design offers excellent ventilation, humidity control, and aesthetic appeal. The use of silicone ensured a watertight seal, crucial for maintaining a stable environment. The final result is a fascinating display of nature, both visually stunning and ecologically balanced.
Building a terrarium is a rewarding experience, particularly when observing the growth and interaction within the miniature world. It’s a testament to the power of creativity and the beauty found in nature’s delicate balance.