Upgrading a bioactive terrarium doesn't have to be a daunting task. This guide provides a step-by-step approach to seamlessly transitioning your thriving ecosystem to a new, larger, or improved enclosure. By carefully transferring established substrate and beneficial organisms, you can significantly shorten the time it takes to create a stable and healthy environment for your pets. This method minimizes disruption to your animals and plants, ensuring a smooth and stress-free upgrade. We'll cover everything from safely removing your inhabitants to adding the finishing touches, optimizing the process for a successful outcome.This comprehensive guide will walk you through each stage, from carefully removing your animals and plants to meticulously preparing and adding fresh substrate and décor. We'll emphasize the importance of maintaining a healthy microbial balance and preserving the existing beneficial organisms, such as isopods, to jumpstart the new ecosystem. Learn how to properly clean and disinfect existing materials, and how to create a visually appealing and functionally enriching habitat that meets the specific needs of your chosen species. The result will be a flourishing bioactive terrarium ready to support your animals and plants for years to come.
Pros And Cons
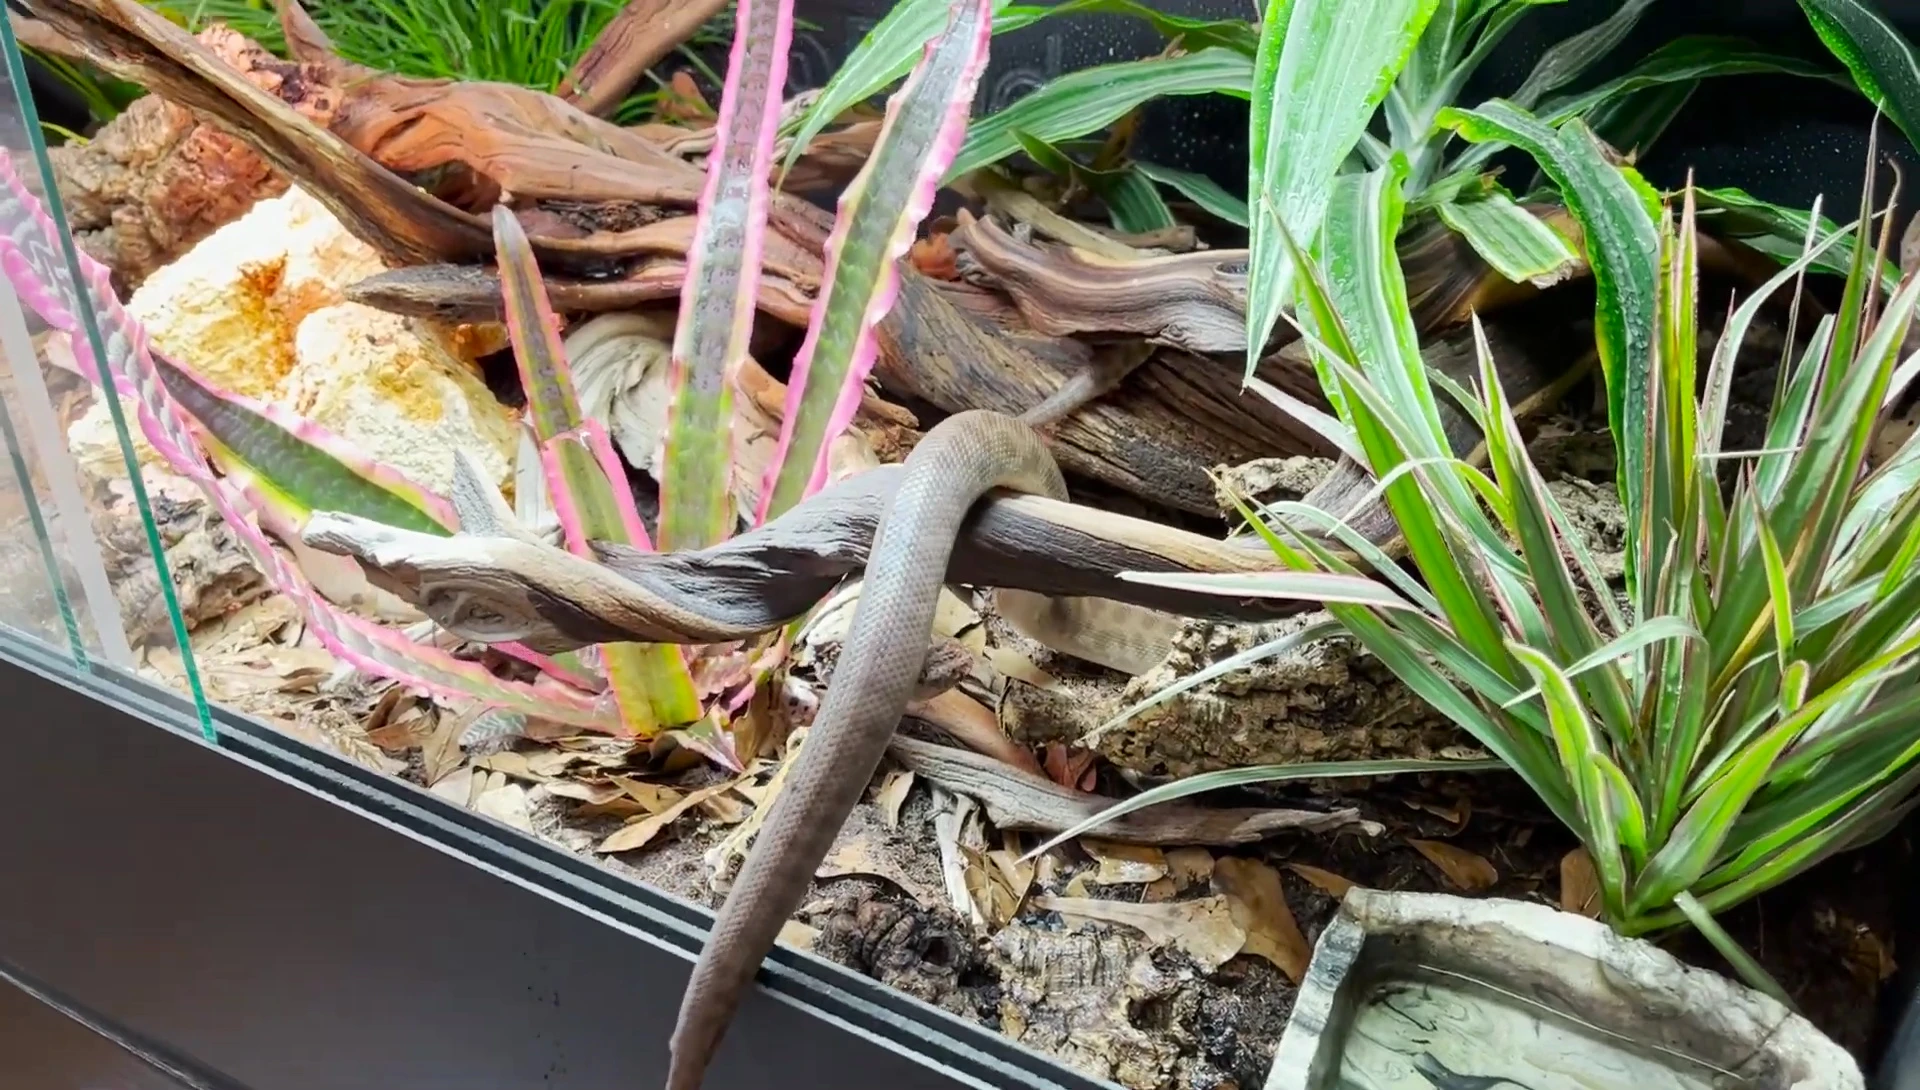
- Healthy soil, good moisture content
- No bad smell
- Established cleanup crew (isopods, springtails)
- Appropriate humidity levels (65-75% spikes, 40-55% maintenance)
- UVB lighting provided
- Some perlite found in substrate, indicating improper plant cleaning during previous setup
Read more: 5 Best Terrarium Beddings for Bearded Dragons
Removing Inhabitants and Décor
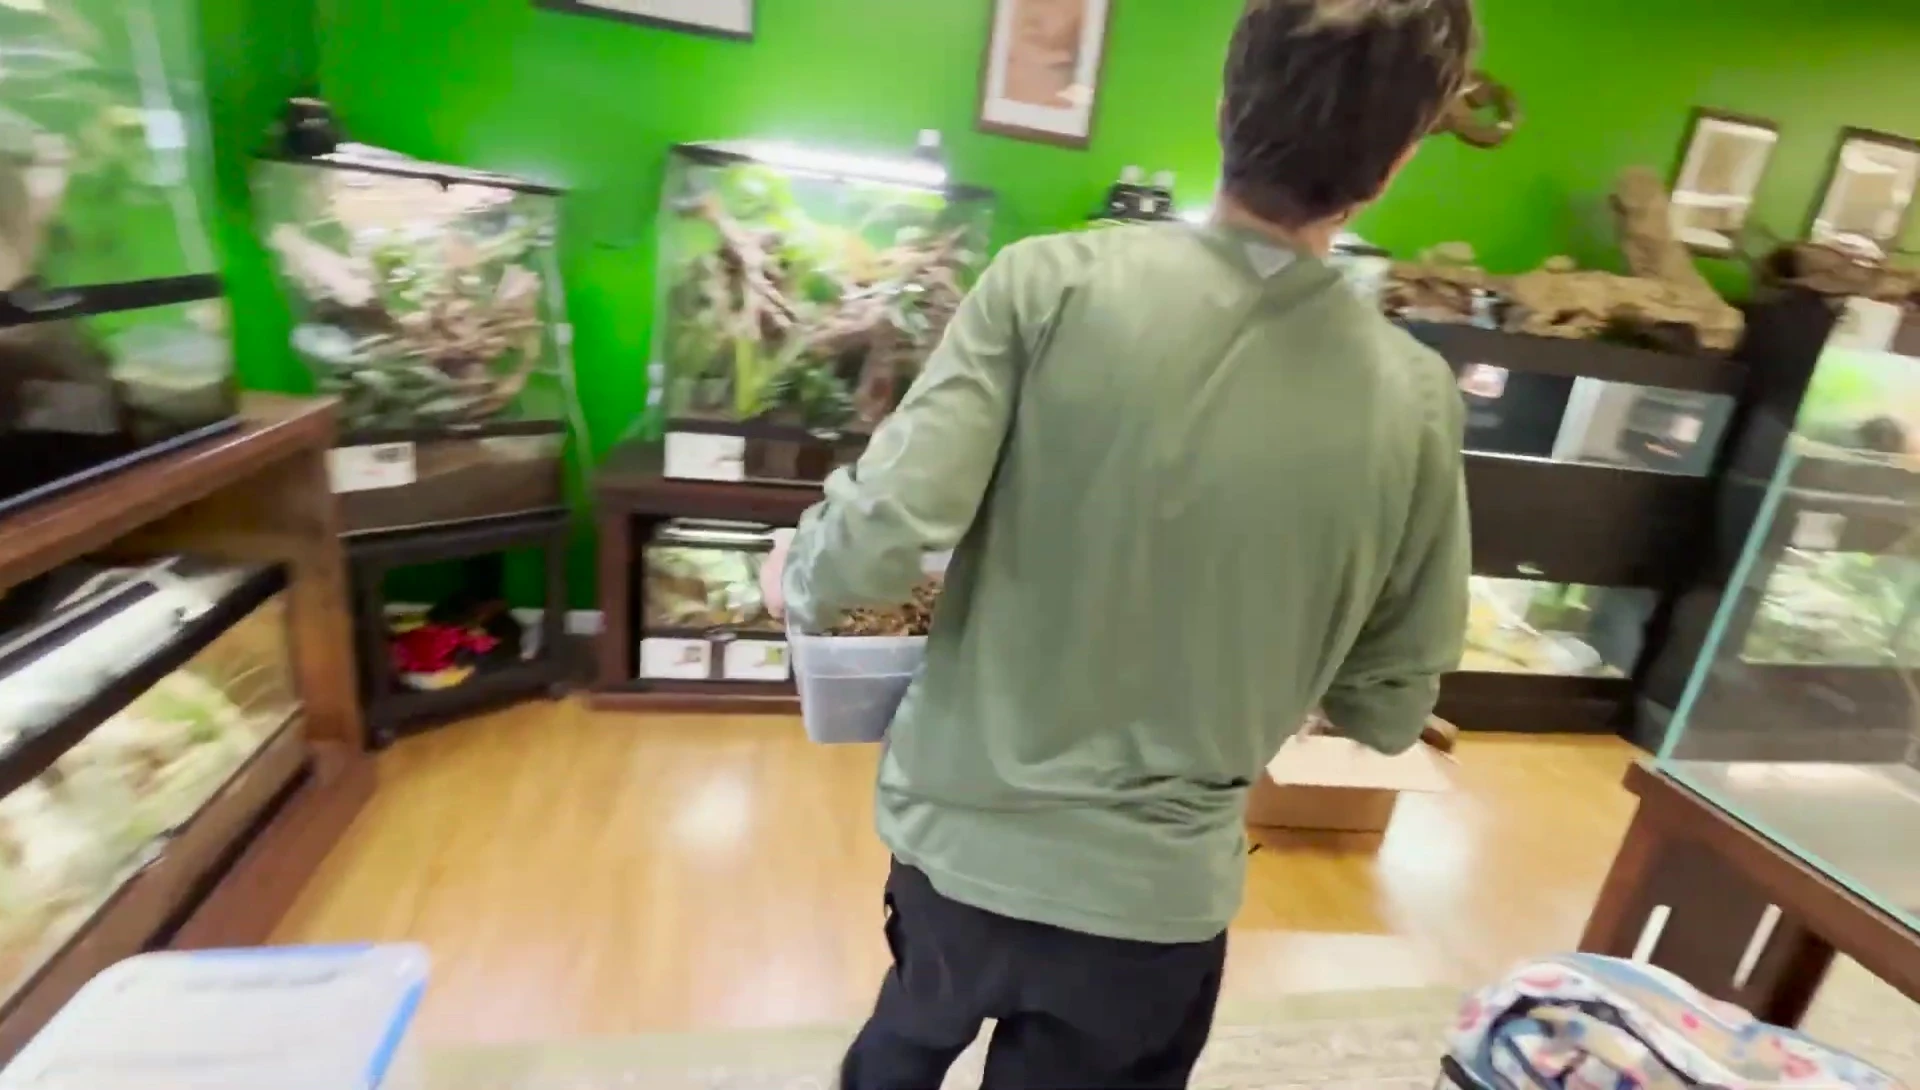
The first step in upgrading a bioactive terrarium is carefully removing all the inhabitants. This ensures the health of your animals and allows for a thorough cleaning of the existing enclosure. Gentle handling is crucial to avoid stressing the animals during the transfer process. It's important to check each animal for any signs of illness or injury before moving them to the new habitat.
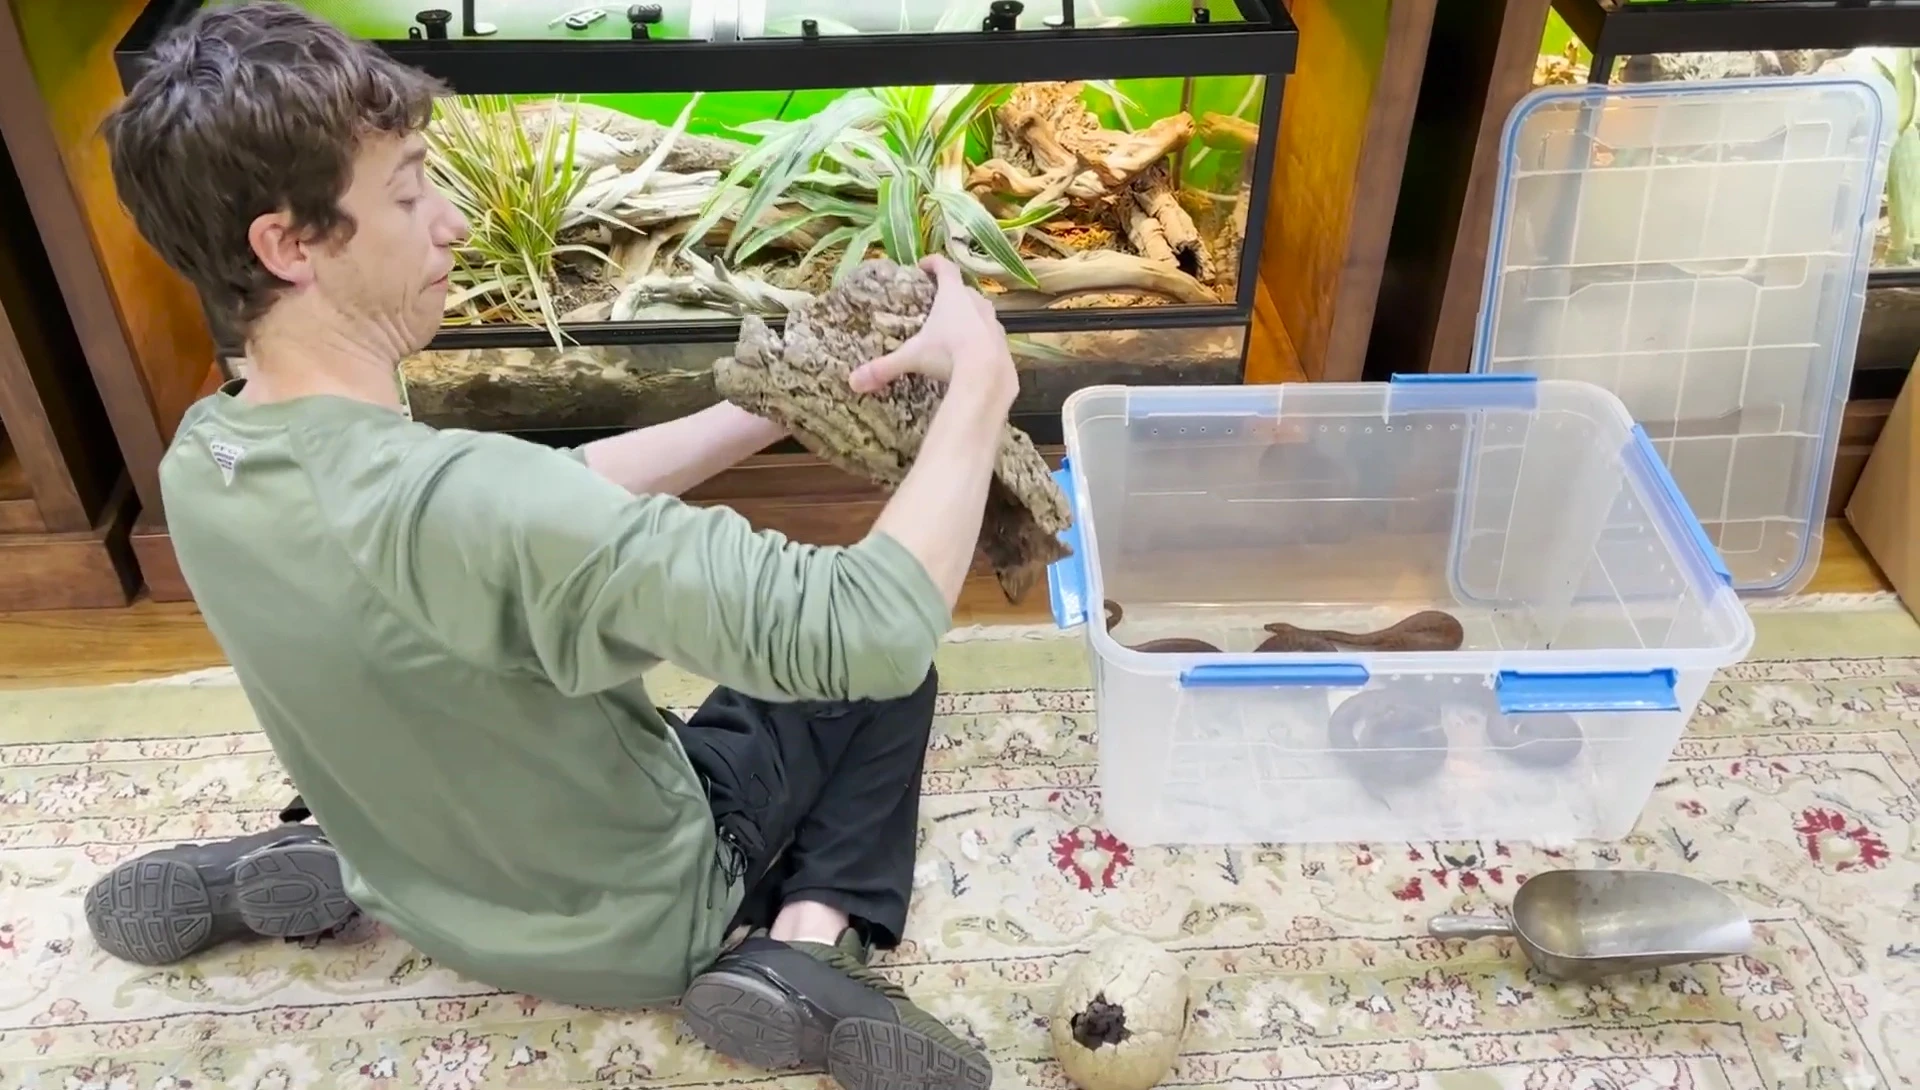
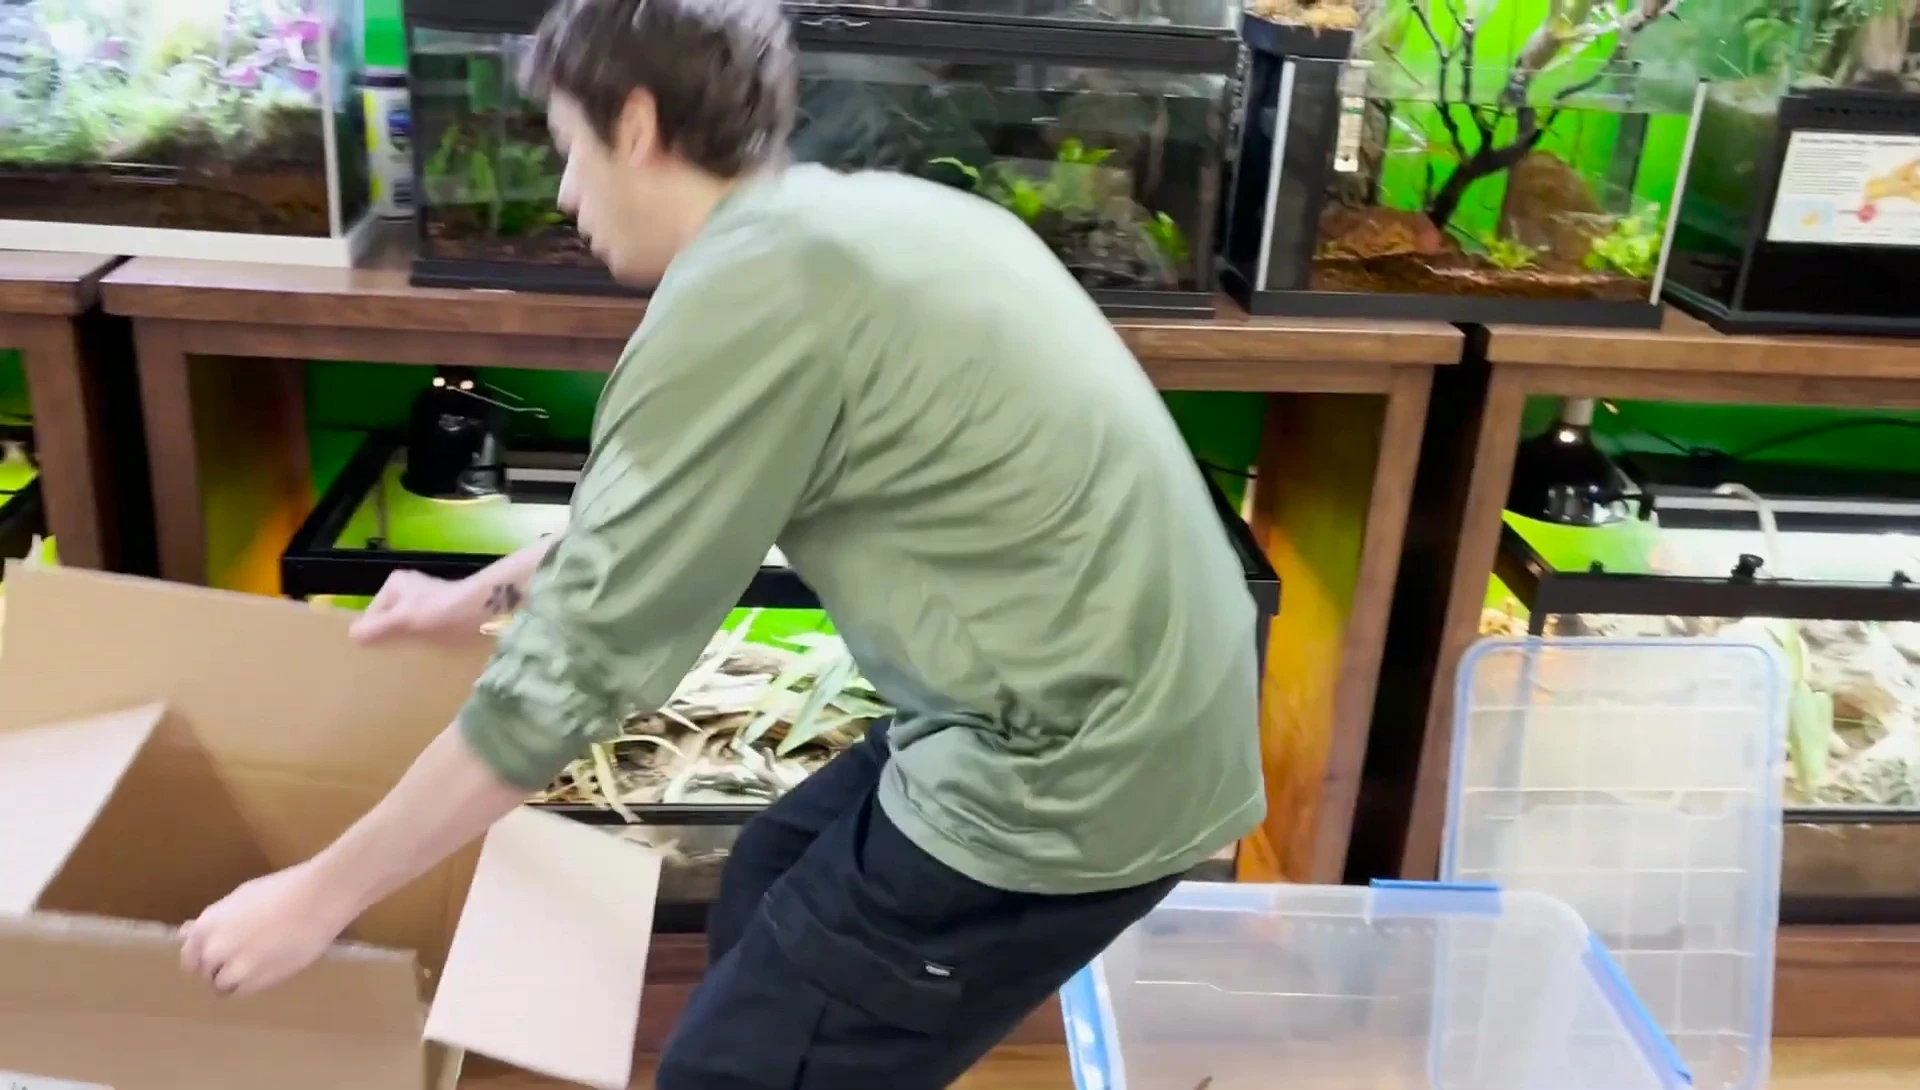
Next, remove all the décor, including rocks, wood, and other artificial elements. Set aside any items you plan to reuse in the new enclosure, making sure they are thoroughly cleaned and disinfected. This process prevents the transfer of any unwanted organisms or debris to the new environment.
Substrate Removal and Assessment
Carefully remove the existing substrate. Observe its condition; a healthy substrate will be moist but not soggy and will have a pleasant earthy smell. The presence of beneficial organisms like isopods is a positive sign of a thriving bioactive ecosystem.
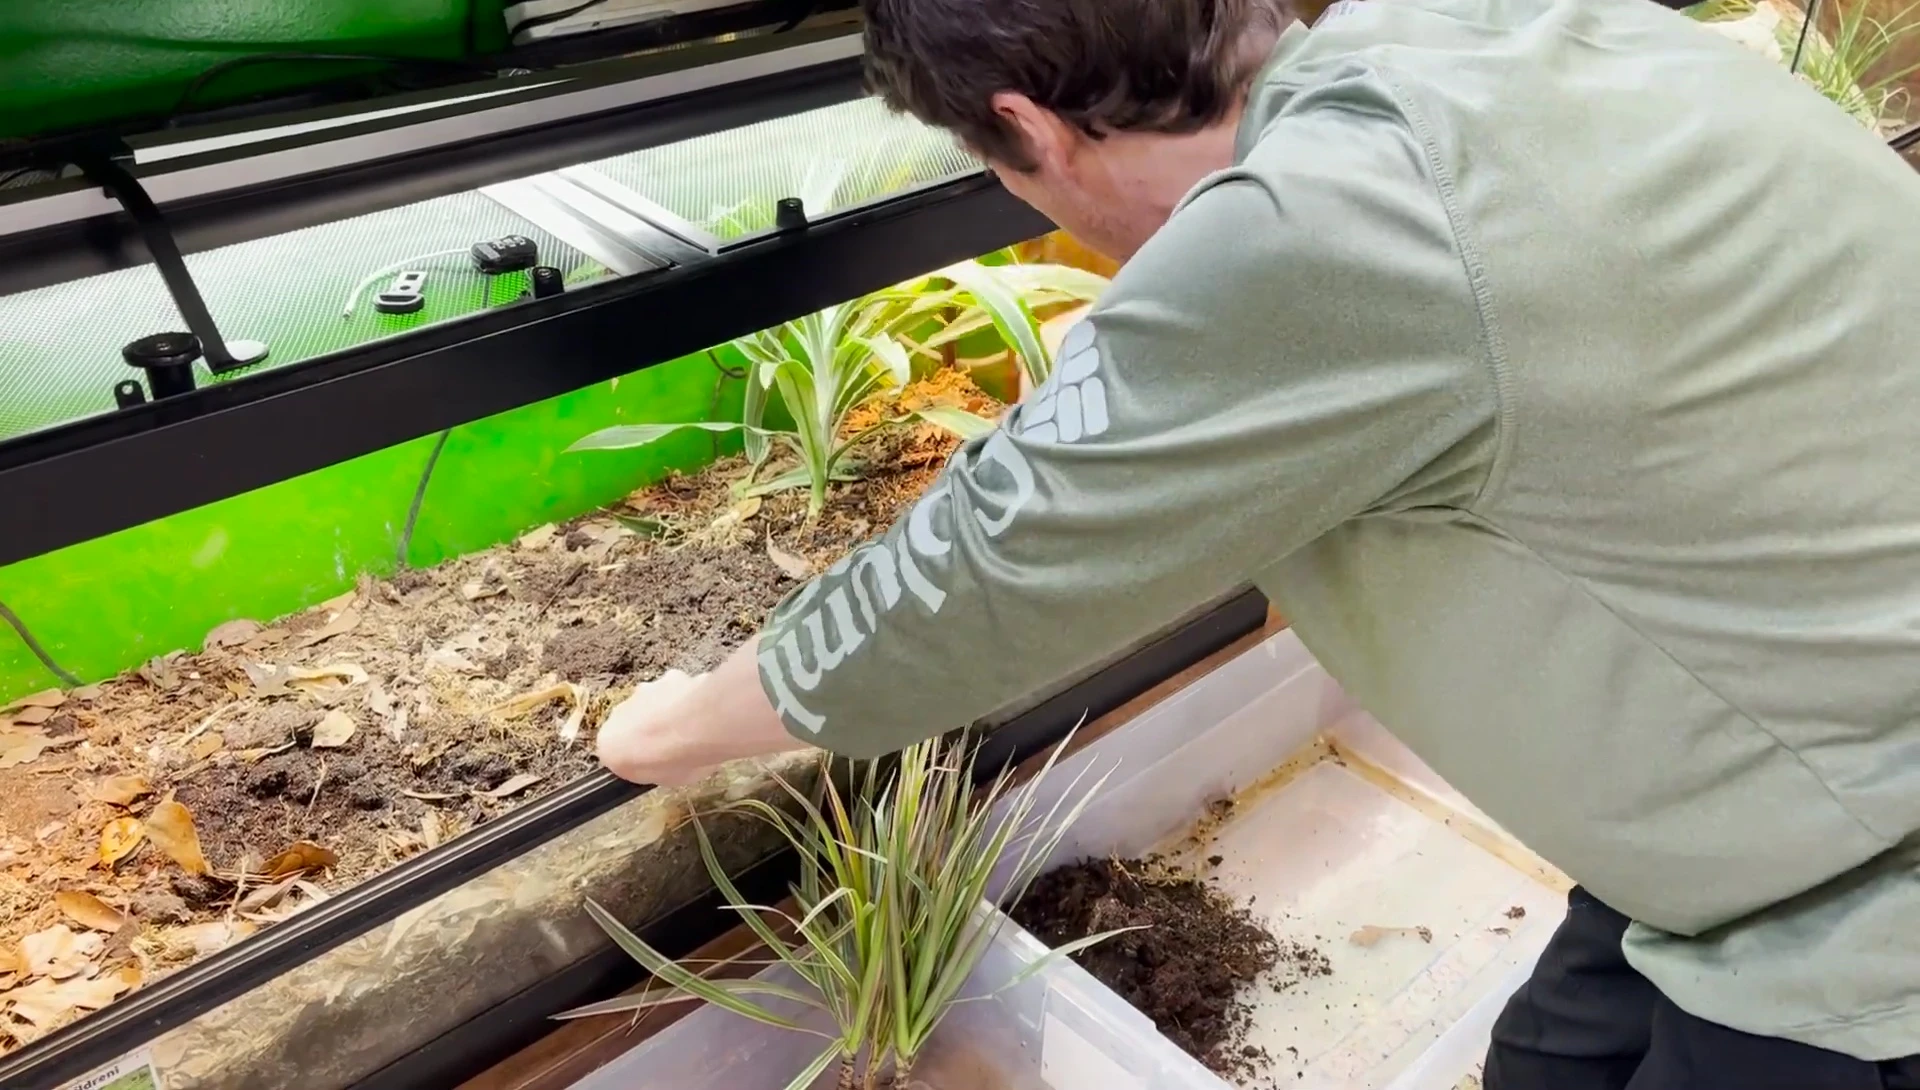
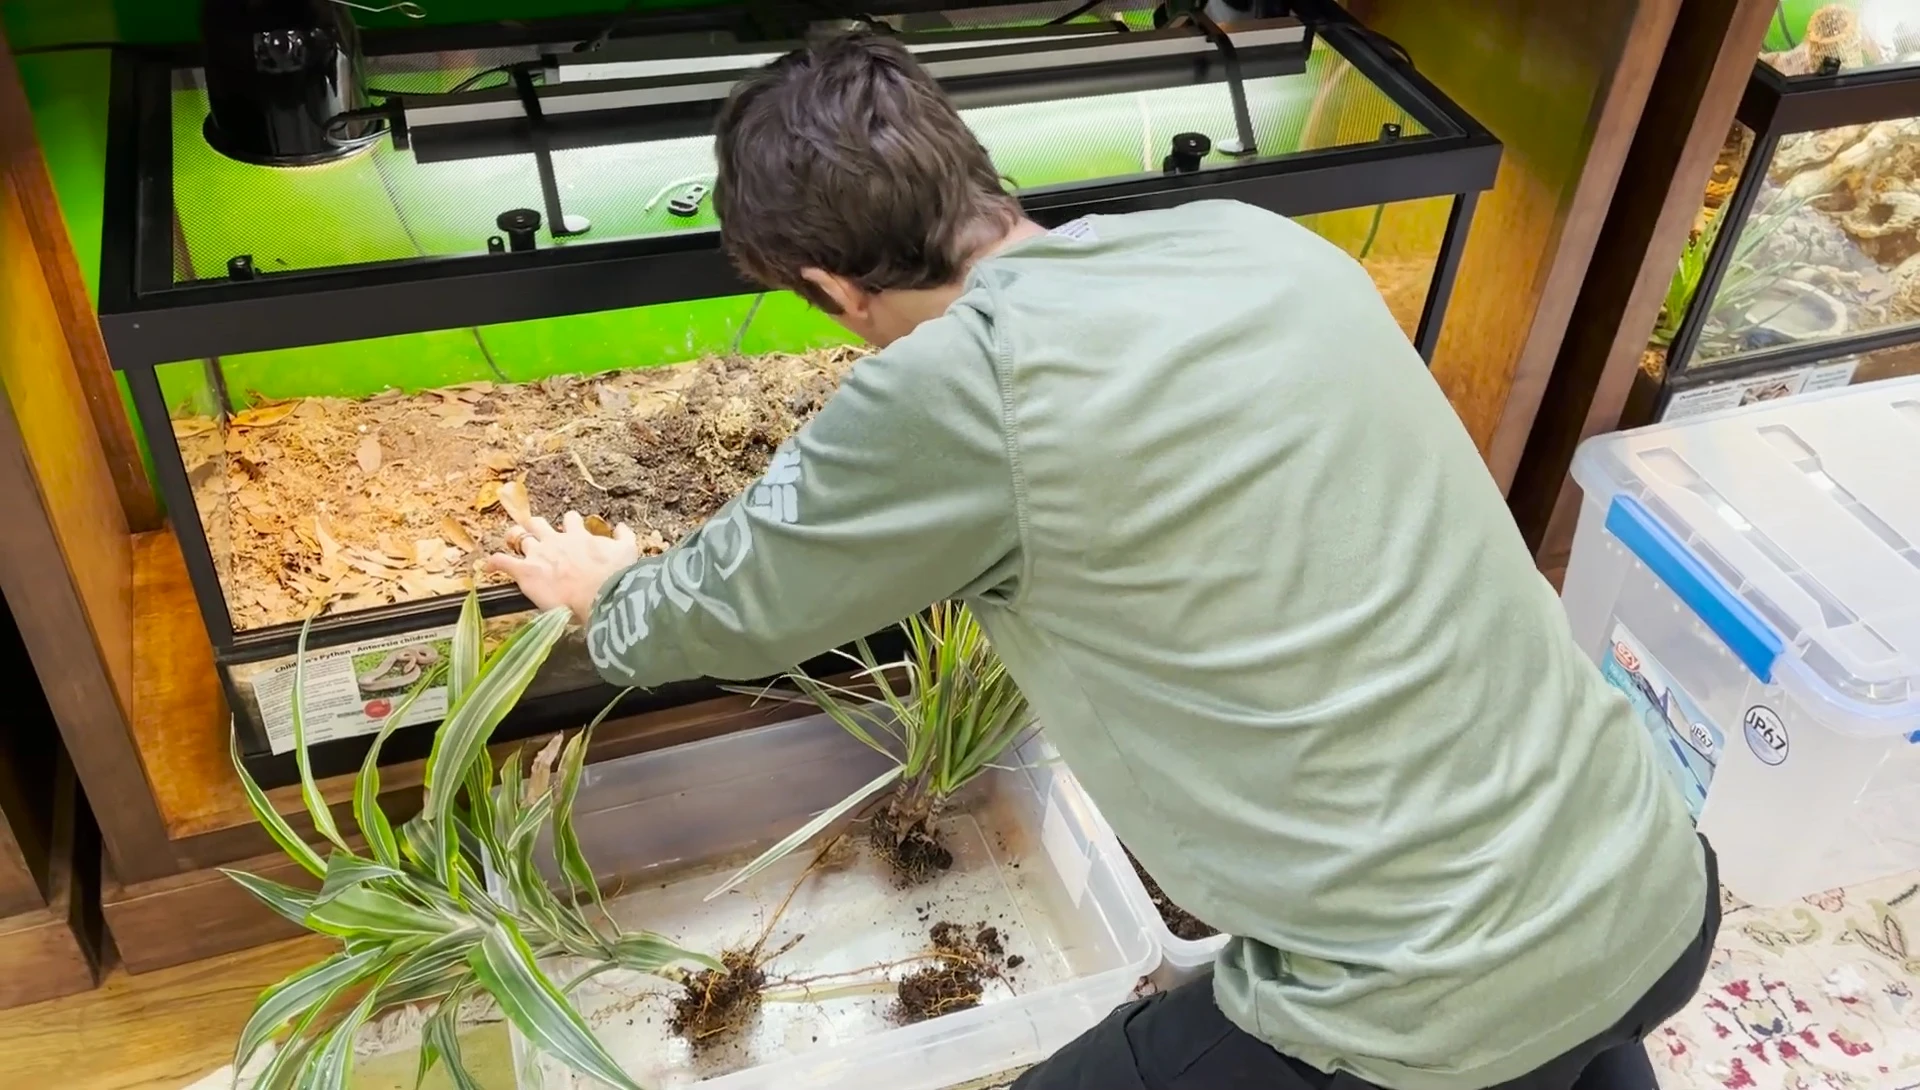
Check for any unwanted materials or organisms. Remove any perlite or other materials that are not part of your intended substrate mix. This step ensures a clean and healthy start for your new enclosure. Pay attention to the root systems of any plants you plan to transfer and handle them with care.
Preparing the New Enclosure
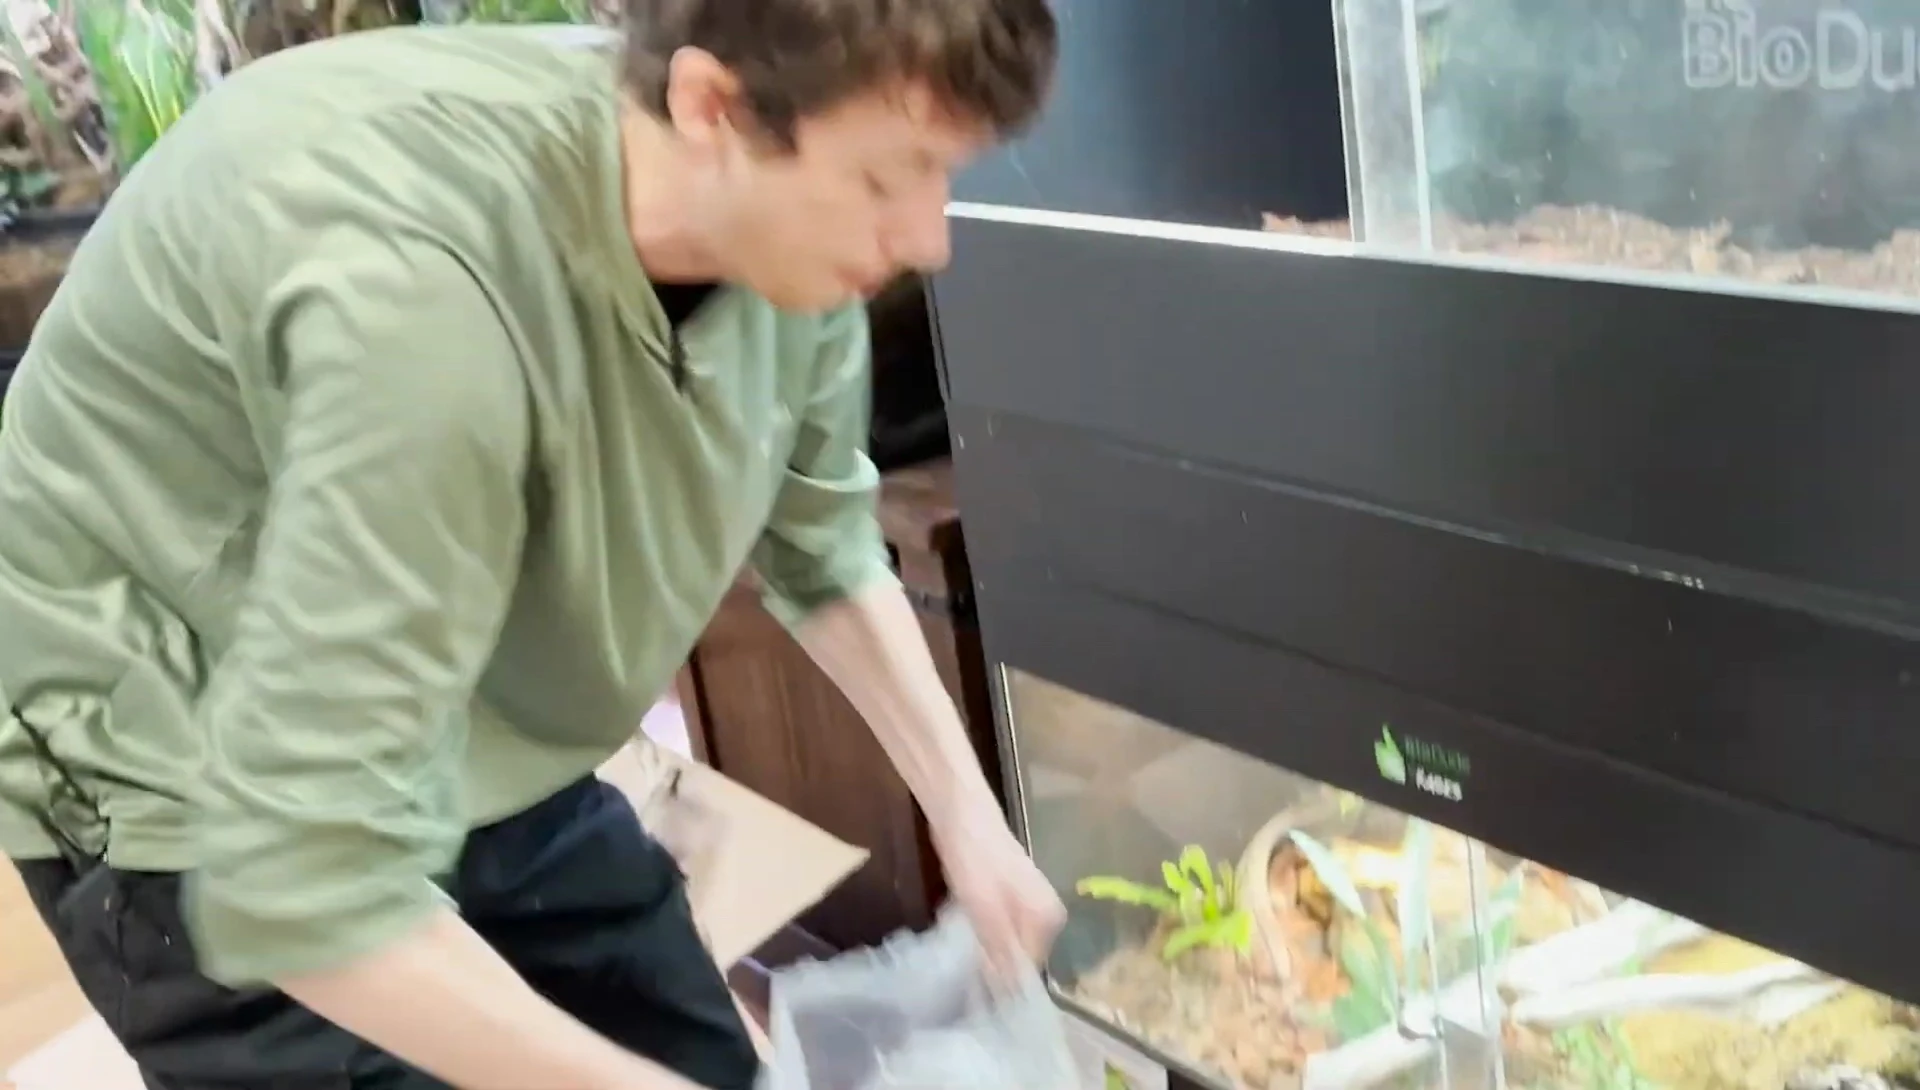
Begin by adding the established substrate from the old enclosure to the new one. This jumpstarts the beneficial microbial processes, creating a more stable environment for your animals and plants. The amount of substrate to transfer will depend on the size of both enclosures.
Next, add fresh substrate to the new enclosure. This can be a mix of different materials tailored to the specific needs of your animals and plants. Ensure a proper depth of substrate for burrowing and drainage. Add any necessary Biovive or similar products to supplement the beneficial microbes and encourage faster establishment.
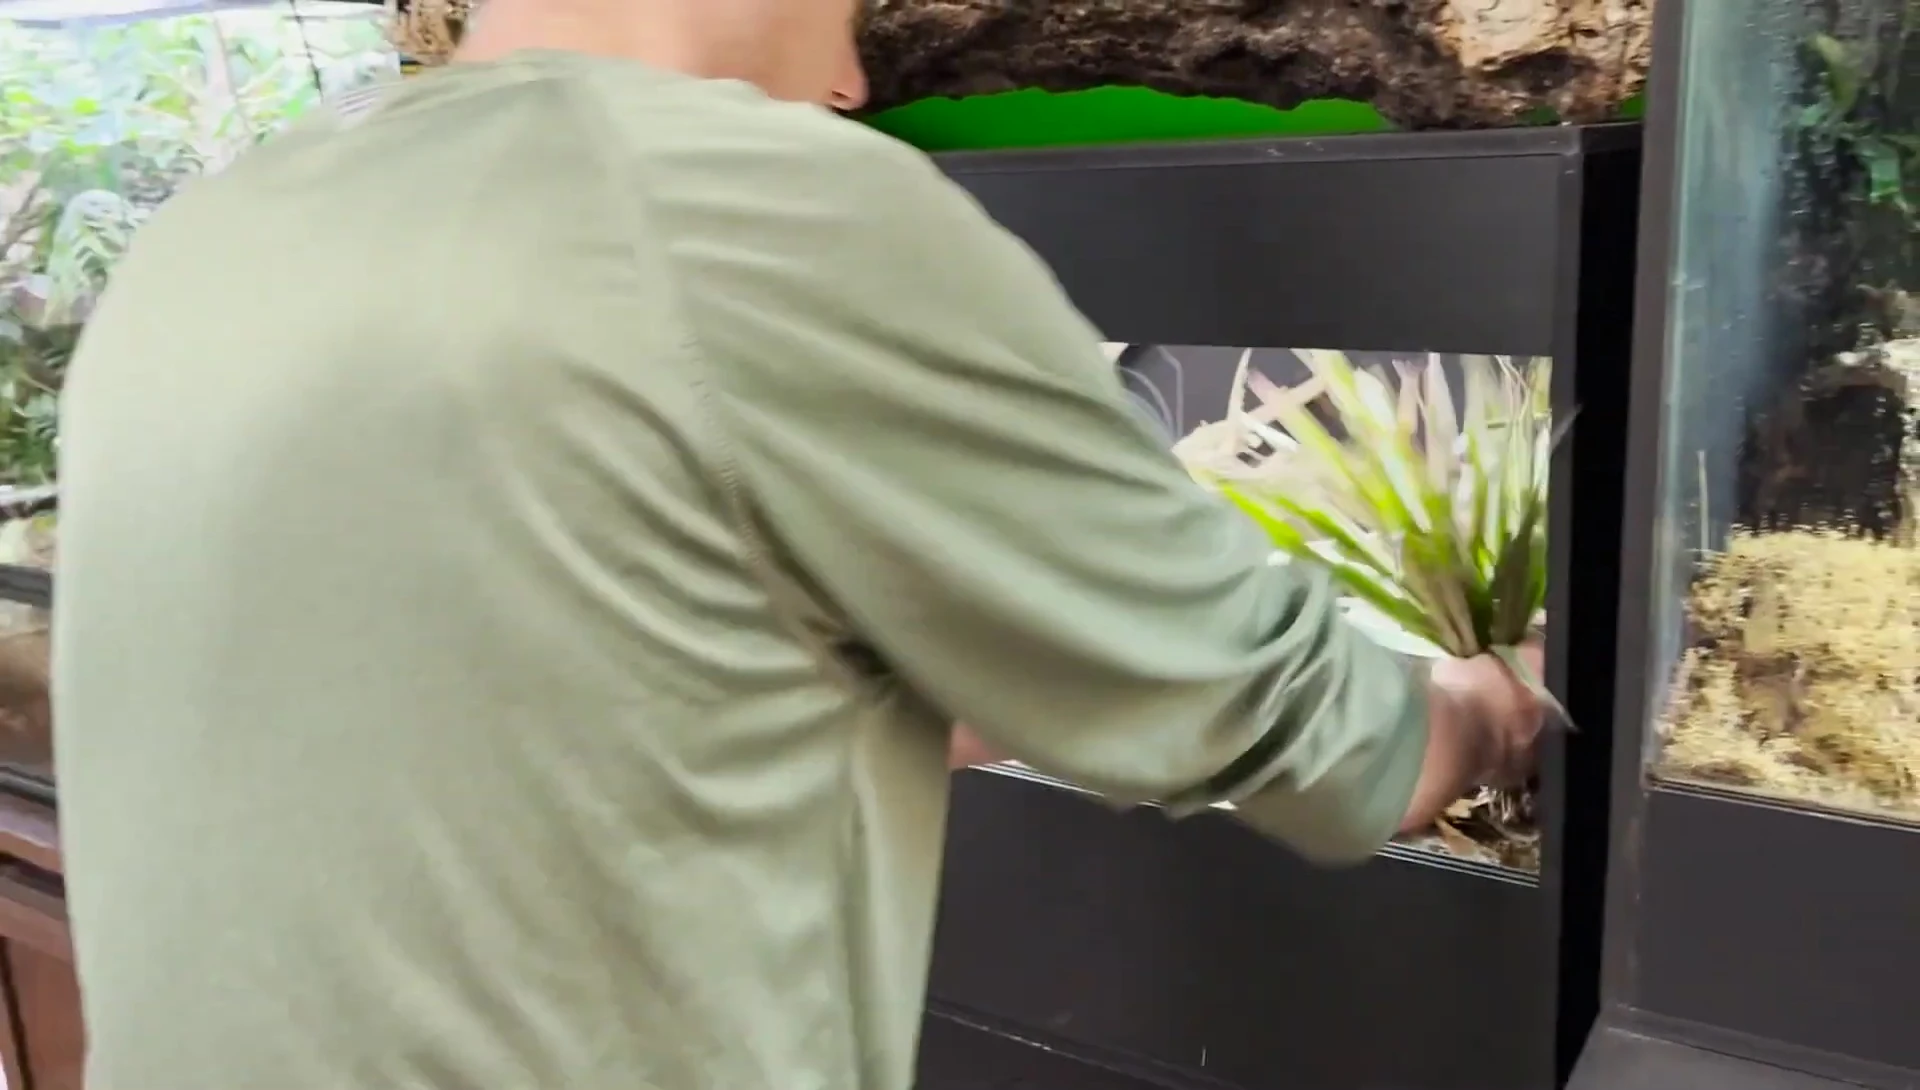
Adding Plants and Hardscape
Thoroughly clean and inspect all plants before adding them to the new terrarium. Remove any excess soil or potential contaminants. Carefully plant the flora, ensuring their root systems are properly covered and have ample space to grow.
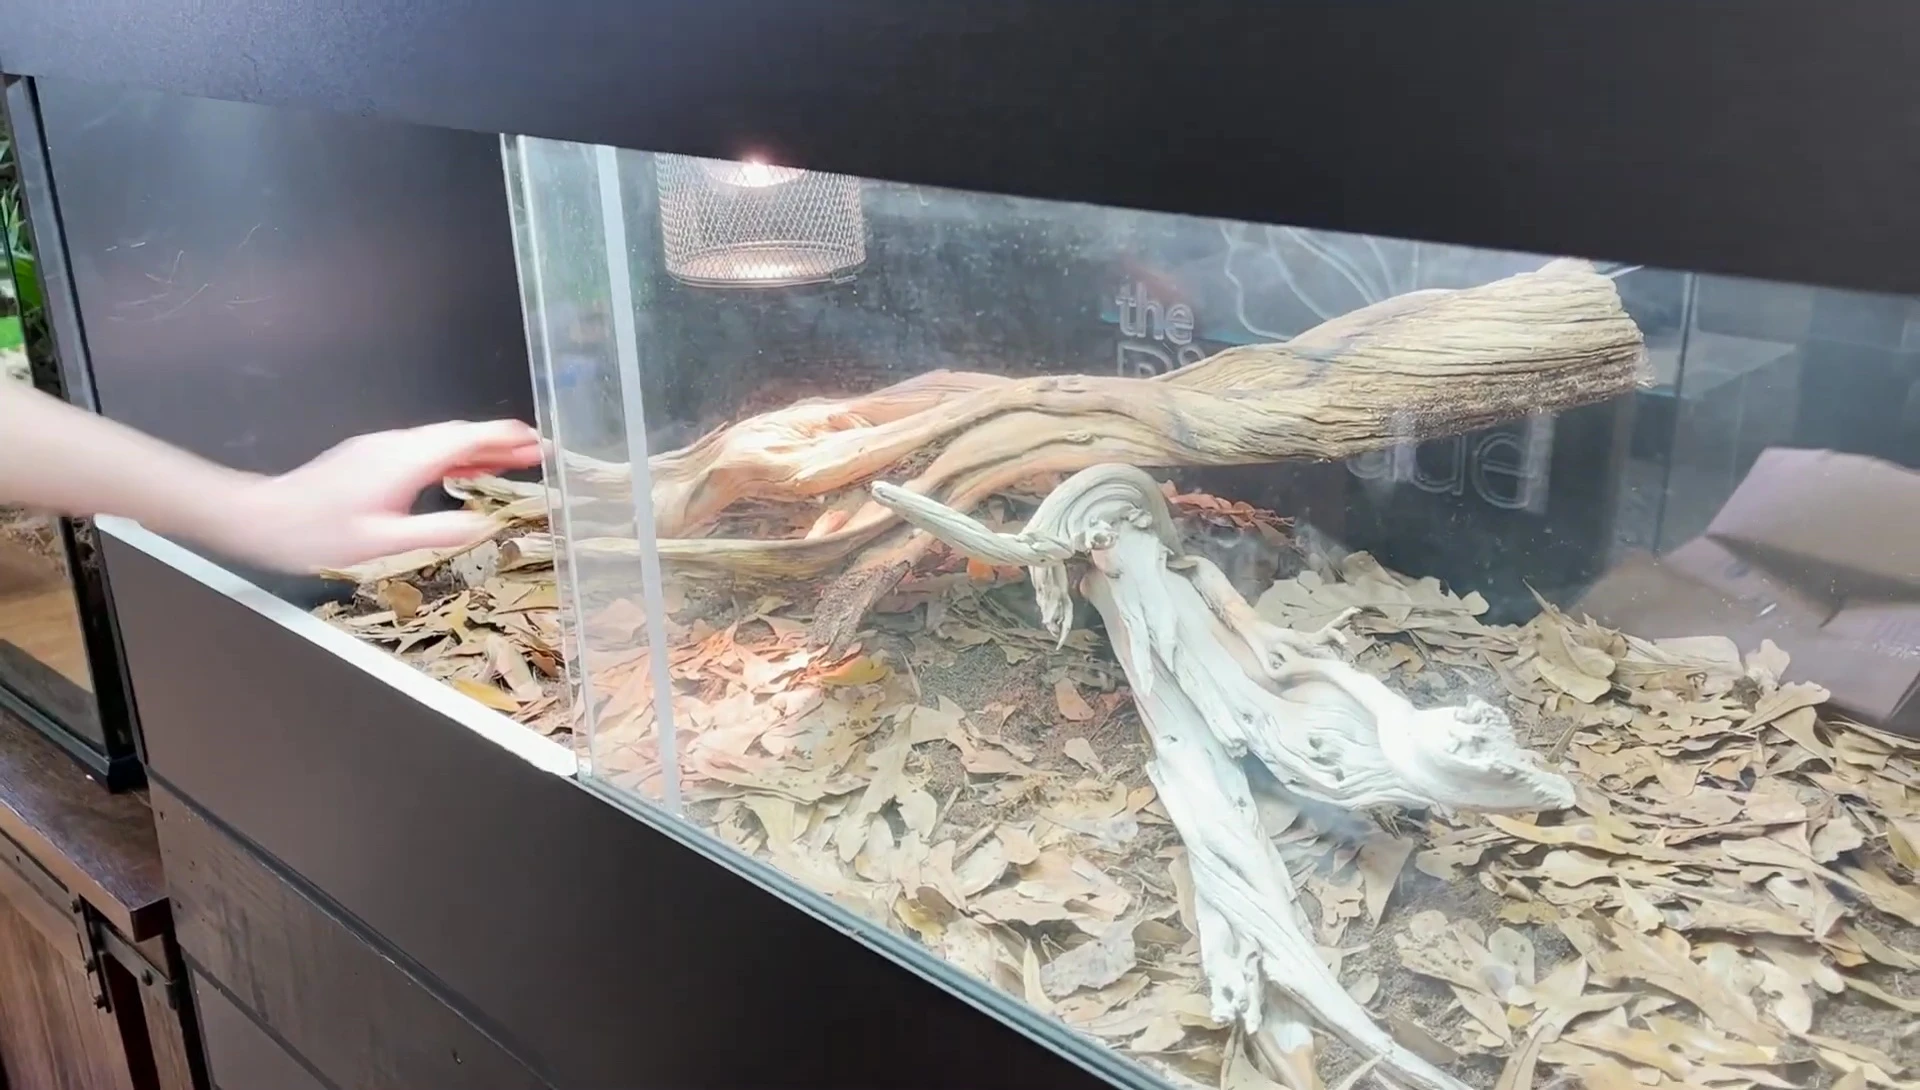
Add any hardscape elements, such as rocks, wood, or cork bark, to create a visually appealing and functionally enriching environment. Position these elements to provide basking spots and hiding places. The arrangement should also allow for easy access for cleaning and maintenance.
Final Touches and Reintroduction
Add a layer of leaf litter on top of the substrate to mimic a natural forest floor. This provides additional enrichment for the animals and also contributes to the overall aesthetic of the terrarium. It also helps maintain humidity and provides a food source for the cleanup crew.

Once the new enclosure is fully set up, carefully reintroduce your animals. Observe their behavior and ensure they readily adapt to their new home. Regularly monitor the environment to ensure it meets the needs of your animals and plants. Adjust parameters, such as humidity and temperature as needed.
Conclusion
Upgrading a bioactive terrarium using established components is a time-saving method for creating a thriving environment for your reptiles. Careful planning and attention to detail are essential throughout the process. By reusing the existing substrate and beneficial organisms, you can significantly speed up the establishment of a new ecosystem.
Remember, regular monitoring is key. Observe your animals' behaviors, substrate condition, and overall plant health to address any potential issues promptly. With proper care and maintenance, your upgraded bioactive terrarium will create a healthy and engaging habitat for years to come. The methods described above, alongside the correct substrate mix, ensure a successful transition for your pets.