This article details the step-by-step construction of a bioactive vivarium for a Leachie gecko, utilizing a Leap Habitat enclosure. The build focuses on creating a visually appealing and functional environment that mimics the gecko's natural habitat. From hardscape construction using cork bark and expanding foam to the careful layering of a custom substrate blend, each stage is meticulously described, highlighting both successes and the creative solutions employed to overcome unexpected challenges. The process emphasizes achieving a robust and aesthetically pleasing setup, ideal for both the gecko's well-being and the keeper's enjoyment.The project showcases the transformation of a Leap Habitat enclosure into a thriving bioactive ecosystem. Learn how to address potential issues, such as expanding foam adhesion problems, and discover effective strategies for creating a naturalistic hardscape and substrate. This comprehensive guide covers drainage solutions, plant selection for both visual appeal and gecko enrichment, and the introduction of beneficial cleanup crew members. Whether you're a seasoned reptile keeper or a beginner, this detailed walkthrough will provide valuable insights and inspire your own bioactive vivarium creation.
Pros And Cons
- Lightweight
- Easy to work with
- Expanding foam doesn't stick well to the sides, requiring additional workarounds.
Read more: Top 5 Turtle Terrariums: Reptile Habitats Reviewed
Hardscape Construction
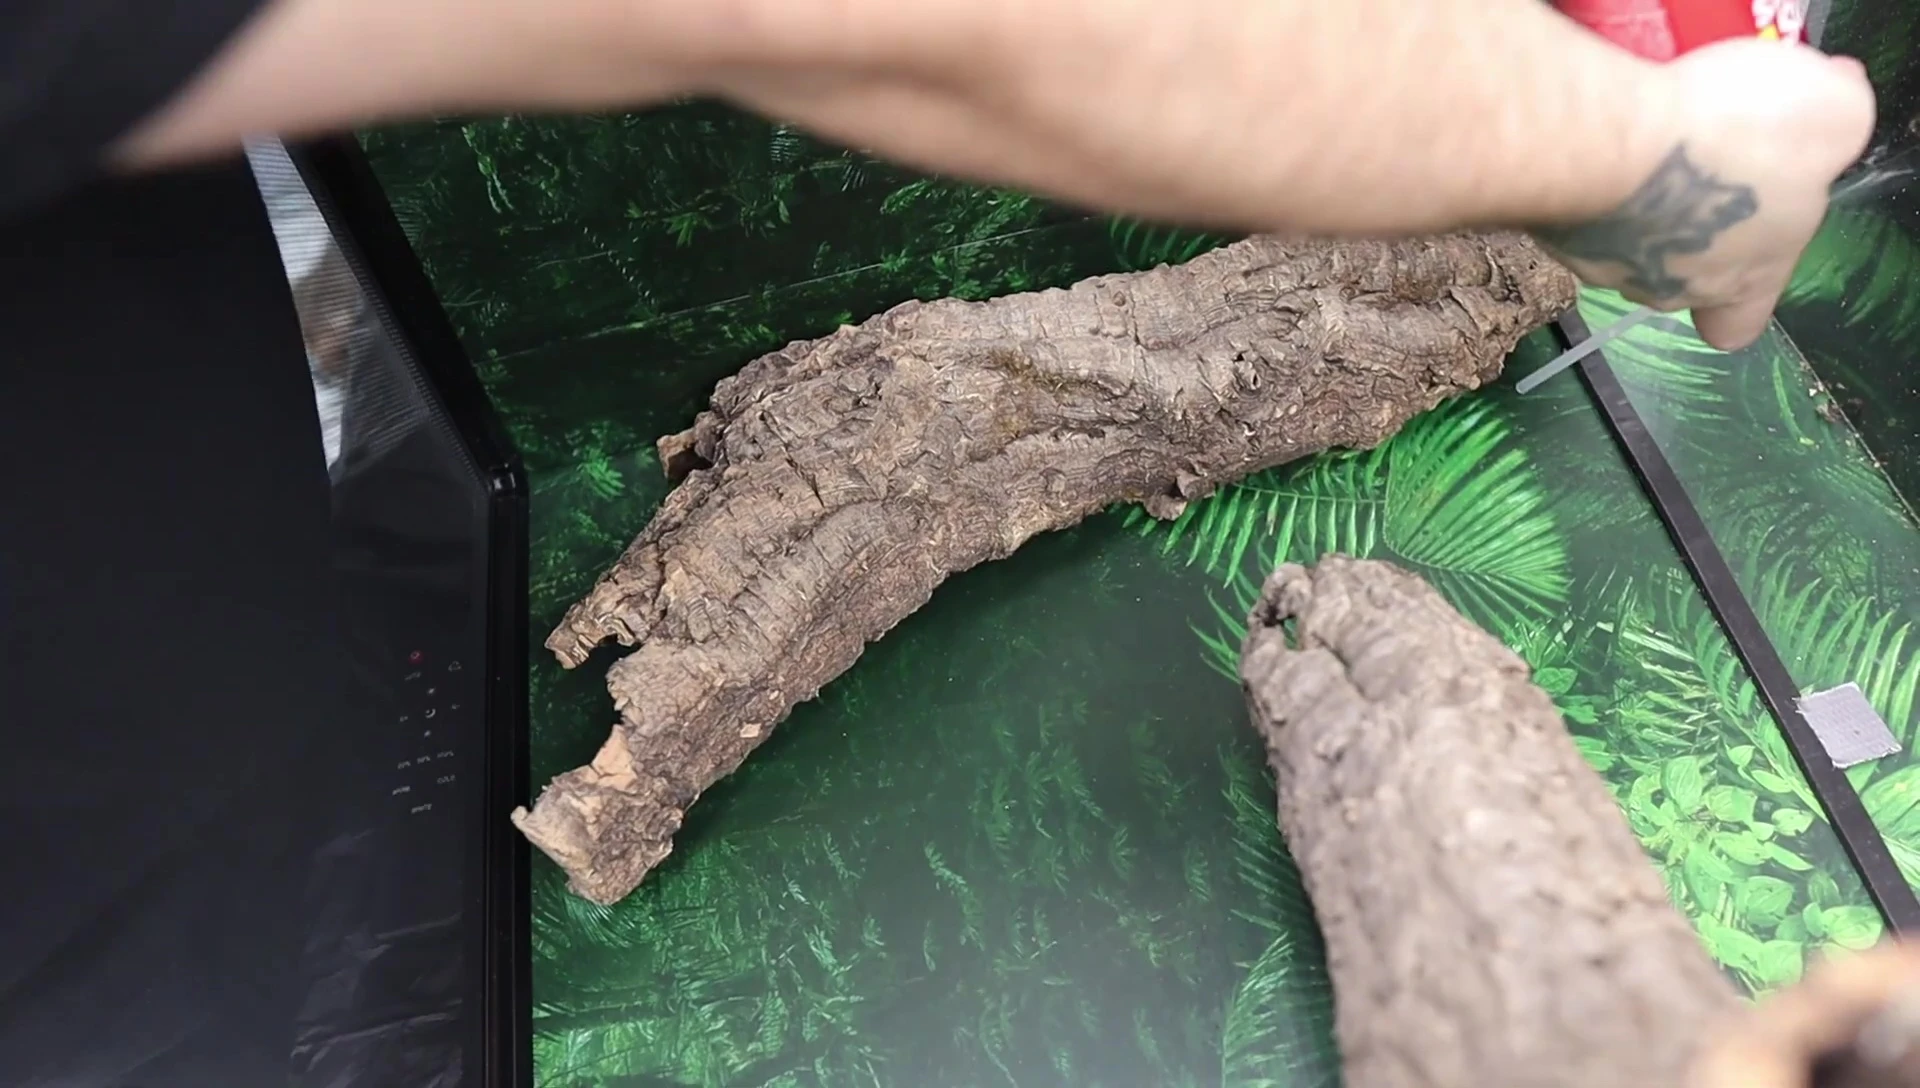
The foundation of any great bioactive vivarium is a sturdy and visually appealing hardscape. I began by strategically placing cork bark pieces on the right and lower left sides of my Leap Habitat. Sheet metal screws provided secure fastening, ensuring the longevity of the design.
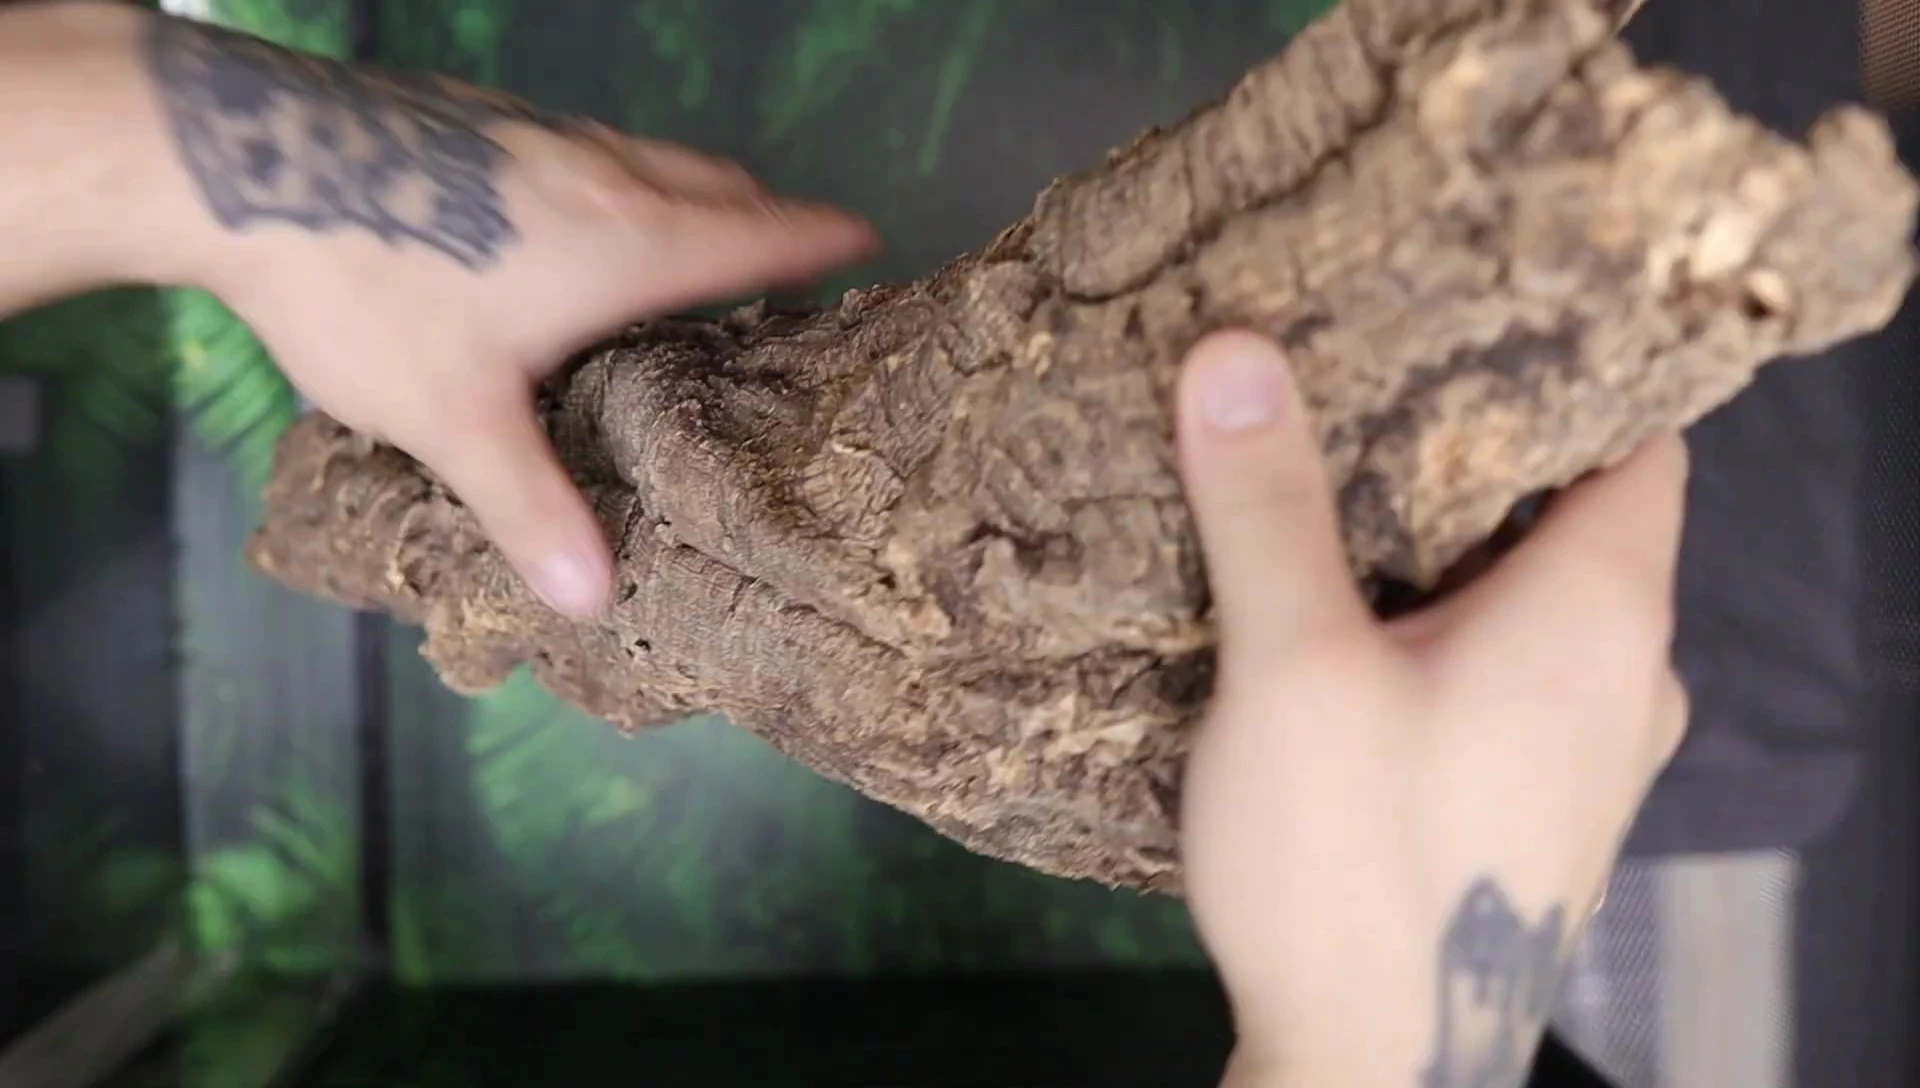
To enhance stability and create a more natural look, I used expanding foam to fill gaps and secure the cork bark. This added structural support while allowing for creative texturing later in the process.
Expanding Foam Challenges and Solutions
One unexpected challenge arose during the build: the expanding foam began peeling away from the chloroplast walls of the Leap Habitat. This was a significant setback, as it compromised the structural integrity of the hardscape.
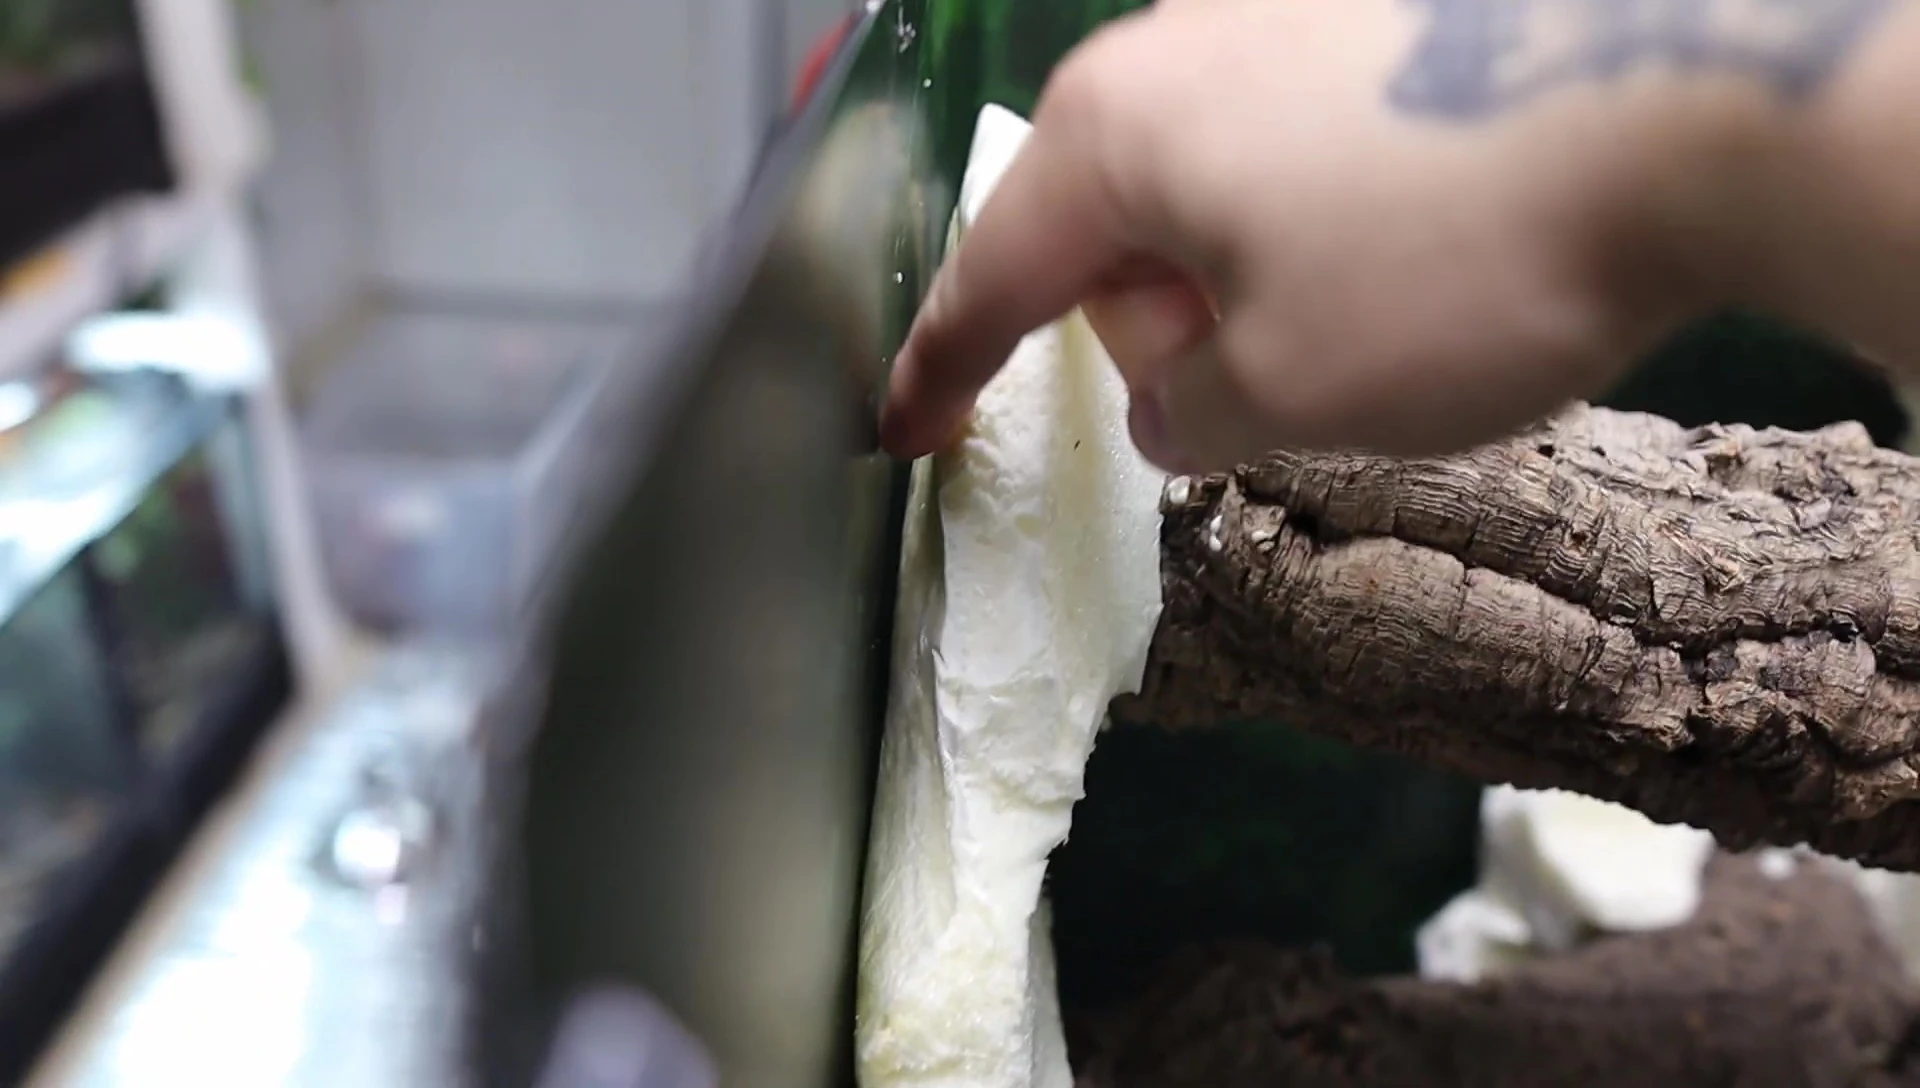
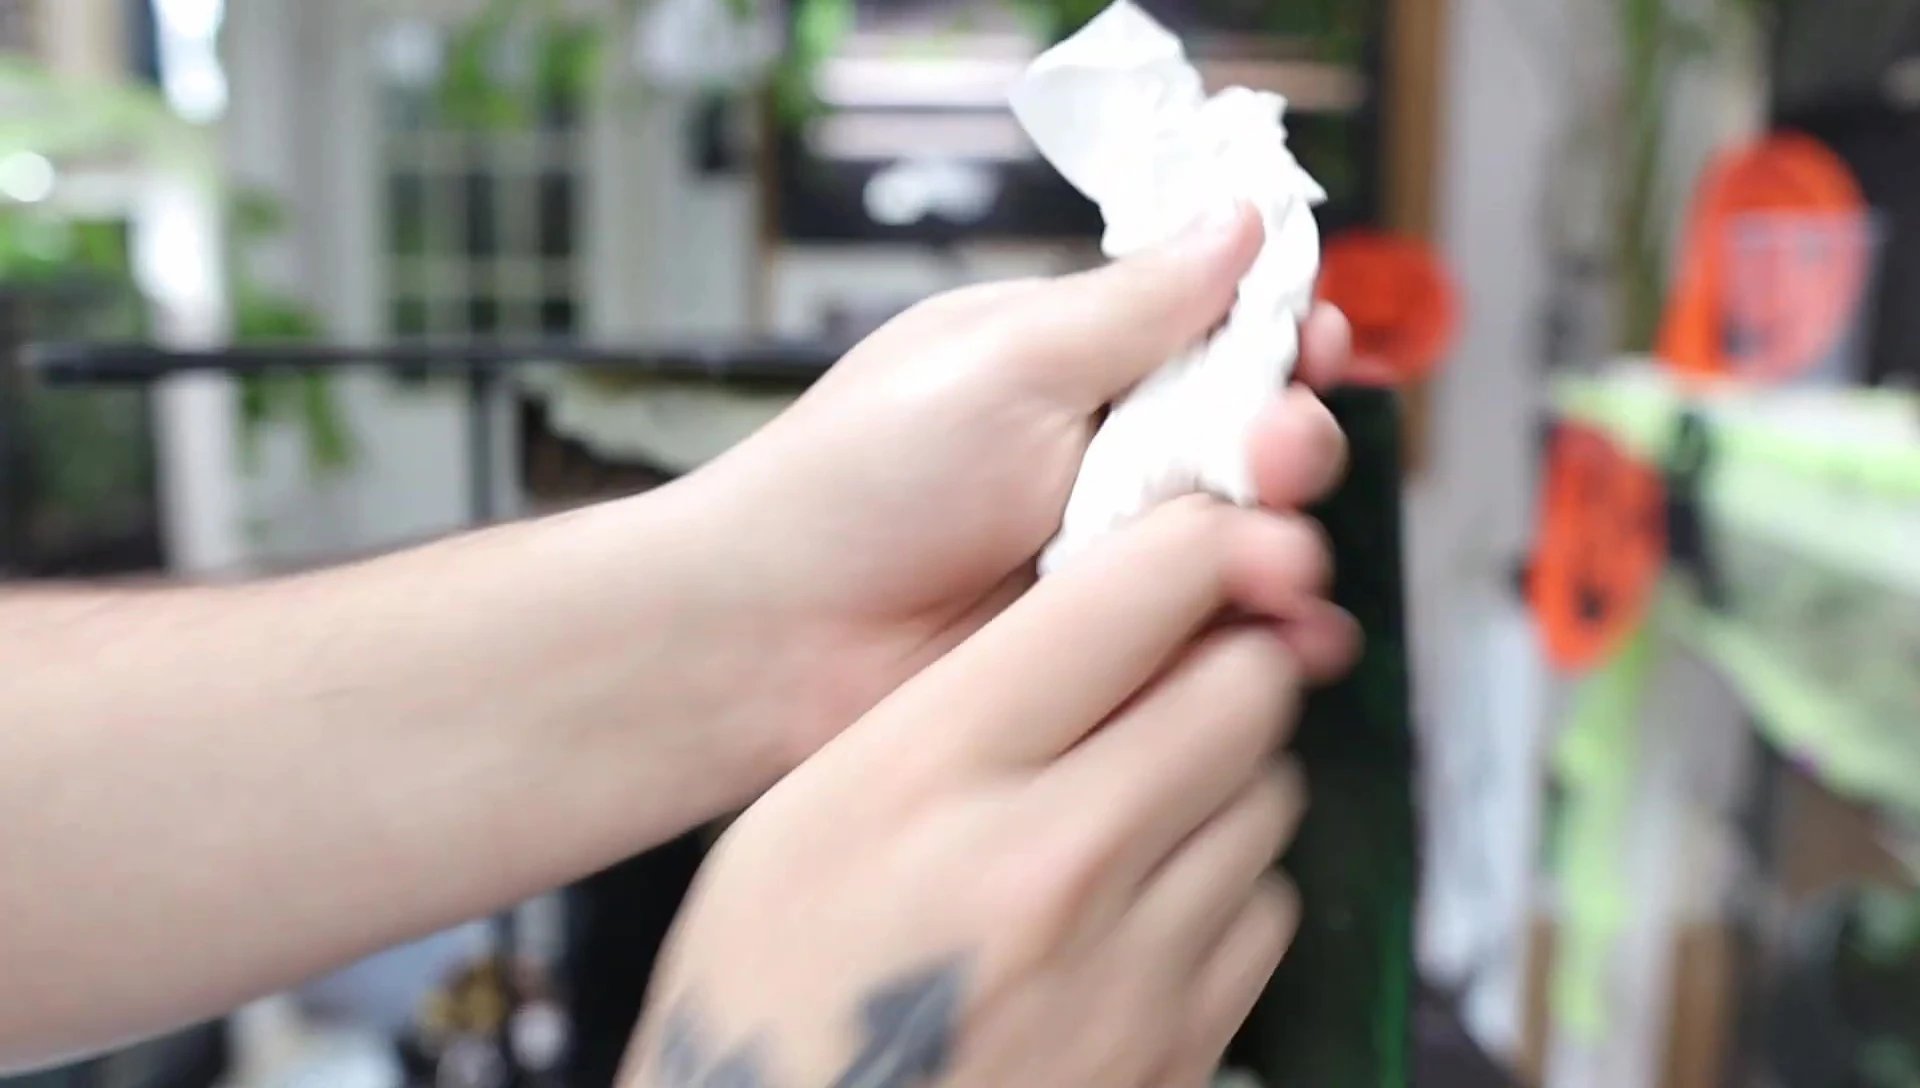
To overcome this, I ingeniously used crumpled napkins to fill the gaps behind the peeling foam. This provided a textured surface for the expanding foam to adhere to, preventing further detachment. A second, more controlled application of expanding foam secured the entire structure.
Subsequently, the foam was carefully carved and treated with brown silicone to further enhance adhesion and provide a smooth, professional finish. This two-pronged approach proved remarkably effective.
Substrate Application and Texturing
Once the silicone had cured, I began applying the substrate. I created a mixture of orchid bark, organic potting soil, sphagnum moss, and play sand for a rich and textured substrate.
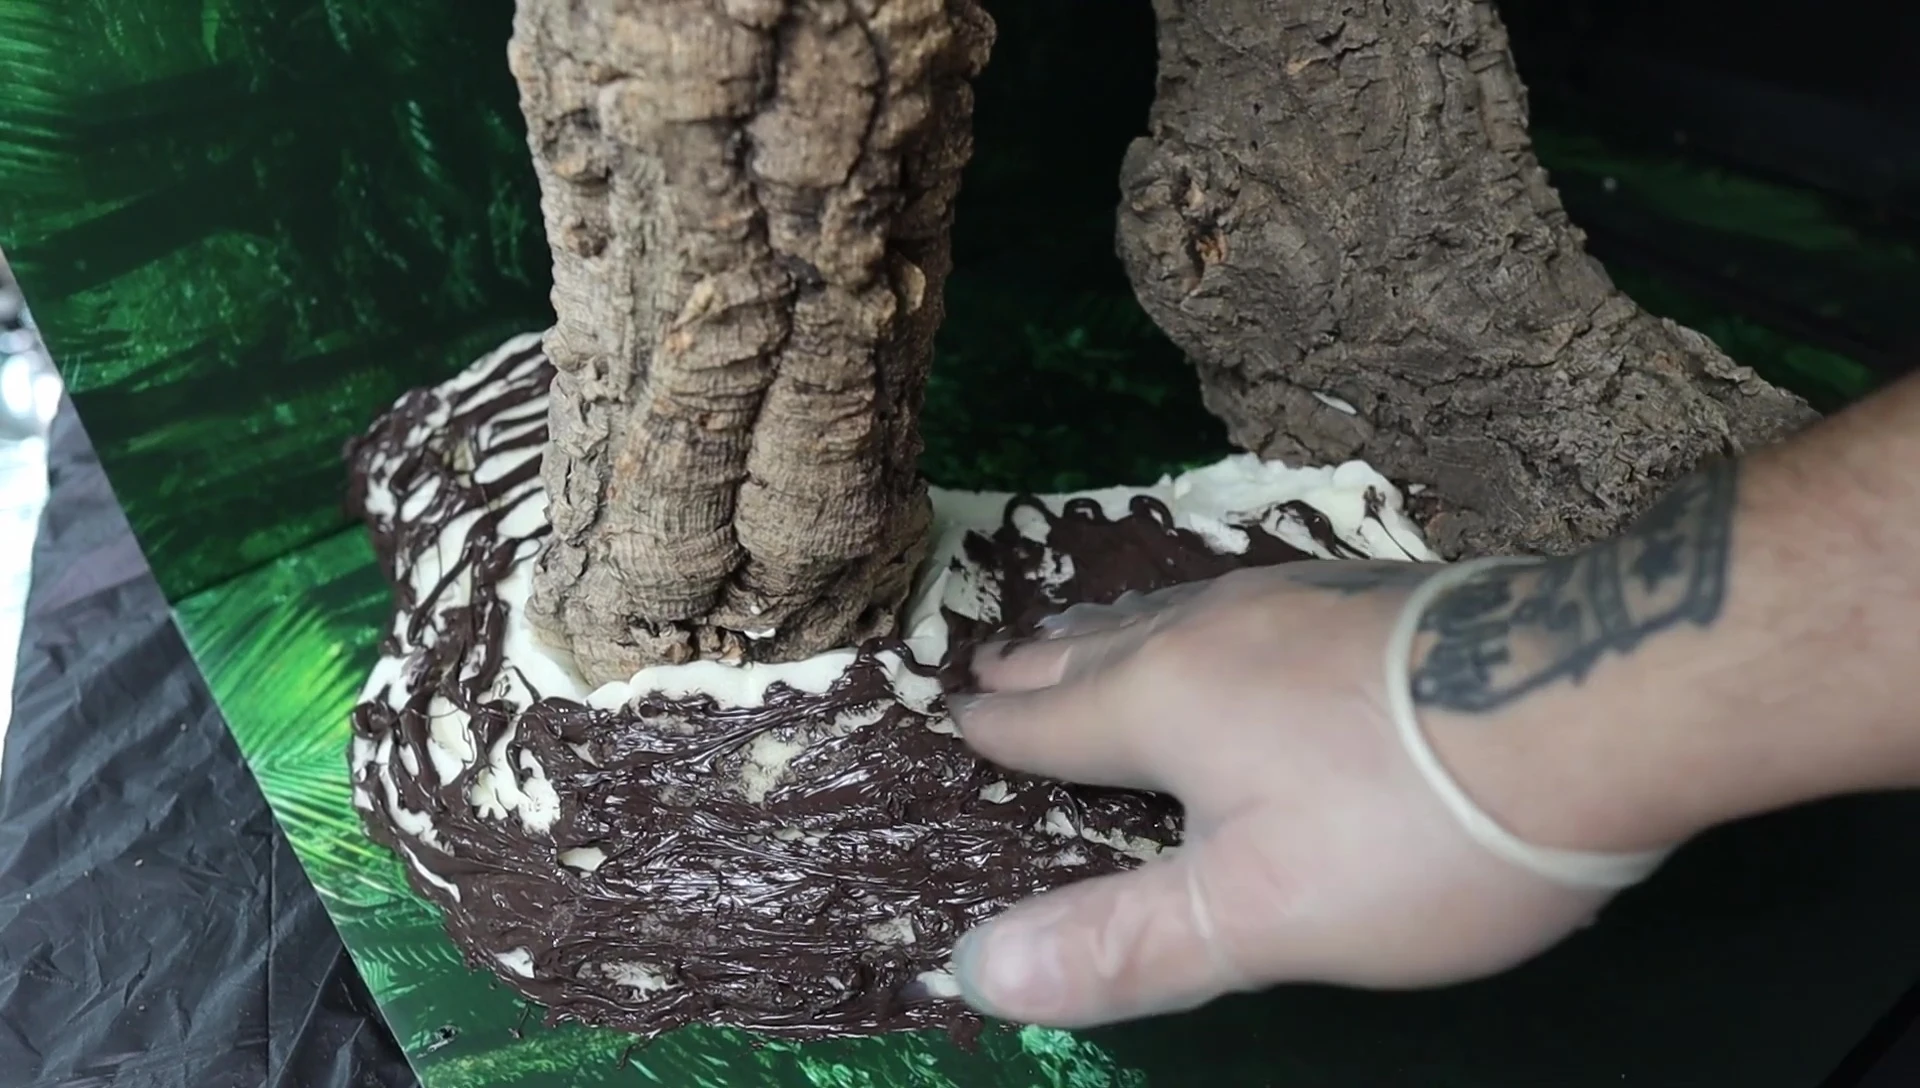
The substrate was layered onto the hardscape, carefully filling all crevices and creating a natural look. This process involved gently patting down the mixture to ensure stability and prevent settling. Working in sections helps manage the curing time of the silicone.
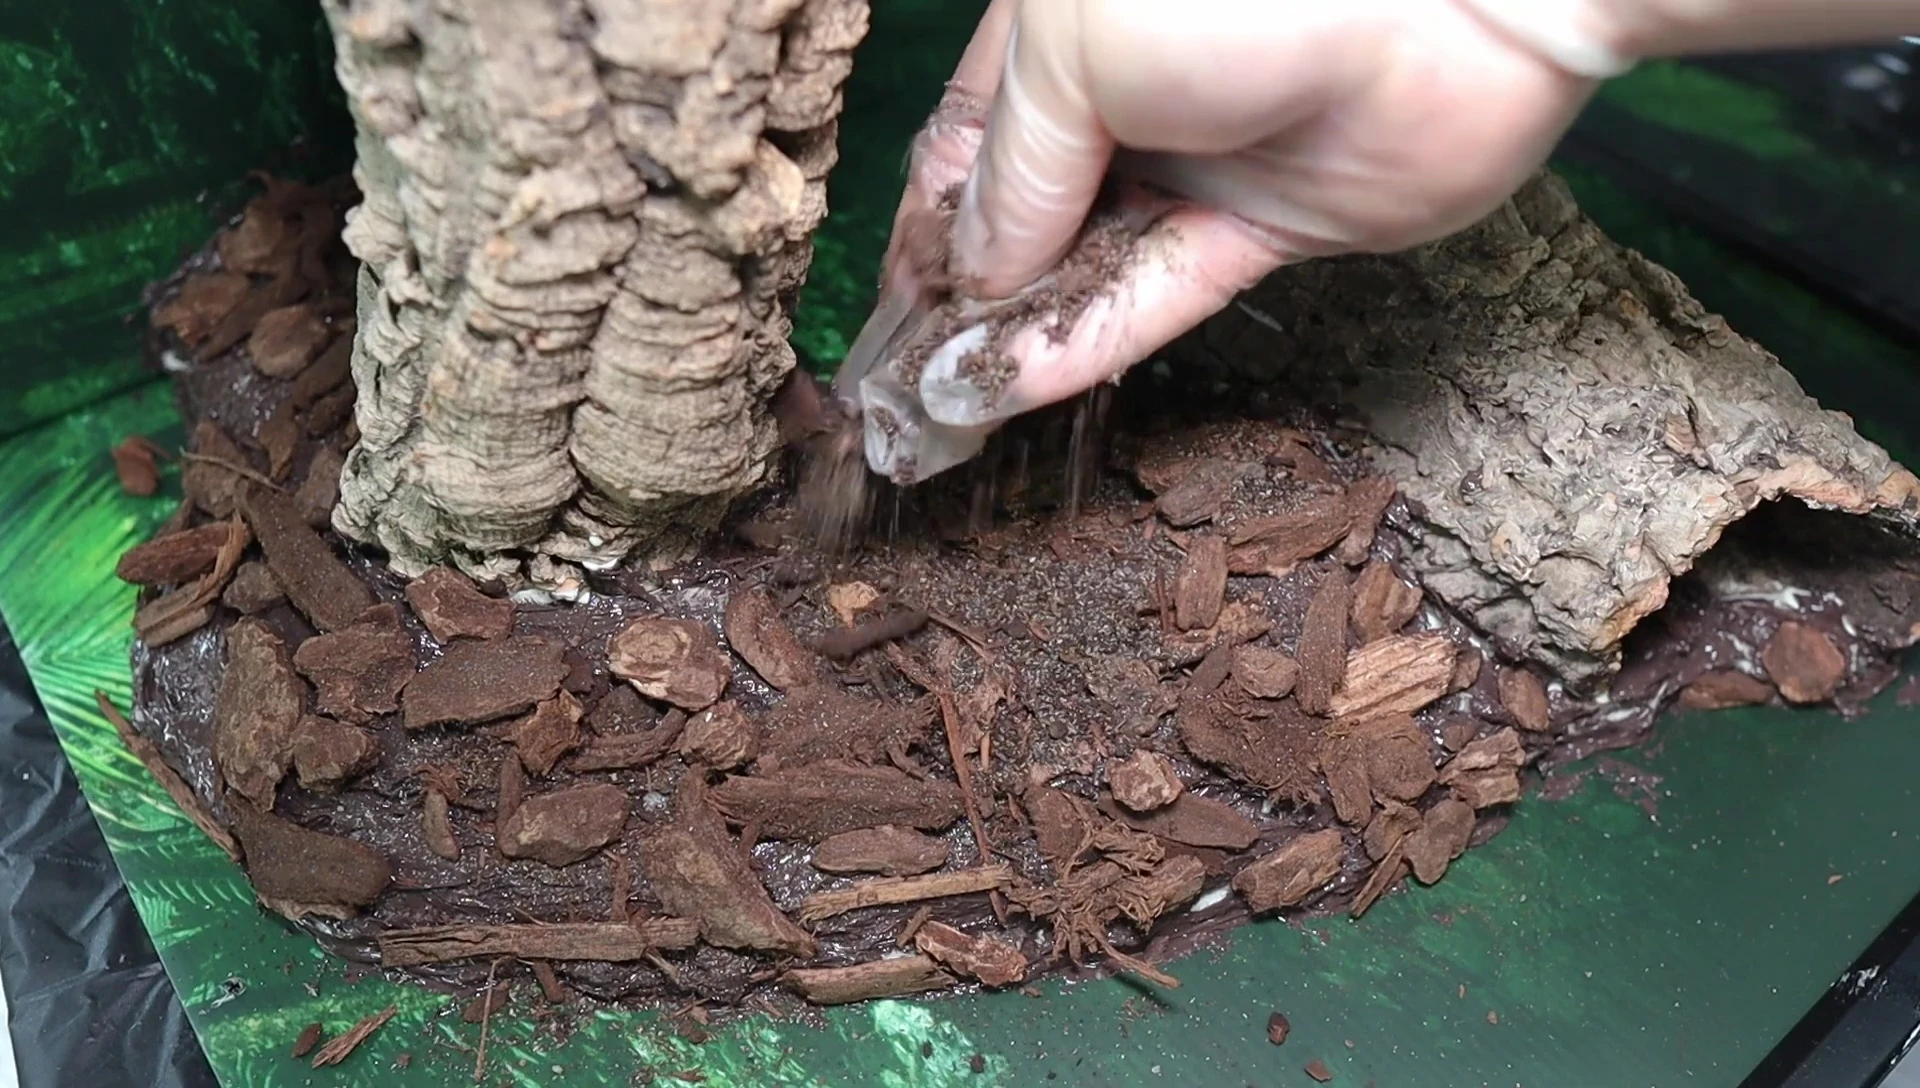
The result was a beautifully blended substrate with subtle variations in texture and color. The orchid bark provided visual interest and gave the gecko places to grip.
Drainage Layer and Planting
For drainage, I opted for a lightweight filter foam, rather than clay pebbles, to maintain a low profile. A layer of weed fabric prevented substrate from mixing with the drainage layer, maintaining optimal humidity levels.
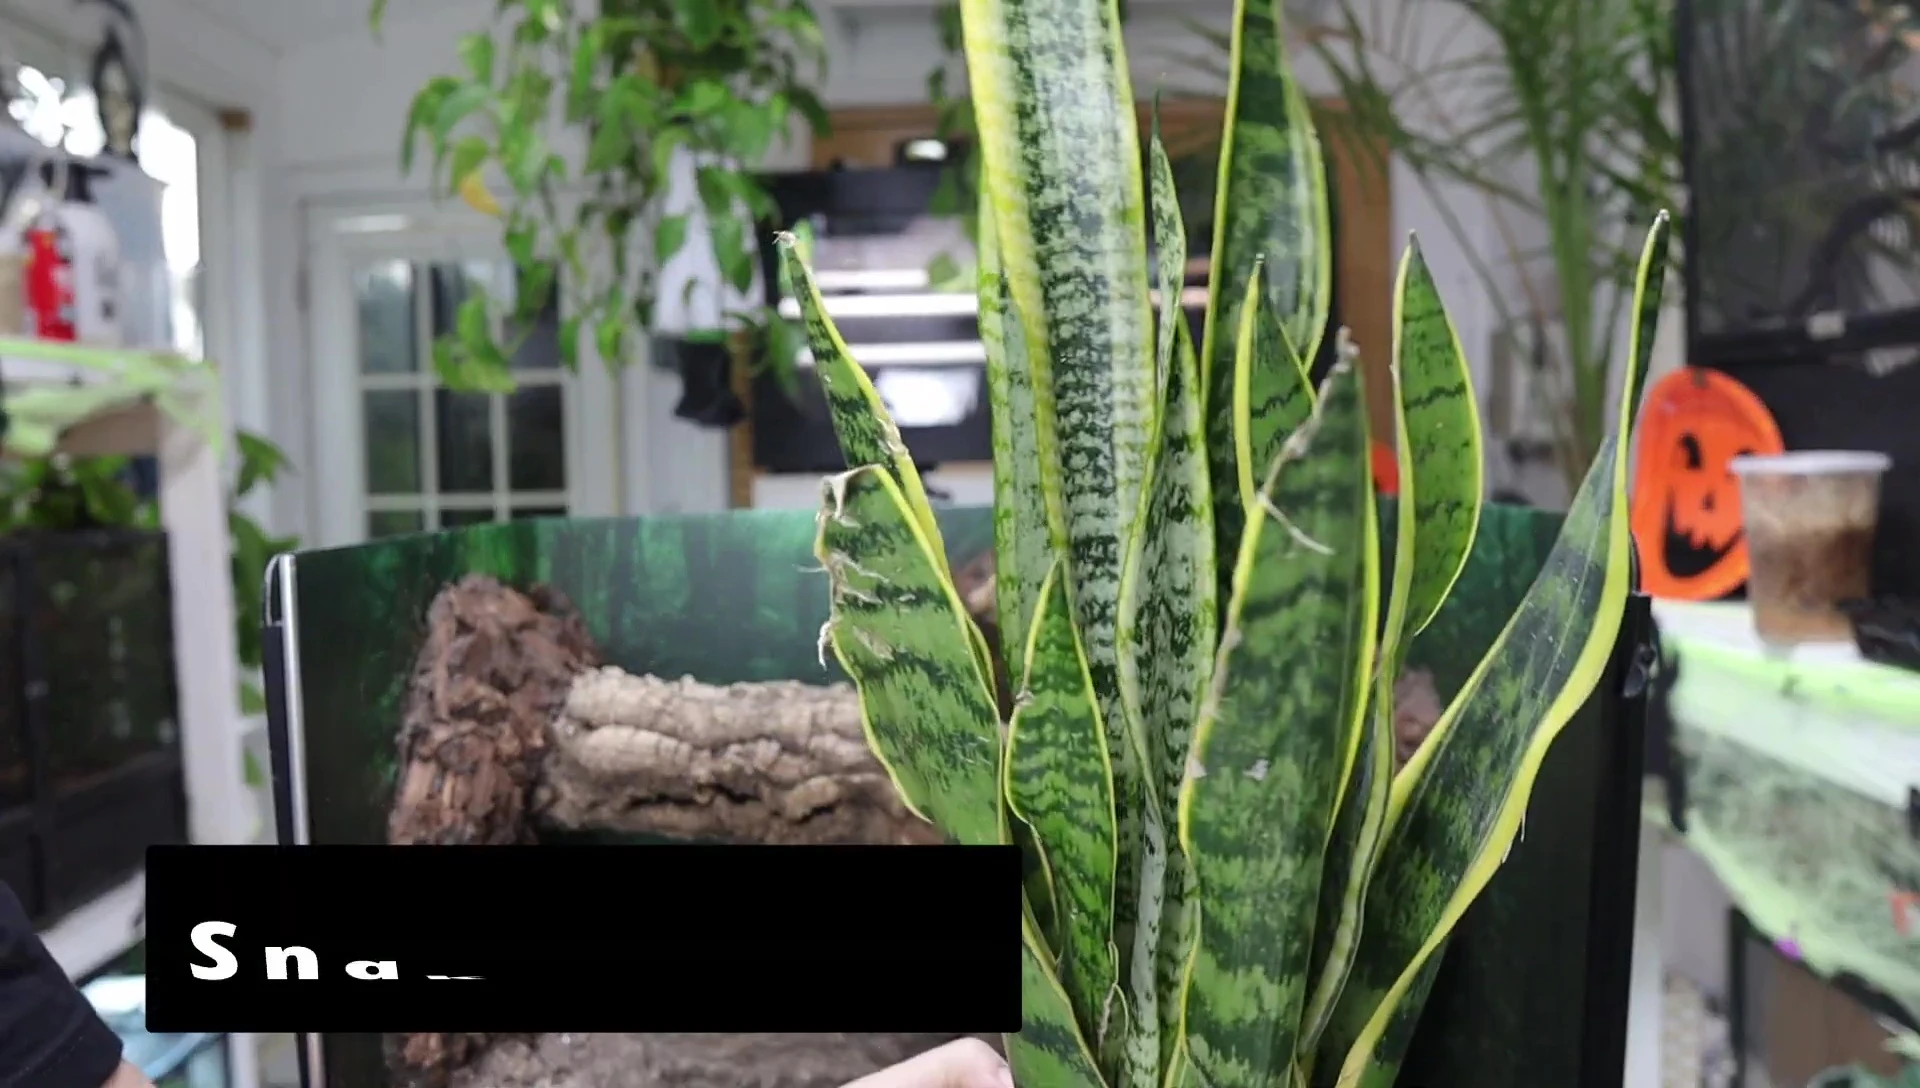
The final touches involved planting a variety of species for optimal visual appeal and gecko enrichment. I used a snake plant, Croton Petra, a My Little Prince dwarf banana plant, and pothos. These plants provide texture, color variation, and hiding places.
Additional touches included Spanish moss around the logs and leaf litter, broken driftwood, and Magnolia leaves for visual interest and naturalistic detail.
Final Touches and Conclusion
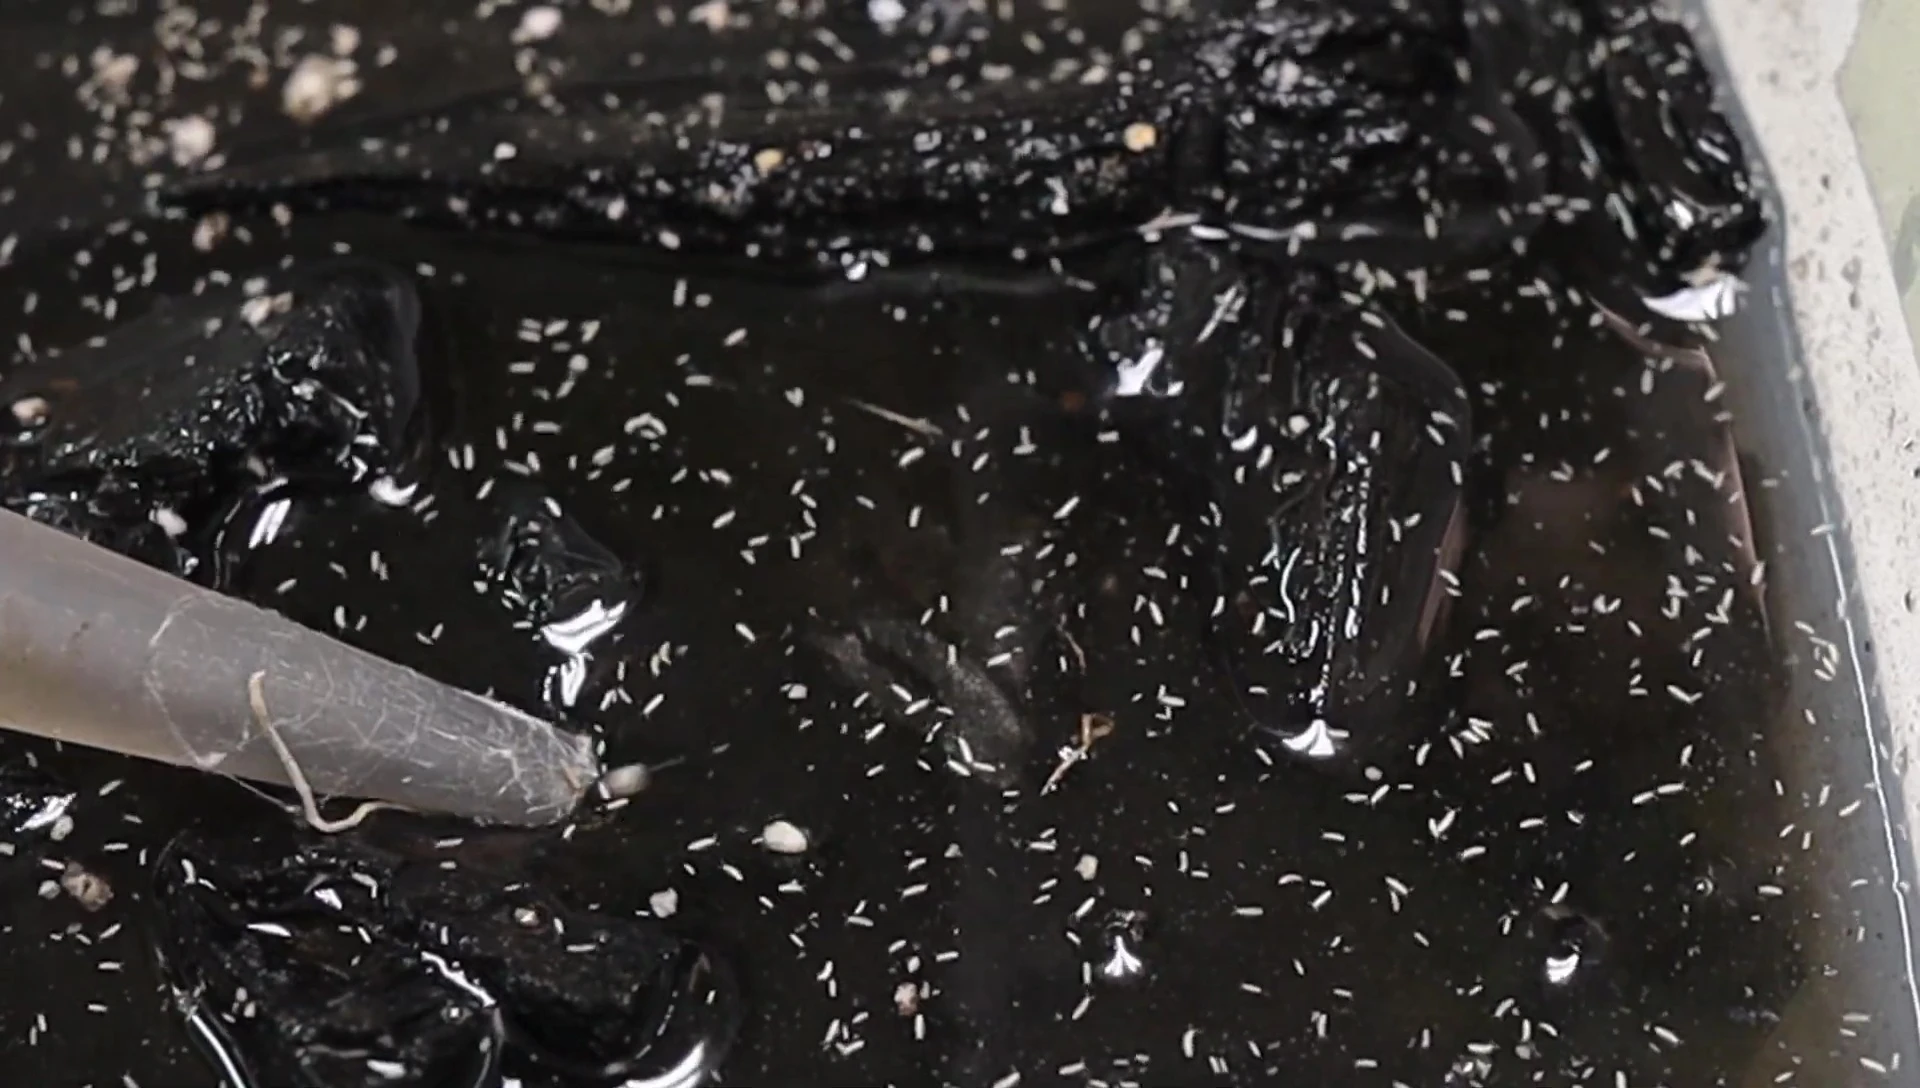
The final stages involved adding springtails for beneficial clean-up, reattaching the lid and door, and introducing the gecko. The finished vivarium was a visually striking blend of naturalistic elements and functionality.
The Leap Habitat proved to be a robust and versatile enclosure for the bioactive setup. While there were challenges, creative problem-solving led to a successful outcome.

Overall, the Leap Habitat is an excellent choice for creating a bioactive enclosure. Its lightweight design and easy-to-assemble features make it ideal for reptile keepers of all skill levels. While the expanding foam adhesion needs attention, the results are visually stunning and offer exceptional livability for the gecko.