Keep your reptile safely and comfortably secured with this easy-to-make DIY beadless lizard leash! This simple project requires minimal materials – just paracord, hair elastics, and a lighter – and provides a surprisingly strong and adjustable leash perfect for reptiles of all sizes. Forget fiddly beads and complicated knots; this method uses the elasticity of hair ties to create a snug, yet adaptable fit that grows with your pet. The instructions are clear, concise, and perfect for even the most novice crafters. Say goodbye to expensive store-bought leashes and hello to a custom-made solution that’s both budget-friendly and safe.This step-by-step guide walks you through the process of creating a durable and adjustable leash using readily available materials. You'll learn how to securely melt and seal the paracord ends, create adjustable loops using hair elastics, and add a final knot for extra security. The instructions emphasize safety, particularly when using a lighter, ensuring a successful and safe project for both you and your reptile. Customize your leash with optional beads or knots for a personal touch. Get ready to enjoy safe and comfortable outdoor adventures with your lizard!
Read more: Top 5 Breathable Reptile Harnesses
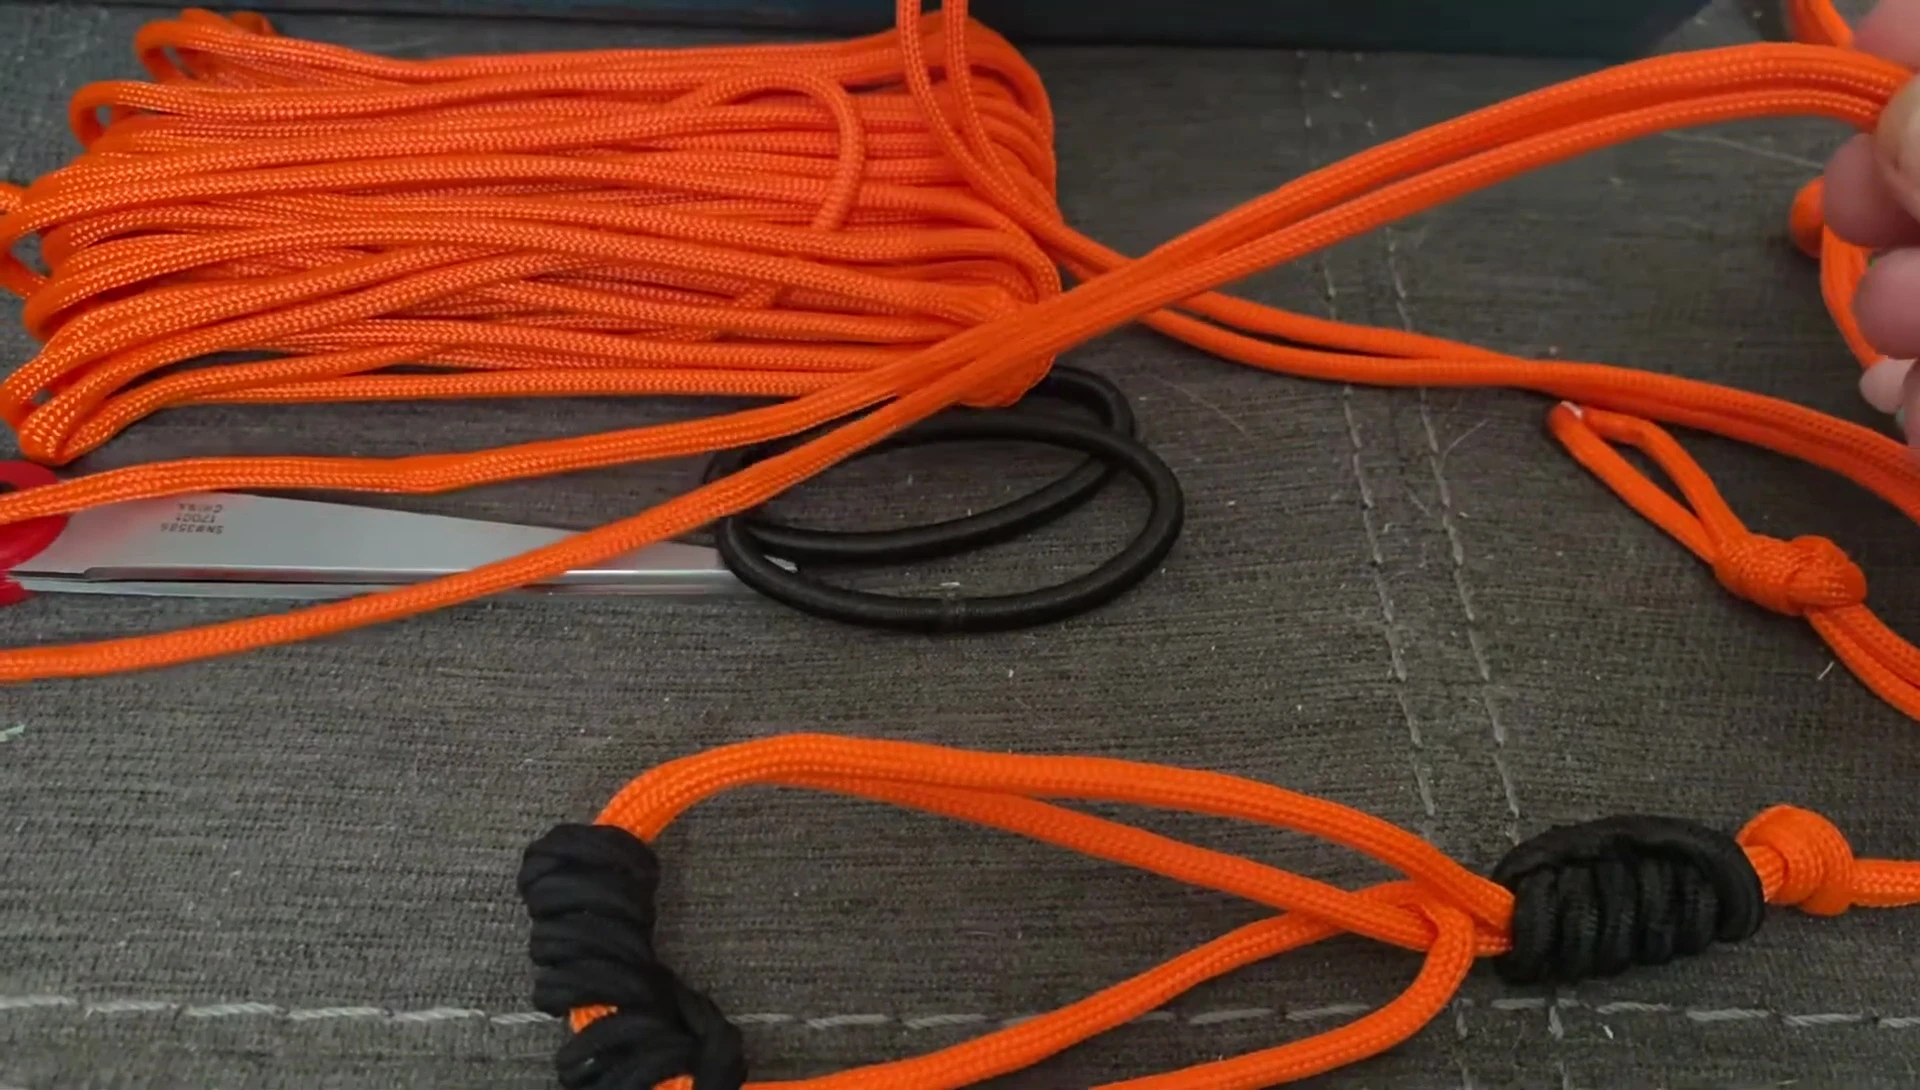
Materials and Preparation
To begin, gather your materials: approximately 20 feet of paracord, a lighter (adult supervision required), and a few hair elastics. The paracord length allows for adjustment to fit various sized reptiles. The hair elastics provide a secure, adjustable closure.
First, cut your desired length of paracord. Using a lighter, carefully melt and seal the ends to prevent fraying. Adult supervision is crucial for this step, especially if children are involved. Once cooled, gently press the melted ends to create a slightly pointed tip; this helps with bead insertion later.
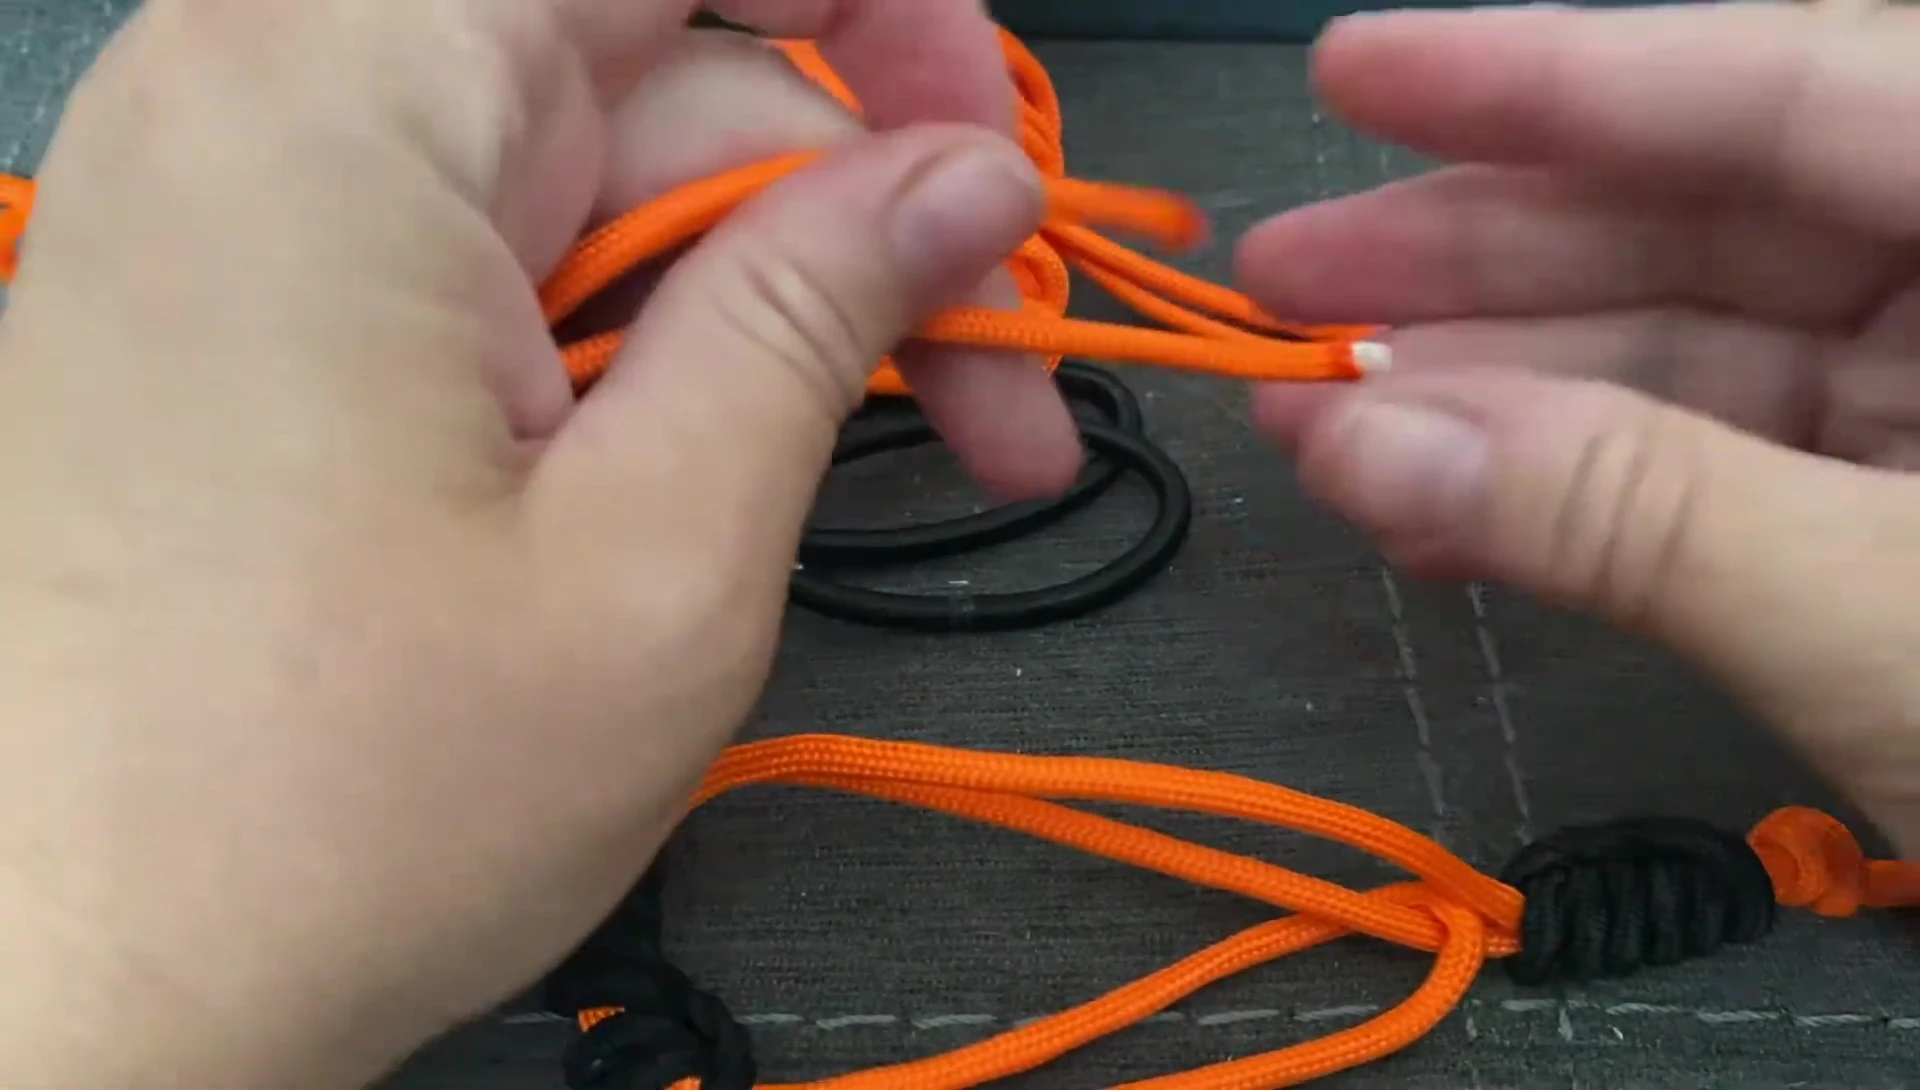
Creating the Leash Body
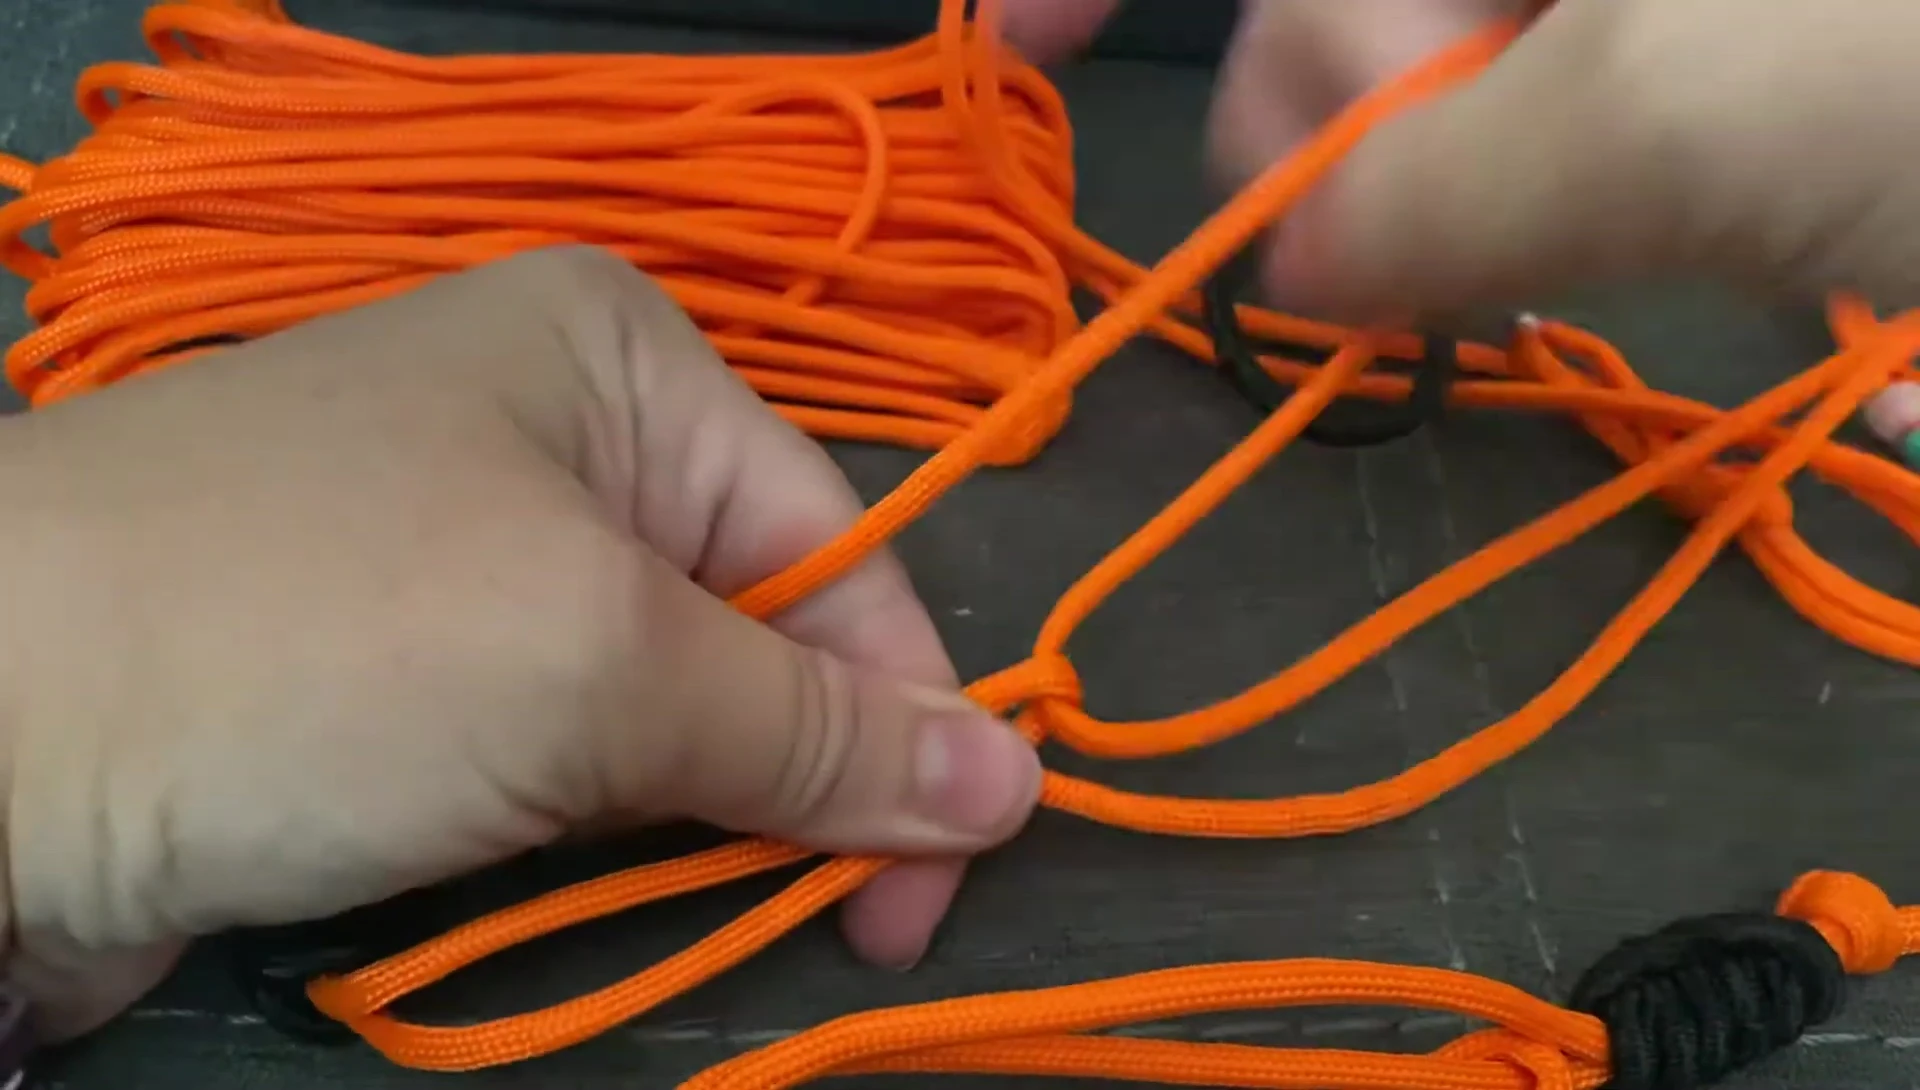
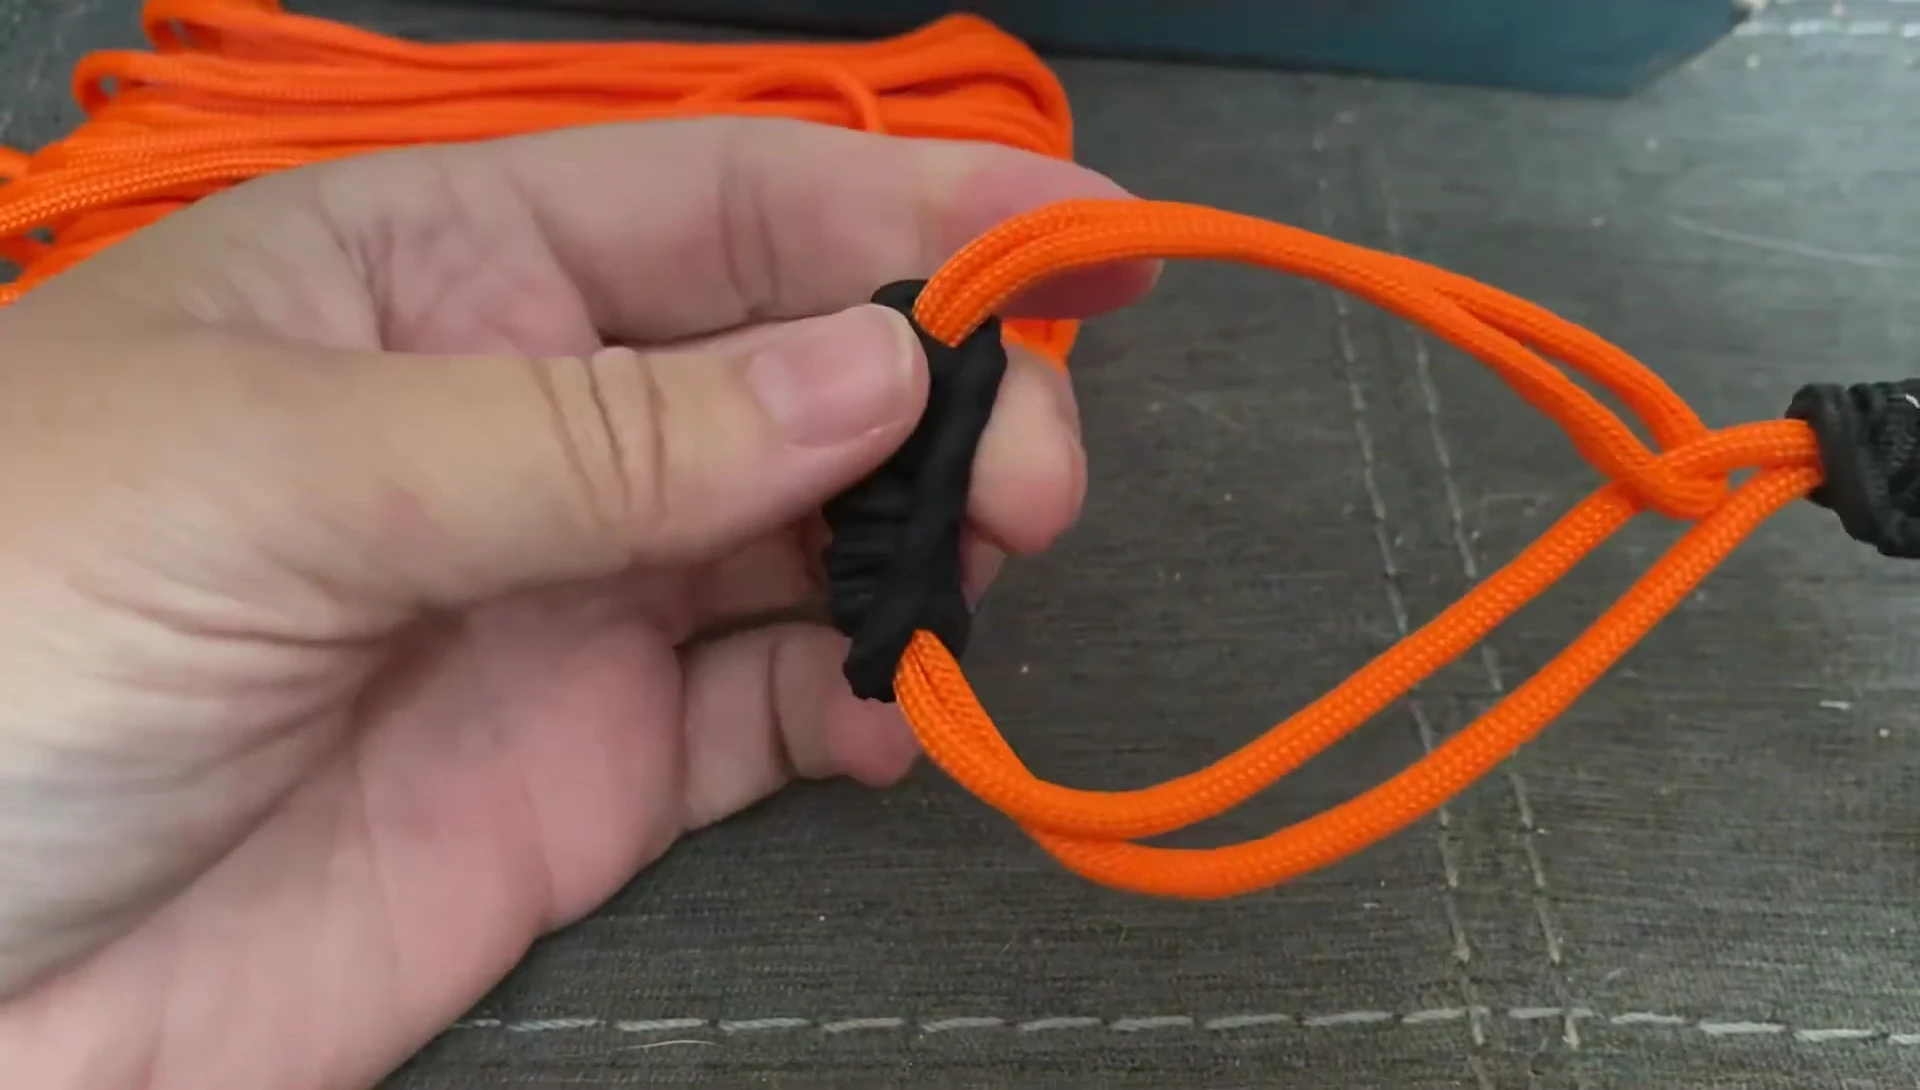
Double the paracord over, then use a hair elastic to secure the doubled-over portion several inches from the end. Wrap the hair elastic tightly around the paracord, securing the loops for a snug fit that will be gentle against your reptile’s body.
This section will lie against your lizard’s belly. The hair elastic allows for adjustability as your reptile grows or for different reptile sizes. The flexibility of this method ensures comfort and adaptability.
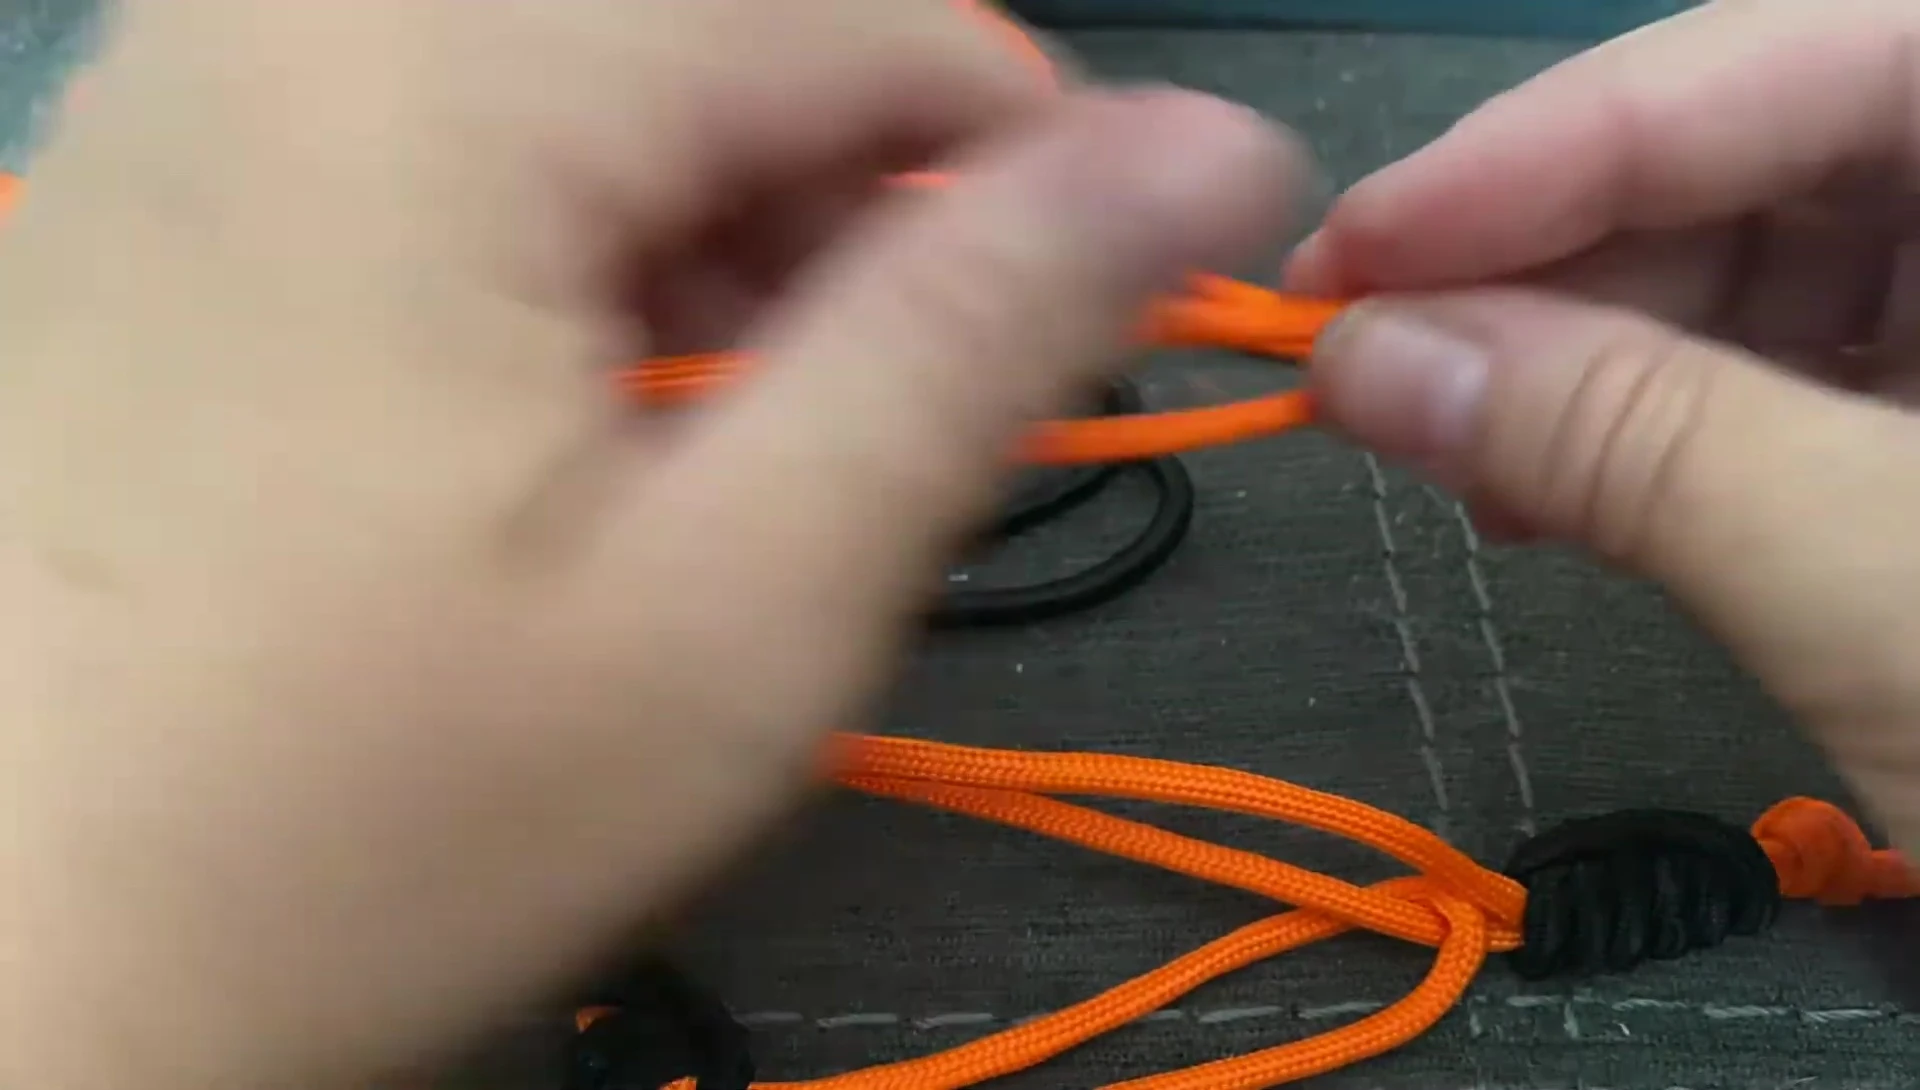
Securing the Leash
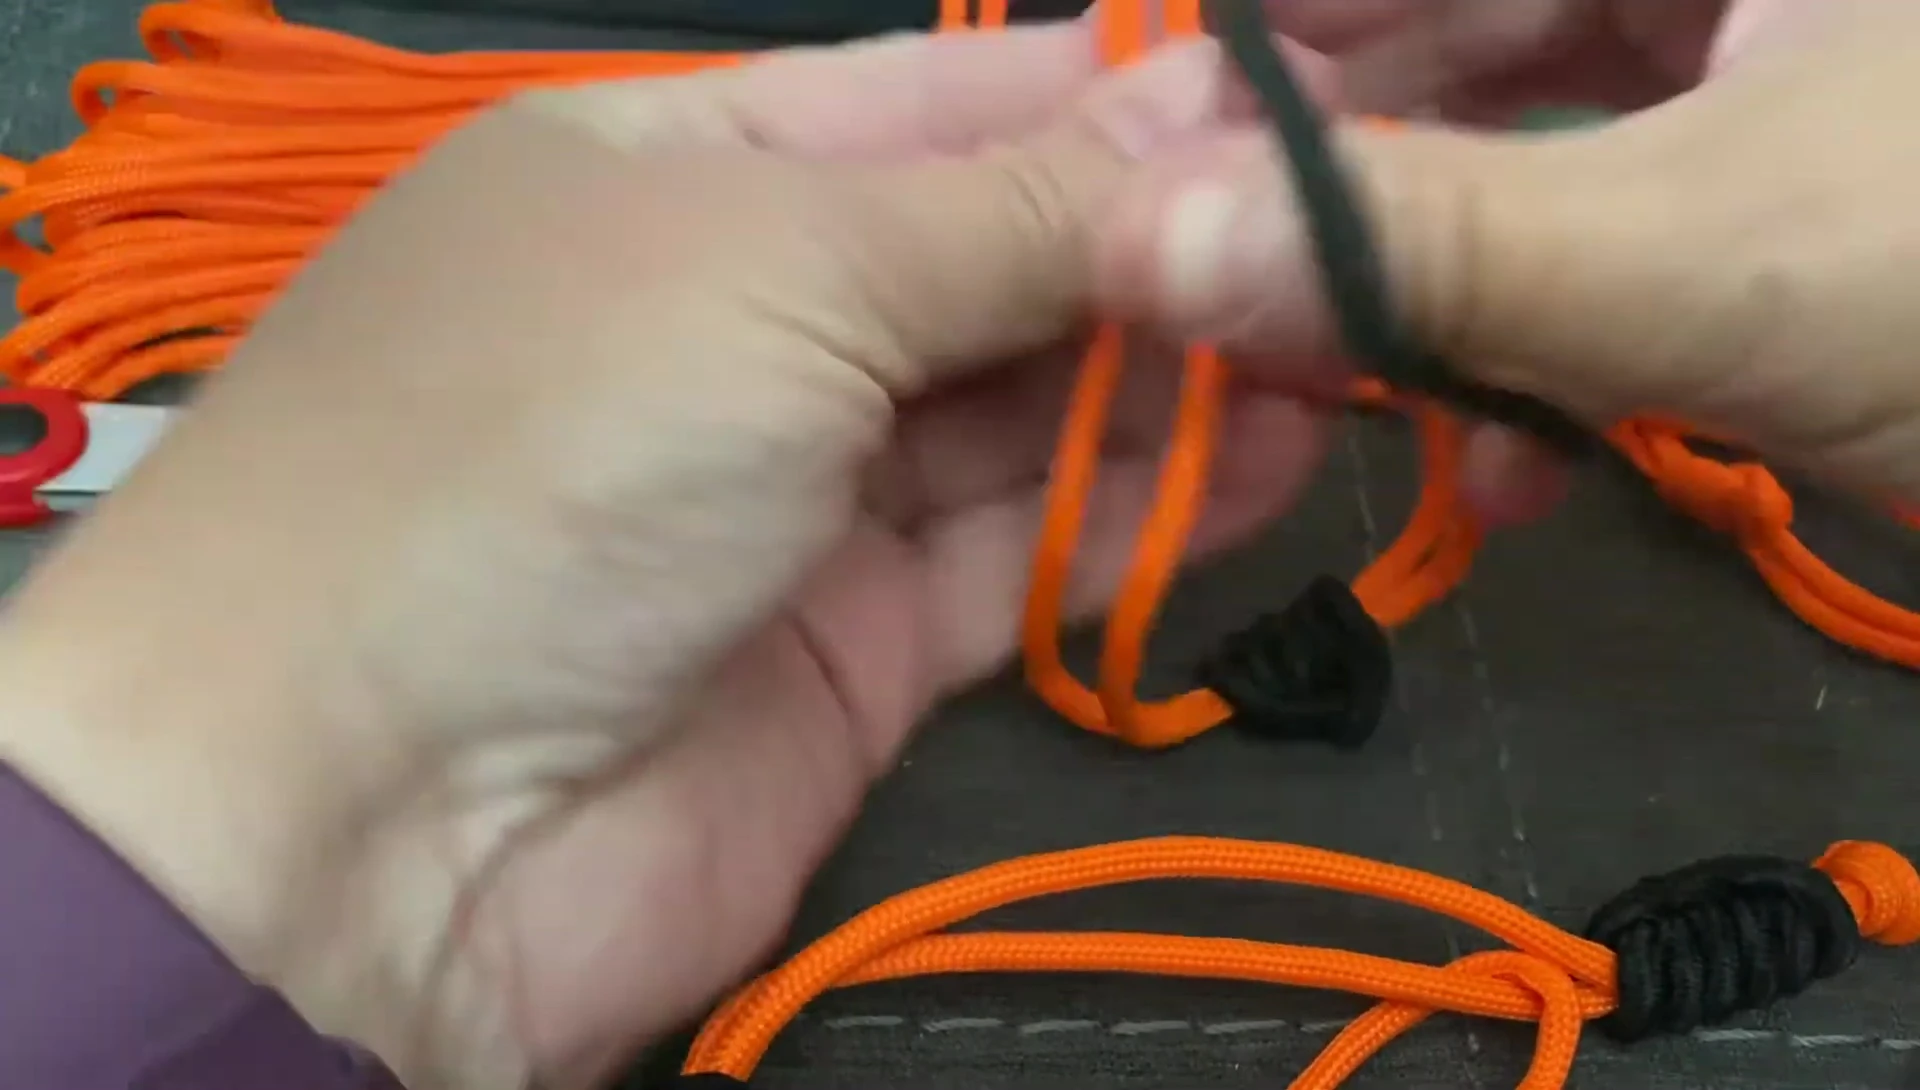
To keep the leash snug on your reptile, thread one end of the paracord through the initial hair elastic loop. Wrap another hair elastic around this section to secure the leash, creating a secure, adjustable fit.
Wrap the second hair elastic around the paracord multiple times to achieve a snug but adjustable fit. This technique offers a more secure closure than traditional bead methods. Adjust the tightness as needed for your specific lizard.
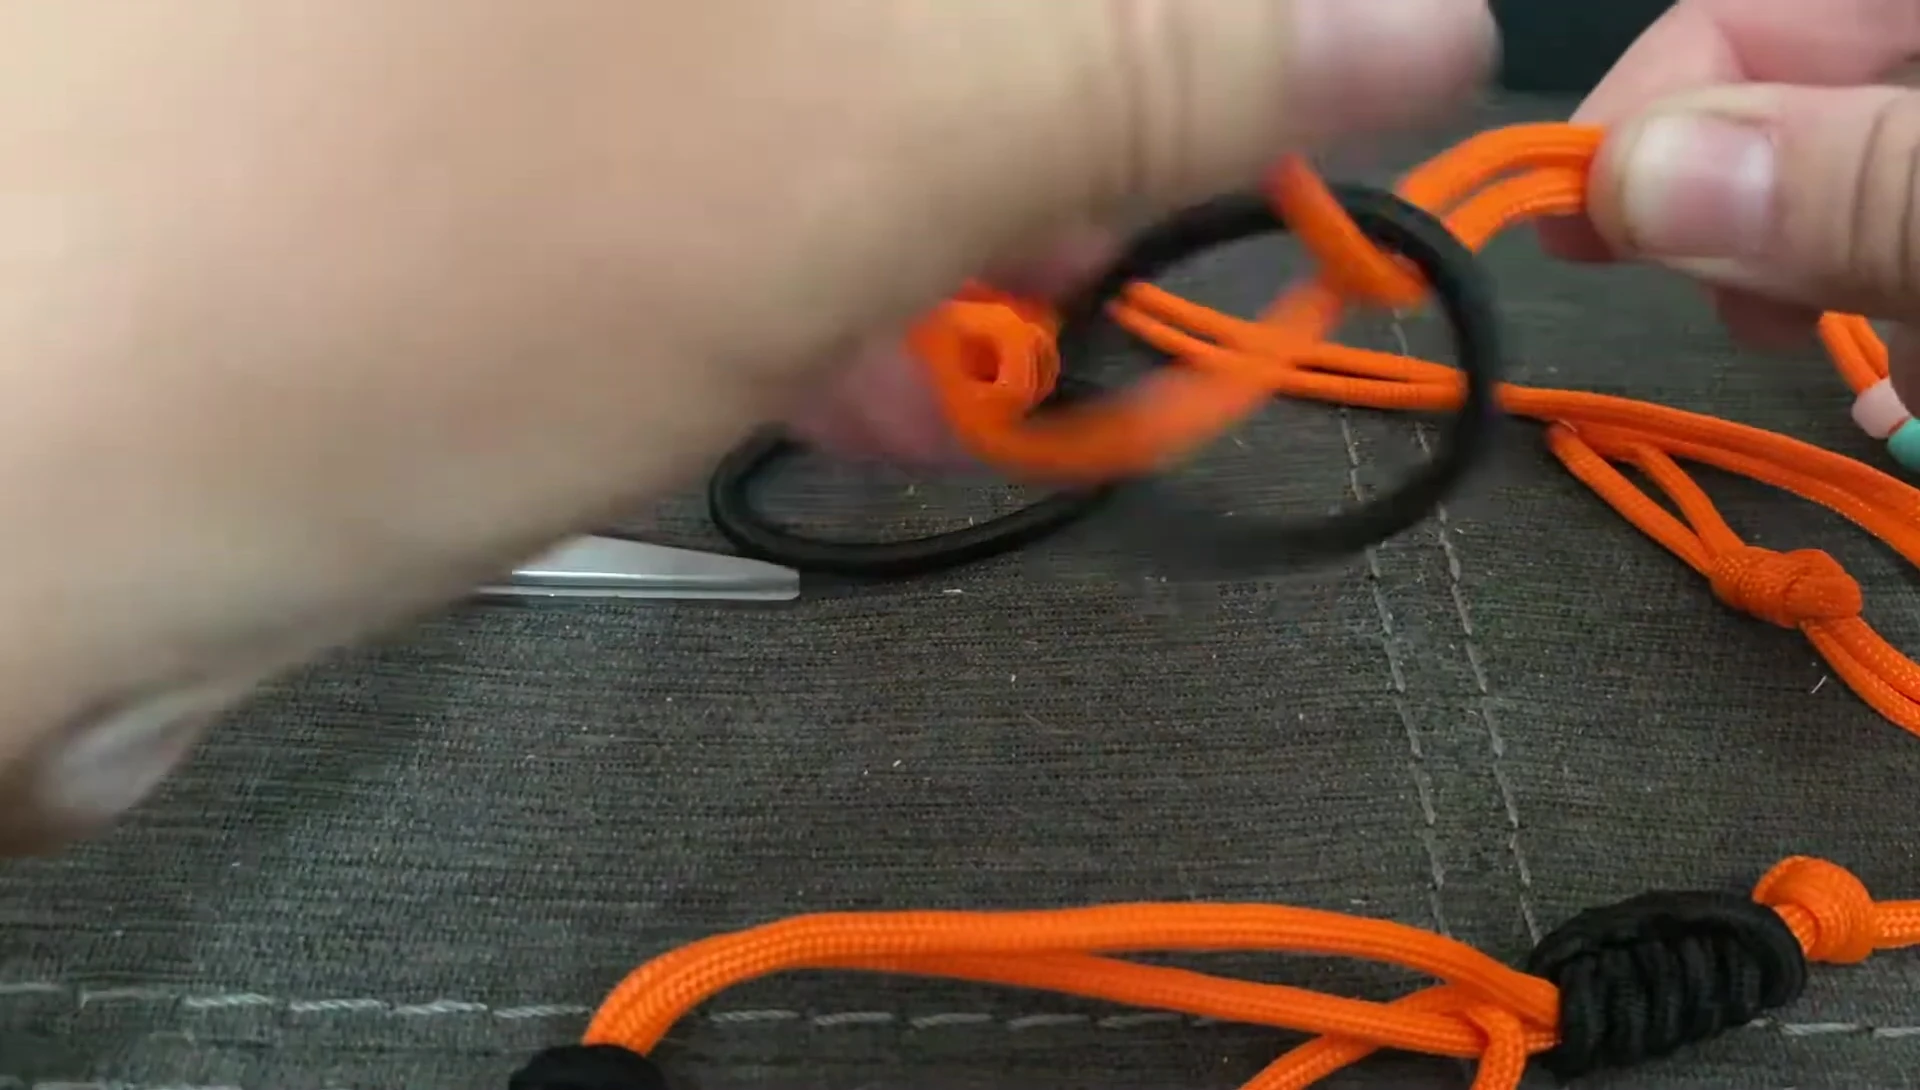
Finishing Touches
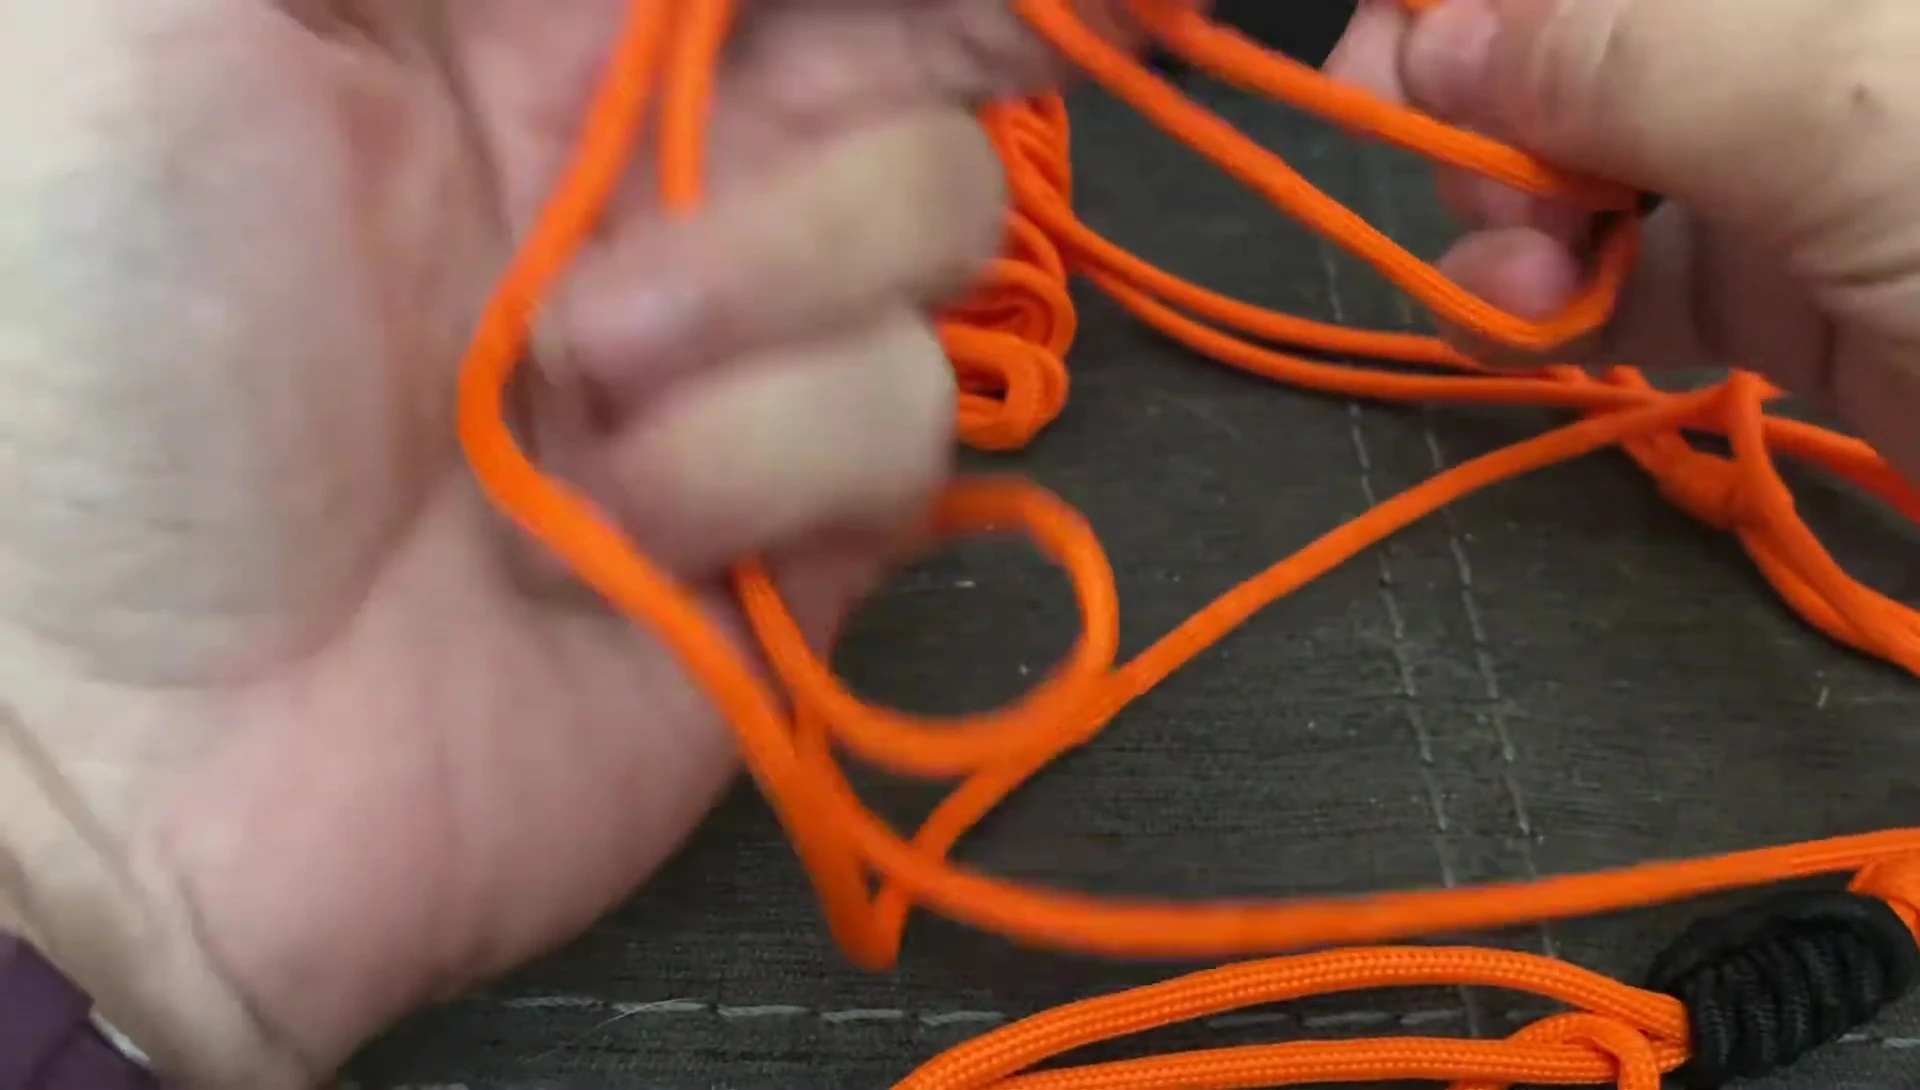
Add a knot a few inches above the second hair elastic to prevent it from sliding too far. This allows for easy adjustment while keeping the leash secure. This prevents the hair elastic from sliding completely up and potentially releasing the lizard.
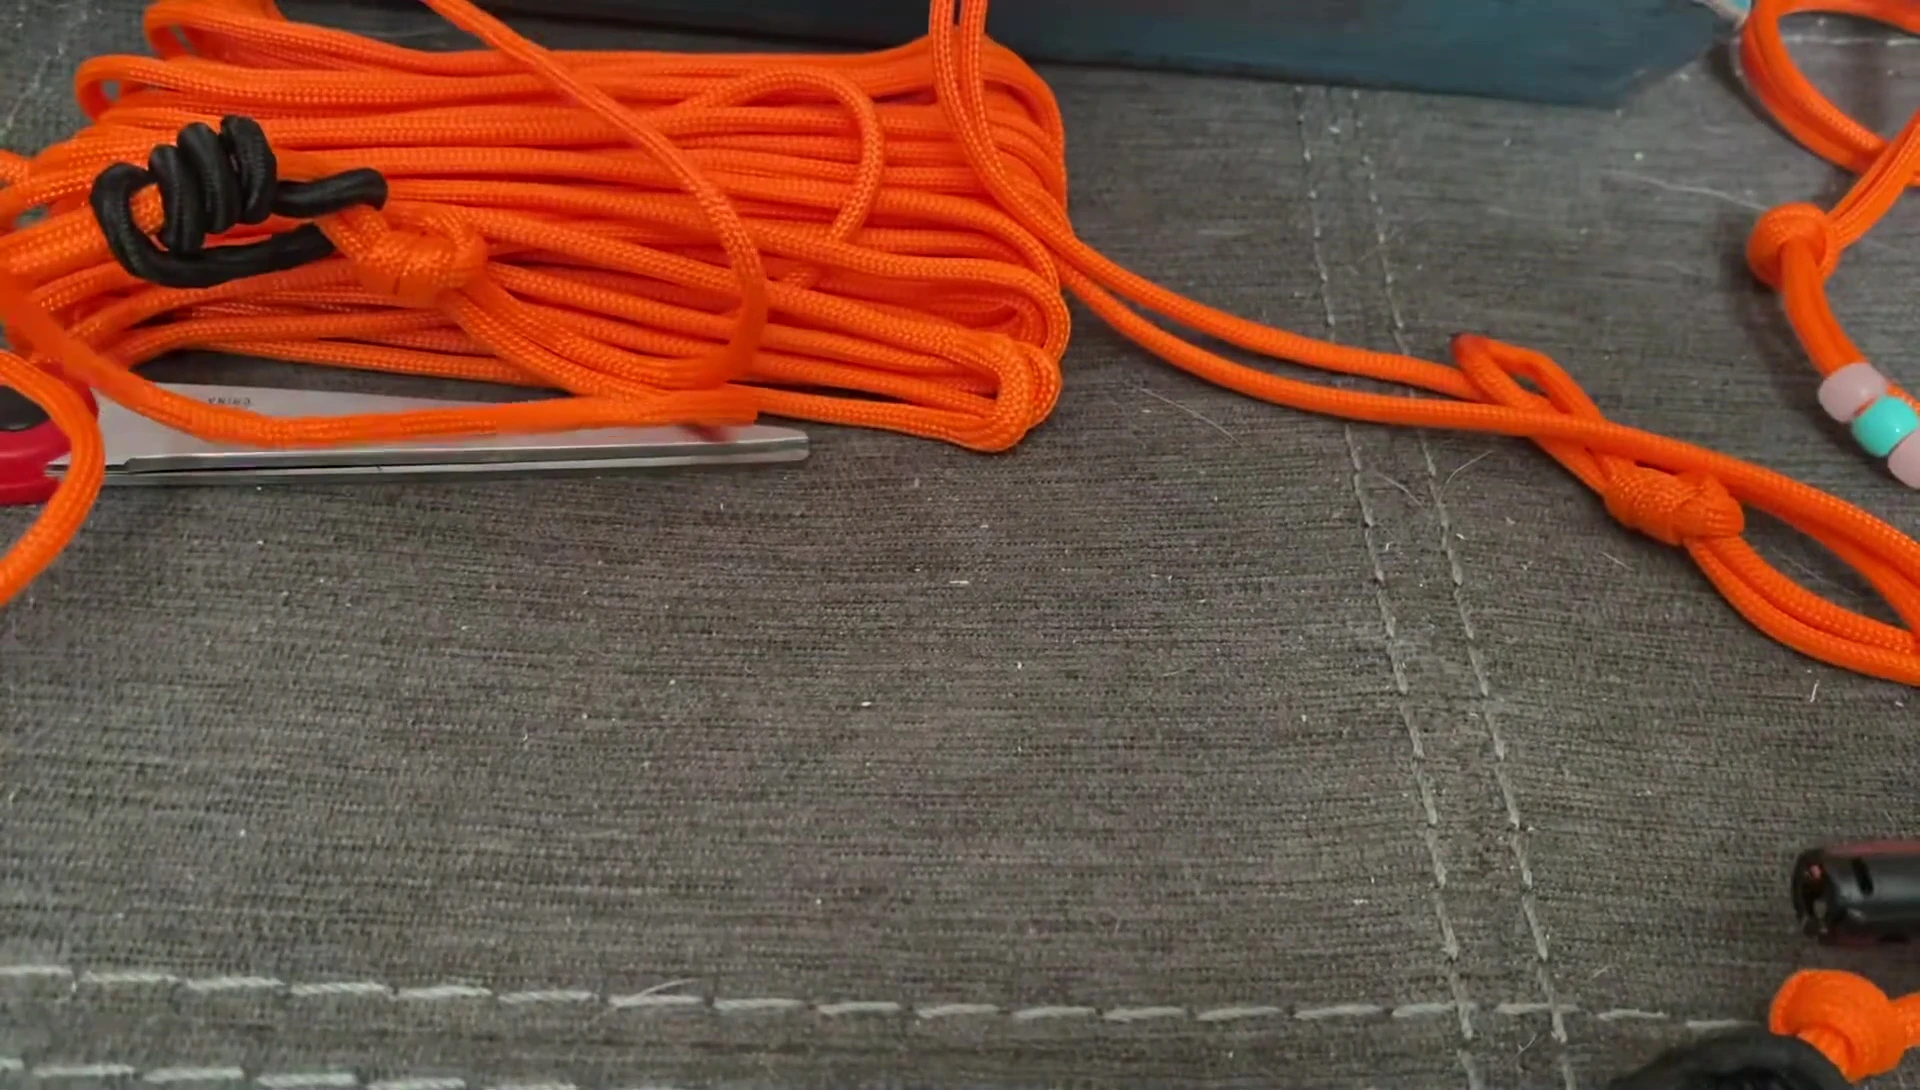
Finally, add beads for decoration (optional), tie off the remaining ends with knots, and melt the ends again to prevent fraying. Your beadless lizard leash is complete! You can customize it by adding beads, knots or other decorative elements
Conclusion
This DIY beadless lizard leash is a quick, easy, and affordable alternative to traditional methods. The use of hair elastics provides a secure and adjustable fit, eliminating the need for pony beads or other potentially cumbersome materials.
The method's adjustability makes it suitable for reptiles of various sizes. The simple design is easy to repair or modify, making it a practical and long-lasting solution for reptile owners. It is a simple alternative for a very low cost.