Tired of overpriced and poorly designed turtle basking platforms? This DIY project offers a cost-effective and customizable alternative, addressing common flaws found in commercially available options. For under $30, you can build a sturdy, safe, and easy-to-clean basking platform tailored to your turtle's specific needs. This guide walks you through the entire process, from material selection and cutting techniques to assembly and finishing touches, using readily available materials and tools. Say goodbye to expensive, impractical platforms and hello to a custom-built solution that will keep your turtle happy and healthy.This detailed tutorial provides step-by-step instructions, including helpful tips and troubleshooting advice, to help you create a superior basking platform. We'll address issues like steep ramps, food-trapping gaps, and the challenges of working with plexiglass and aluminum. Even if you’re a beginner DIYer, this guide makes the project manageable and enjoyable. Get ready to build a functional and aesthetically pleasing basking platform for your beloved reptile, all while saving a significant amount of money.
Read more: 5-Star Reptile Basking Platform with Hiding Spot
Why Build Your Own?
Commercial basking platforms can be incredibly expensive. I found one online for $300, a price I deemed excessive given design flaws.
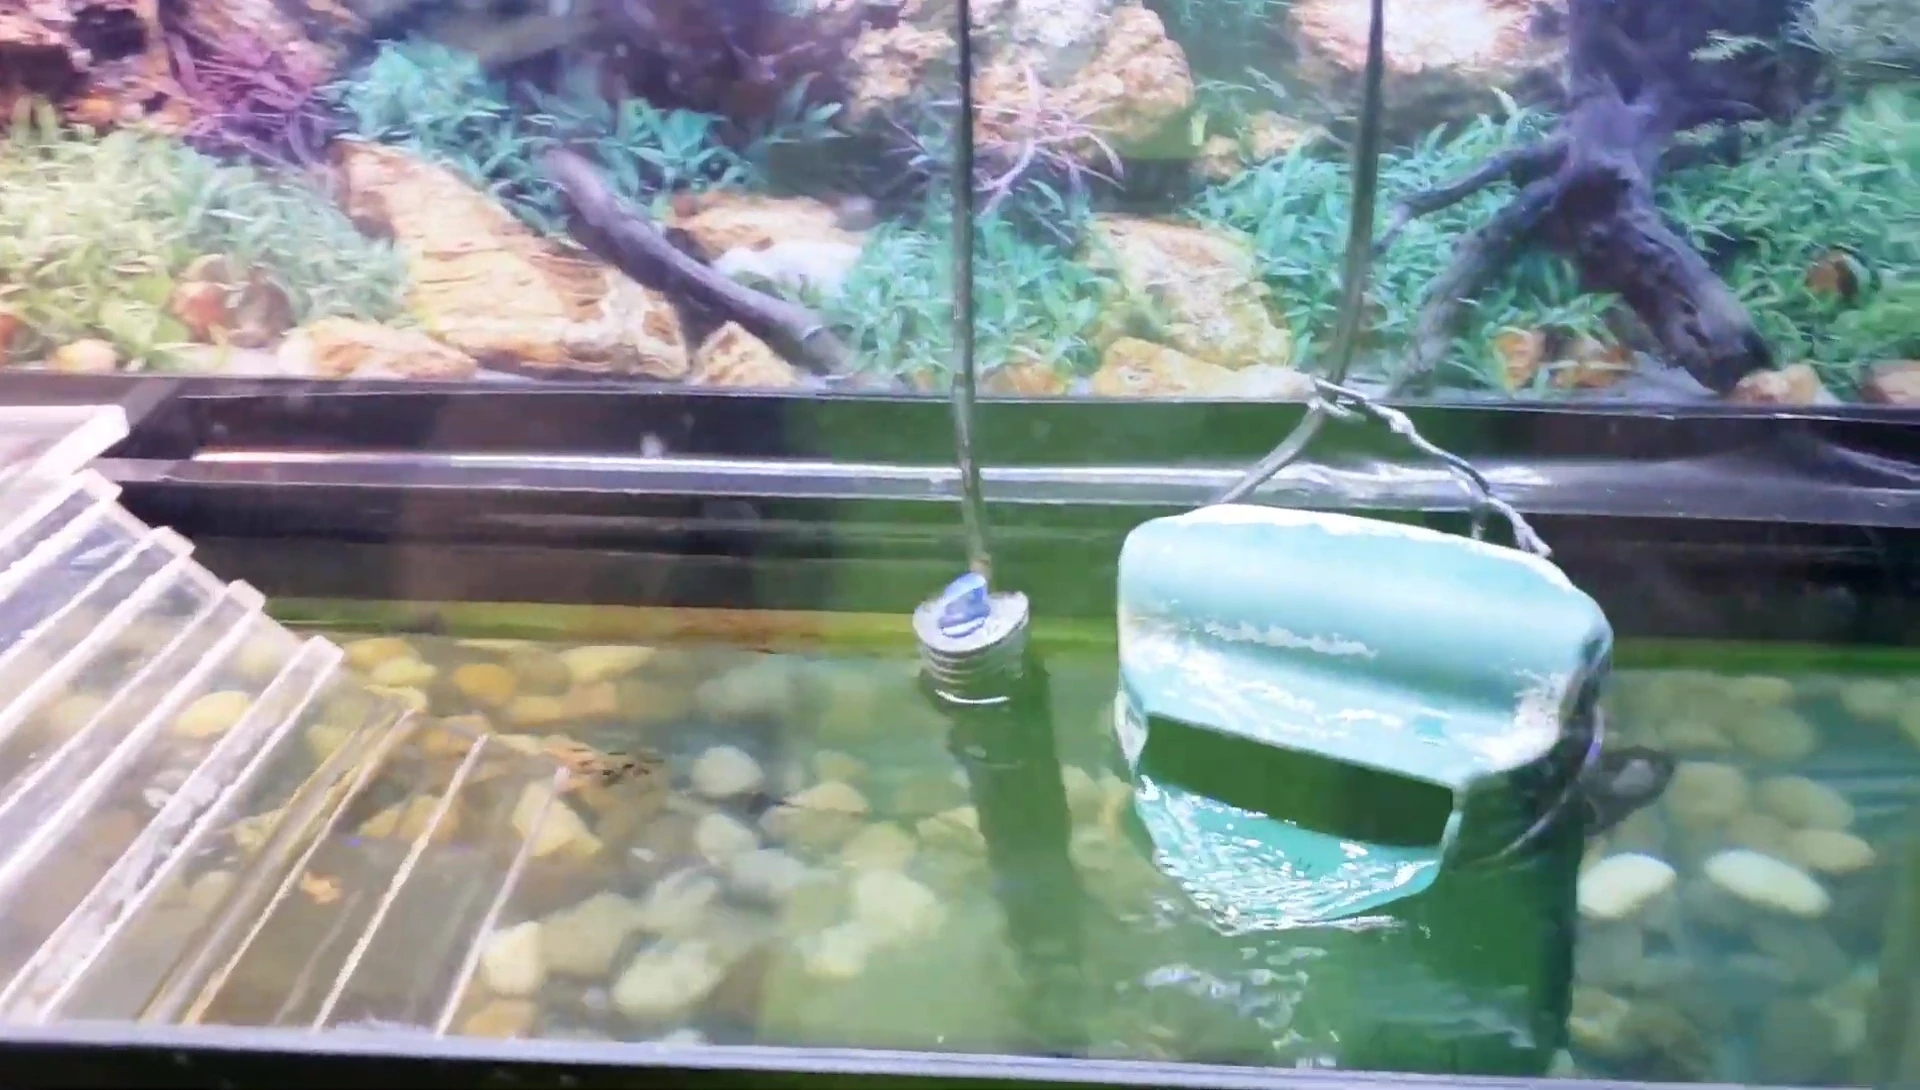
Existing platforms often have gaps that trap food, making cleaning difficult. This design improvement was a primary motivator.
The steep ramps on commercial platforms proved challenging for my larger turtle. A gentler incline was essential for her comfort and safety.
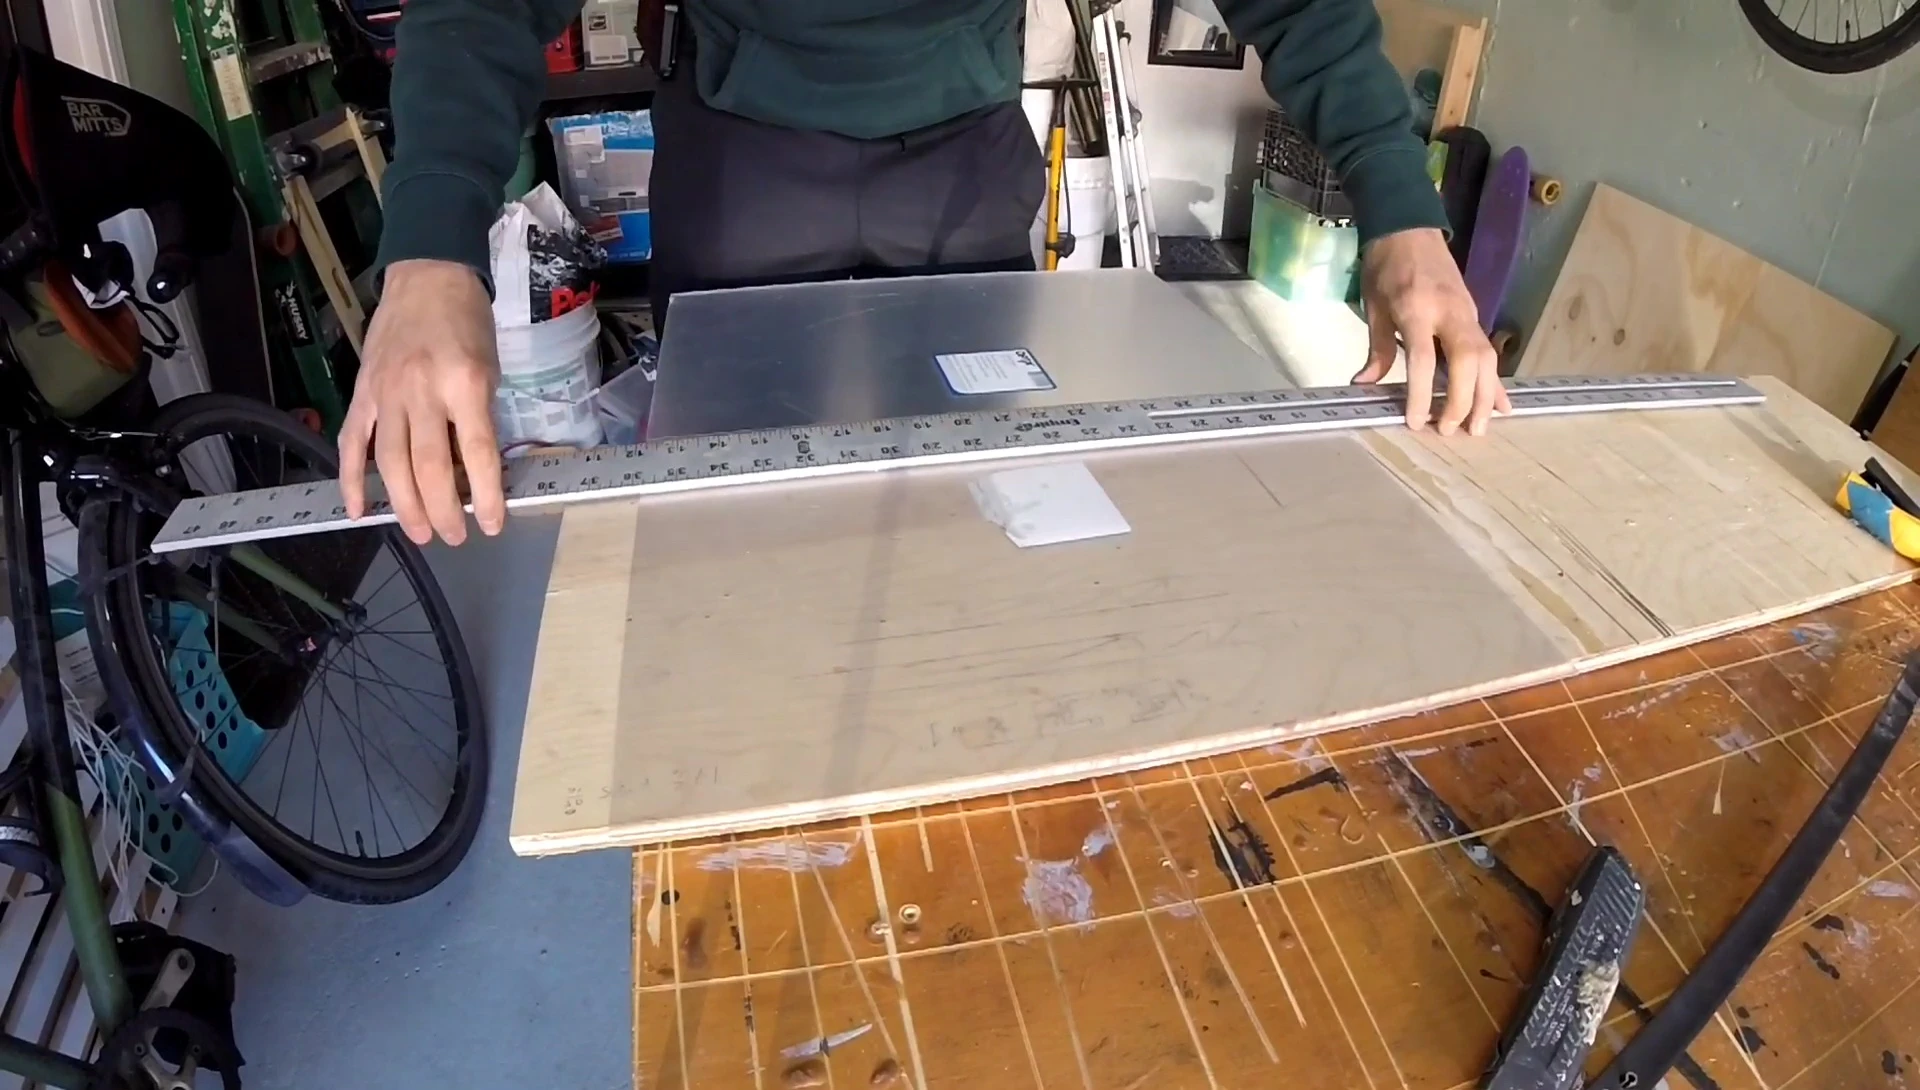
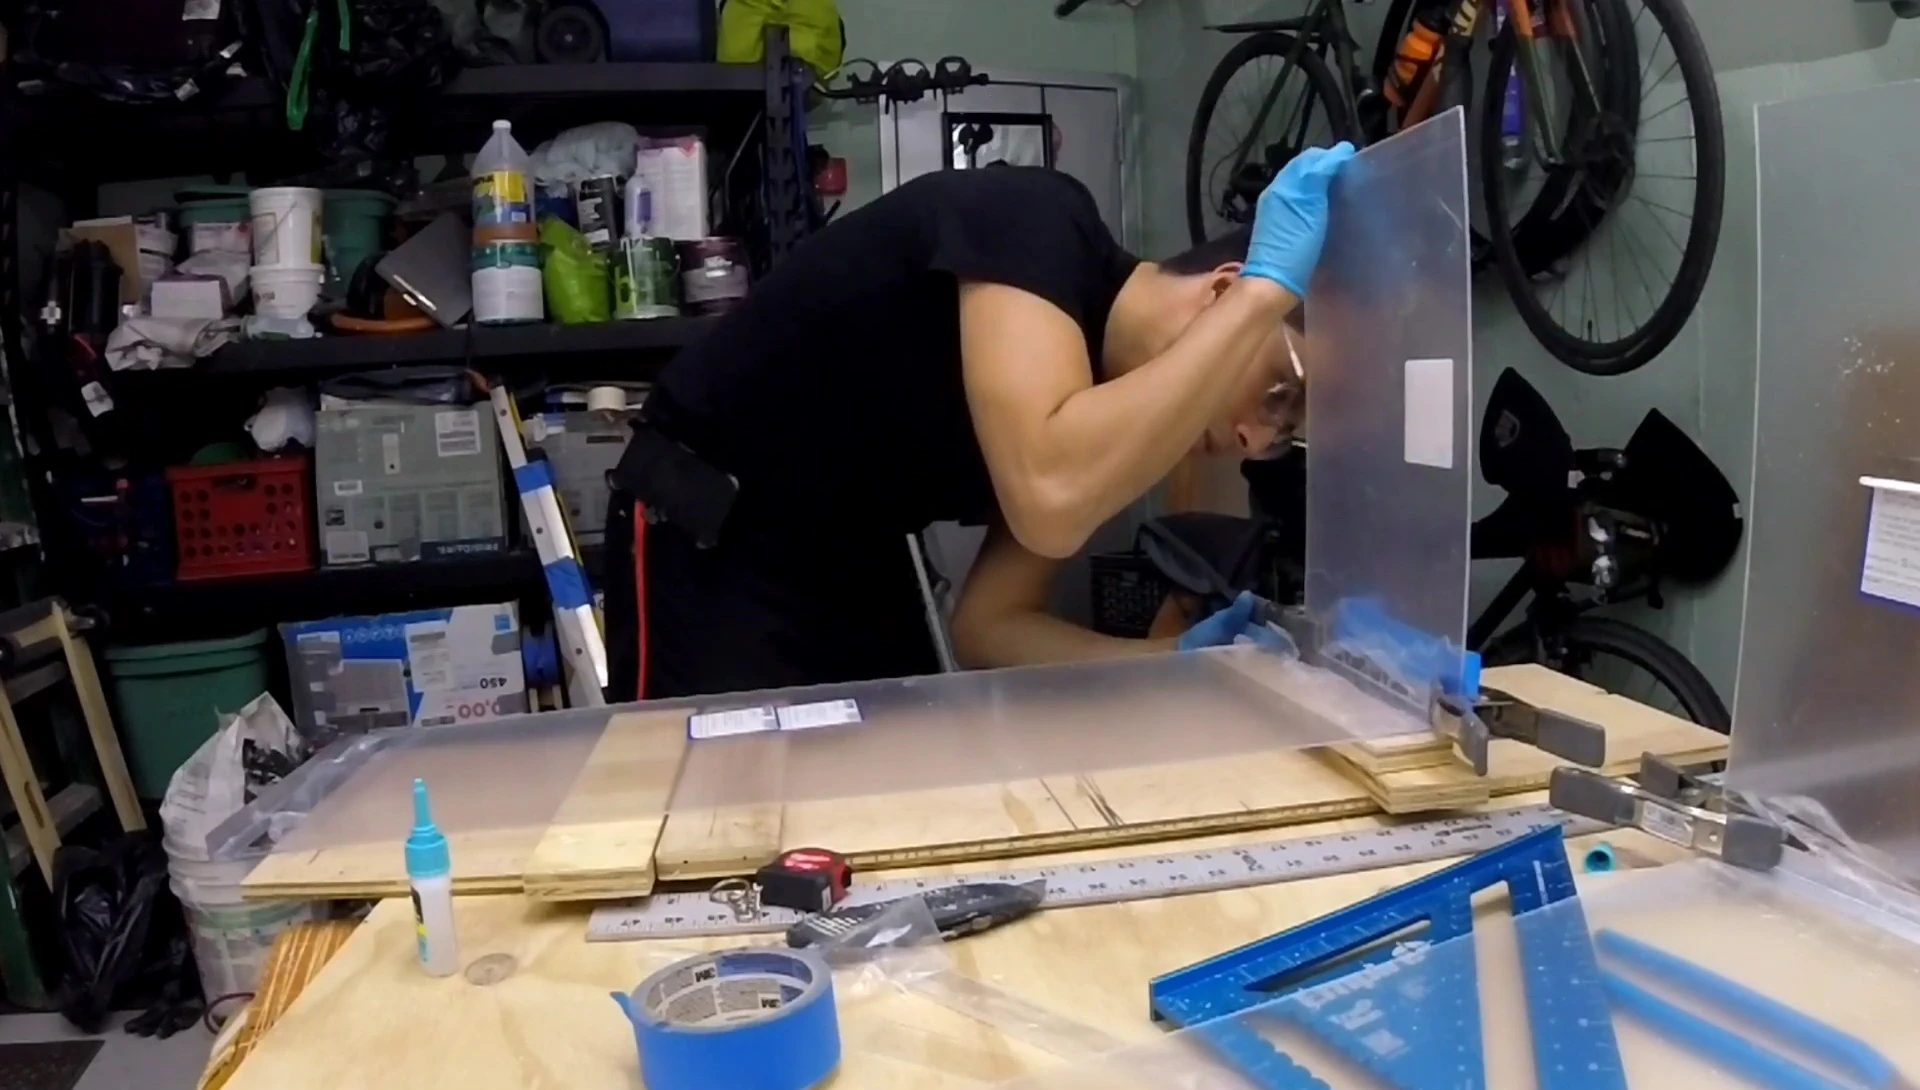
Cutting the Plexiglass
I initially used a utility knife to cut the 3/32-inch thick plexiglass. While effective with multiple passes, it required precision and patience.
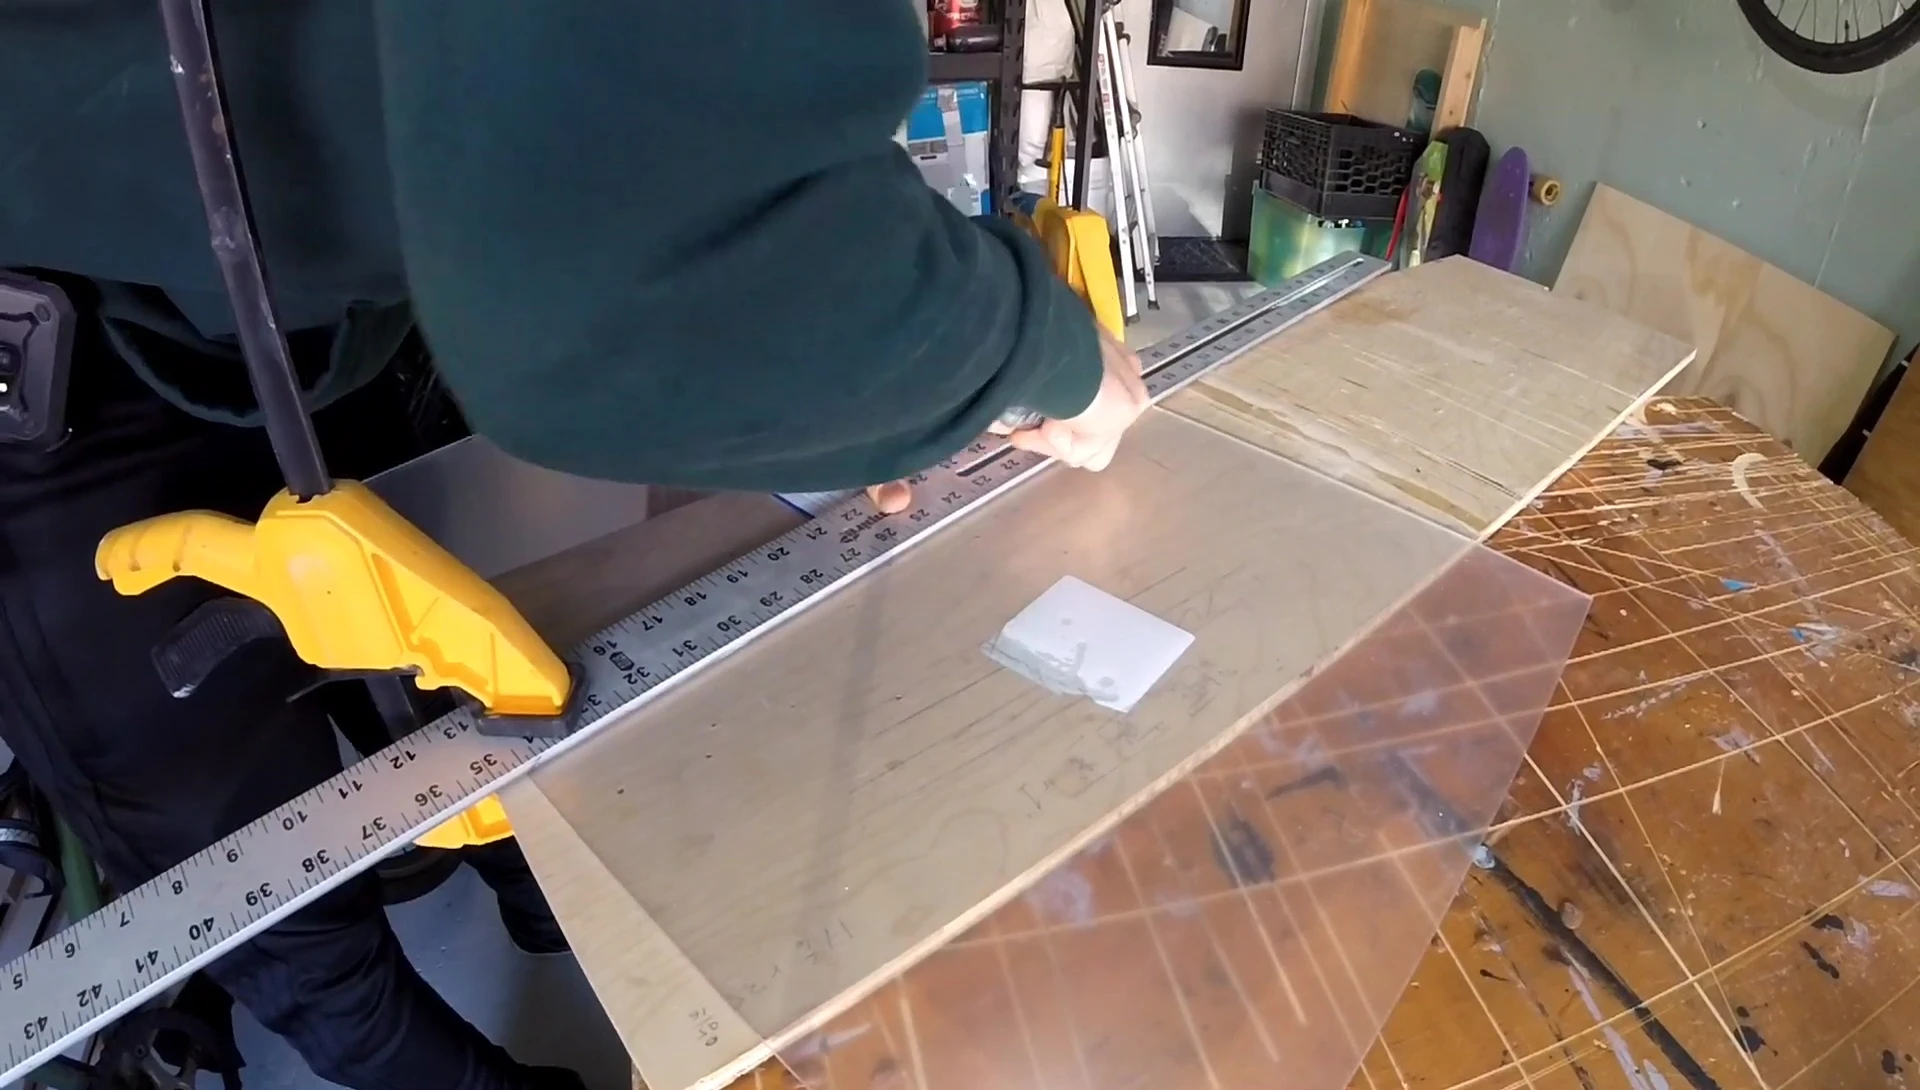
A straightedge aided in achieving clean, straight cuts. Slow, deliberate movements are crucial to avoid jagged edges.
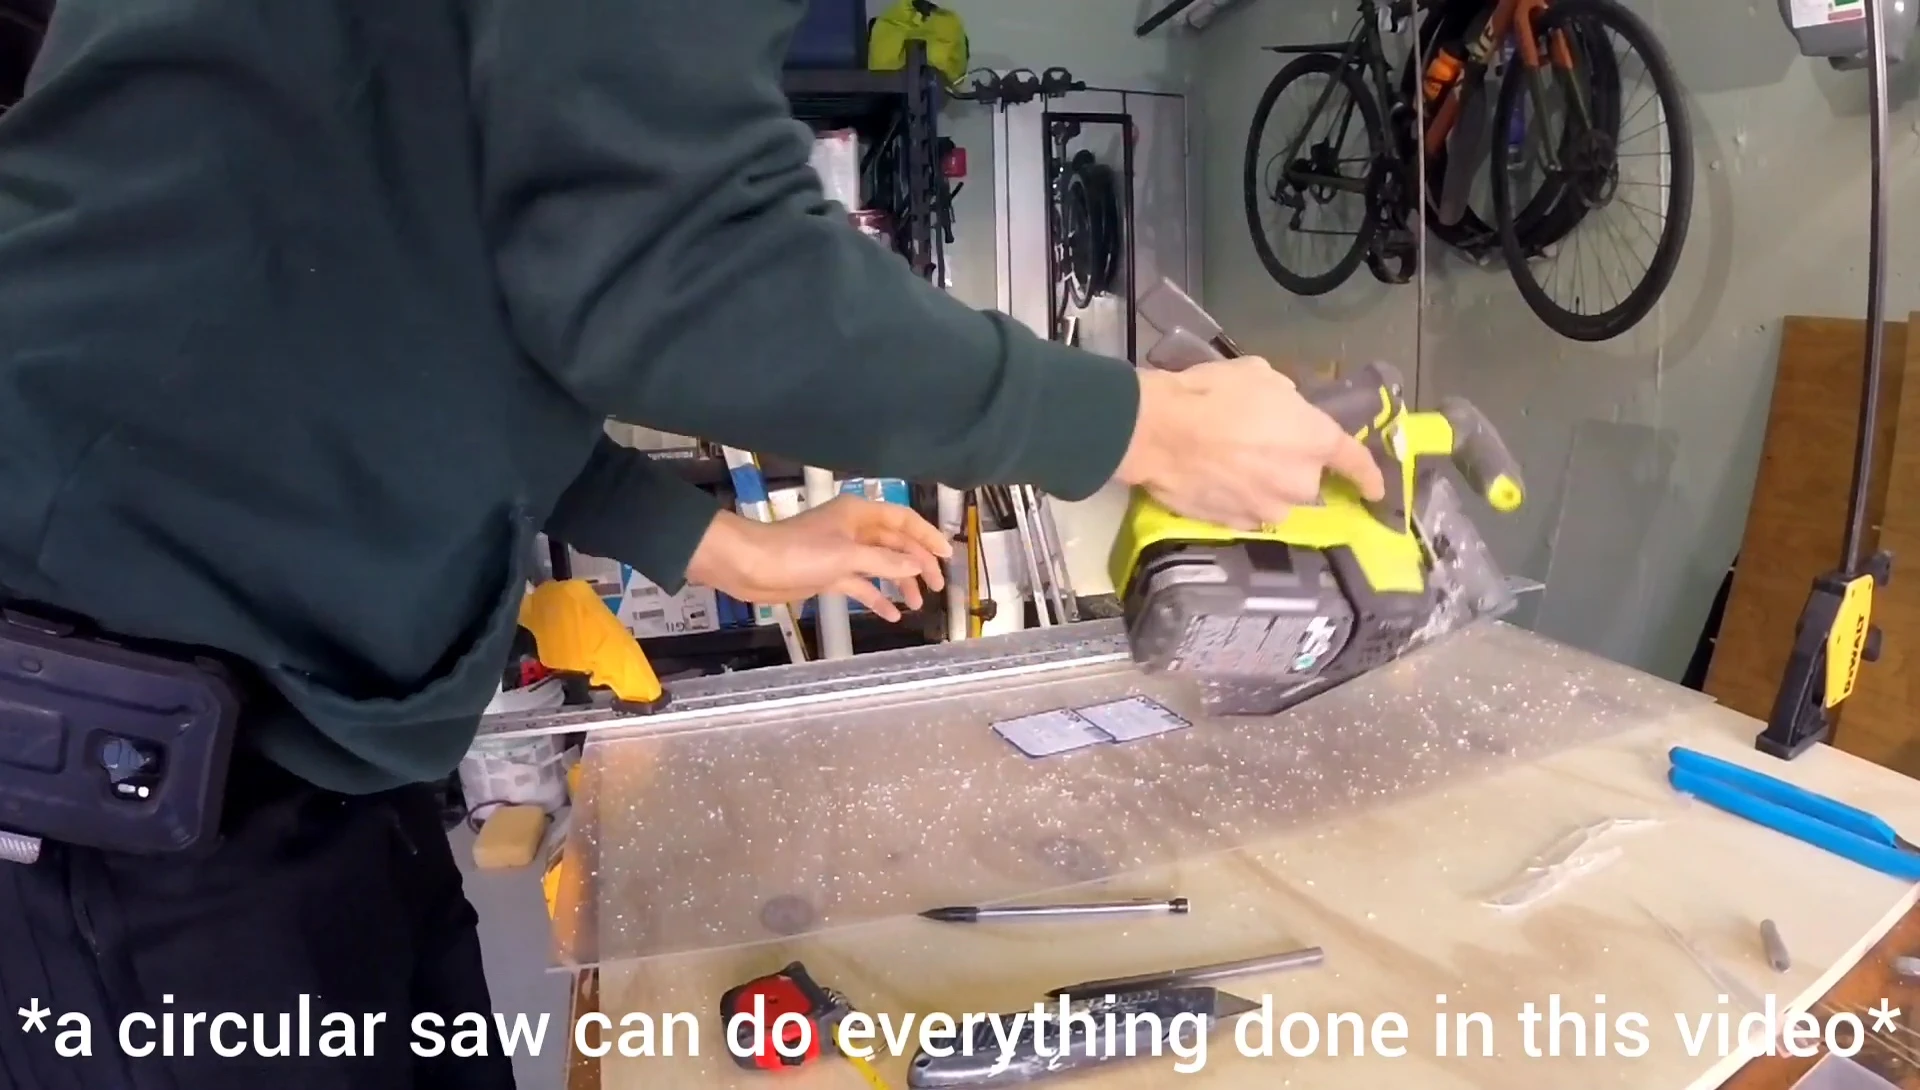
For larger projects, a circular saw is recommended for efficiency and cleaner results. Safety precautions are paramount when using power tools.
Framing and Assembly
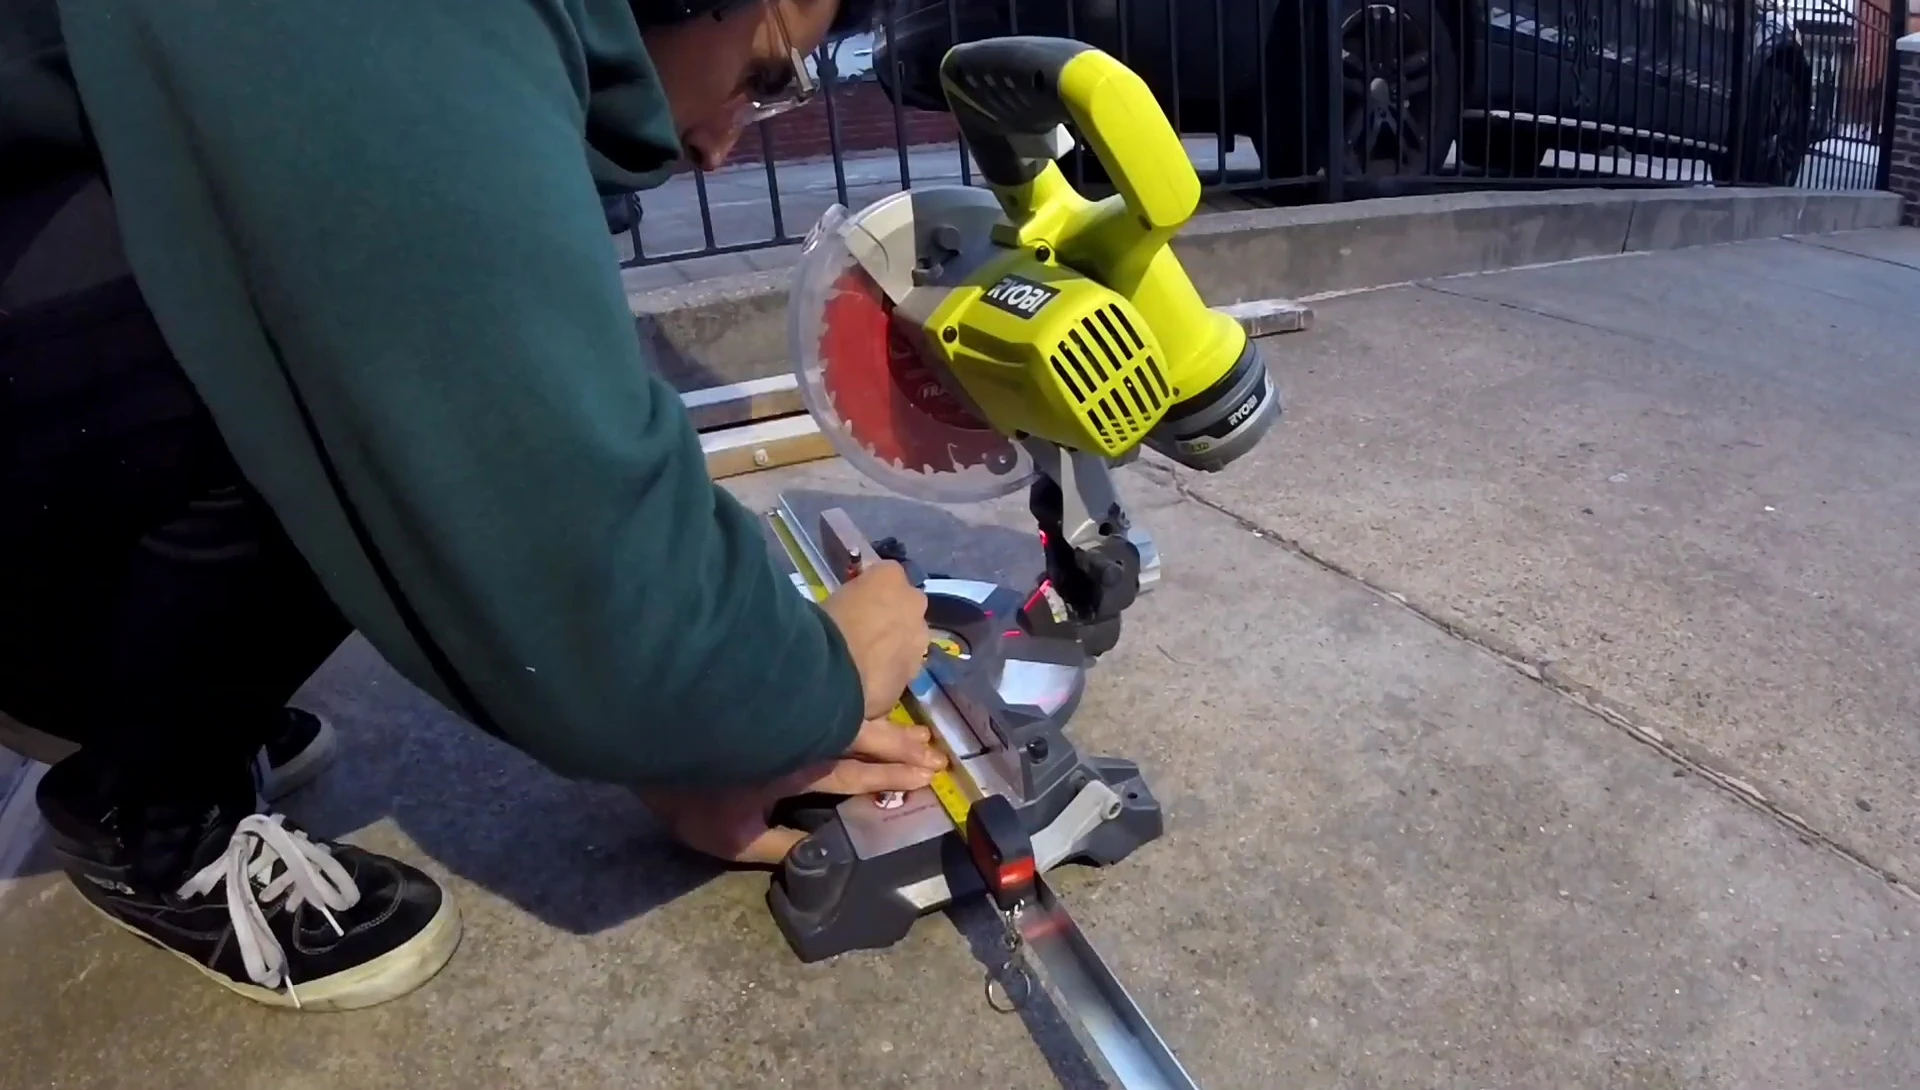
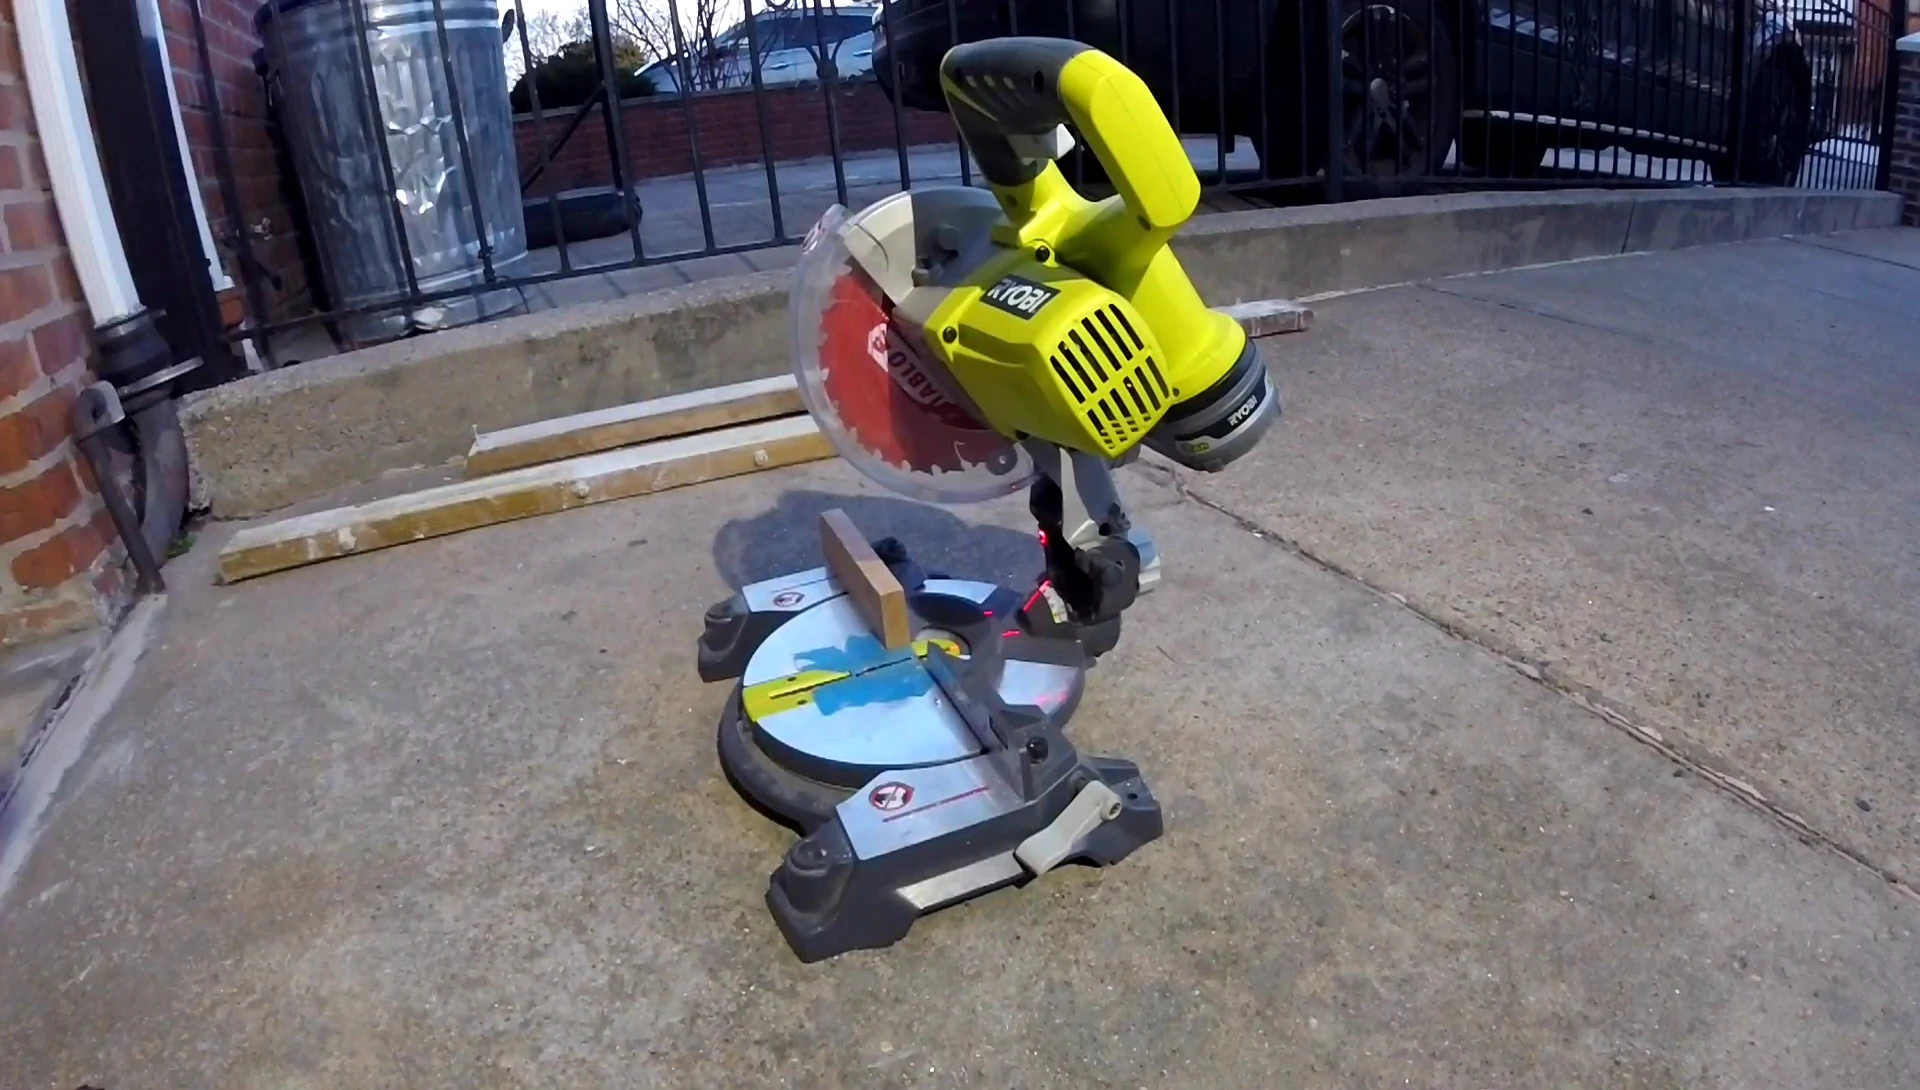
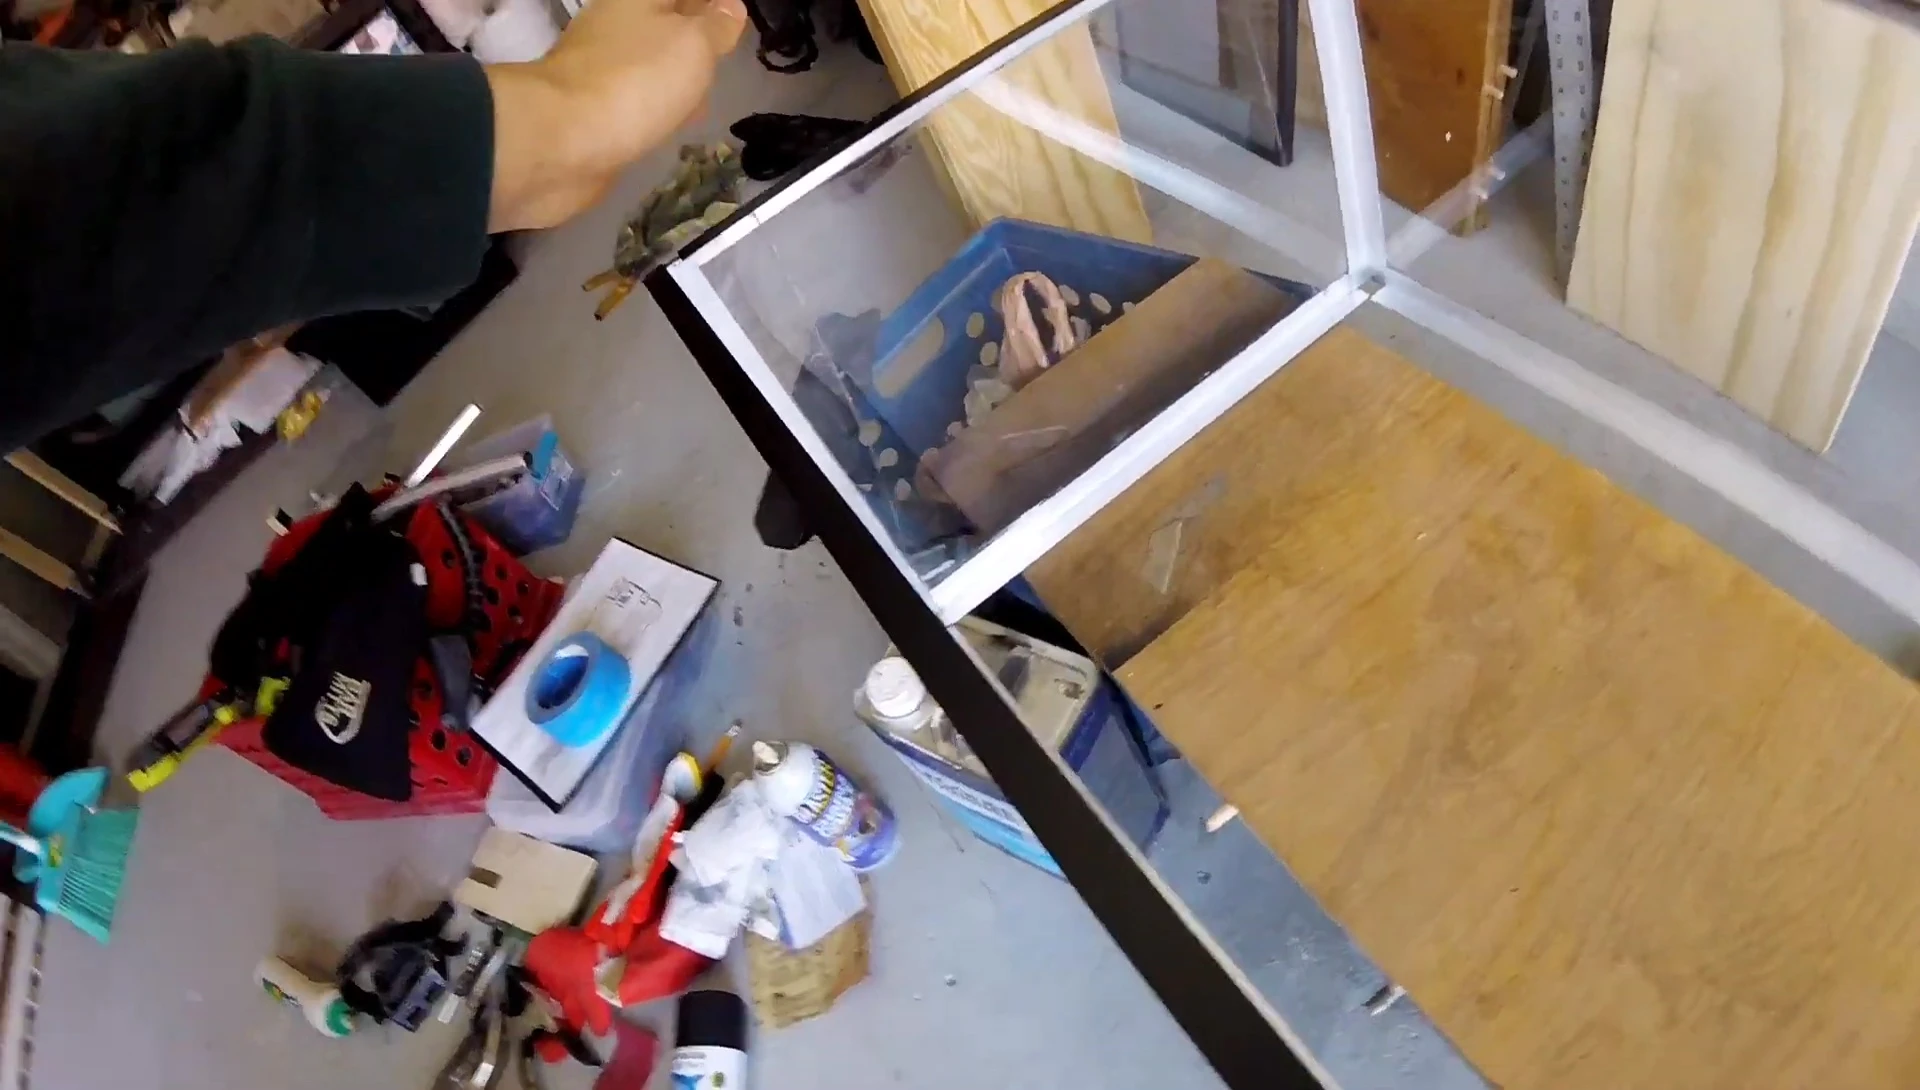
Aluminum angles formed the frame. A miter saw was used for precise cuts; the same blade used for wood also works for aluminum.
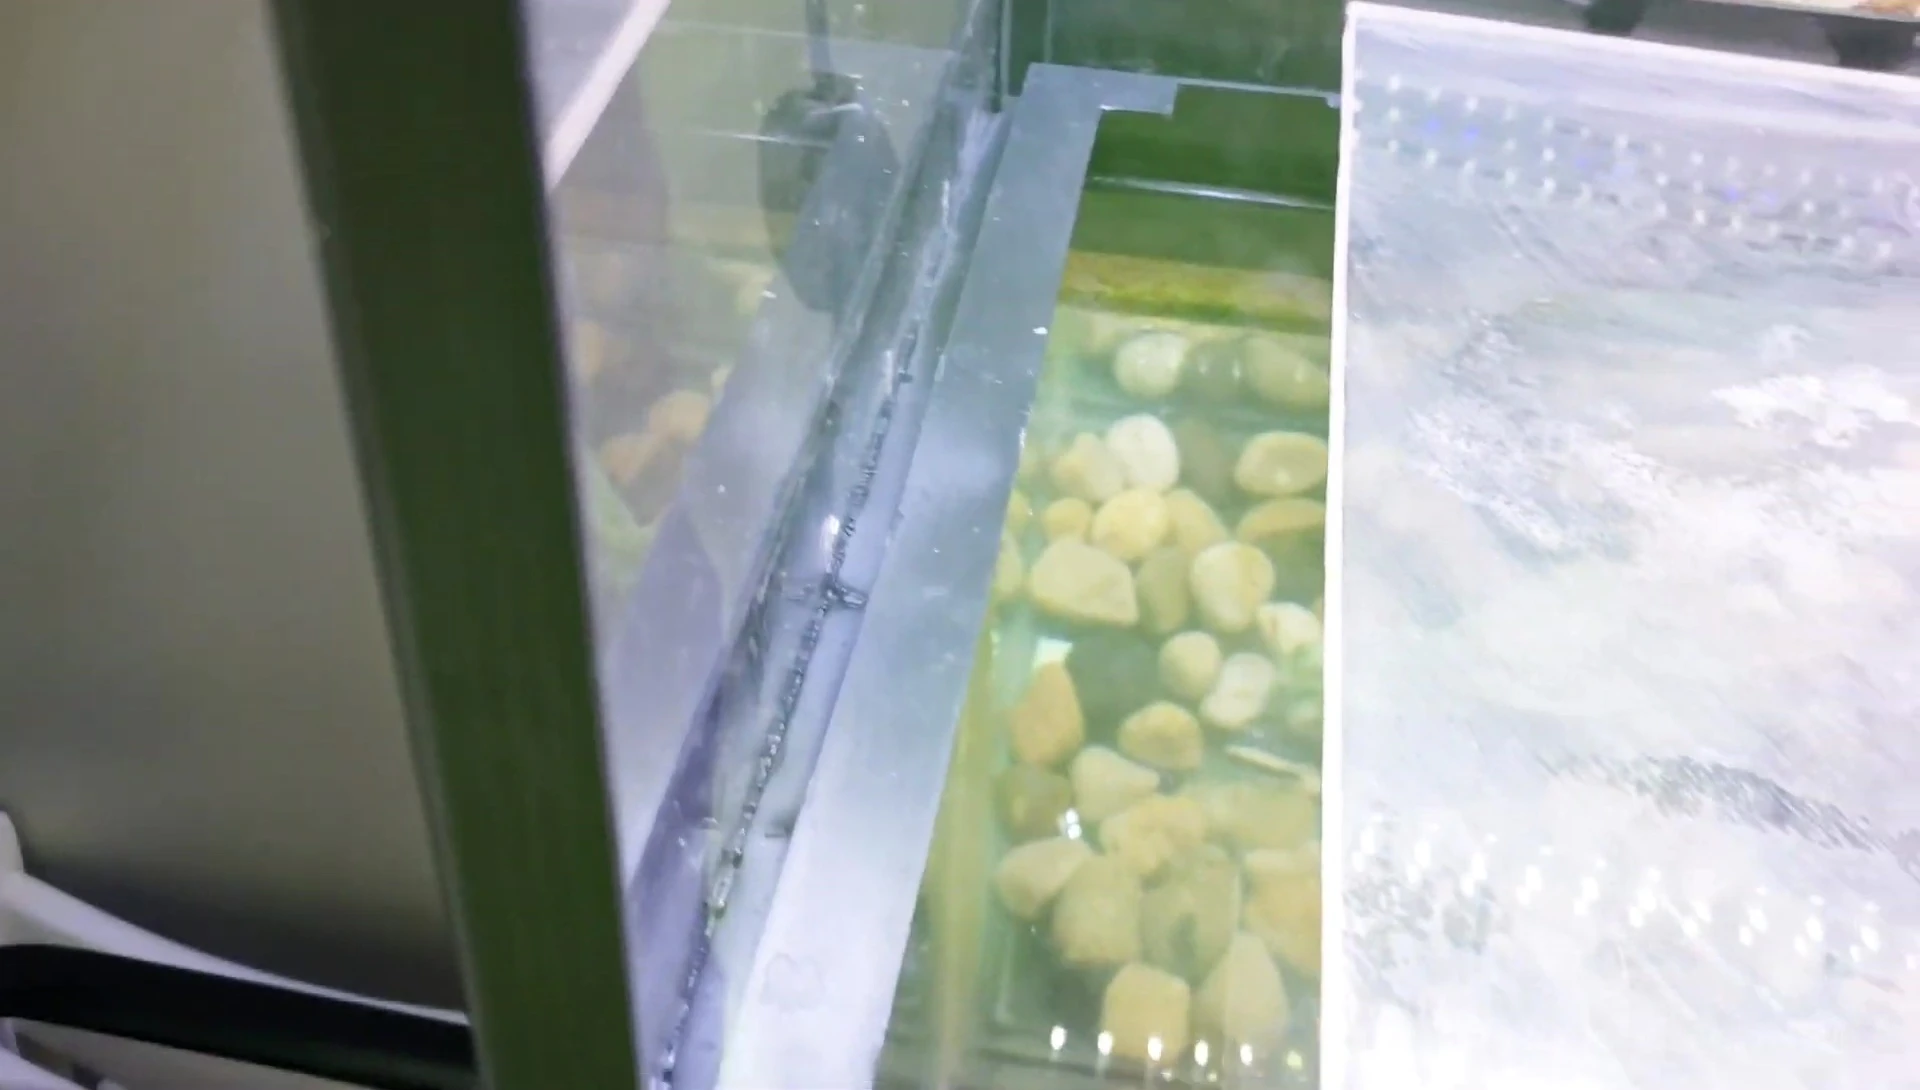
The plexiglass and aluminum were designed to fit within the tank's lip, ensuring a secure and flush fit.
High-strength superglue bonded the plexiglass and aluminum. Ensure your adhesive is compatible with both materials, and remember to remove protective film from the plexiglass.
Creating the Ramp and Platform
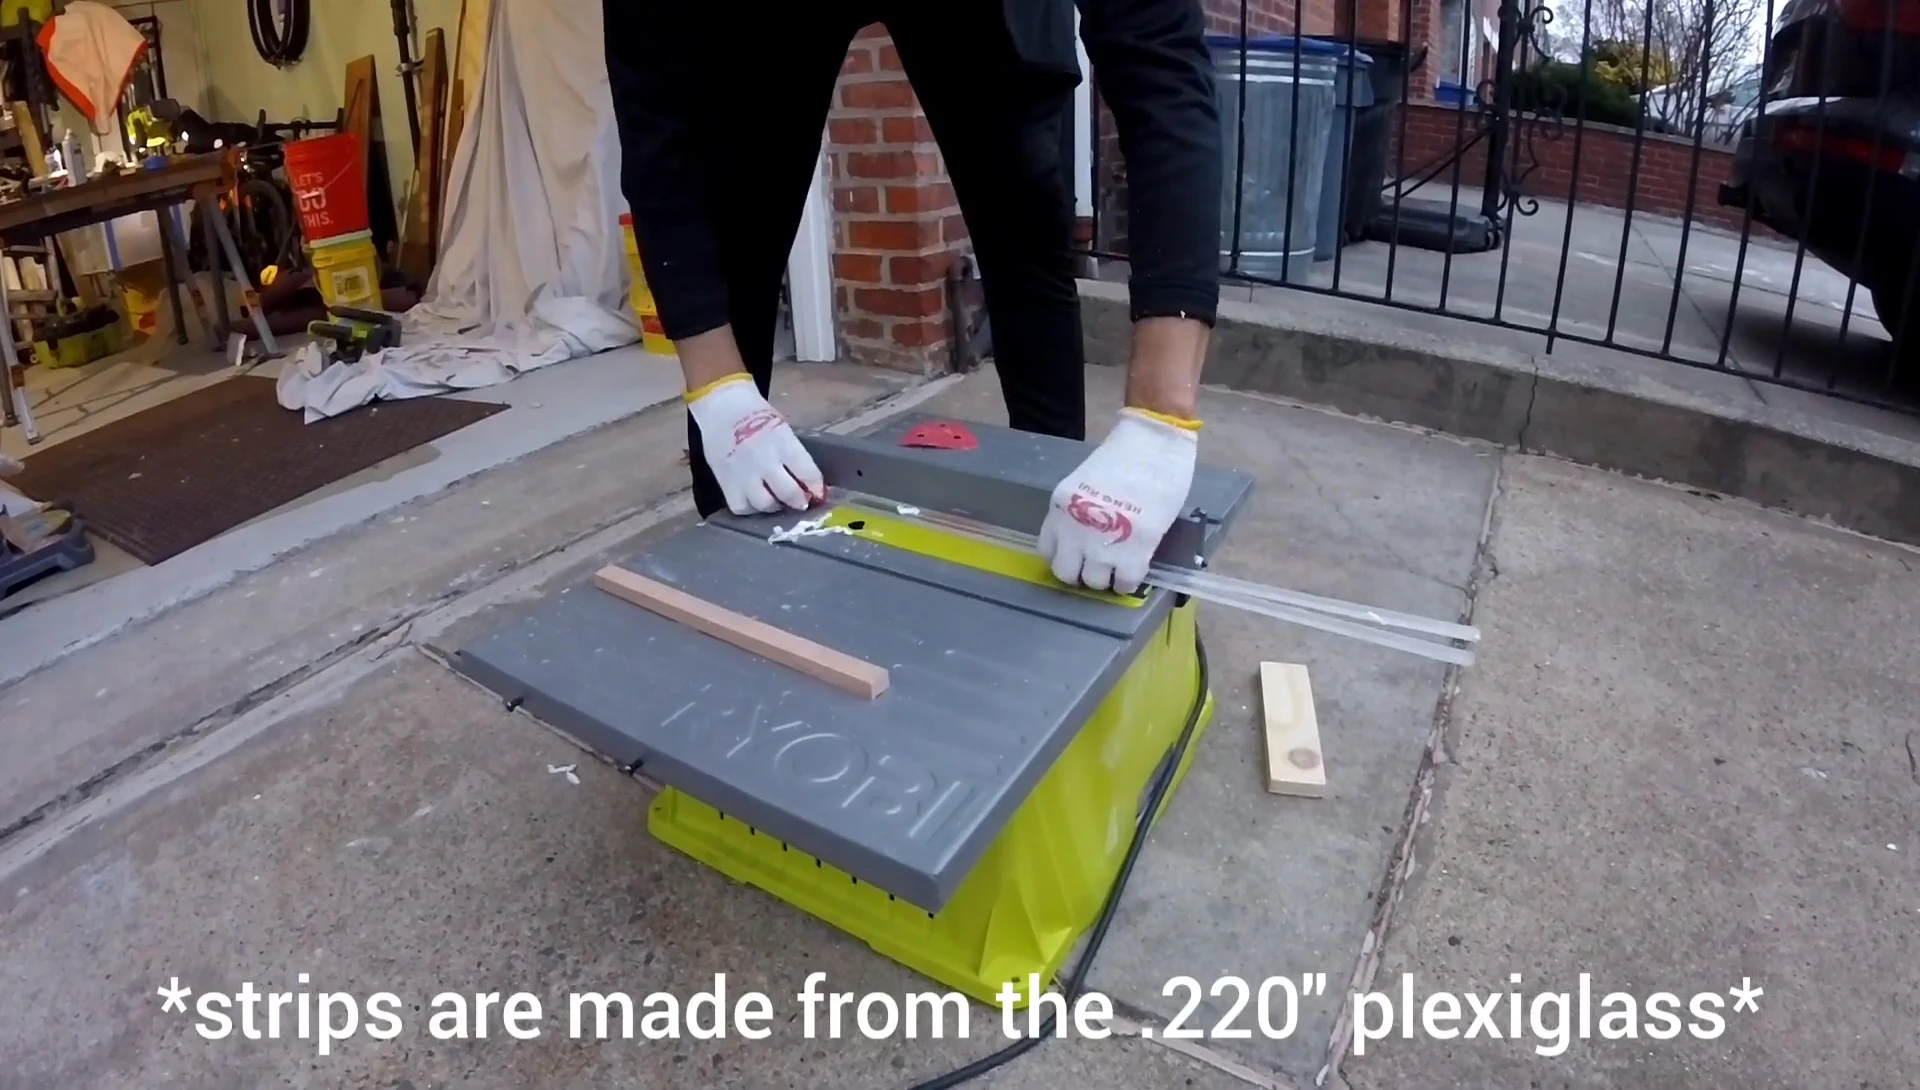
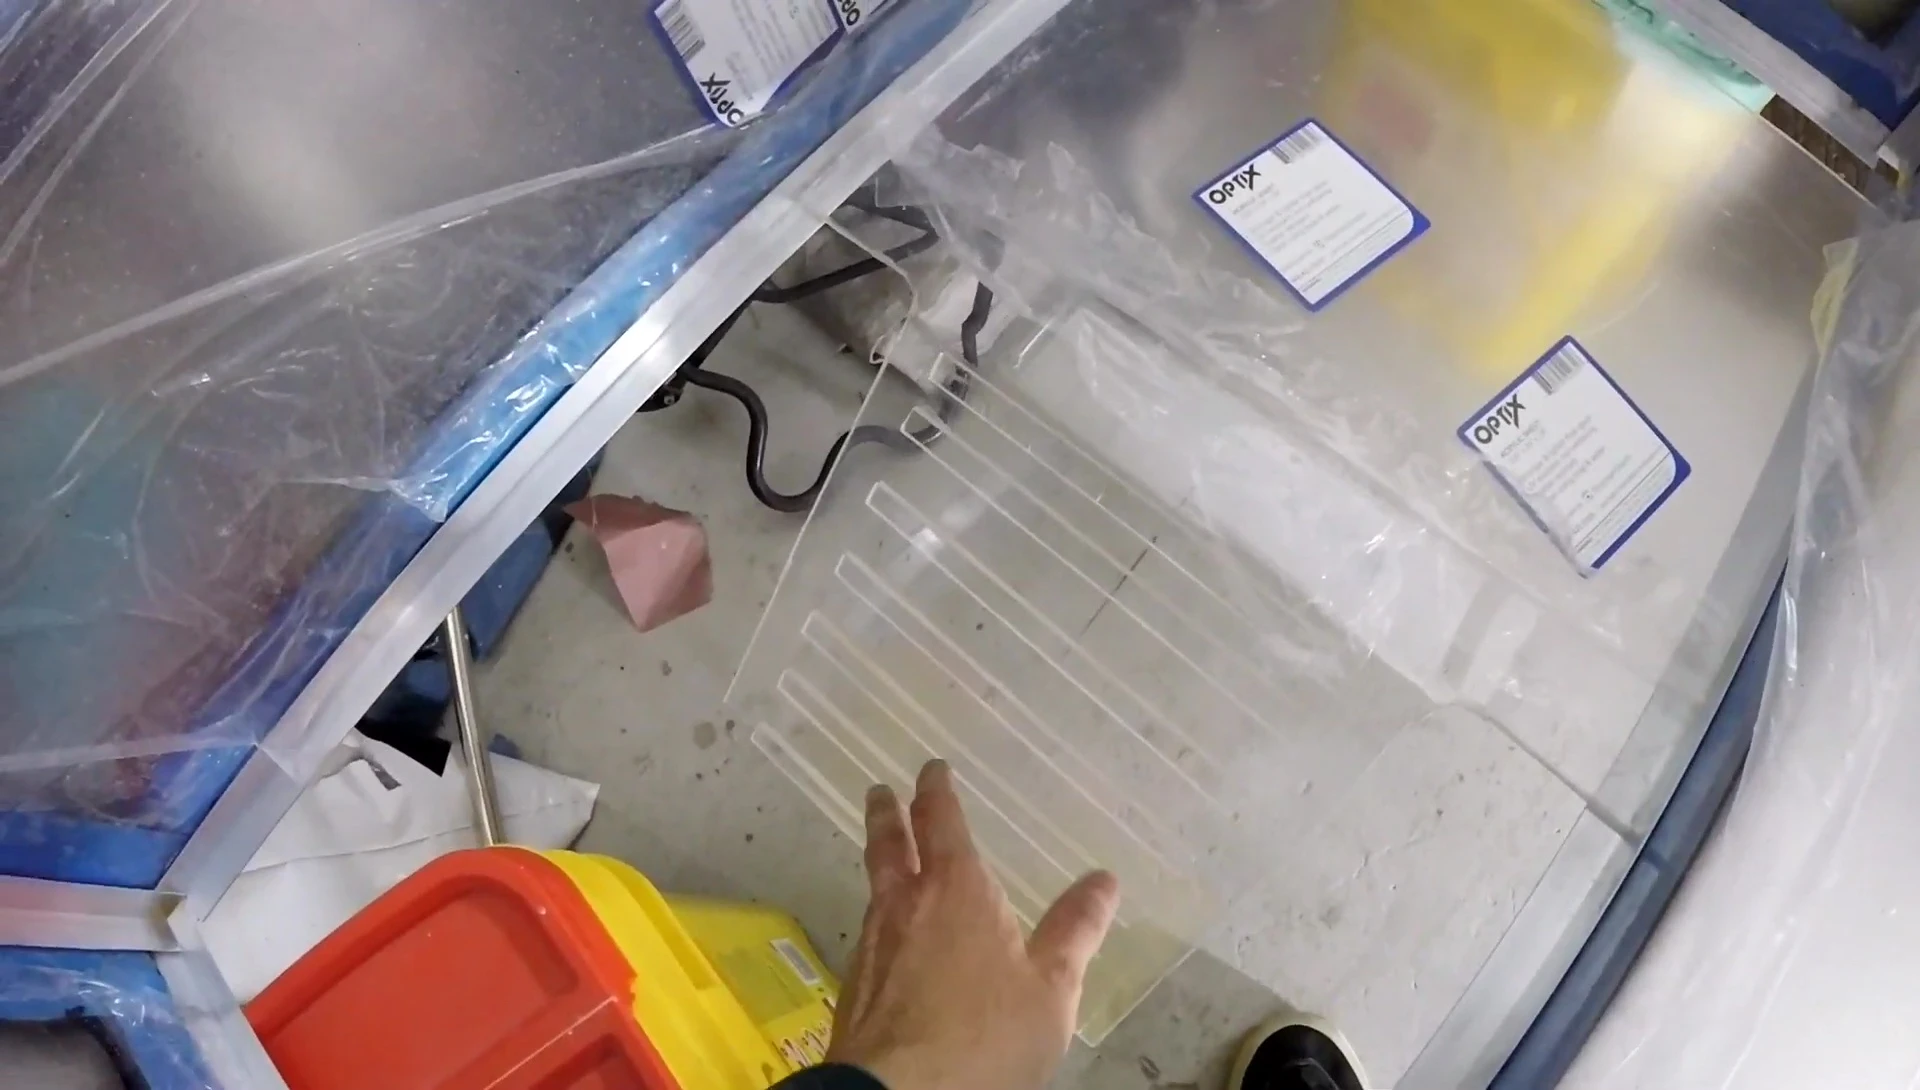
A 1/4-inch rigid plexiglass sheet was used for the platform and ramp, cut with a jigsaw. The ramp was designed narrower than the platform for a secure fit.
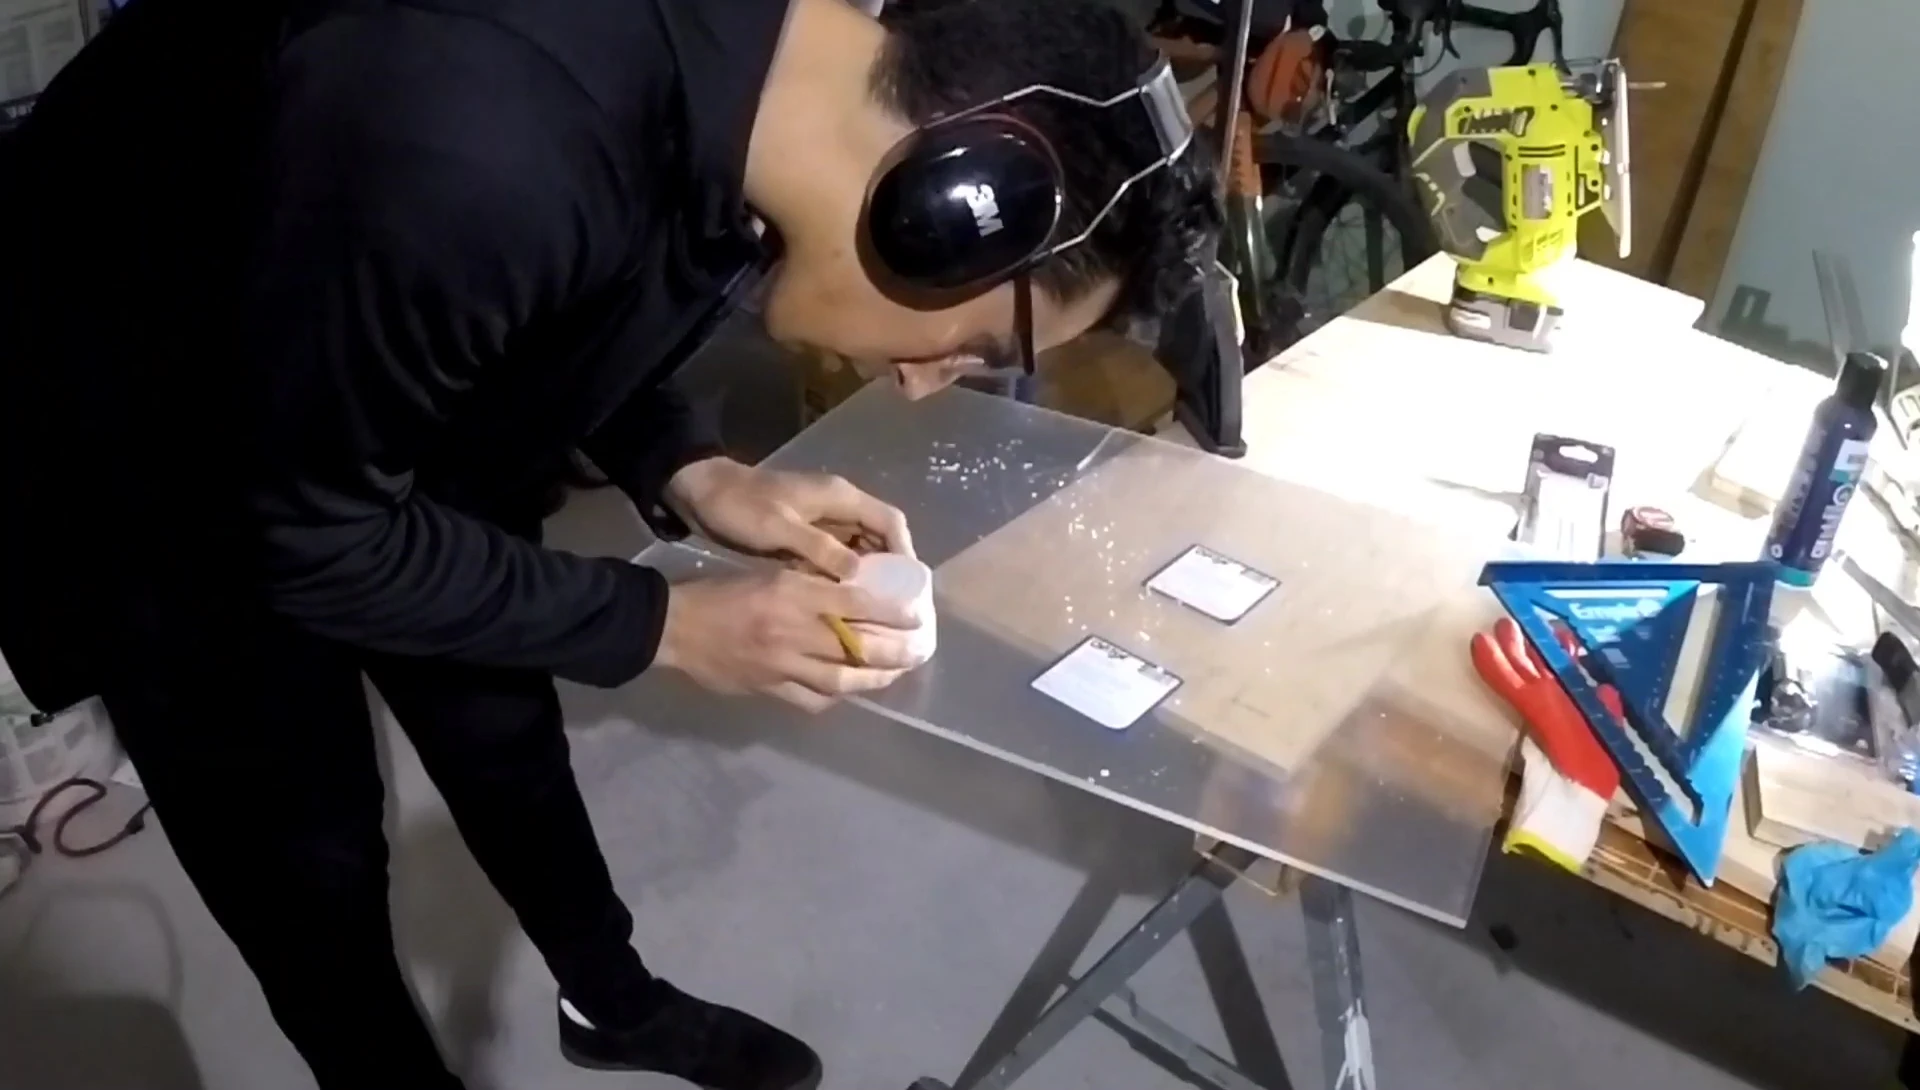
The jigsaw left melted plexiglass residue; 80-grit sandpaper smoothed the edges. Always sand sharp edges to prevent injury to your turtle.
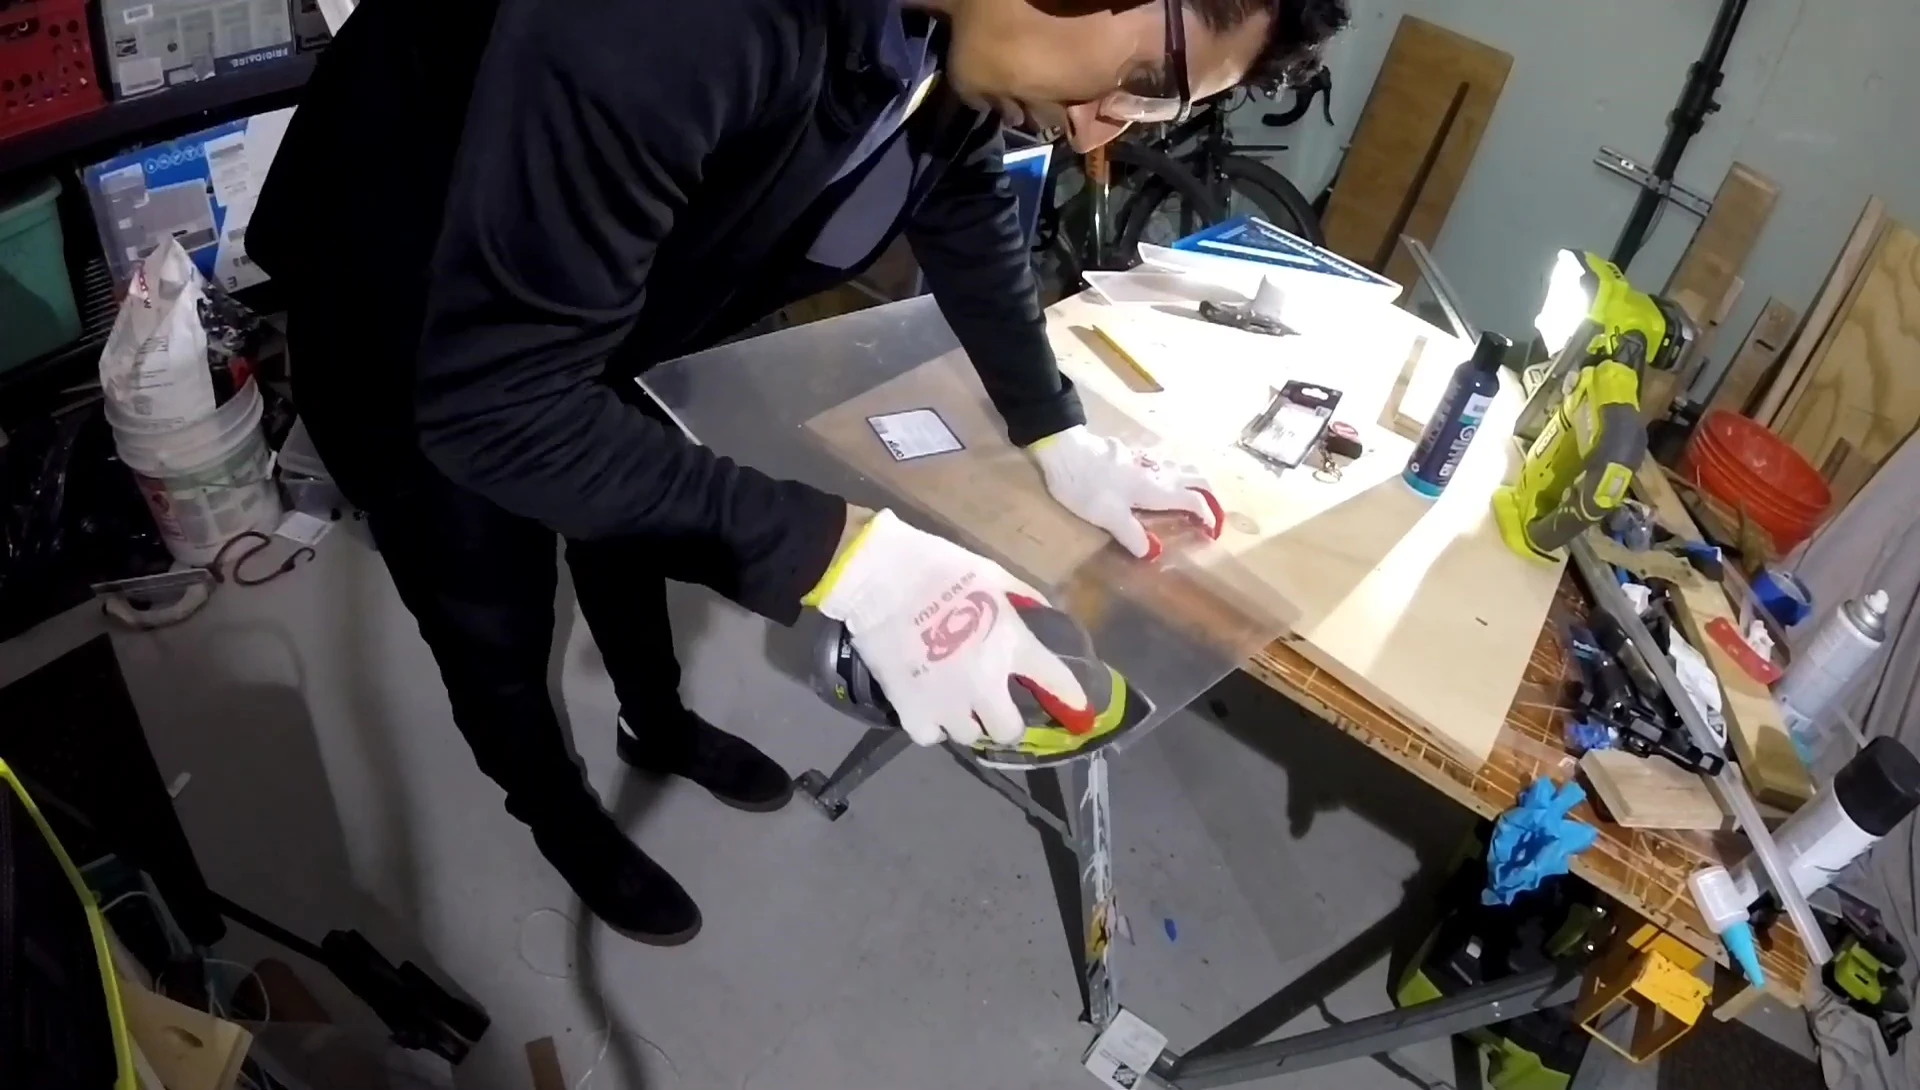
The plexiglass was carefully bent using clamps, plywood to protect unexposed areas, and a propane torch for gentle heating. A test piece is strongly recommended.
Finishing Touches and Lessons Learned
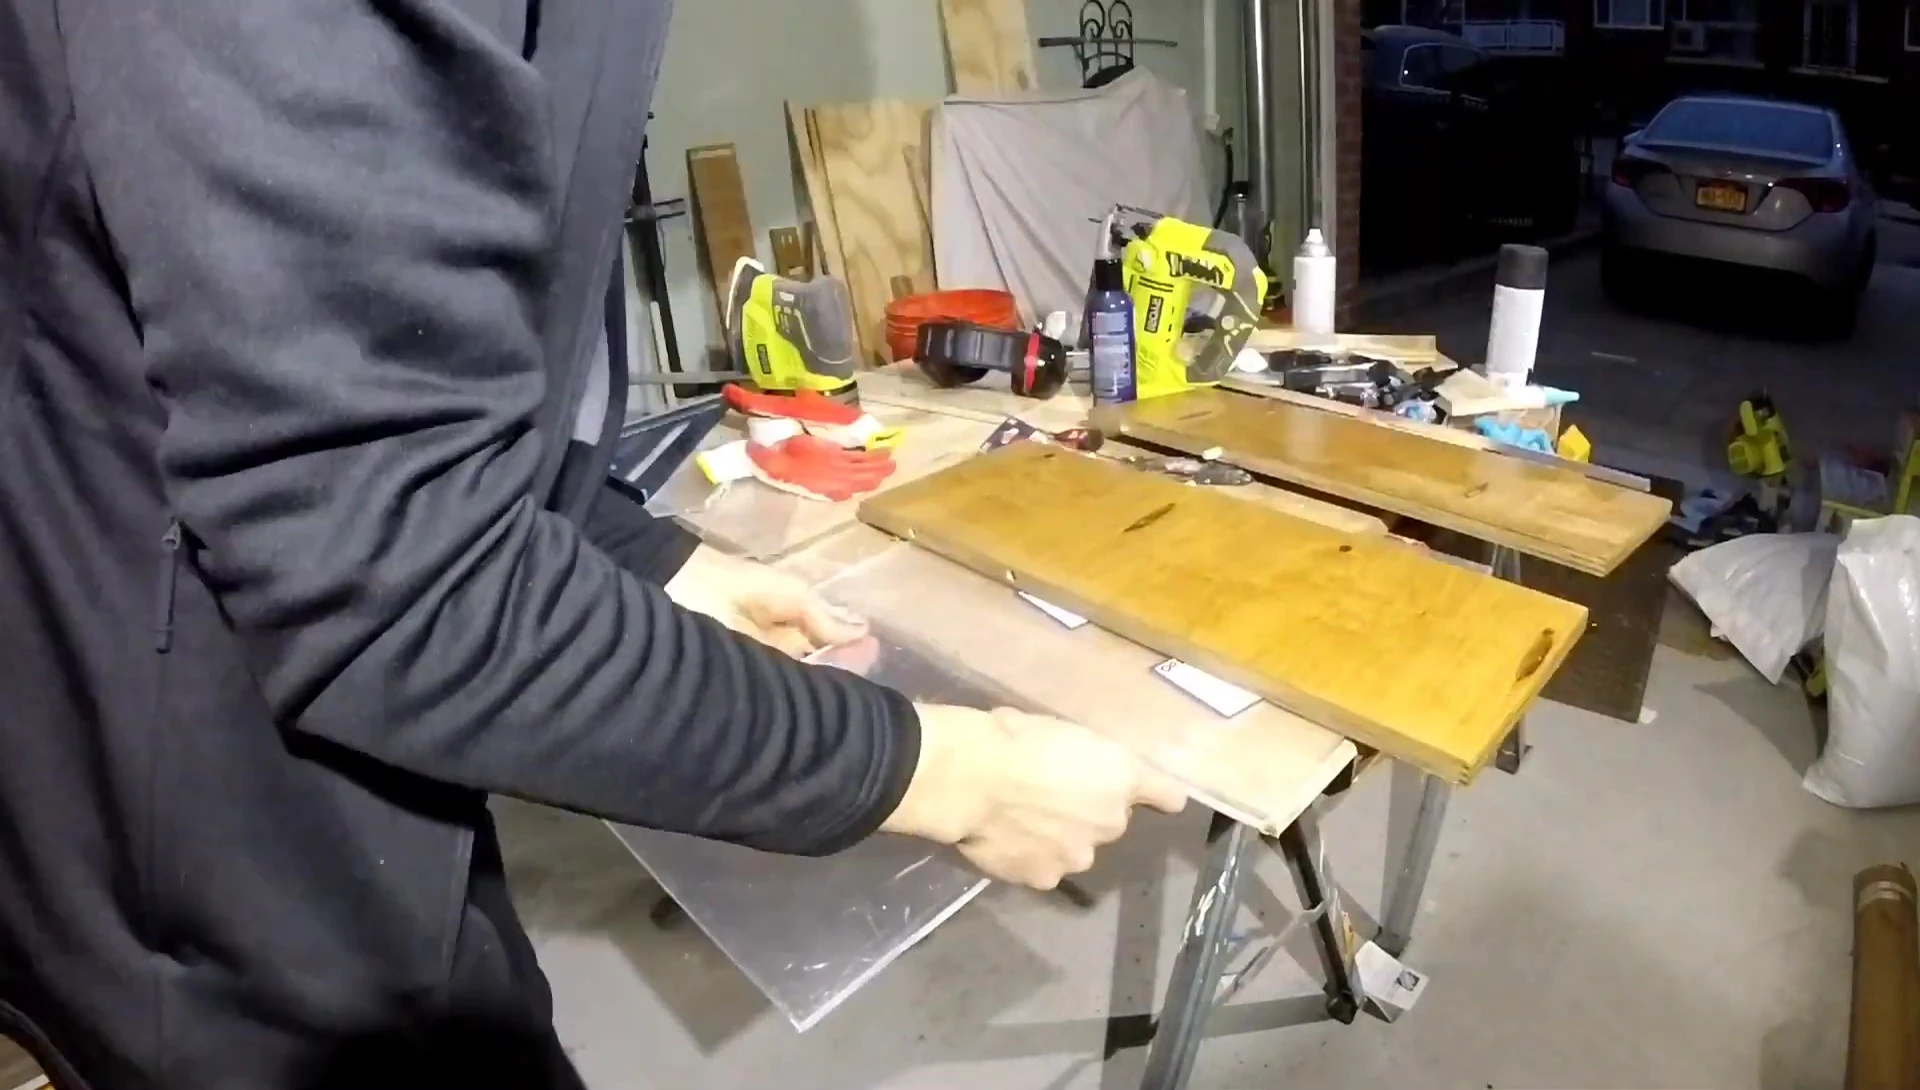
Steps were added to the ramp using superglue and spacers for even spacing. Pre-sanding the strip edges before gluing saves cleanup time.
The platform's fit was adjusted for stability, preventing it from lifting under the turtle's weight. Thicker material or additional supports can address this.
Cracks appeared due to accidental dropping; additional bracing was added to maintain structural integrity. Duct tape provided a neat, waterproof finish.
Conclusion and Final Thoughts
This DIY basking platform proved a successful, cost-effective alternative to expensive commercial options. Despite minor setbacks, the project met its goals.
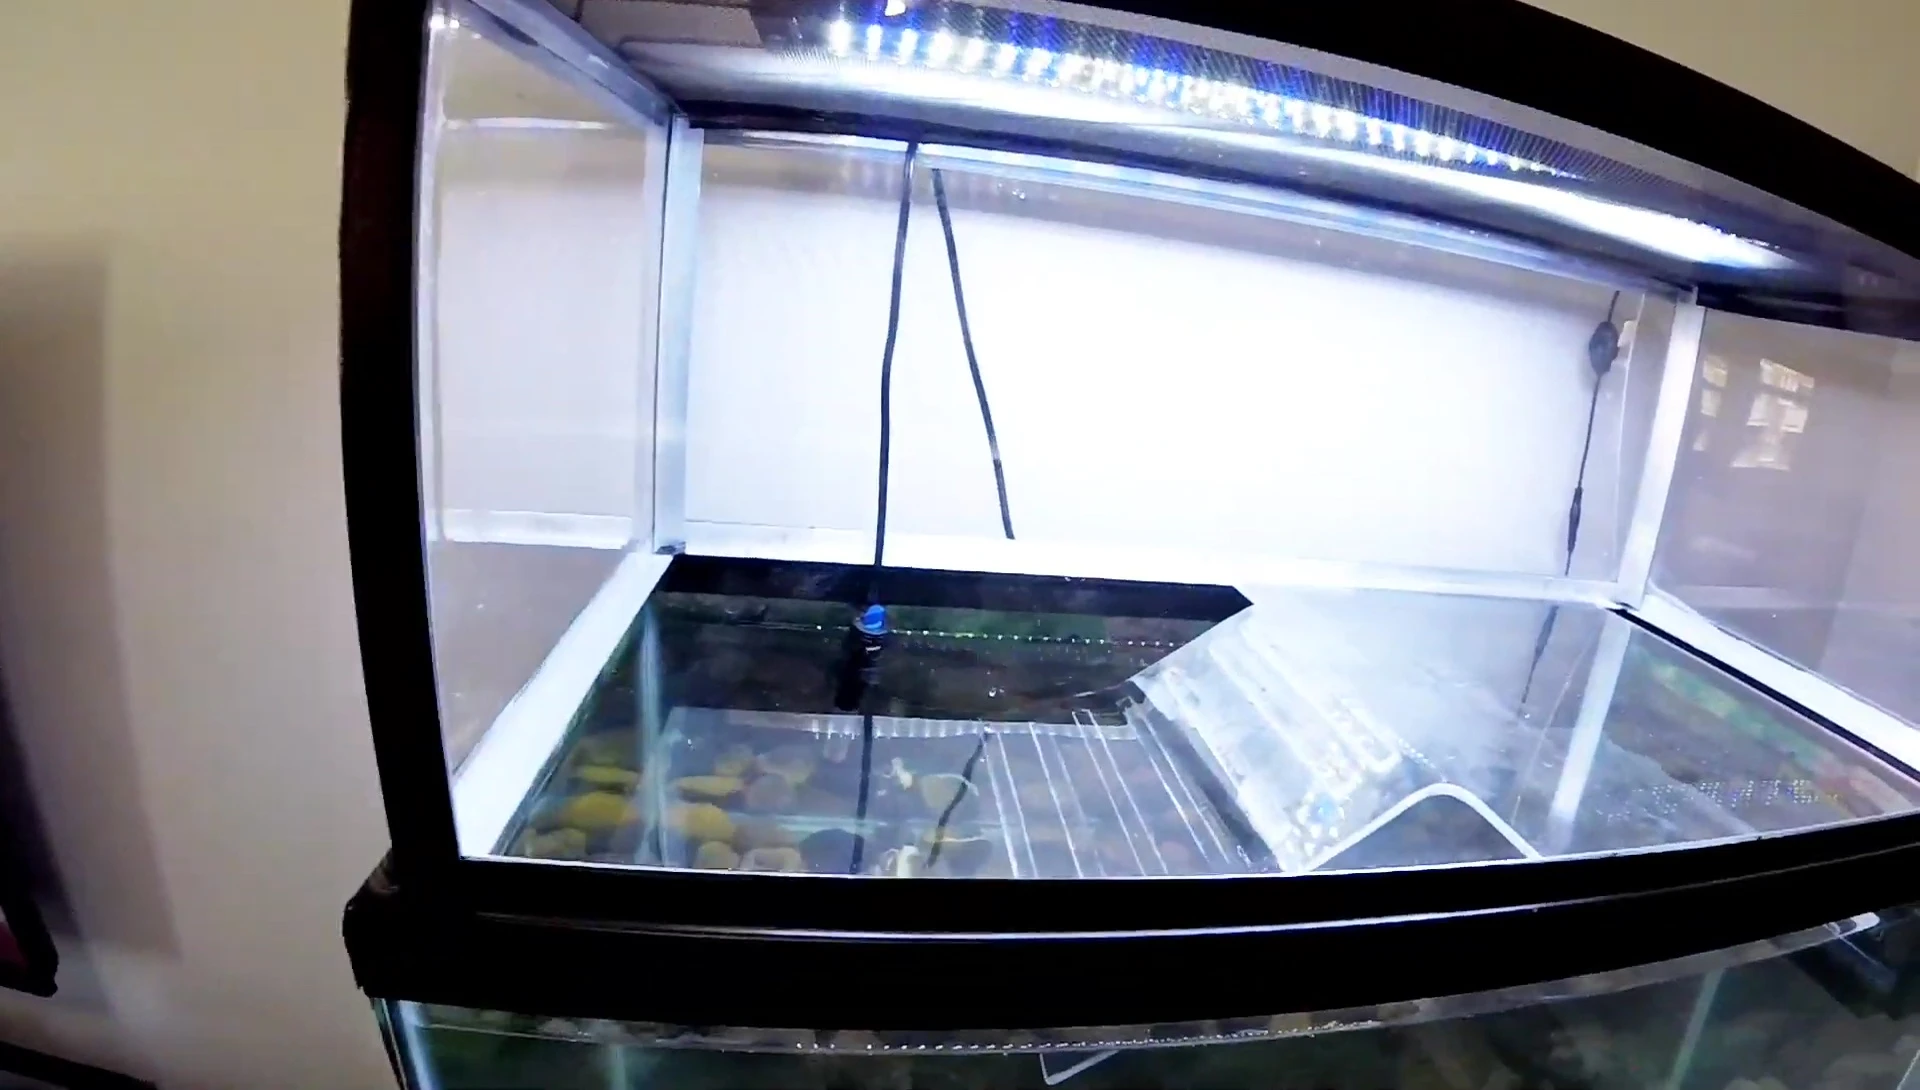
The custom design addressed the flaws of commercial platforms, including improved ramp angle and elimination of food-trapping gaps. The final result is sturdy and functional.
While I used duct tape to cover imperfections, pre-painting the aluminum would have yielded a more polished look. Careful planning and attention to detail are key for a successful build.