Transform your gecko's terrarium from ordinary to extraordinary with this easy DIY background project! This guide provides a simple, step-by-step approach to creating a stunning, naturalistic backdrop using readily available materials like expanding foam, silicone, and your choice of substrate. Forget expensive pre-made backgrounds – this project allows you to personalize your gecko's habitat, creating a visually appealing and enriching environment tailored to your pet's needs. Learn how to craft a textured, multi-dimensional background that provides ample hiding spots and climbing opportunities, all while ensuring the safety and well-being of your gecko.This project is perfect for reptile enthusiasts of all skill levels. With just a few basic tools and common materials found at your local hardware store, you can create a custom background that will enhance both the beauty and functionality of your gecko's terrarium. We'll guide you through each stage, from applying the initial silicone layer to adding the final touches of moss and decorative elements. Get ready to unleash your creativity and give your gecko the luxurious habitat it deserves!
Read more: 5 Amazing Wooden Climbing Branches for Your Reptile
Materials Needed
Building a custom background for your gecko terrarium is easier than you think! This project requires readily available materials, mostly found at your local hardware store. You'll need a terrarium (the size depends on your gecko species), black or brown silicone, Great Stuff expanding foam, disposable gloves, and a substrate like shredded cocoa fiber or repti soil. Some decorative elements like cork bark and grapevine are also great additions.
Having the right tools ensures a smooth process. A utility knife or razor blade is useful for trimming excess foam, while a caulking gun makes silicone application much easier. Remember to work in a well-ventilated area when using expanding foam and silicone, and always prioritize safety while handling sharp tools.
Preparing the Back Wall
Before applying the expanding foam, it's highly recommended to apply a thin layer of silicone to the back wall of your terrarium. This creates a solid base for the foam and prevents the unsightly yellow foam from showing through. The silicone also helps create a smooth transition between the background and the glass.
Let the silicone dry overnight. This crucial step ensures proper adhesion of the expanding foam and prevents any issues with the foam sticking incorrectly or the whole background collapsing. Once the silicone is completely dry, you're ready for the next step.
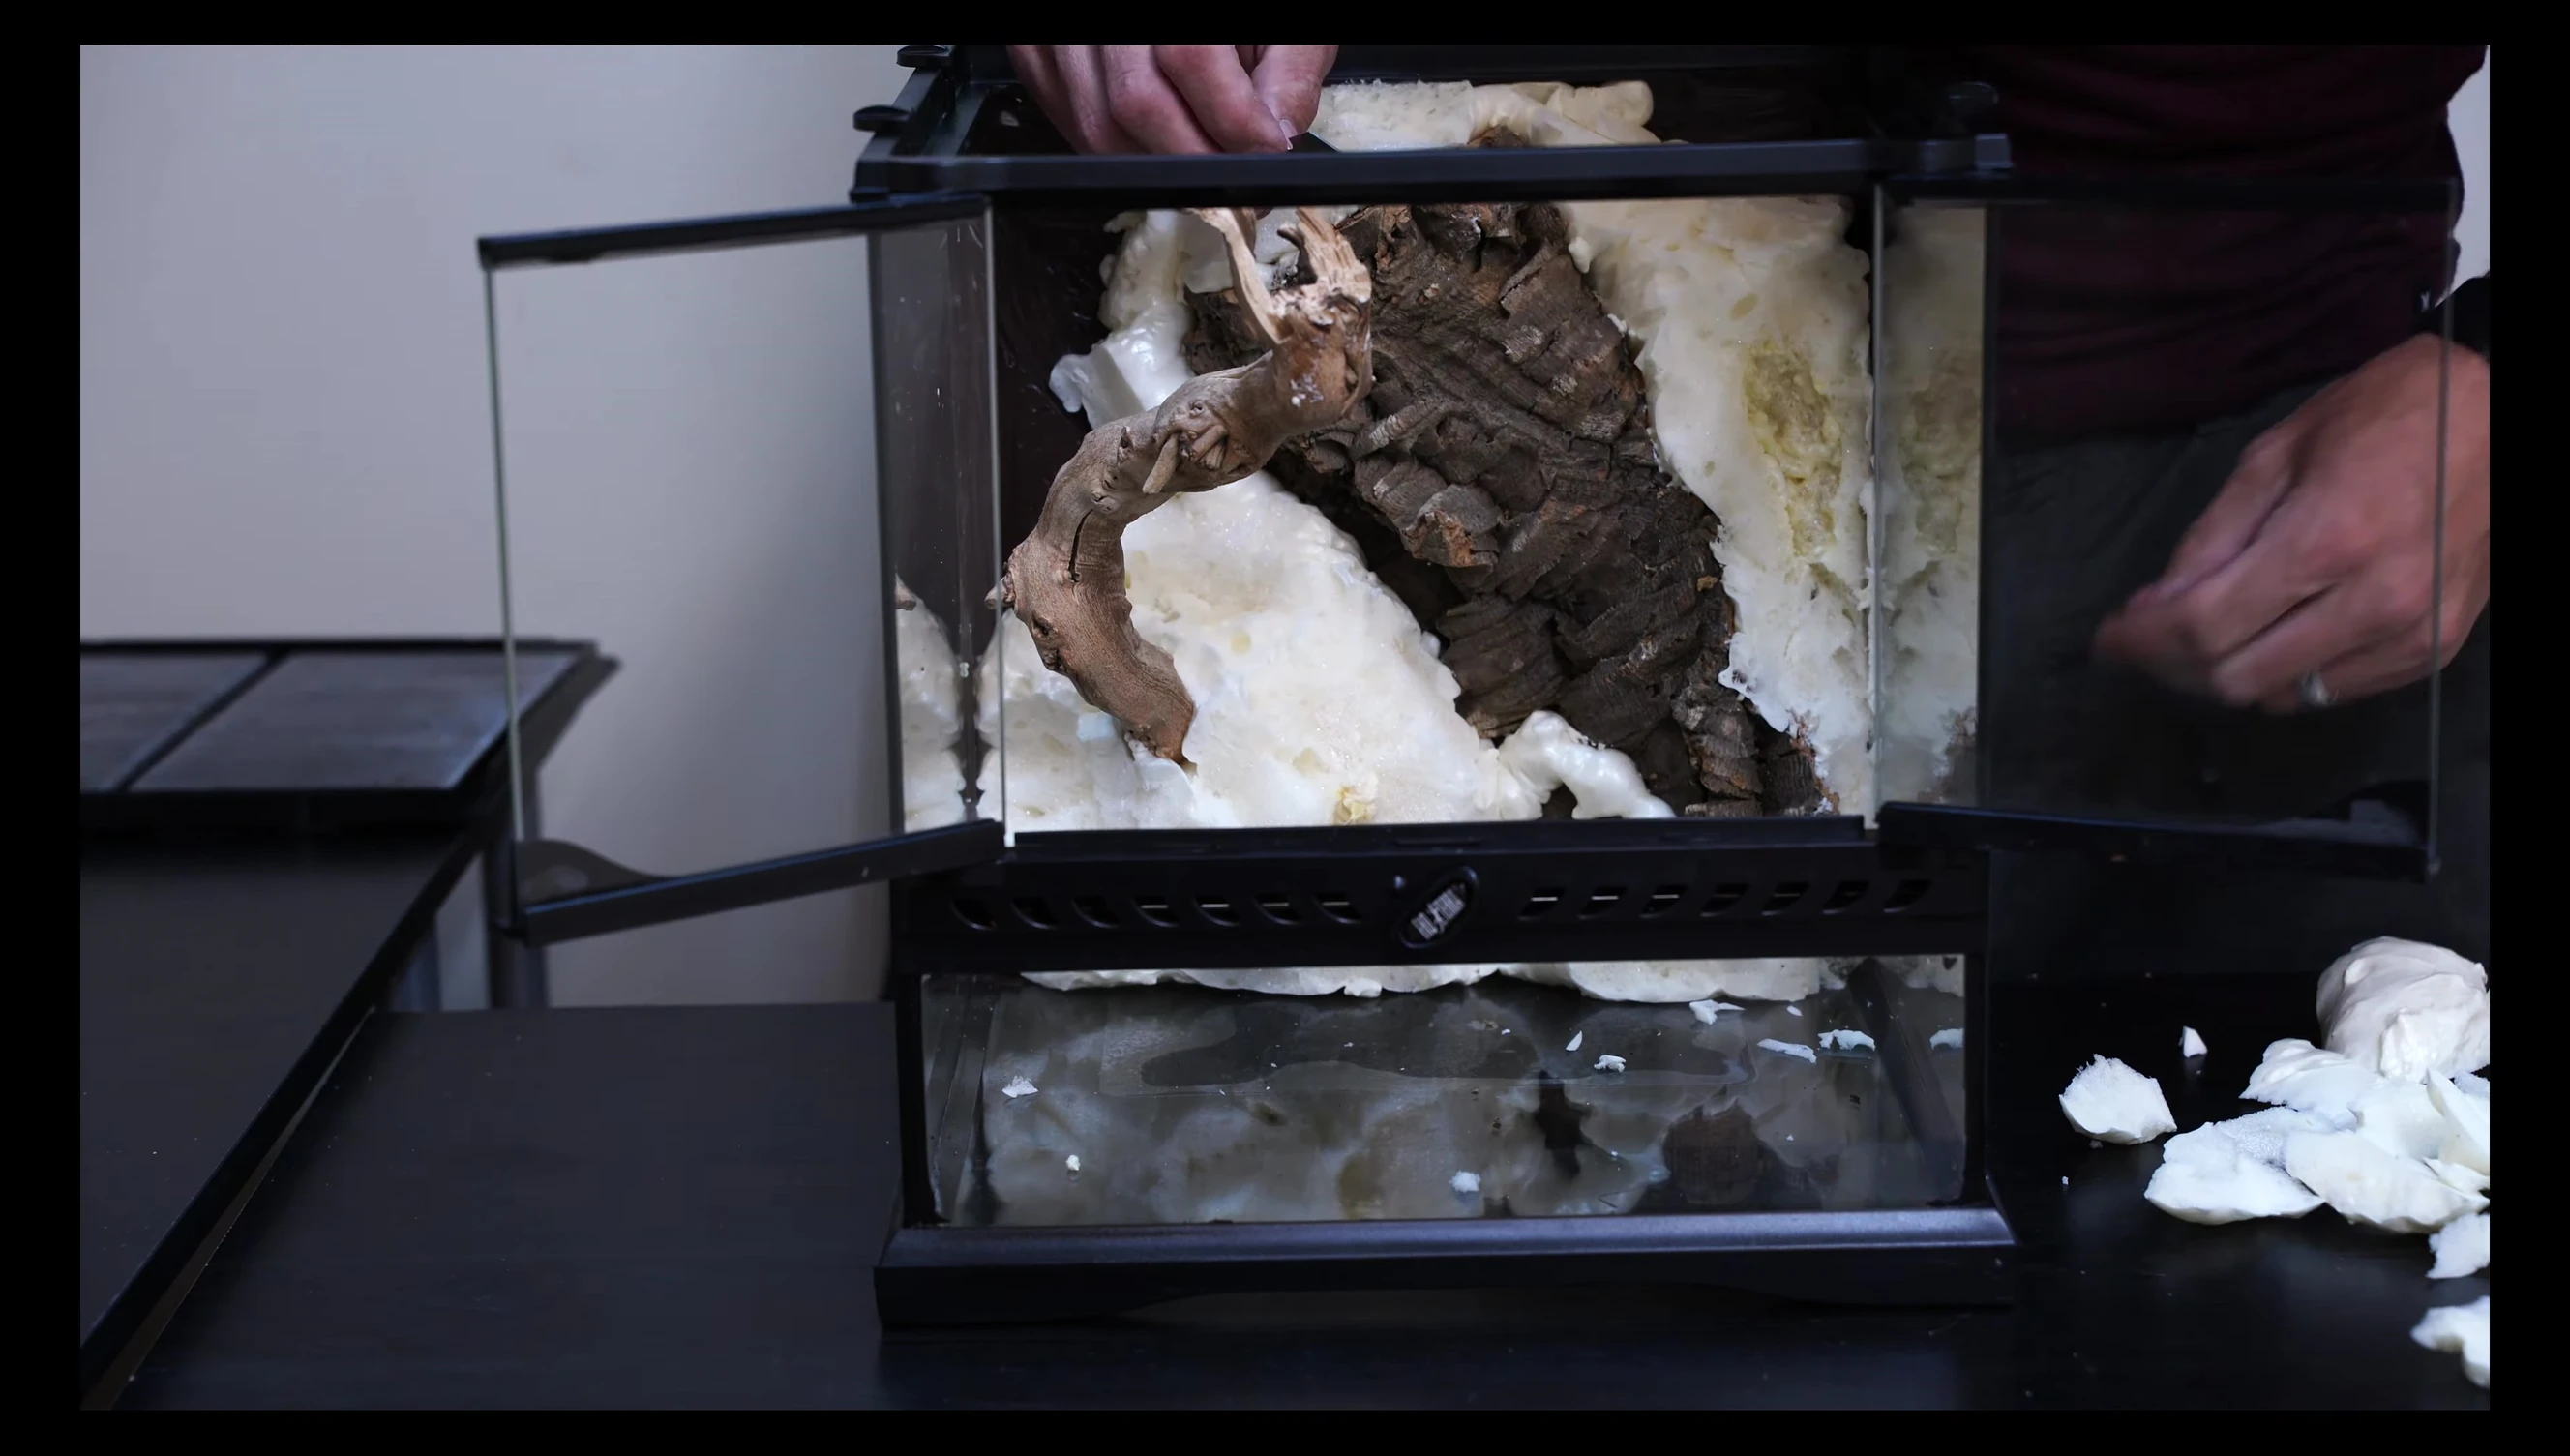
Applying Great Stuff Foam and Decorations
Now comes the fun part! Use the expanding foam to attach your decorative elements, such as cork bark and grapevine. Remember to completely fill any gaps and crevices to prevent your gecko from getting trapped behind them. This step is crucial for ensuring the safety and well-being of your pet.
Allow the foam to expand and dry completely before moving on. The foam expands significantly as it cures, so be patient and allow ample drying time. Once dry, use a utility knife to trim and shape the foam to your desired look.
Shaping and Texturing the Background
Once the foam is dry, carefully trim and shape it using a sharp utility knife or razor blade. Be cautious while using sharp tools. You can create various textures and contours by carving into the foam, allowing for a naturalistic look. Remember to work slowly and carefully.
After shaping, apply another layer of silicone to cover the foam and create a smooth surface. This ensures the final layer of substrate adheres well and completes the background look.
Adding the Substrate
While the silicone is still wet, apply your chosen substrate—in this case, repti soil—and gently press it into the silicone. This will create a natural-looking, textured background. Let it dry completely for at least a day.
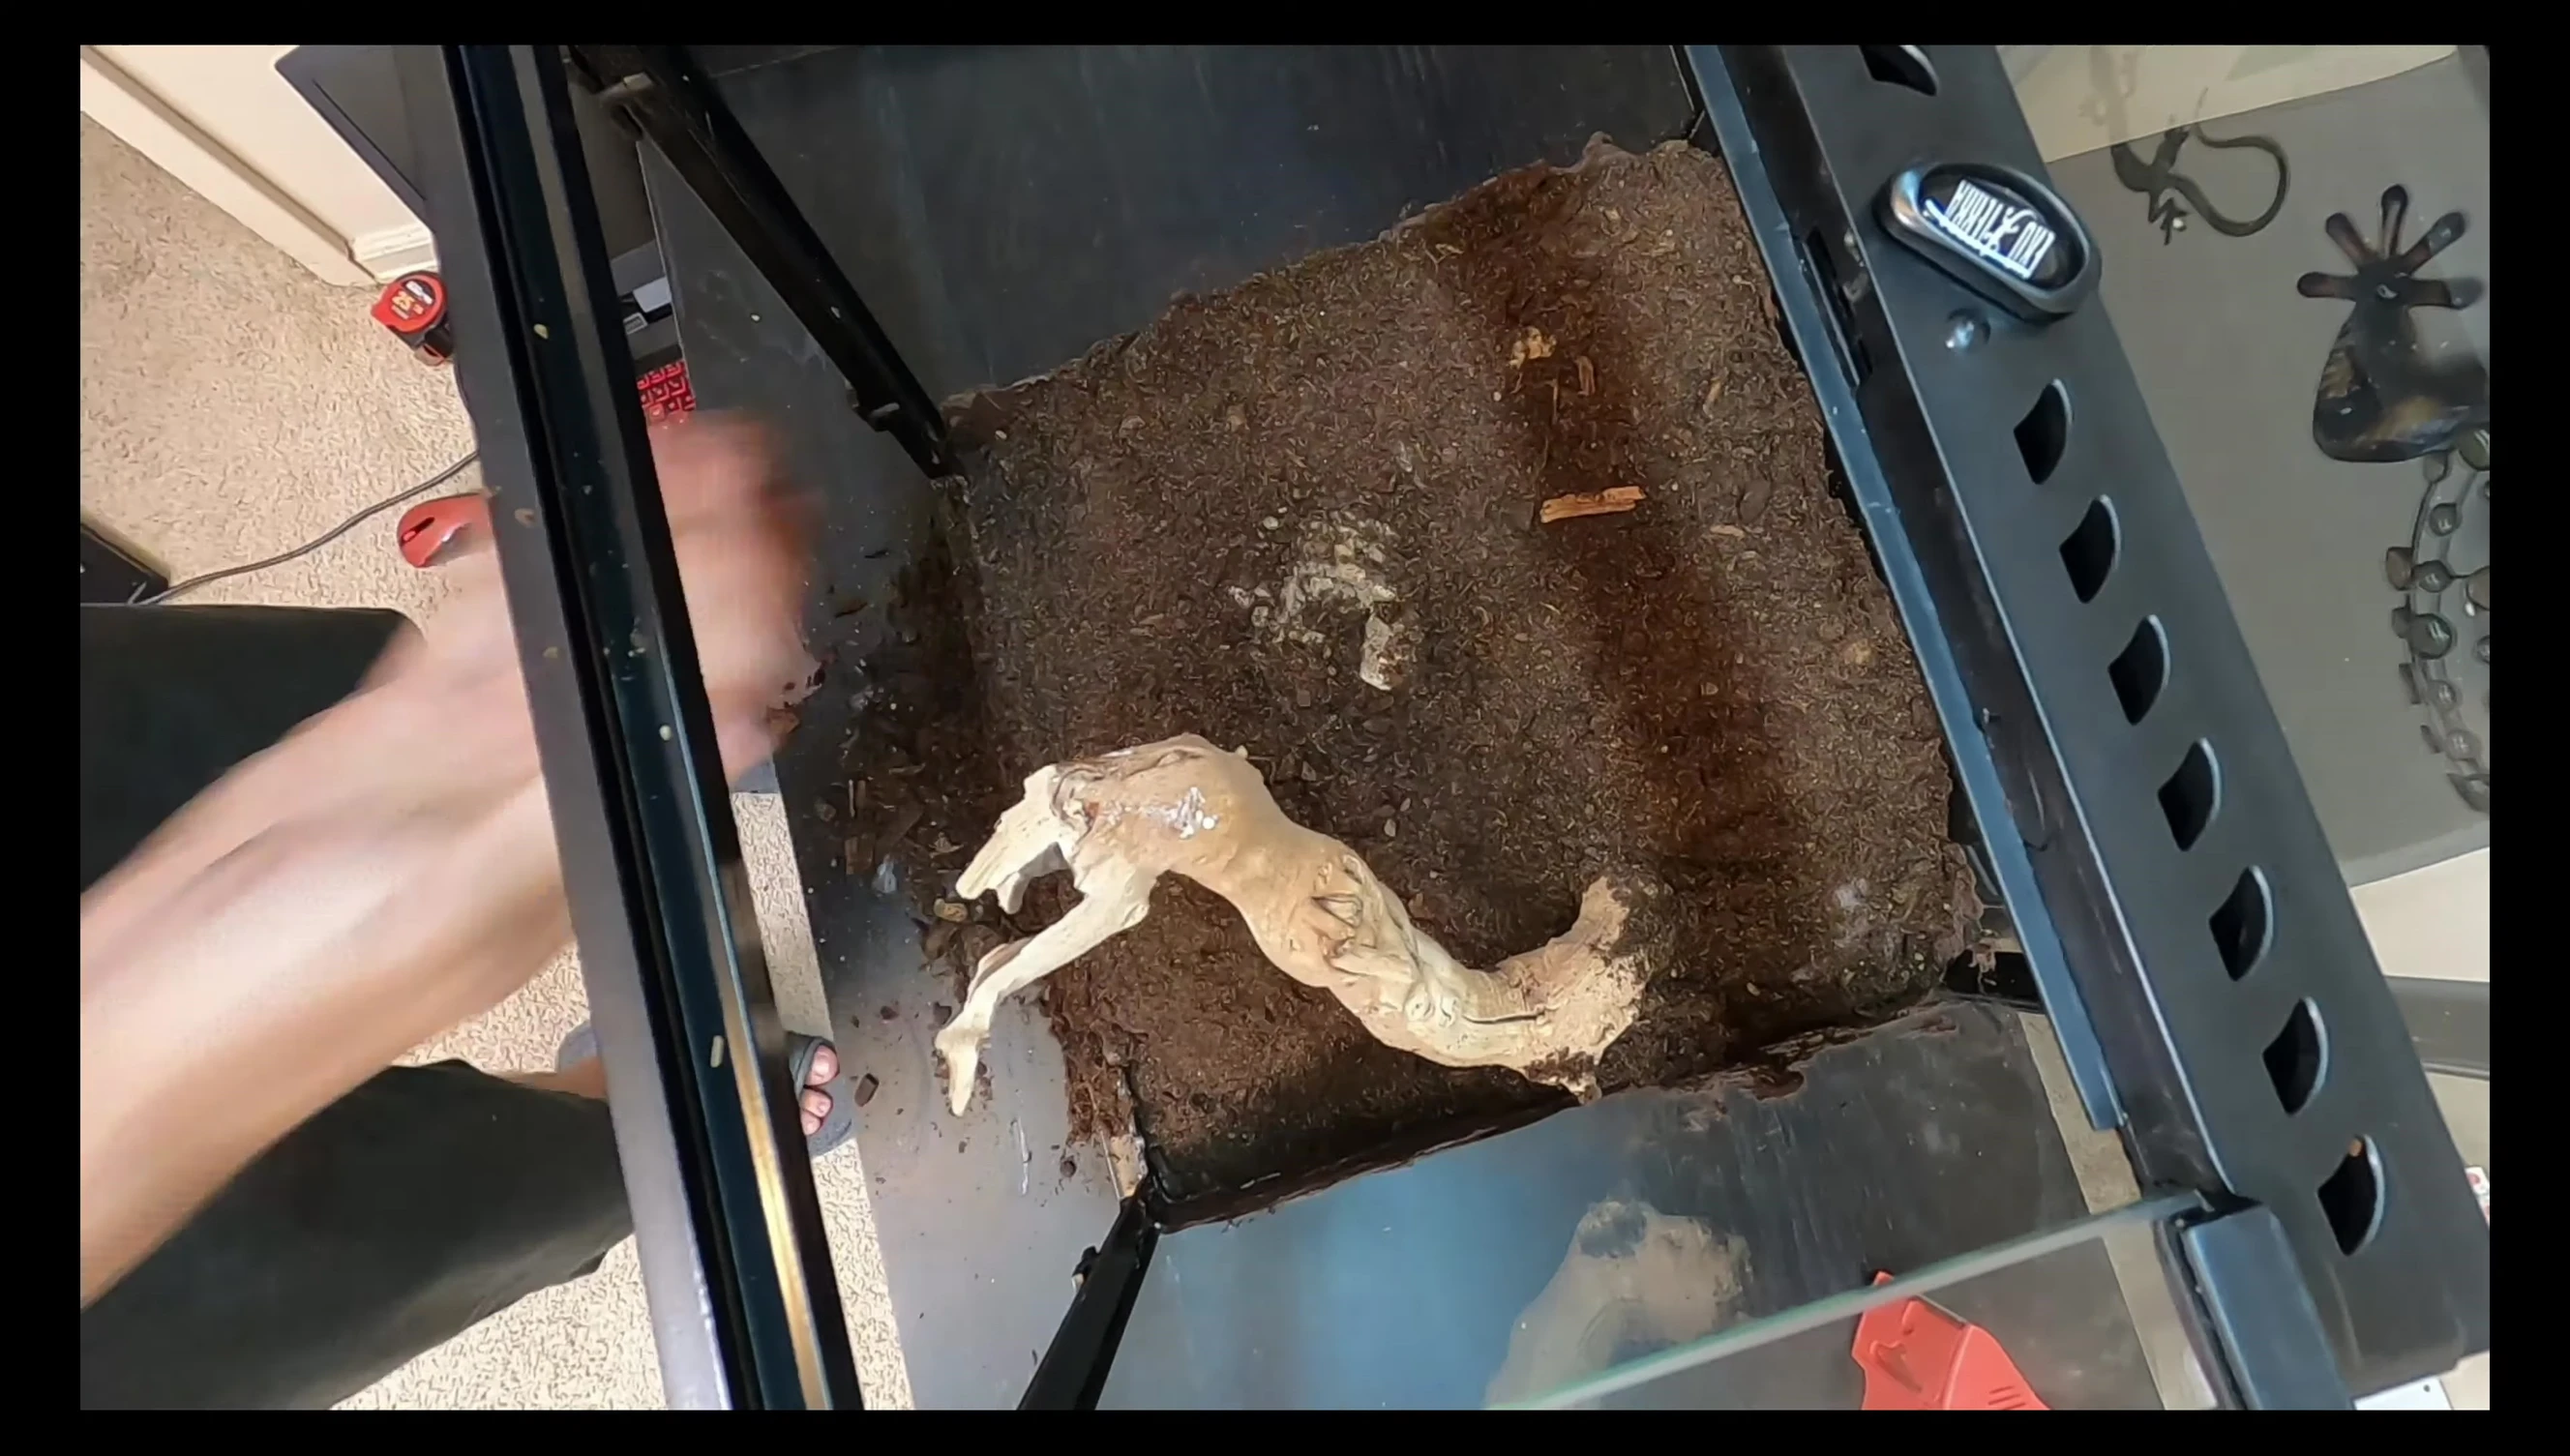
Once the silicone has fully dried, any excess substrate can be carefully removed. This leaves you with a sturdy, textured background that is ready to receive additional decorations like moss and plants.
Final Touches and Setup
To complete the terrarium, add a final layer of moss to the substrate for visual appeal and humidity retention. Consider adding additional features like climbing structures (mossy vines), plants, and hides to enrich your gecko's habitat. Remember to ensure the setup is safe and provides ample hiding spots.
This step allows for the addition of the final decorative features. Consider the gecko's needs—hiding places, climbing structures, and appropriate temperature gradients—when arranging these elements within the terrarium.
Conclusion: A Successful DIY Project
Creating a custom naturalistic background for your gecko cage enhances both the aesthetic appeal and the functionality of your pet's habitat. This DIY project, while requiring a bit of patience and attention to detail, delivers a rewarding and personalized outcome.

Remember to prioritize your gecko's well-being throughout the process. Choose safe materials, ensure proper ventilation, and provide ample space for your pet to thrive. This detailed guide provides a step-by-step approach to building a stunning custom terrarium background.