Creating a comfortable and safe basking area for your turtle doesn't have to break the bank. This DIY guide provides a simple, inexpensive, and effective solution using readily available materials. Forget expensive store-bought options; you can build a custom basking platform for your turtle with minimal effort and cost. This project is perfect for beginners and requires only basic tools and materials like a plastic bin, wire hanger, zip ties, and a piece of extra plastic. We'll guide you through each step, ensuring you create a sturdy and secure basking spot your turtle will love.This step-by-step tutorial will show you how to construct a durable basking platform tailored to your turtle's size and your available resources. Learn how to safely cut and assemble the platform, incorporating features like a non-slip ramp for easy access. We'll also address crucial considerations such as proper sizing, secure attachment, and optimal placement within the enclosure. Get ready to create a safe, effective, and budget-friendly basking haven for your beloved reptile, enhancing their well-being and enriching their environment.
Read more: 5-Star Reptile Basking Platform with Hiding Spot
Materials Needed
Creating a basking area for your turtle doesn't require expensive equipment. This DIY project uses readily available materials. You'll need a plastic bin (size dependent on your turtle), a wire hanger (coated in rubber to prevent rust), a few zip ties, and an extra piece of plastic for the ramp.

Optionally, consider adding rubber shelving liner to improve the ramp's grip. The plastic bin should be appropriately sized for your turtle; a small container for hatchlings, a larger one for juveniles or adults.
Remember to choose a bin that's neither too small to restrict your turtle's movement nor too large to be impractical. Proper sizing is crucial for your pet's comfort and well-being.
Constructing the Basking Platform
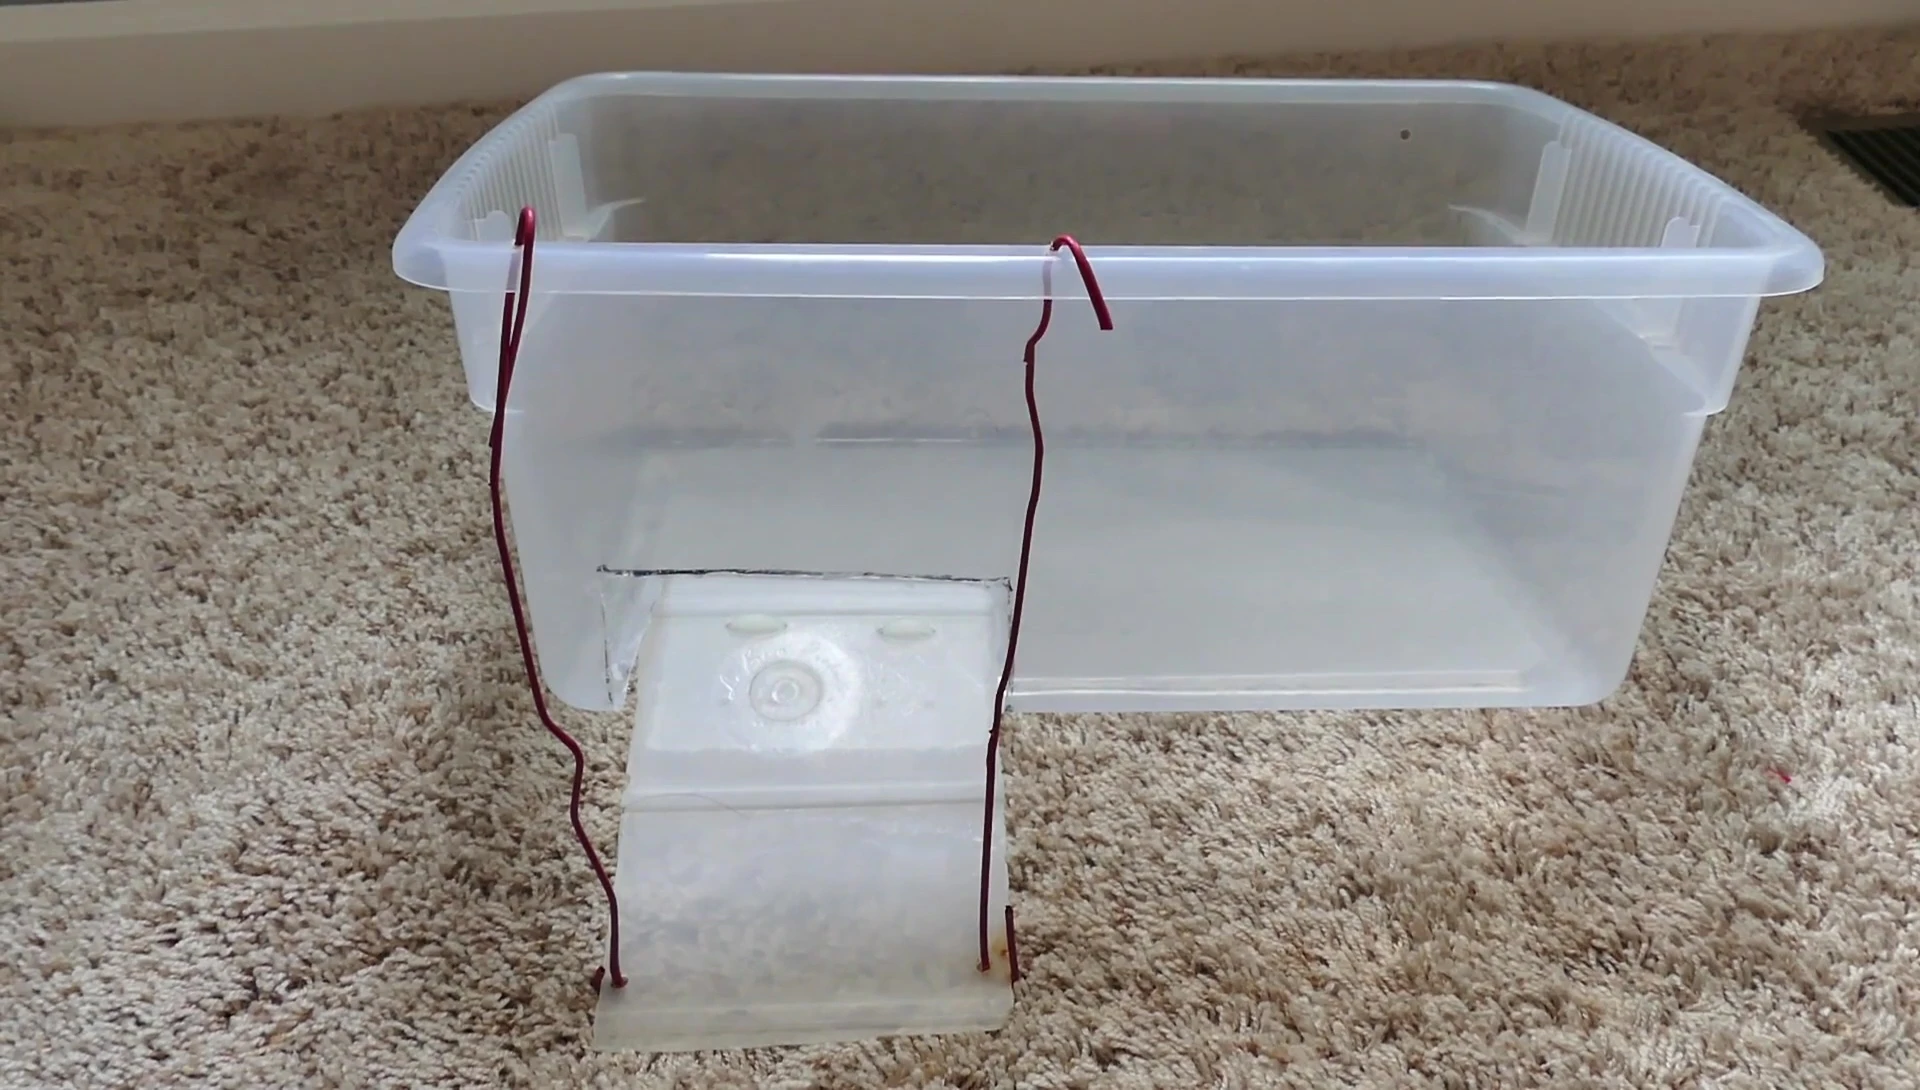
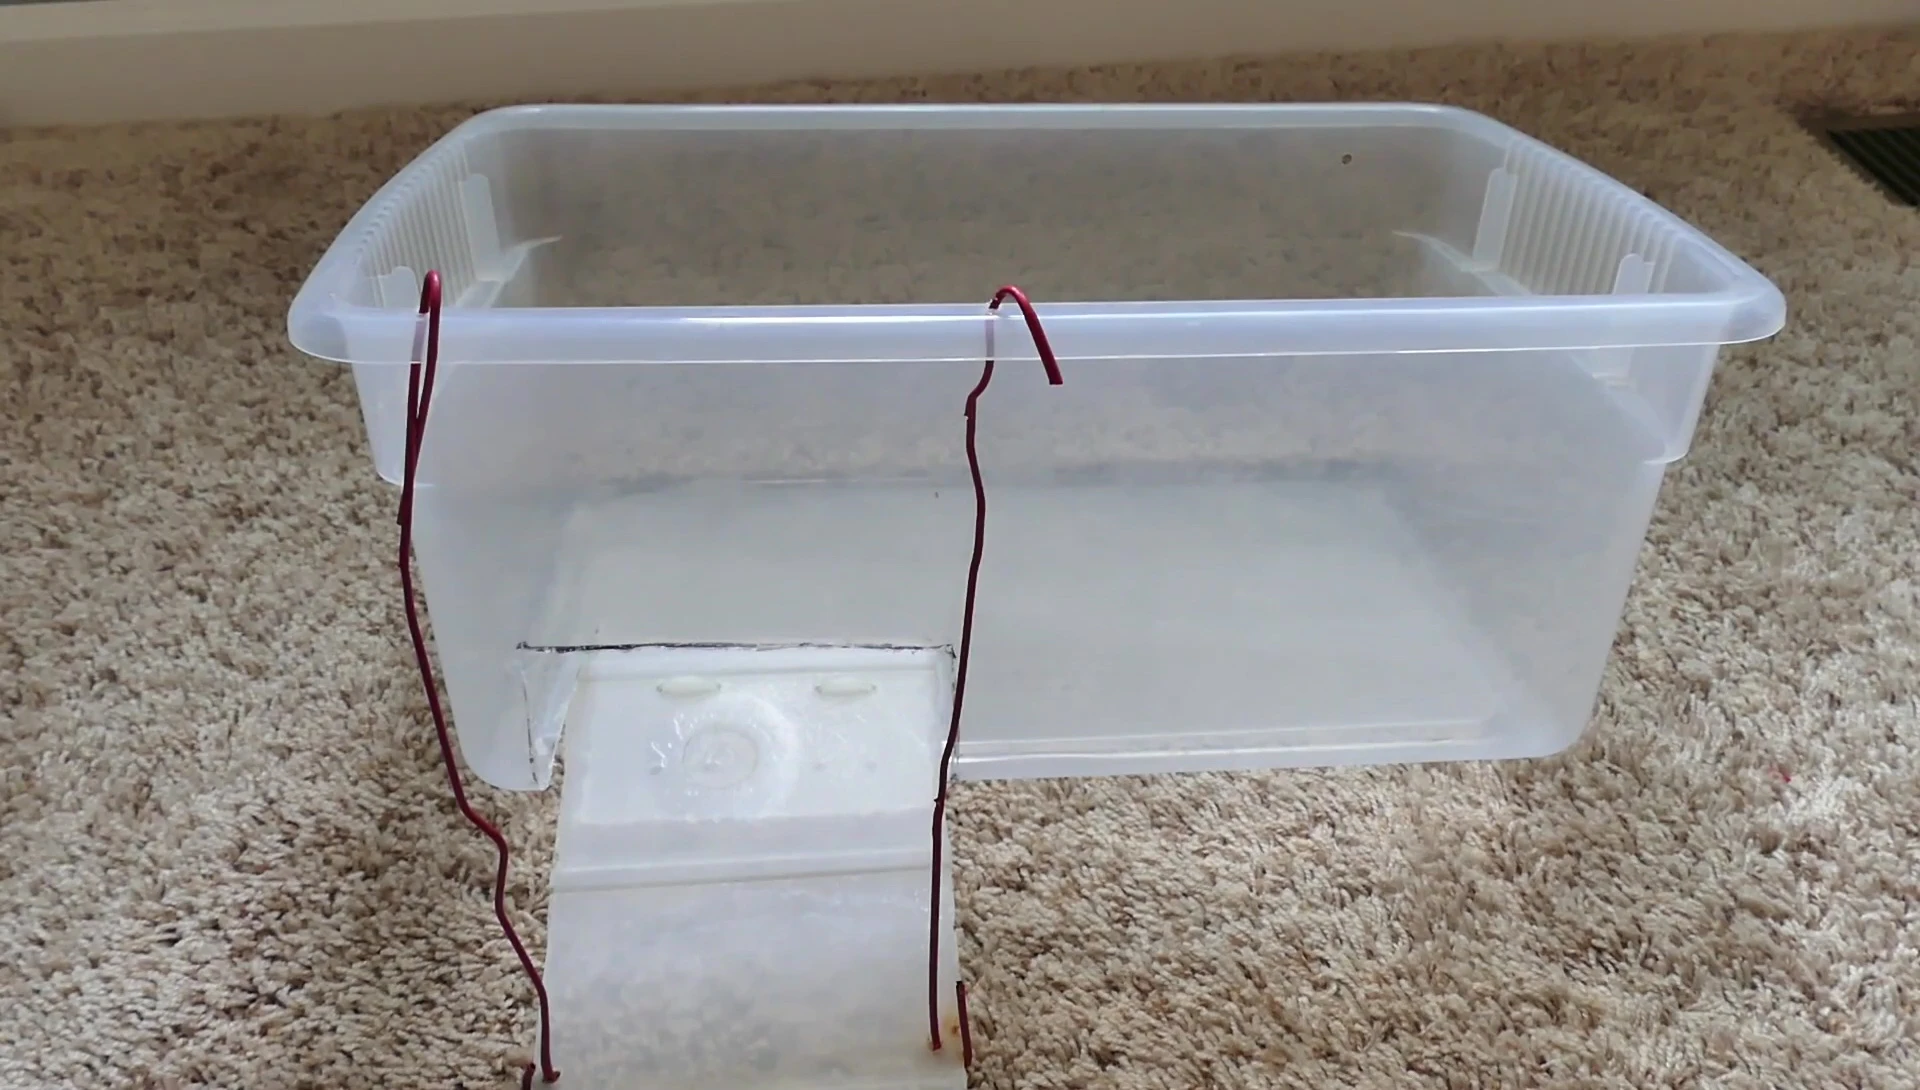
Begin by cutting a hole in the plastic bin large enough for your turtle to access the basking area. Use a marker to outline the hole before cutting. Ensure the opening is sufficiently sized for easy entry and exit for your turtle.
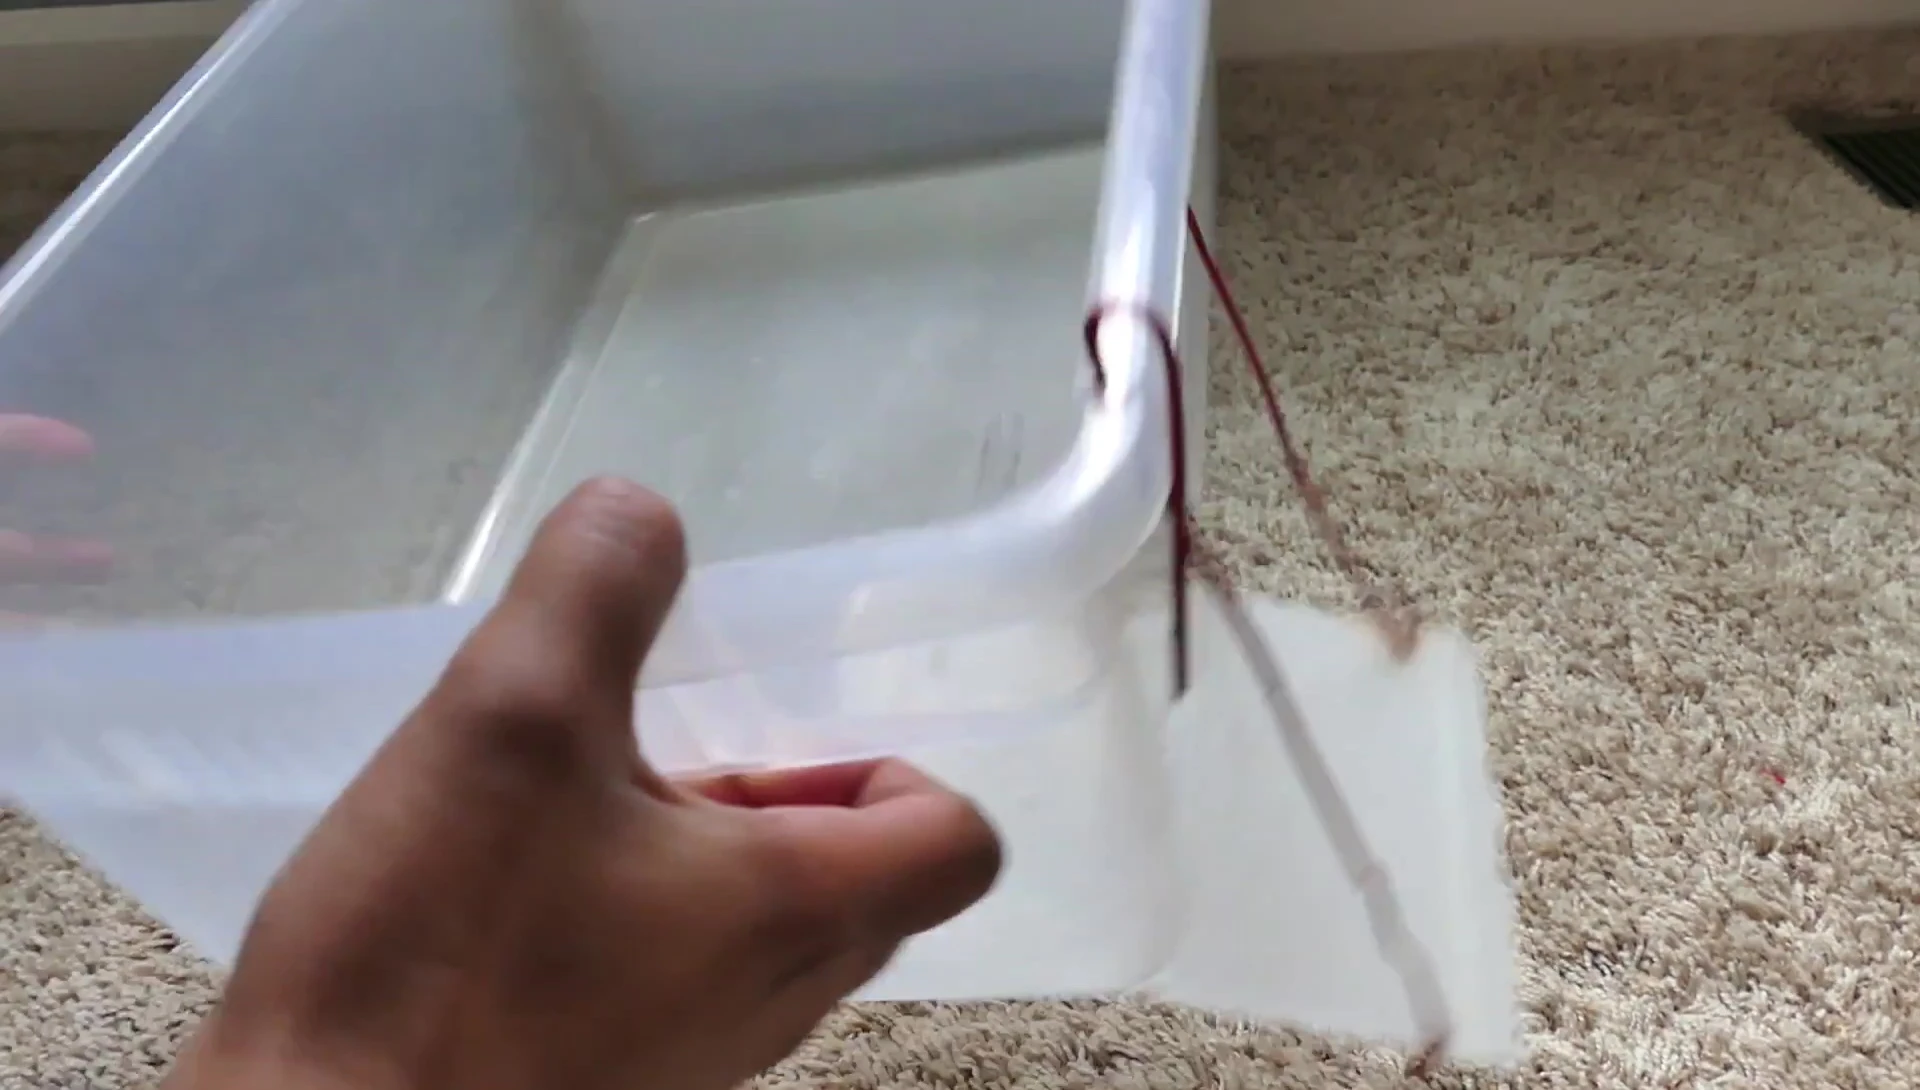
Next, prepare the ramp. Cut and shape the extra piece of plastic to create a gradual incline, ensuring your turtle can comfortably climb onto the platform. Drill holes in both the ramp and the bin for secure attachment using zip ties.
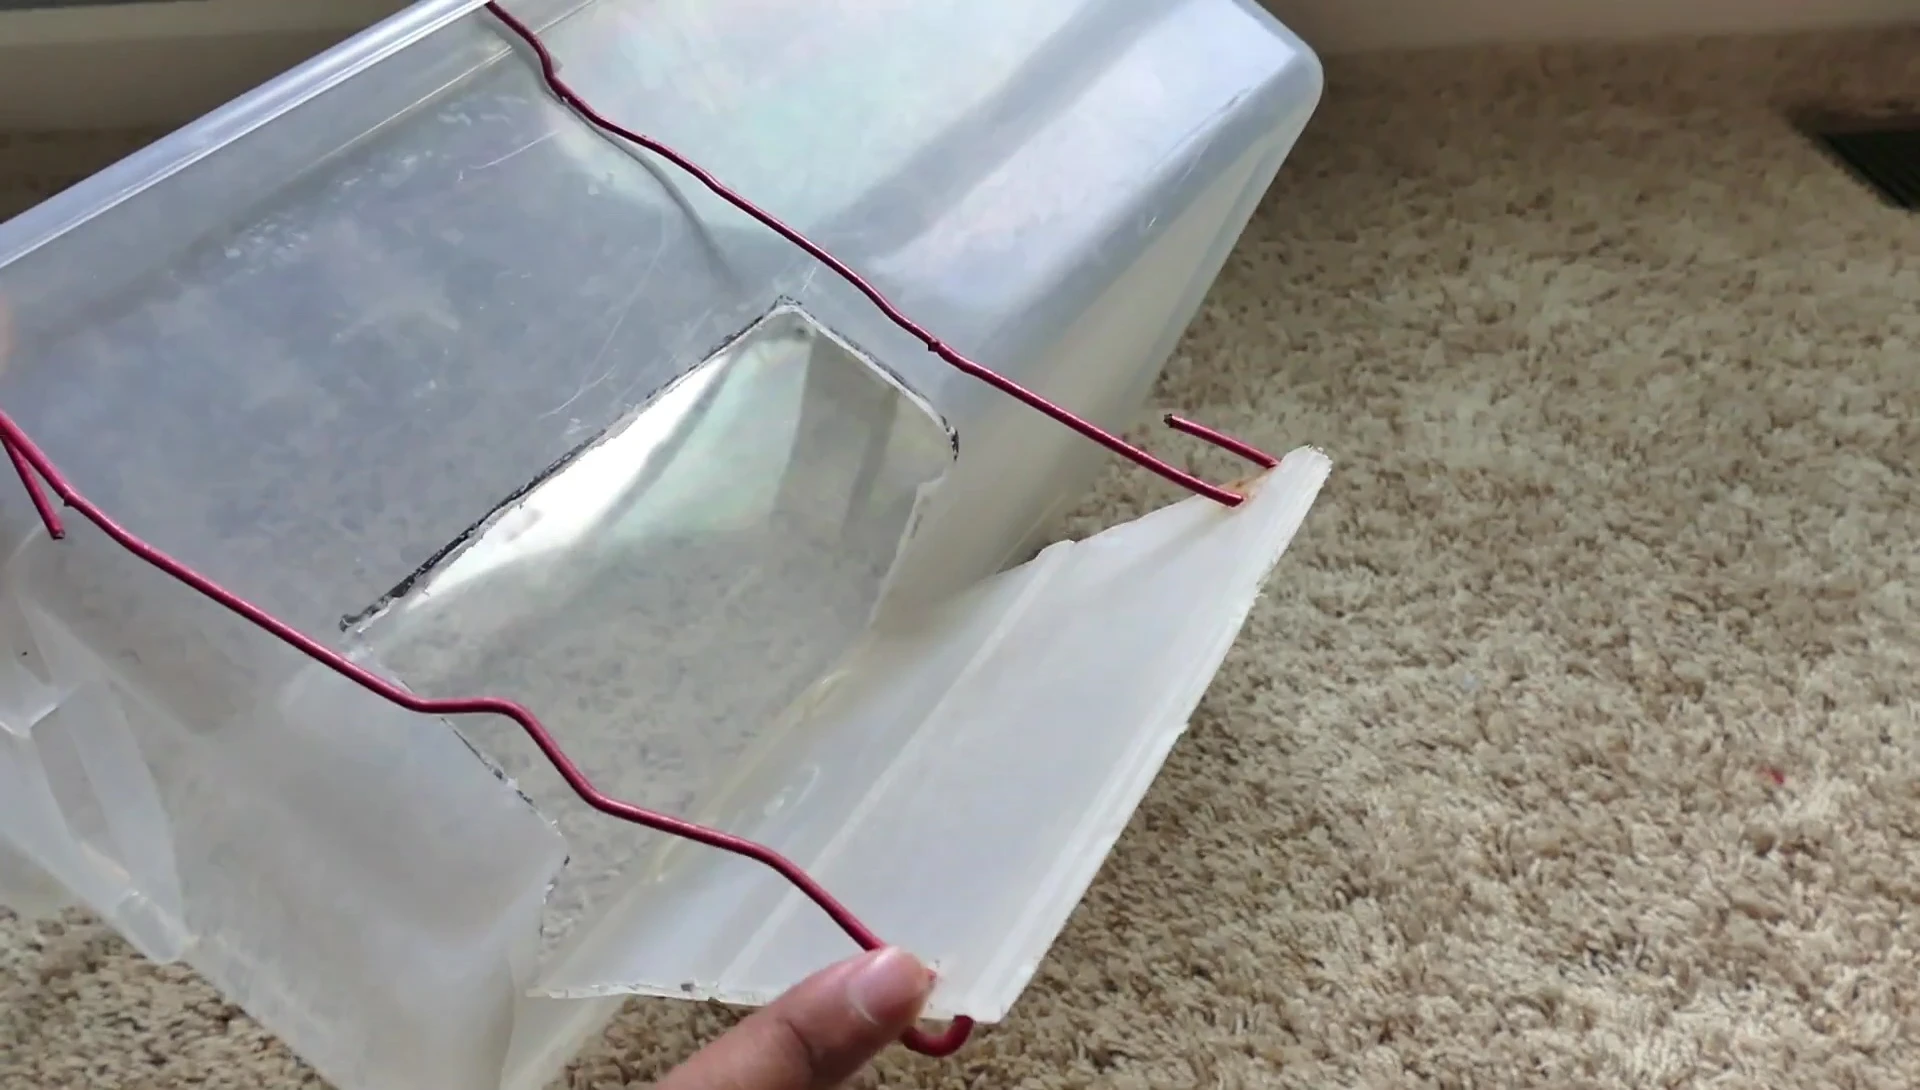
The zip ties should be firmly secured to prevent them from poking your turtle. Consider adding extra support for a more sturdy ramp. You can use a wire hanger, bent into a supportive structure to reinforce the ramp's stability and prevent it from sagging.
Securing the Platform and Enhancing Grip
To enhance the ramp's grip and prevent slipping, you can add rubber shelving liner. This material provides extra traction, making it easier for your turtle to ascend the ramp. If your chosen plastic already offers good grip, this step may be unnecessary.
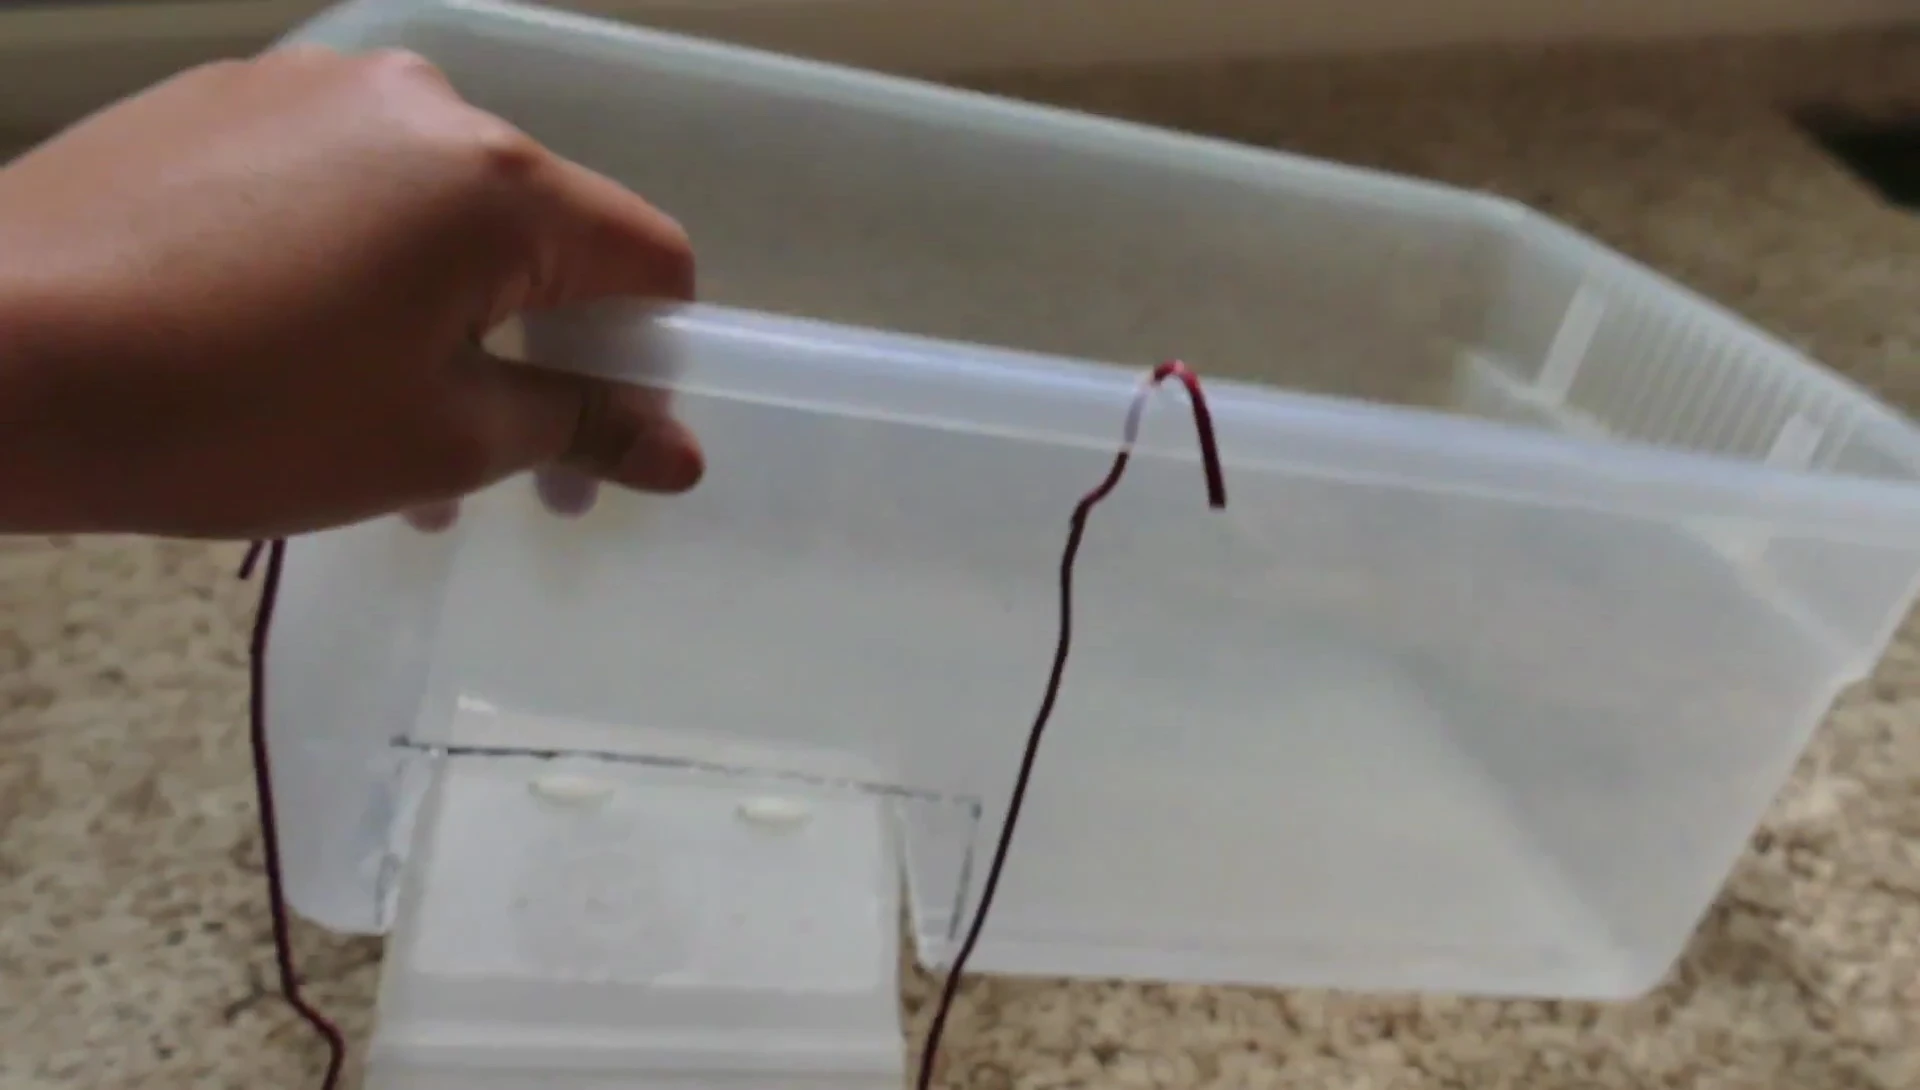
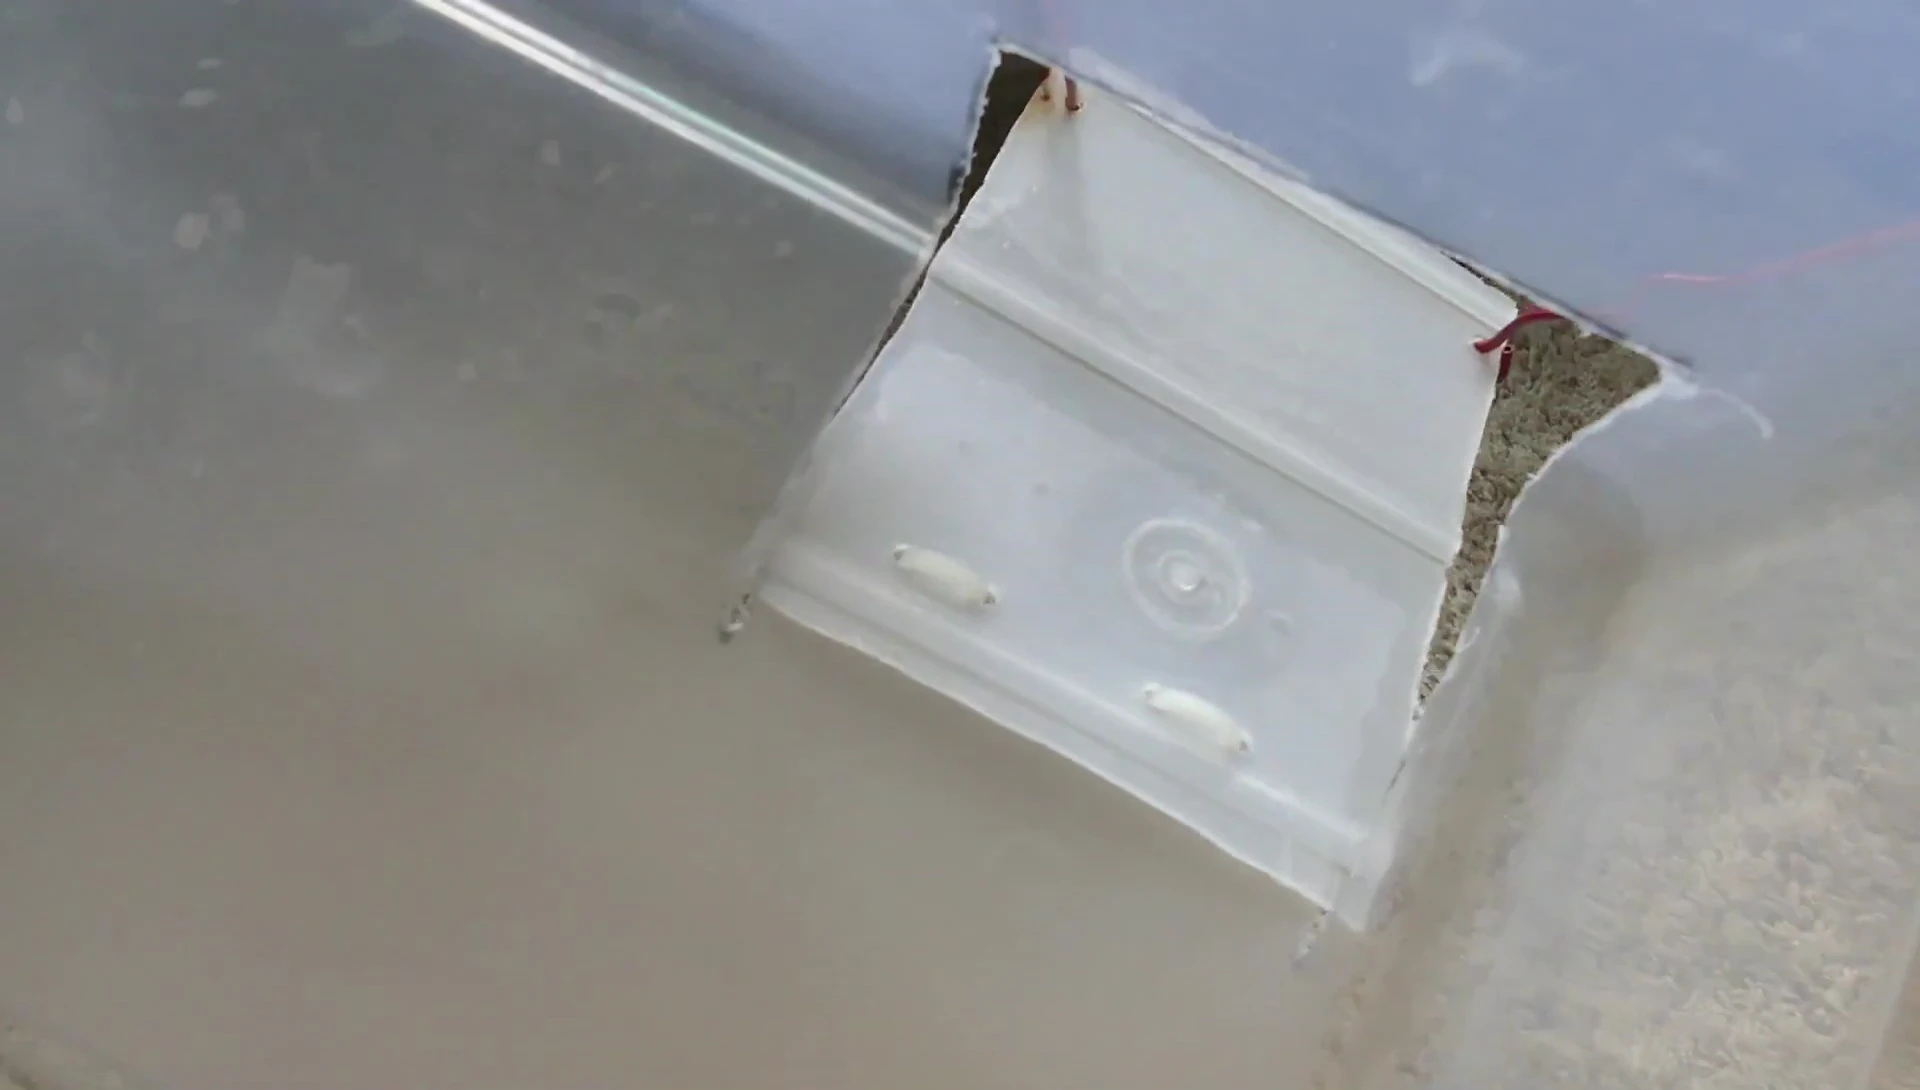
The platform can be secured to the tank wall using screws and brackets. Pre-drill holes to avoid cracking the plastic. This ensures stability and prevents the platform from shifting or falling.

The placement of the platform is important; ensure it's positioned securely and allows for convenient access to the basking area while preventing escapes.
Conclusion: A Cost-Effective and Effective Solution
This DIY turtle basking platform offers a cost-effective alternative to commercially available options. The entire project is inexpensive, requiring only readily available materials. It also requires minimal effort and skill, making it a perfect project for beginners.
The design is highly adaptable; you can adjust the size and materials based on your turtle's needs and your available resources. Above-tank basking areas are generally preferred for basking turtles, maximizing tank space and providing a dedicated basking spot.
Overall, this DIY project provides a safe, effective, and budget-friendly solution for providing your turtle with a dedicated basking area. It's a valuable addition to any turtle enclosure.