Discover the ease and versatility of setting up your Chameleon Hammock with this comprehensive step-by-step guide. This tutorial will walk you through the entire process, from unpacking your hammock and its components to achieving the perfect hang, complete with optional tie-outs, tarp, and bug net. Whether you're a seasoned hammock camper or a first-timer, this guide will equip you with the knowledge to create a comfortable and protected outdoor haven. We'll cover the use of the included suspension system, the optimal angle for hanging, and the simple attachment of accessories for enhanced comfort and weather protection.Learn how to utilize the pre-attached loops and easily adjustable tie-outs to customize your setup for any situation. We'll show you how to efficiently attach the included bug net for reliable insect protection and the optional tarp for added shelter from the elements. By the end of this tutorial, you'll be confident in setting up your Chameleon Hammock, ready for relaxing adventures in the great outdoors. Let’s get started and transform your outdoor experience!
Pros And Cons
- Provides a comfortable and suspended sleeping space.
- Includes a symmetrical bug net for protection and visibility.
- Features adjustable suspension for customizable height and angle.
- Uses a beetle buckle suspension and spider poly webbing for durability.
Read more: 5 Best Nylon Reptile Hammocks for Your Scaly Friend
Unboxing and Components
The Chameleon Hammock arrives in a compact package. Inside, you'll find the hammock body, a small bag containing tie-outs, and the suspension system. The hammock body itself features a red loop on one side and a black loop on the other, pre-attached for easy shipping. Remember to remove the red loop from over the hammock body before setting up.
The suspension system in this example uses spider poly webbing and beetle buckle suspension. However, various suspension options are available depending on your needs and preferences. The included stuff sack is a practical addition for storage of the hammock when not in use.
Hanging the Hammock
Begin by securing the suspension system around your chosen trees or anchors at approximately head height, or slightly higher. Feed the webbing through its own loop to cinch it tightly around the tree. This needs to be repeated for both support points for balance.
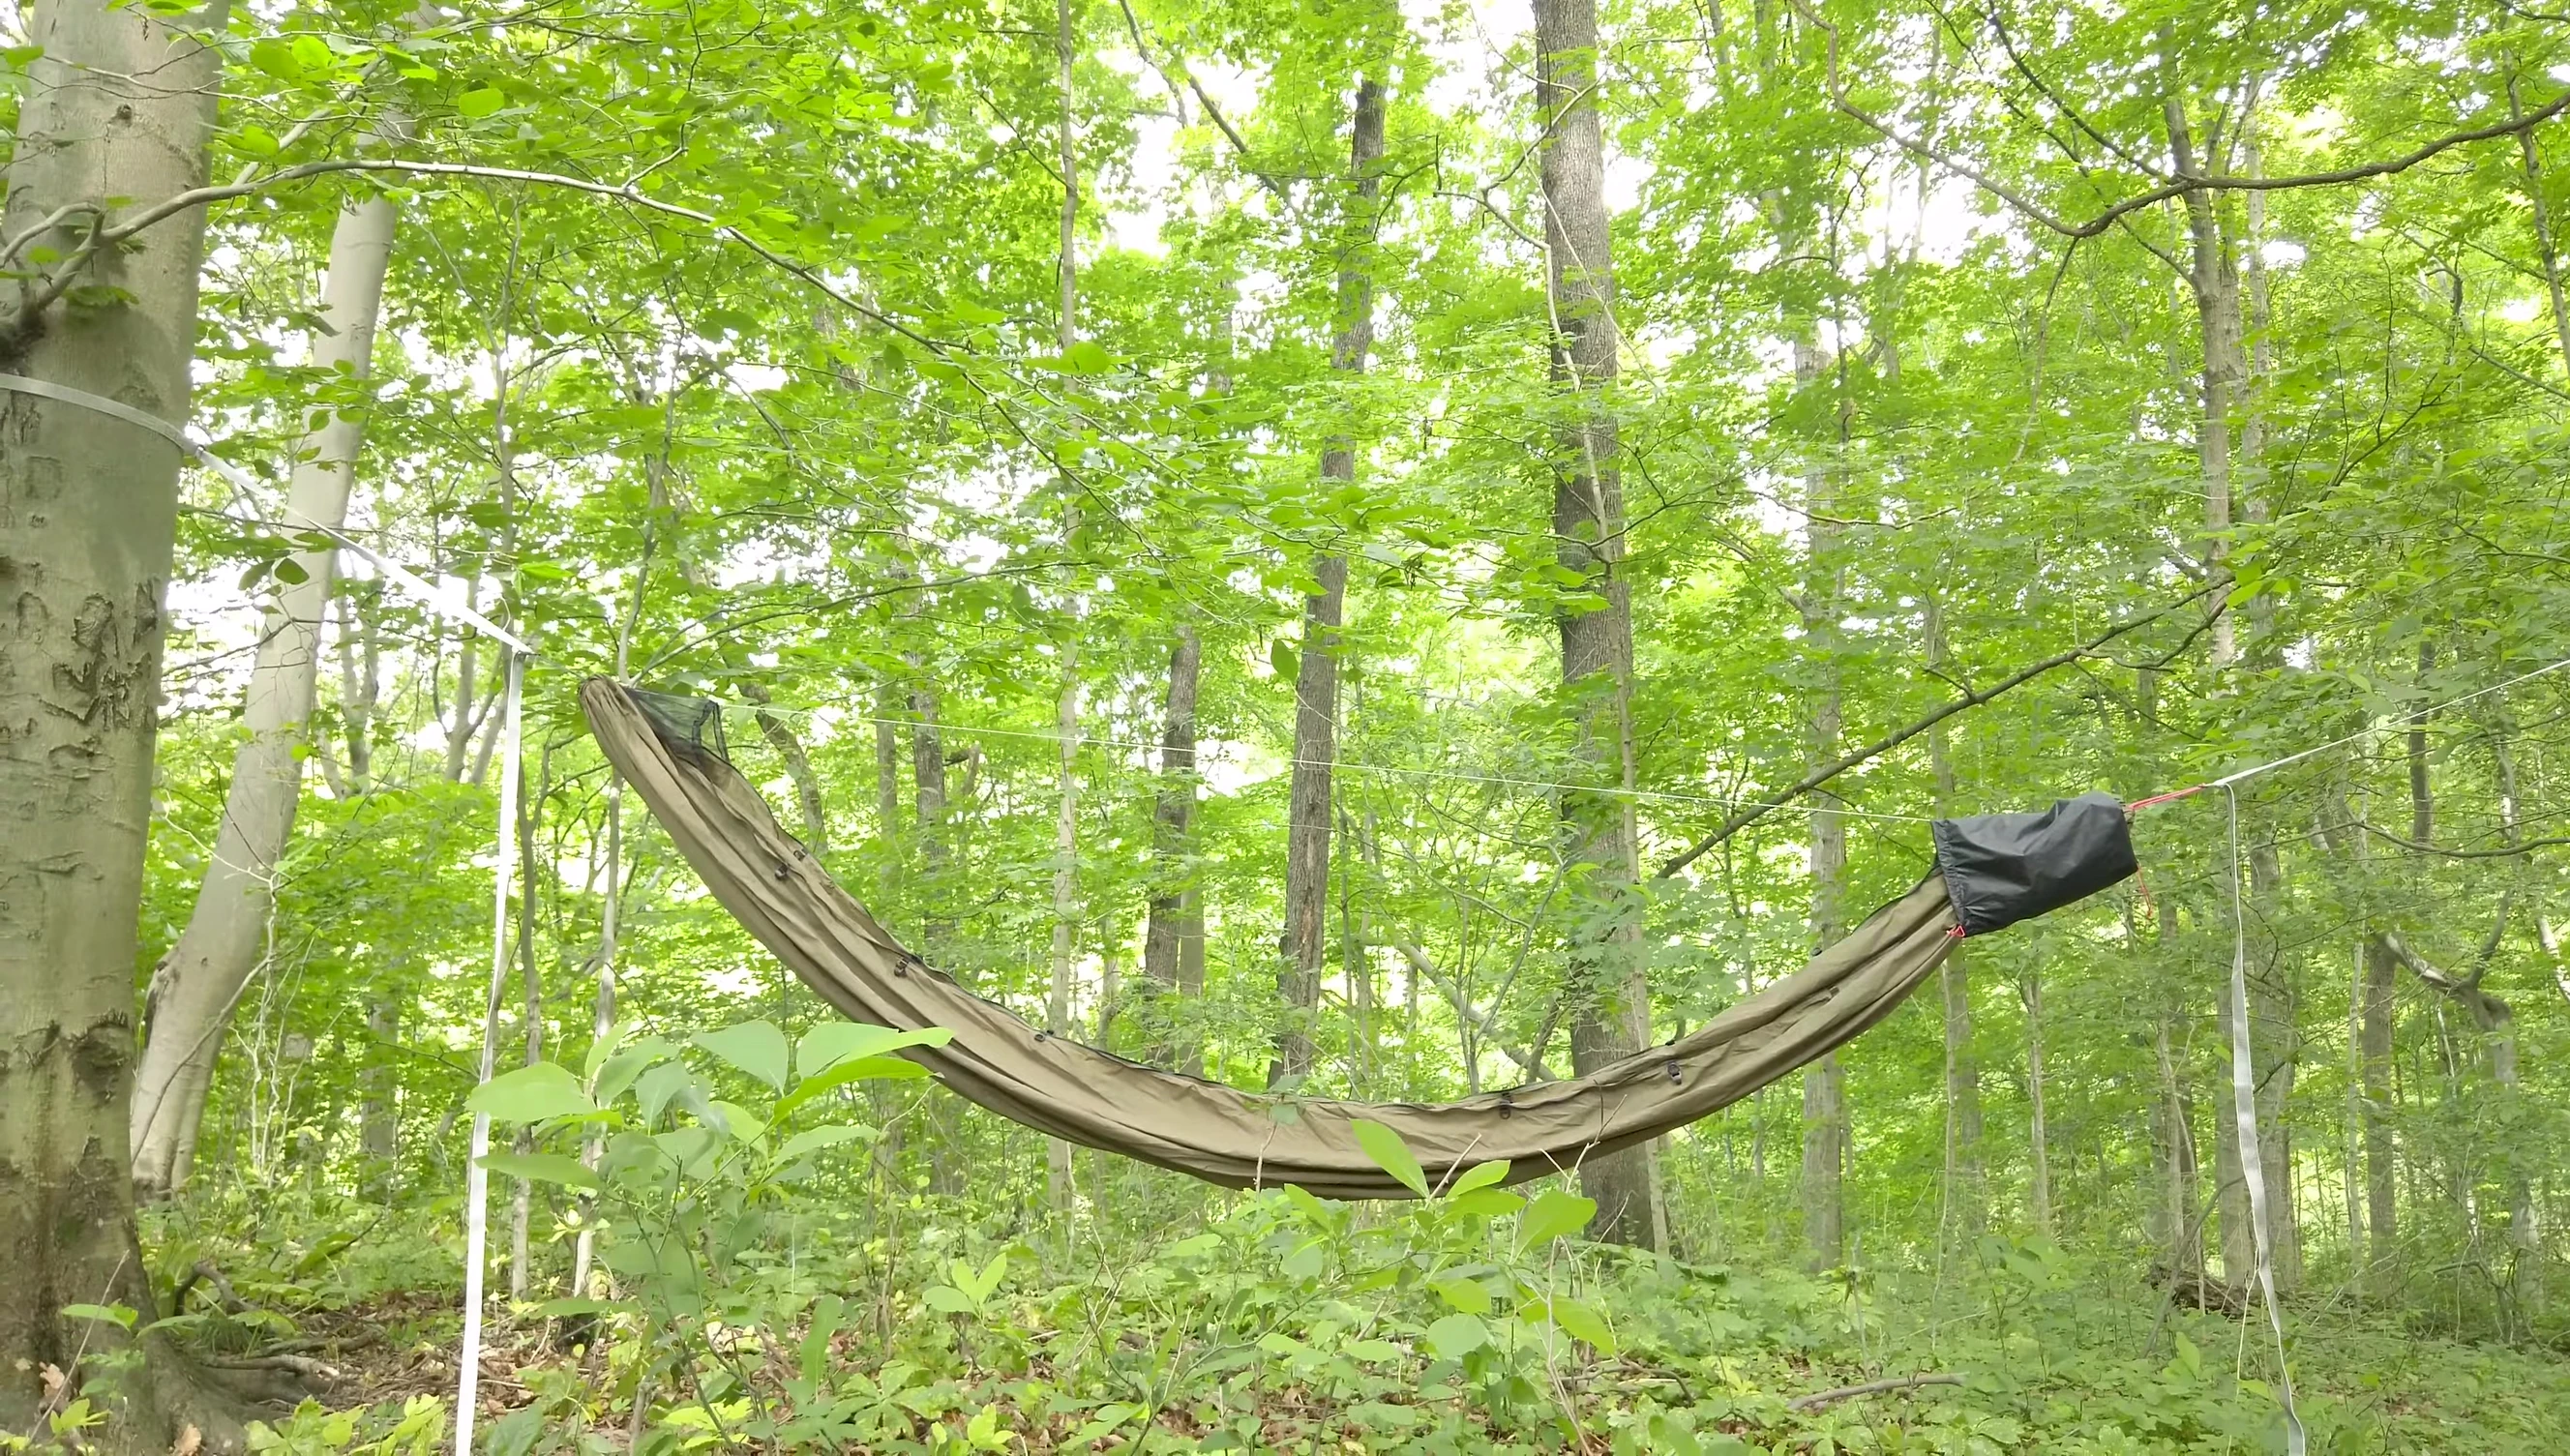
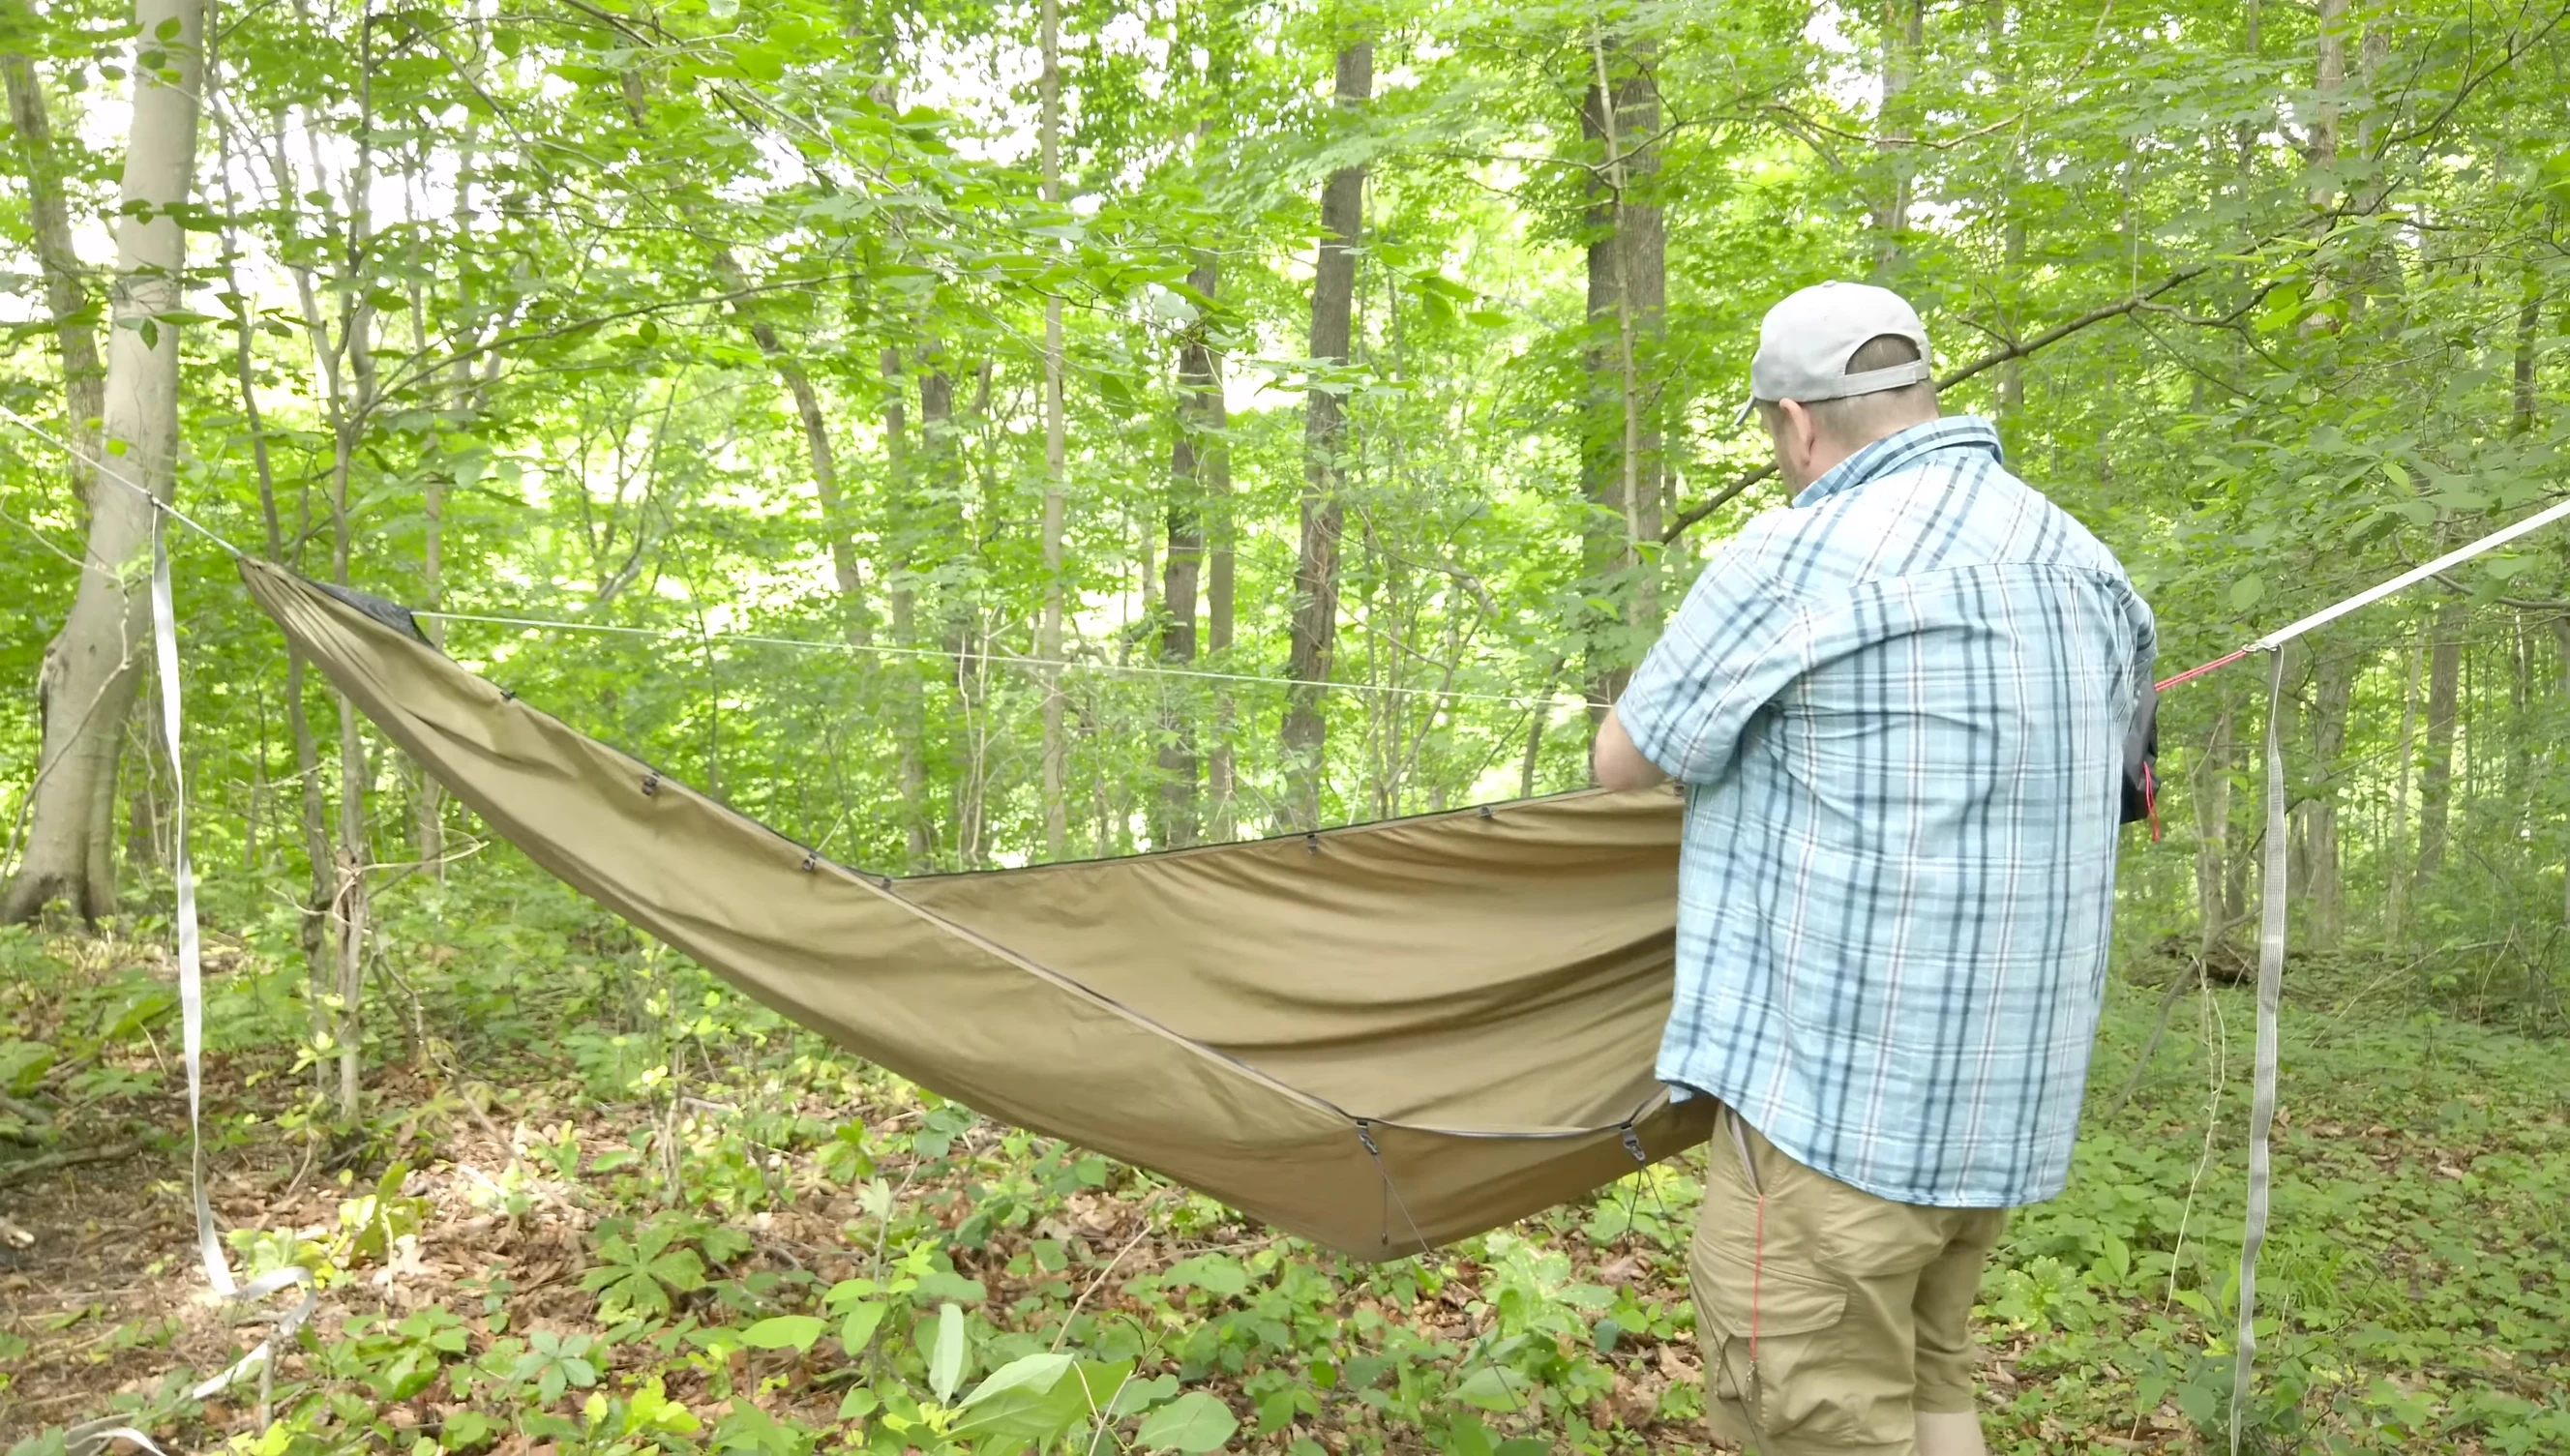
Once the suspension is secure, attach the hammock body, starting with the head end. Aim for a 30-degree angle from the suspension points to the hammock's lowest point, which should be positioned about 18 inches off the ground. The foot end should be about 4 inches higher than the head end to create an optimal comfortable position.
Tie-Outs and Optional Accessories
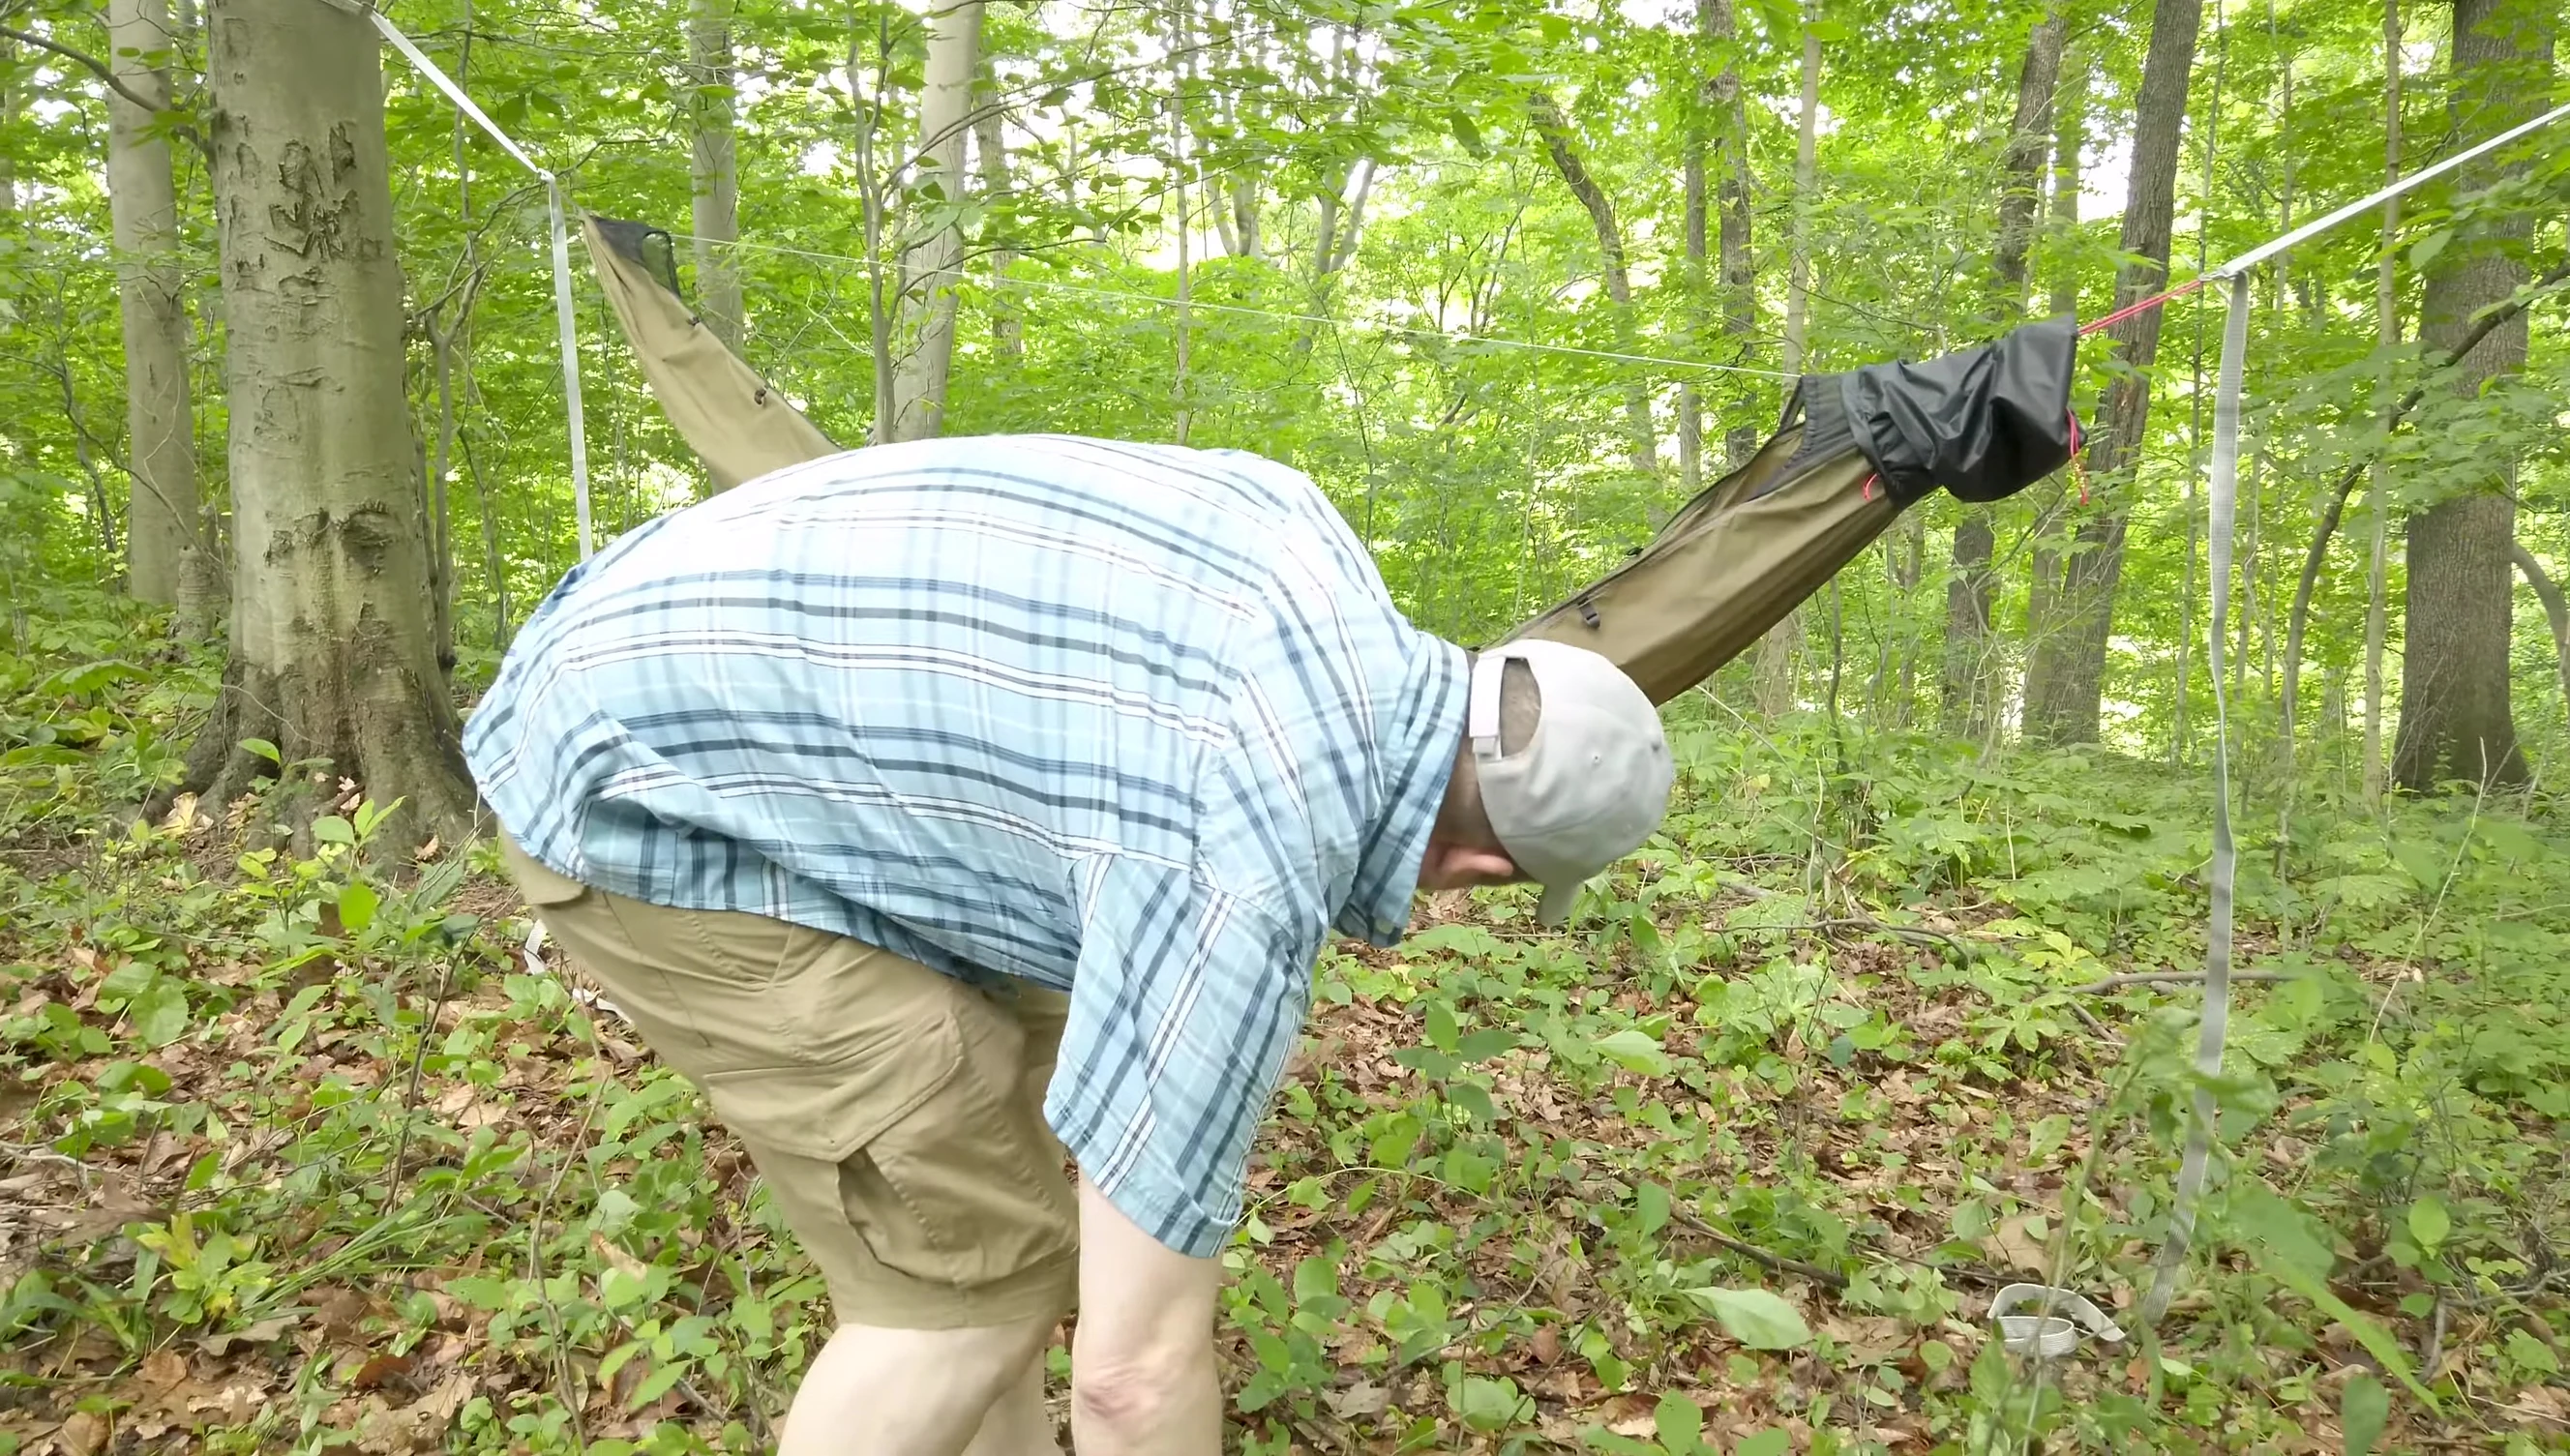
The Chameleon Hammock comes with tie-outs, which enhance stability and allow for additional customization. These are attached using line lock hooks, and can be positioned on the head, foot, or along the sides of the hammock. The position is up to your individual preference.
The example uses two tie-outs at the foot and head ends. Additional accessories such as a tarp, or rain fly can be added at this point to improve weather protection and comfort. The optional tarp is connected to the tie-outs to create an additional protective layer above the hammock.
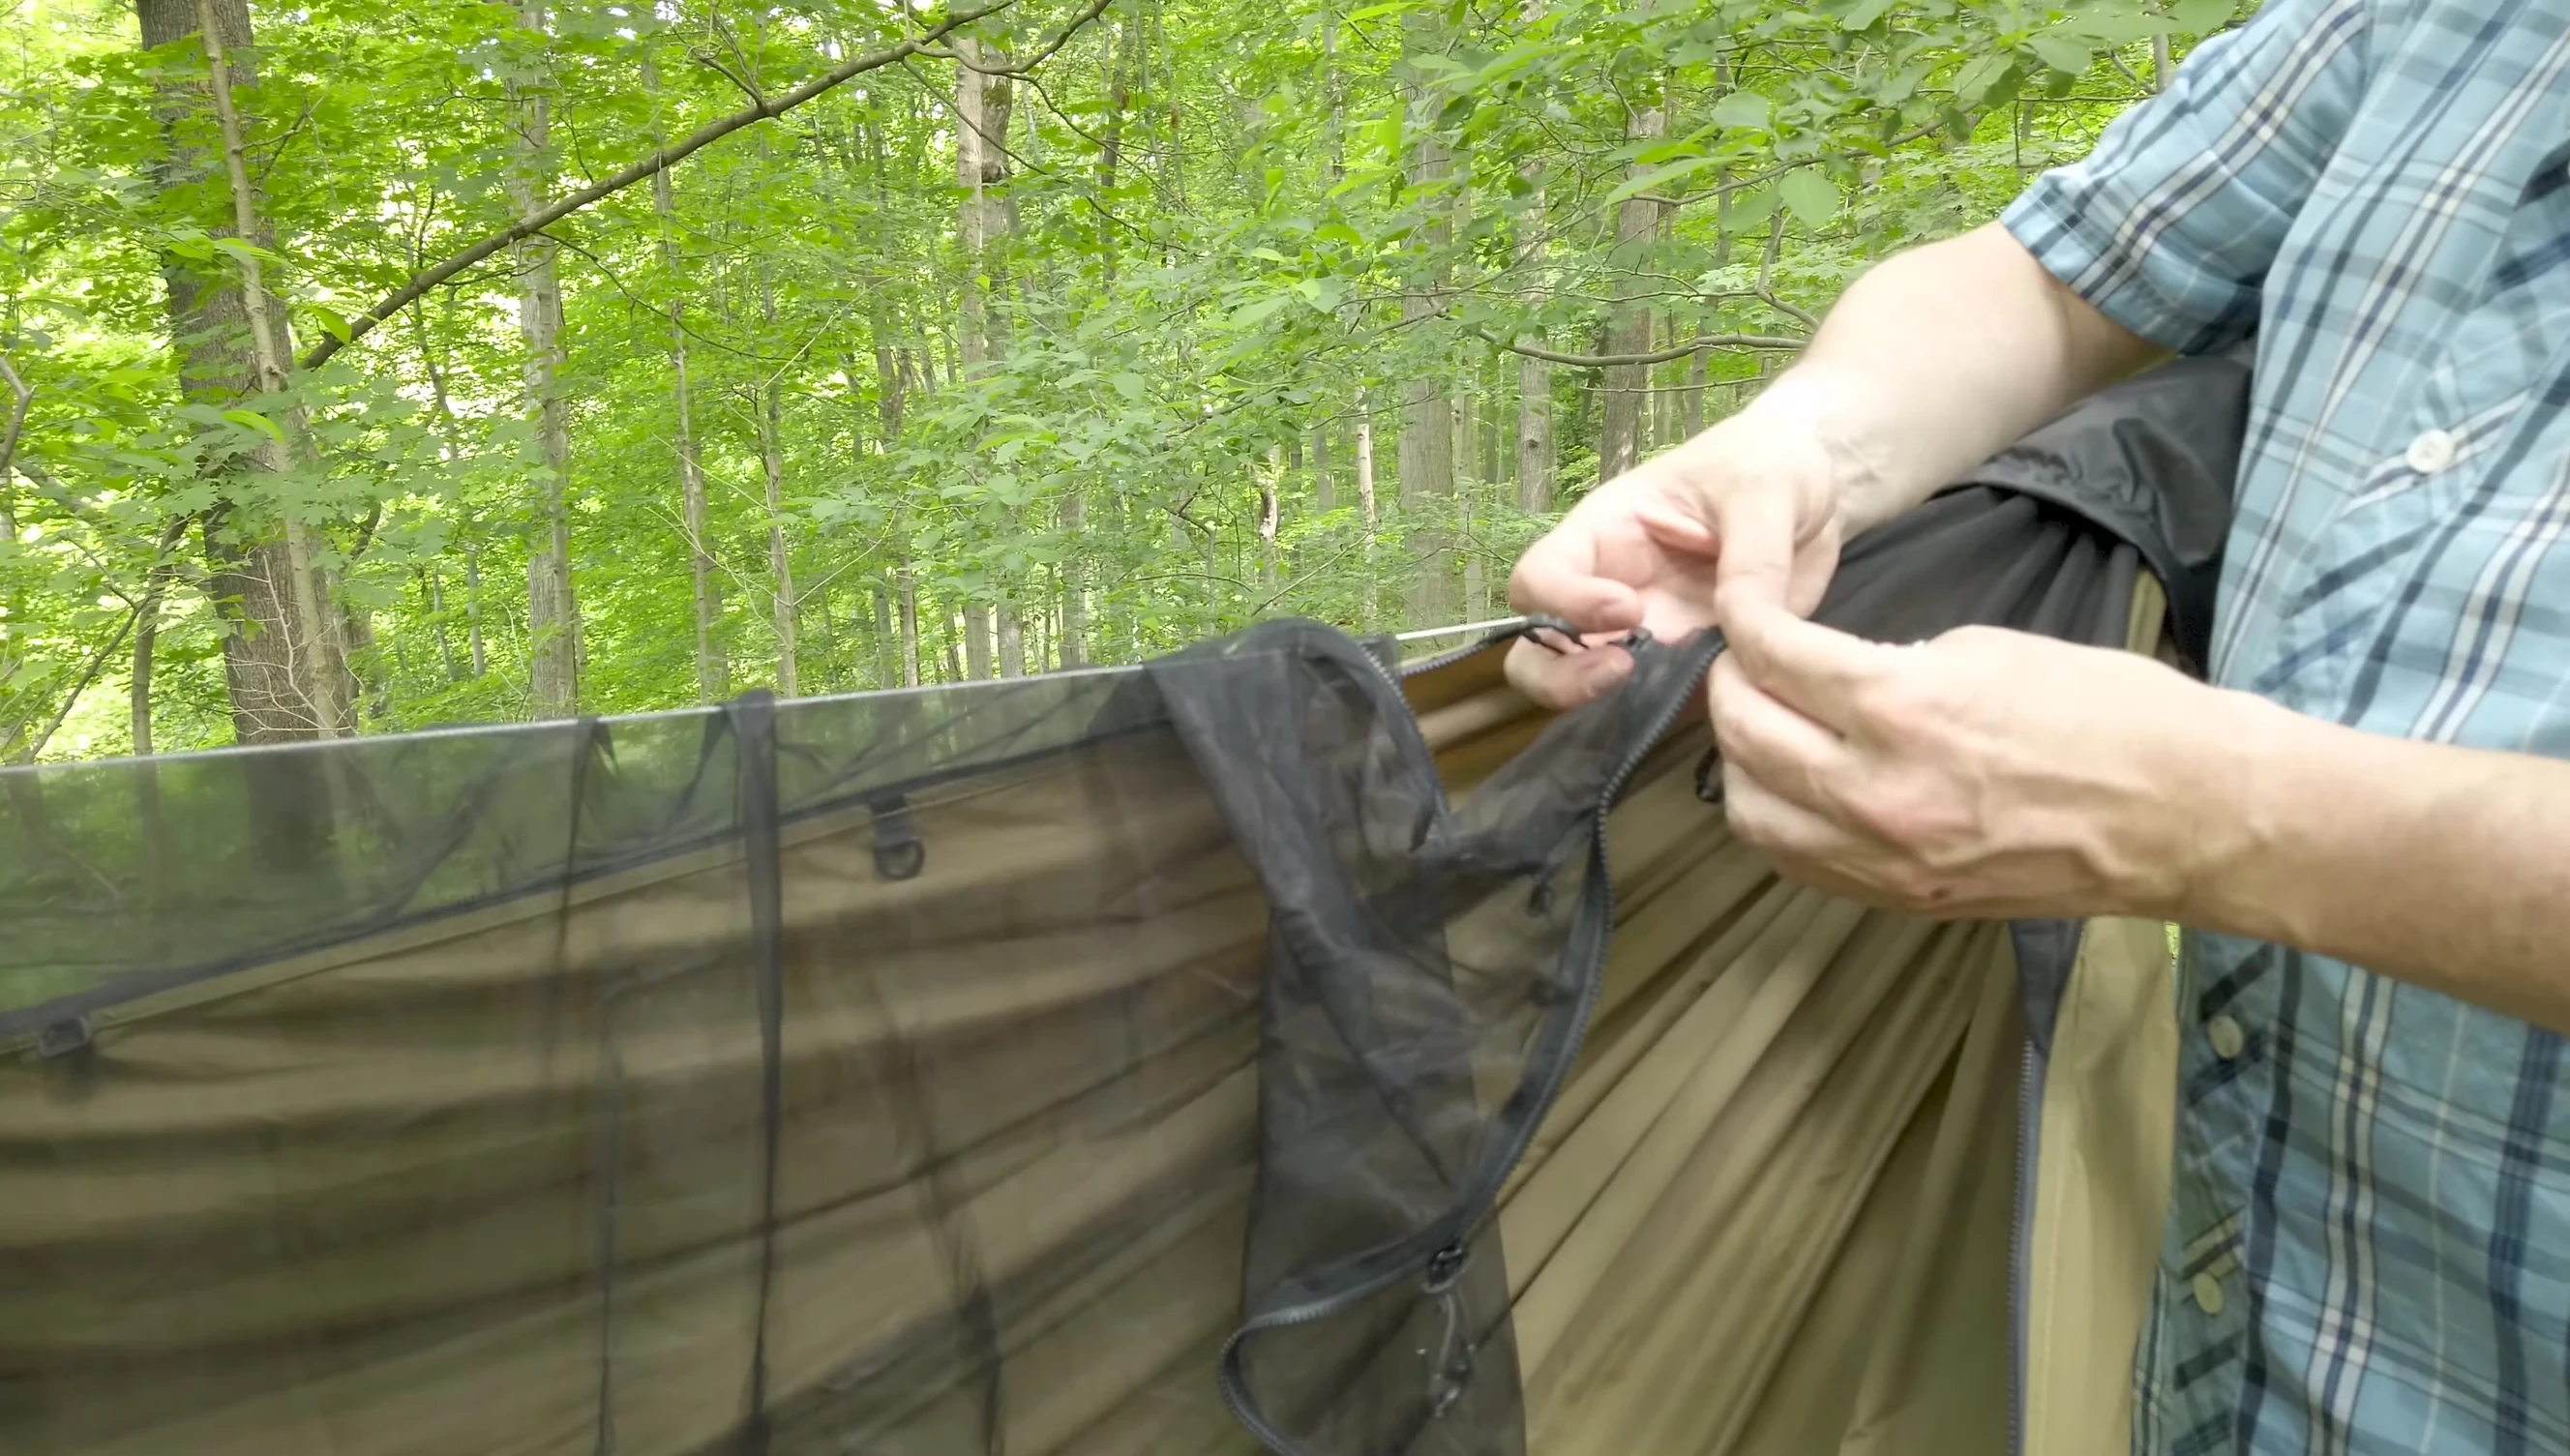
Bug Net Installation
The symmetrical bug net is a key feature, providing protection from insects. It's designed to be easily attached to the ridgeline of the hammock. The bug net is attached using a zipper system.
Simply place the bug net over the ridgeline, then fasten the zipper. The symmetrical design allows for flexibility in orientation. Ensure the net is securely fastened on both sides before use.
Conclusion
Setting up the Chameleon Hammock is a straightforward process, offering multiple customization options. The adjustable tie-outs and optional tarp provide enhanced comfort and protection. The inclusion of a bug net provides crucial insect protection. The sturdy construction and ease of setup make this hammock a practical and worthwhile investment for outdoor enthusiasts.