Give your turtle the perfect basking spot without breaking the bank! This DIY guide shows you how to build a custom-sized basking dock for your turtle's tank, all for under $20. Forget expensive store-bought options; this project uses readily available materials and simple tools to create a sturdy and comfortable resting place your turtle will love. We'll walk you through each step, from measuring and cutting the plastic to assembling and securing the dock, ensuring a safe and effective result.This budget-friendly project offers a fantastic opportunity to personalize your turtle's environment. Learn how to create a custom fit that perfectly integrates with your existing tank setup, maximizing space and functionality. With clear instructions and helpful tips, even beginners can confidently tackle this project. Prepare to create a comfortable and aesthetically pleasing basking dock that will enhance your turtle's well-being and provide years of reliable use.
Read more: 5-Star Reptile Basking Platform with Hiding Spot
Preparing the Tank
Before starting, prepare your turtle's tank. Remove all lights and decorations from the top of the tank to provide ample workspace. This prevents accidental damage and ensures accurate measurements.
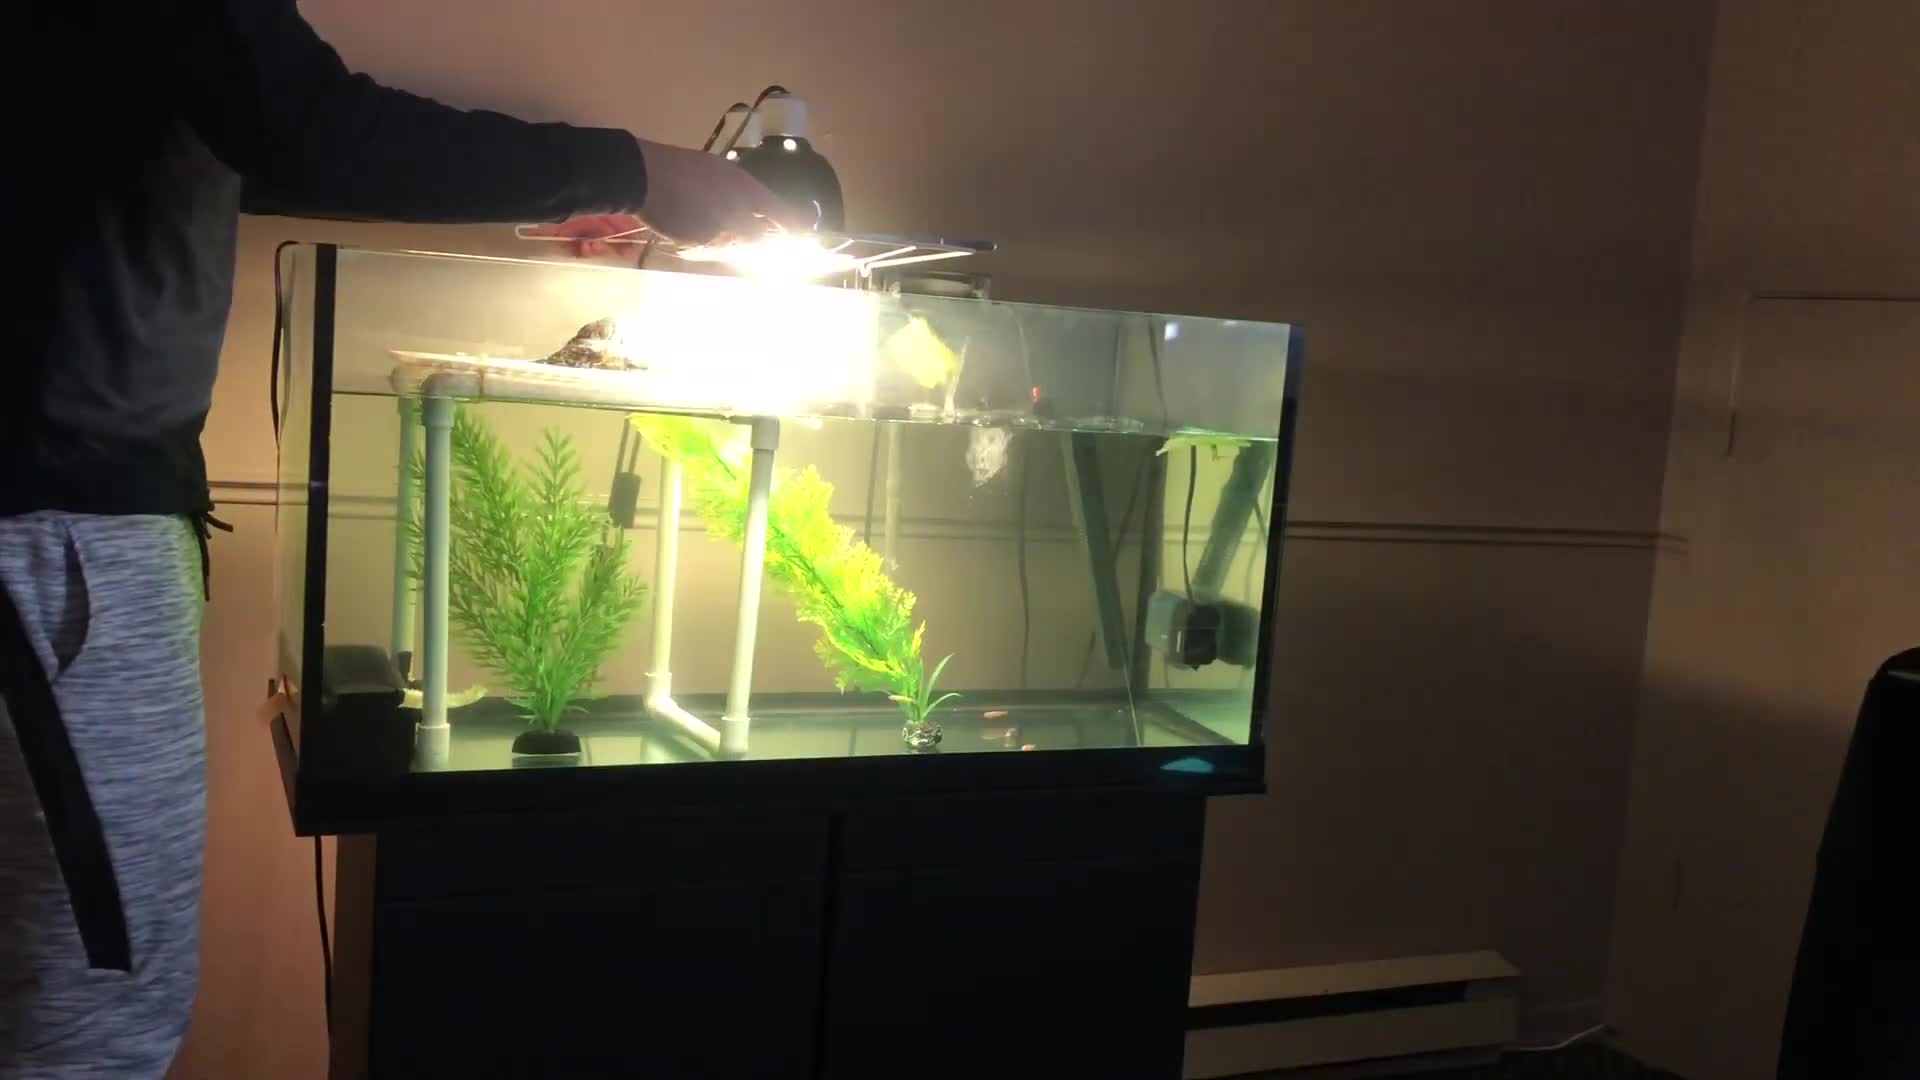
Avoid the mistake of trying to work around existing items. Completely clearing the tank's surface makes the process significantly easier and less prone to errors.
This initial step ensures a safe and efficient work environment, minimizing the risk of damage to your tank or its contents.
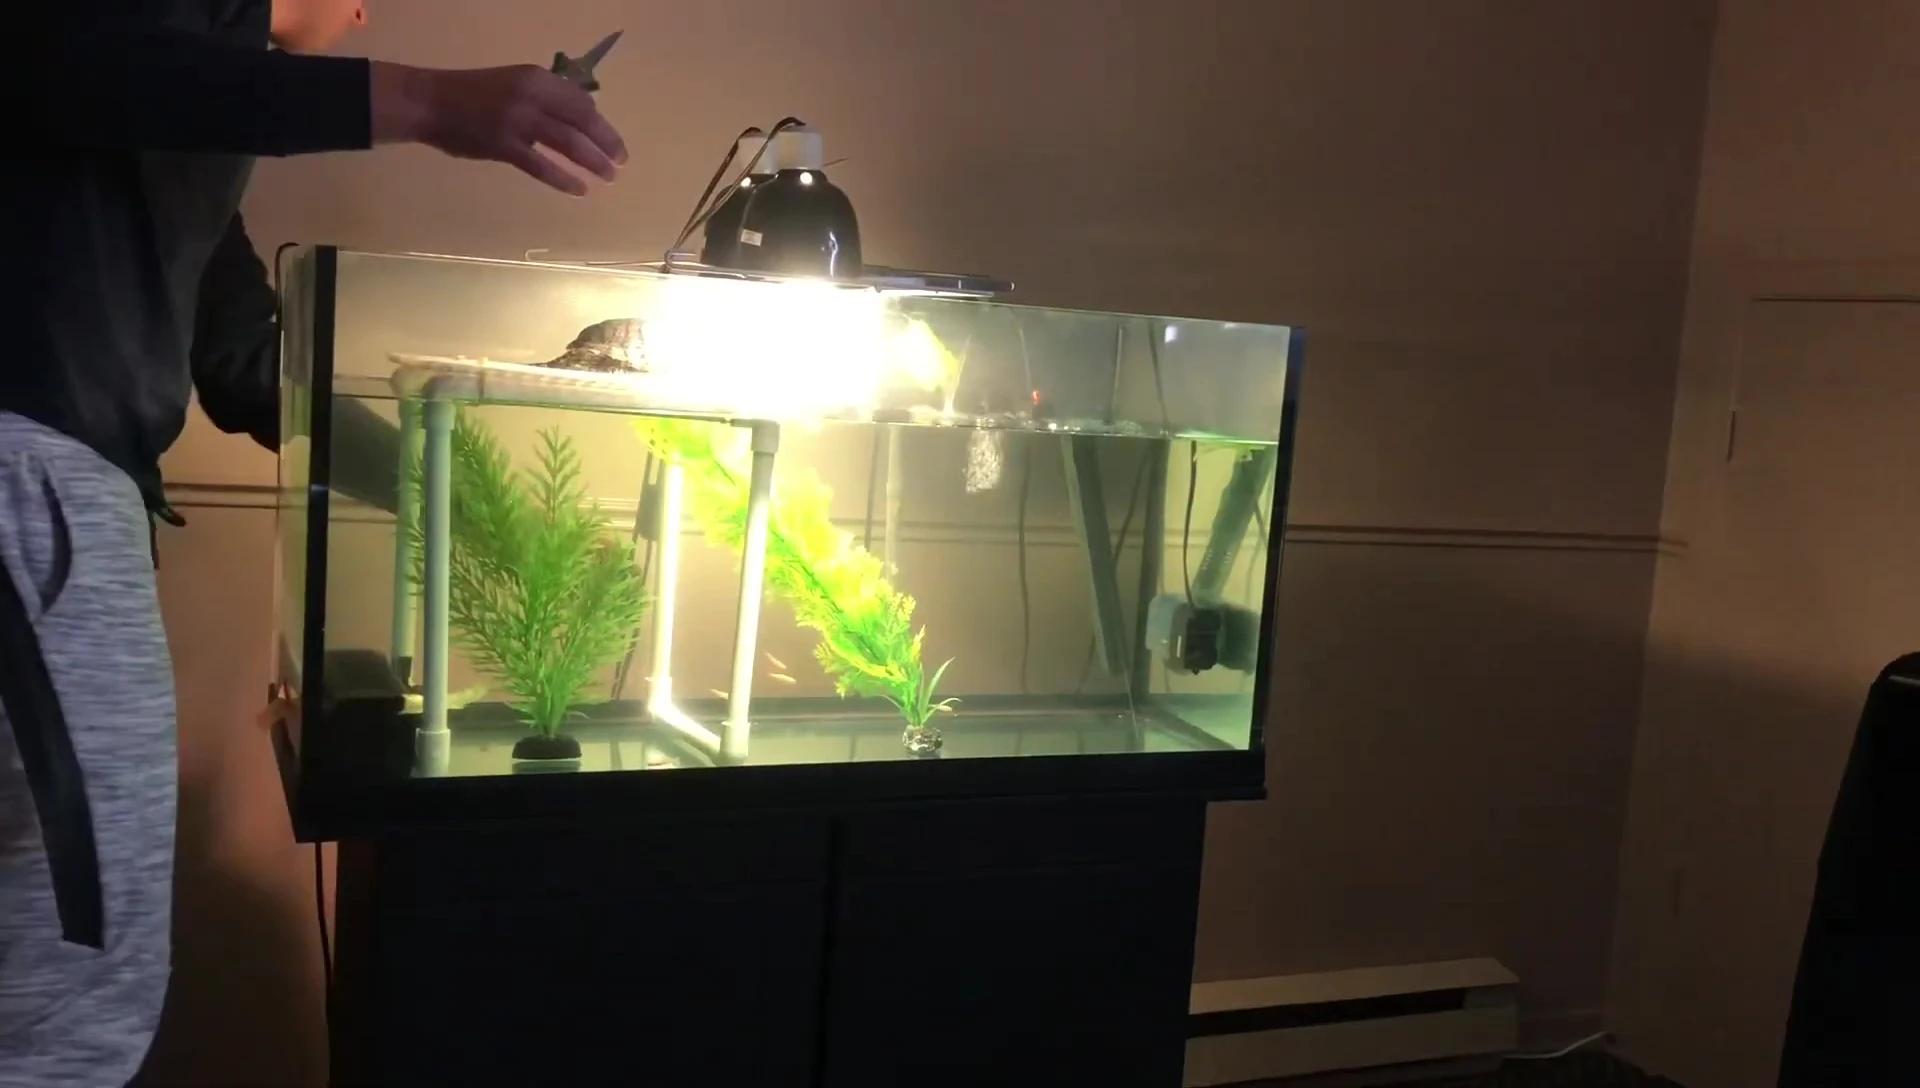
Measuring and Cutting the Base
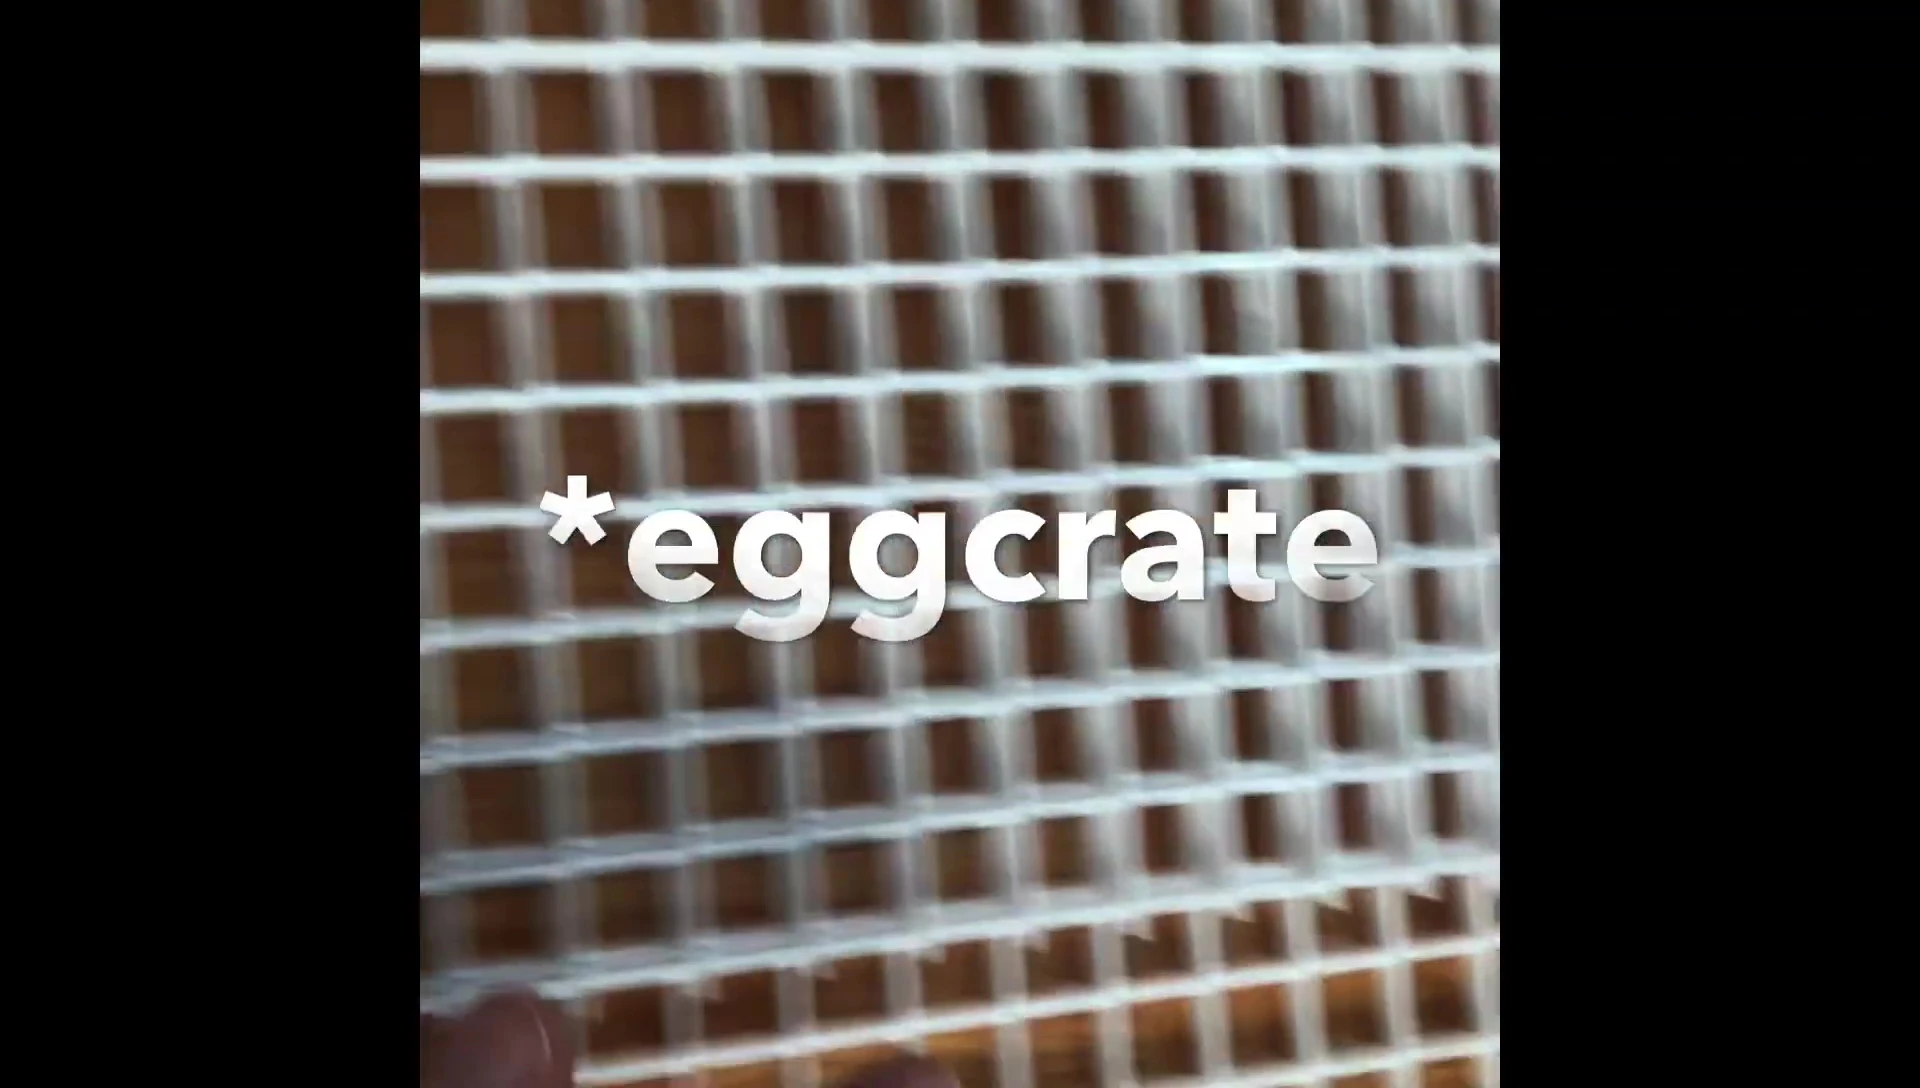
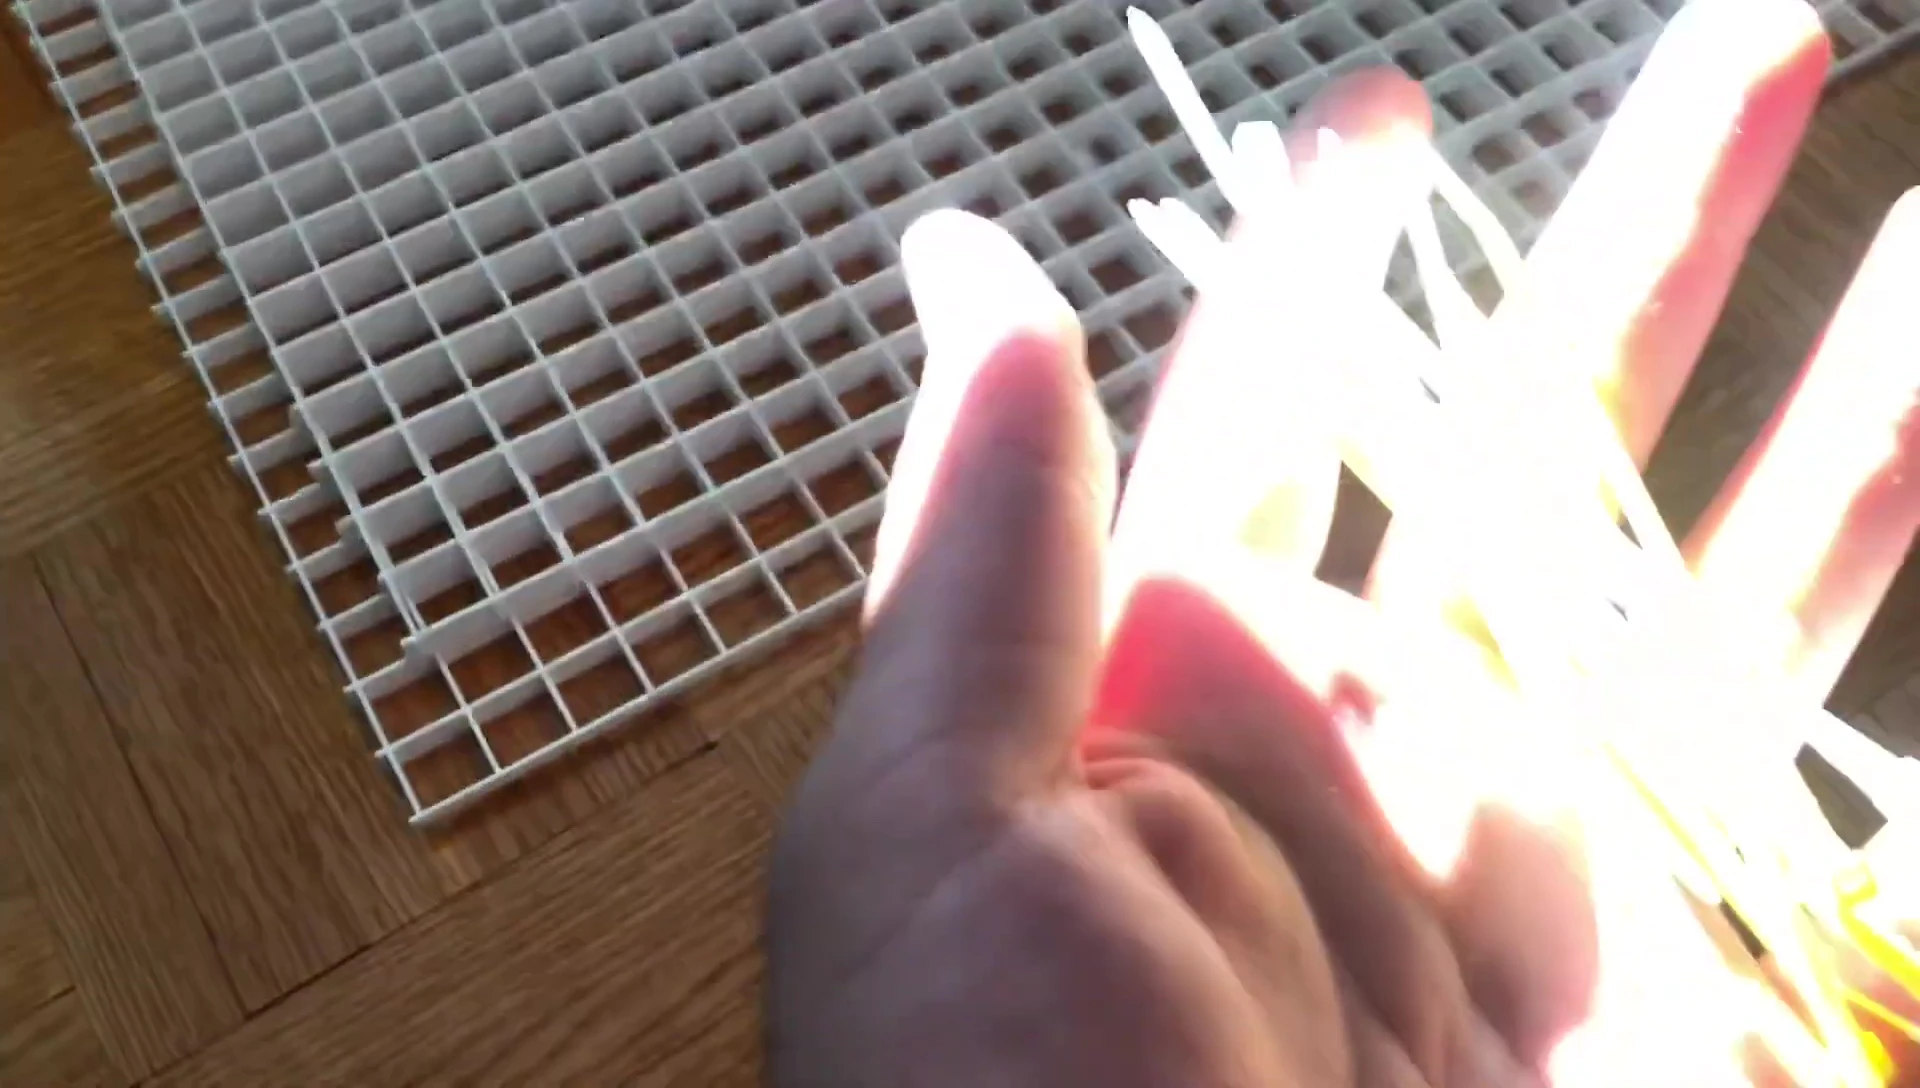
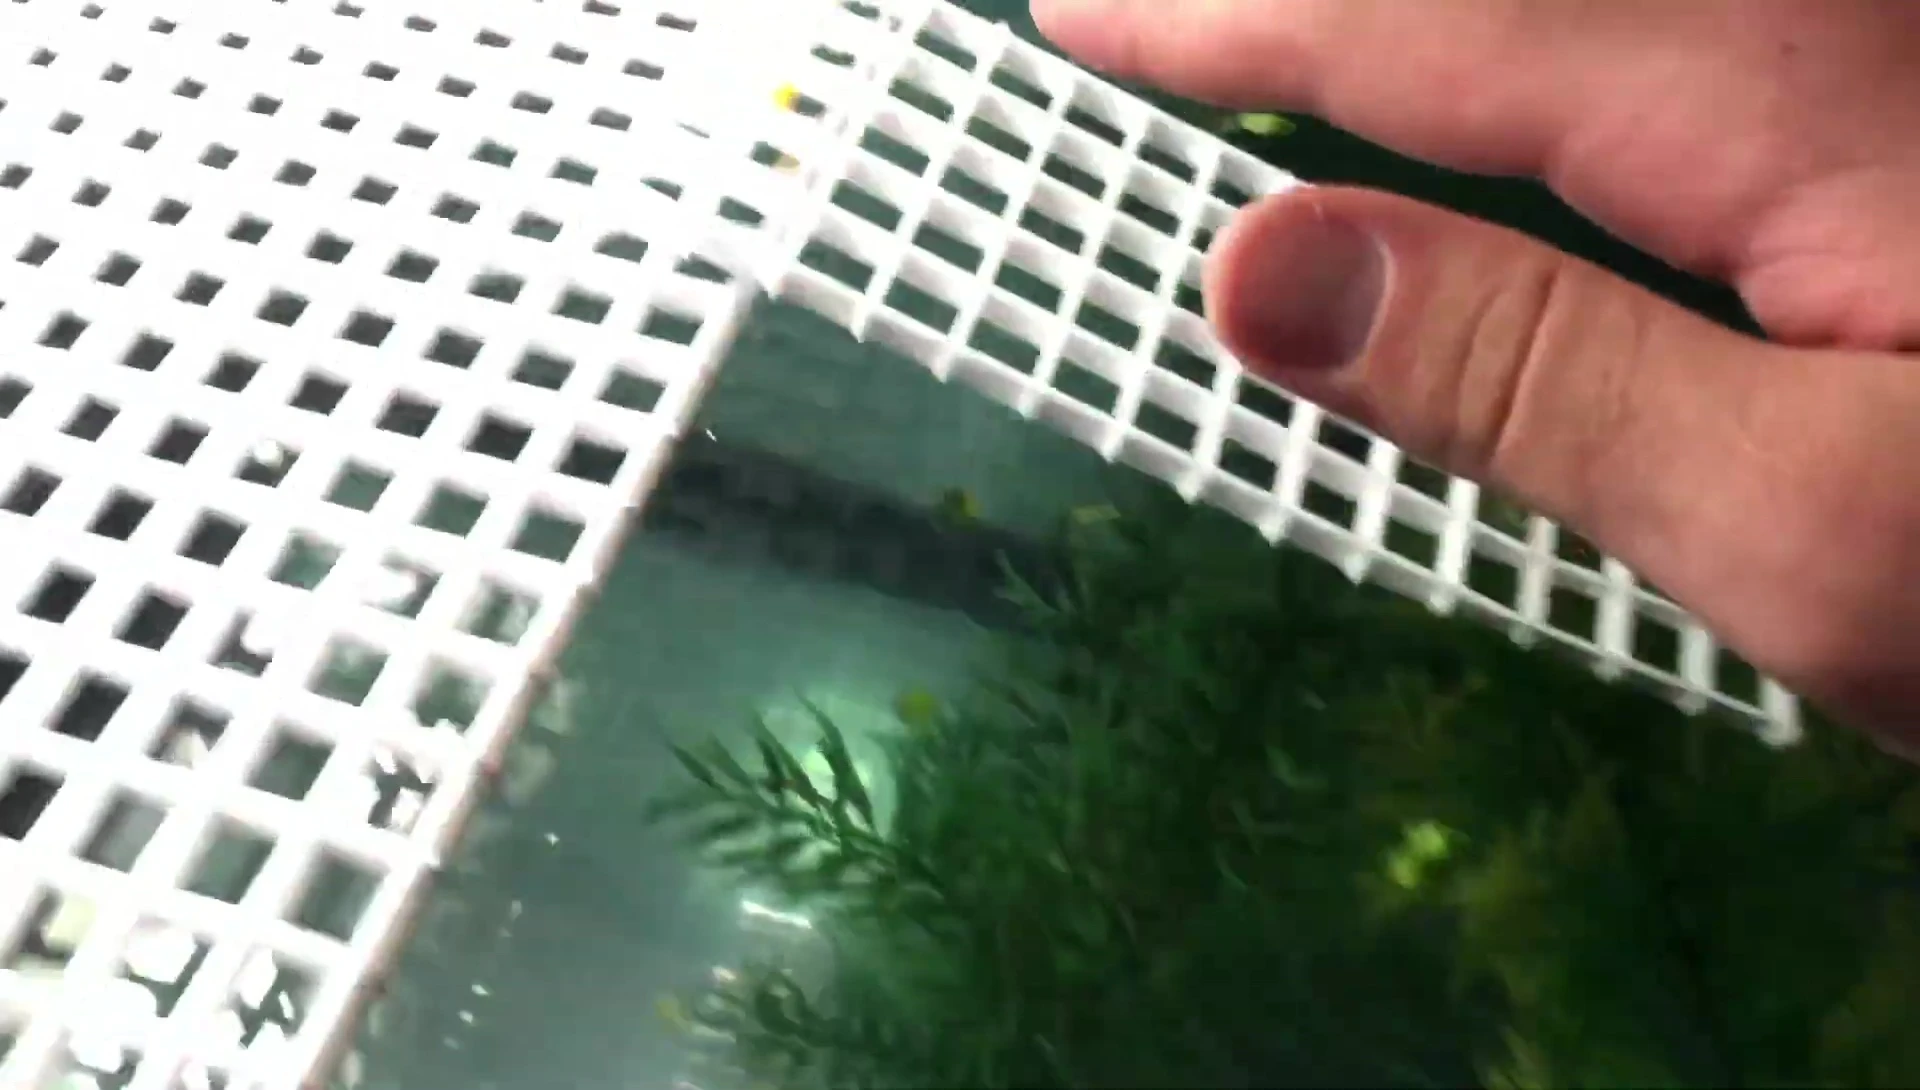
Use your existing lighting fixture to trace the dimensions of the basking dock onto a large sheet of plastic. This serves as a template for the base.
While a measuring tape is ideal, this method offers a quick, accurate way to determine the needed size for your specific tank.
Remember to create a slight overhang to ensure the dock sits comfortably atop the tank without falling in.
Cutting the Plastic Sheets (Important: Do this away from the tank!)
Move to a separate area to cut the plastic. Pieces will fly everywhere, making this a messy process. Avoid doing this over your turtle's tank to prevent plastic from contaminating the environment.
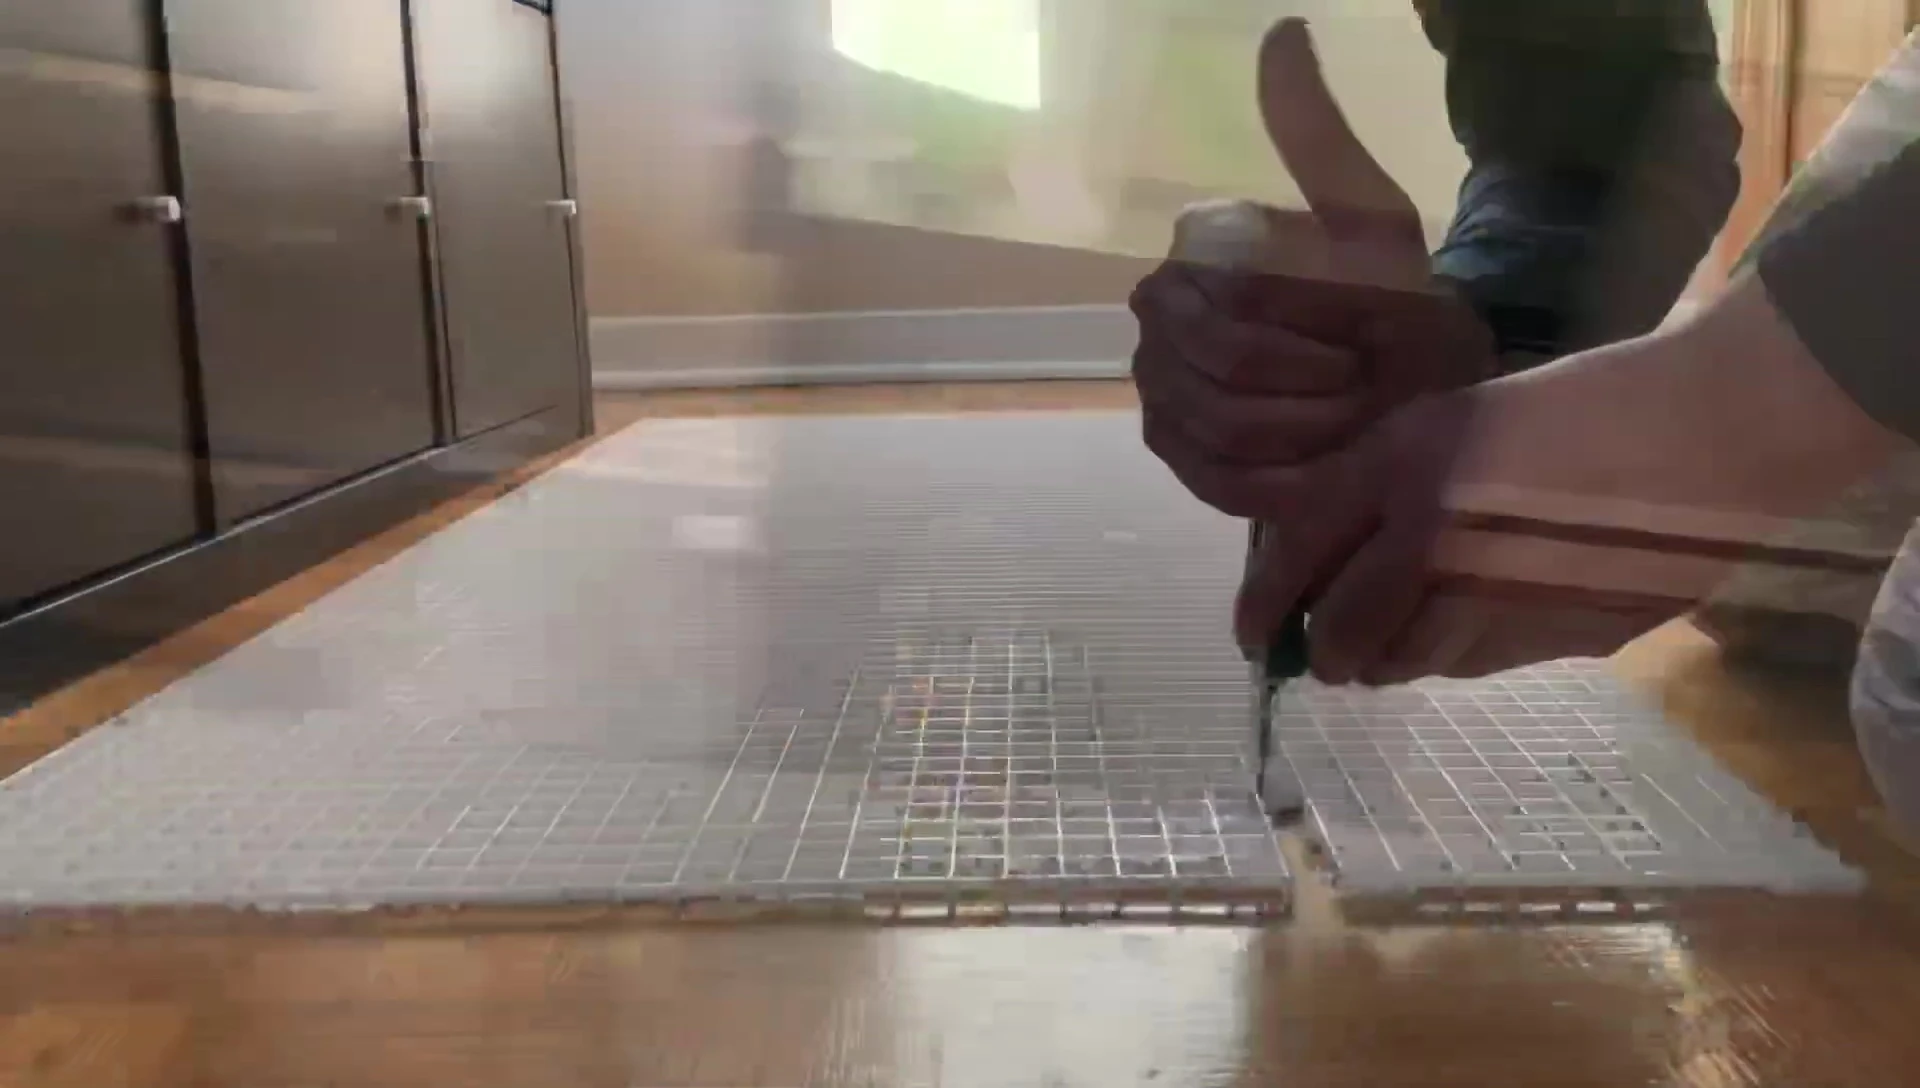
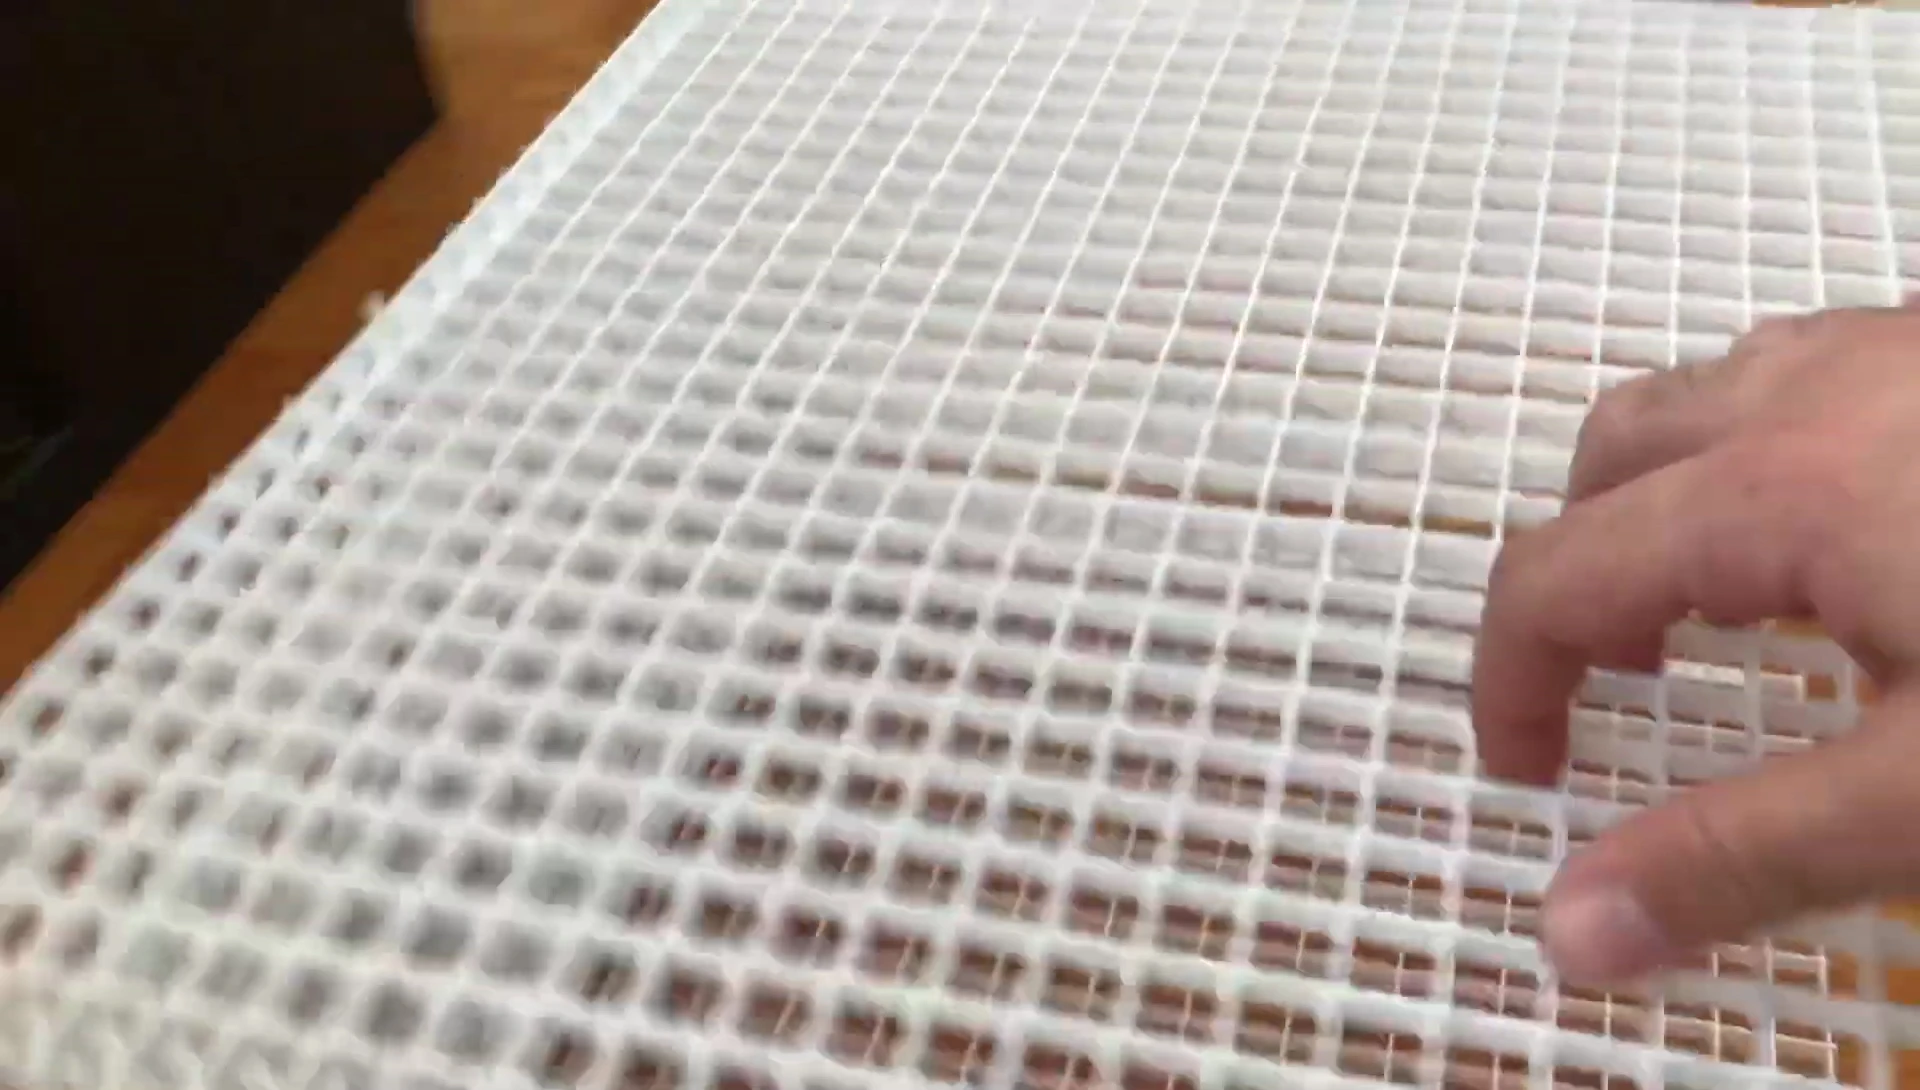
Use sharp scissors, like gardening shears, for clean cuts. Don't worry about perfectly smooth edges initially; imperfections can be addressed later.
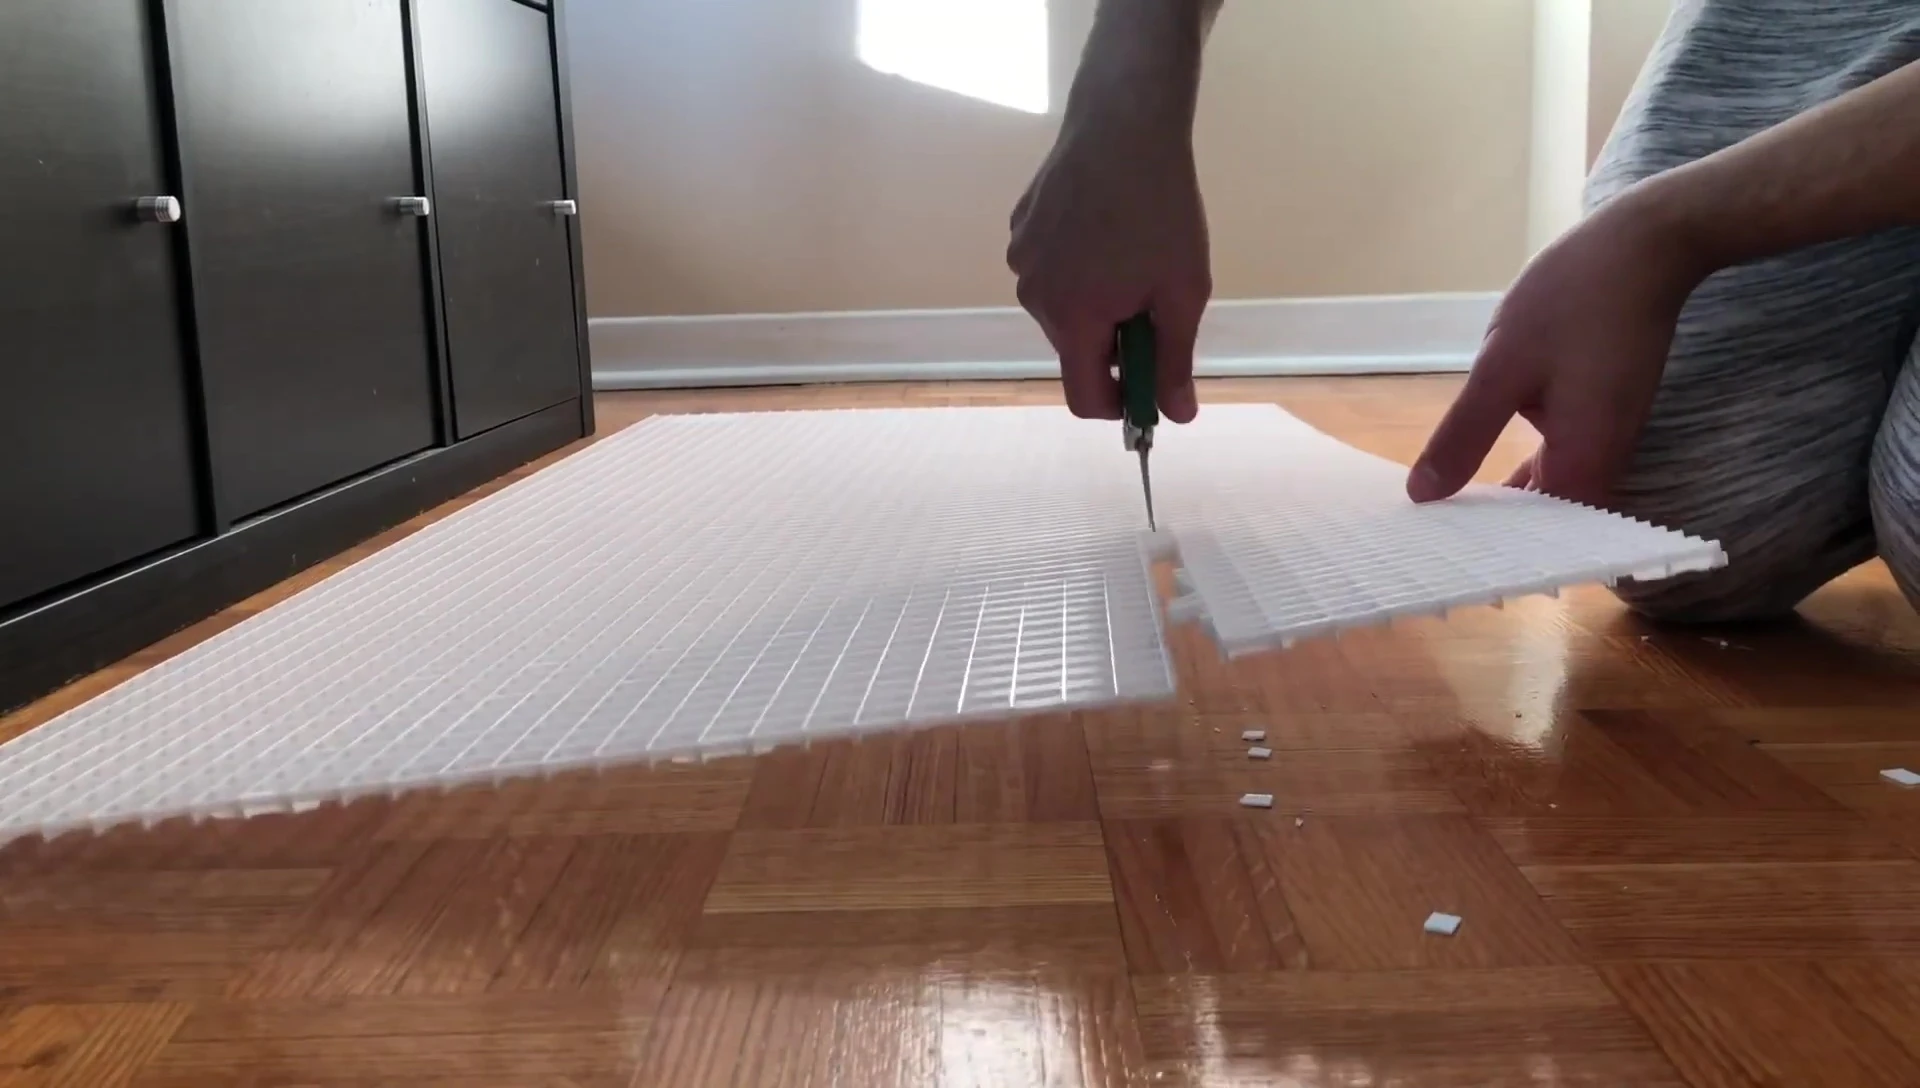
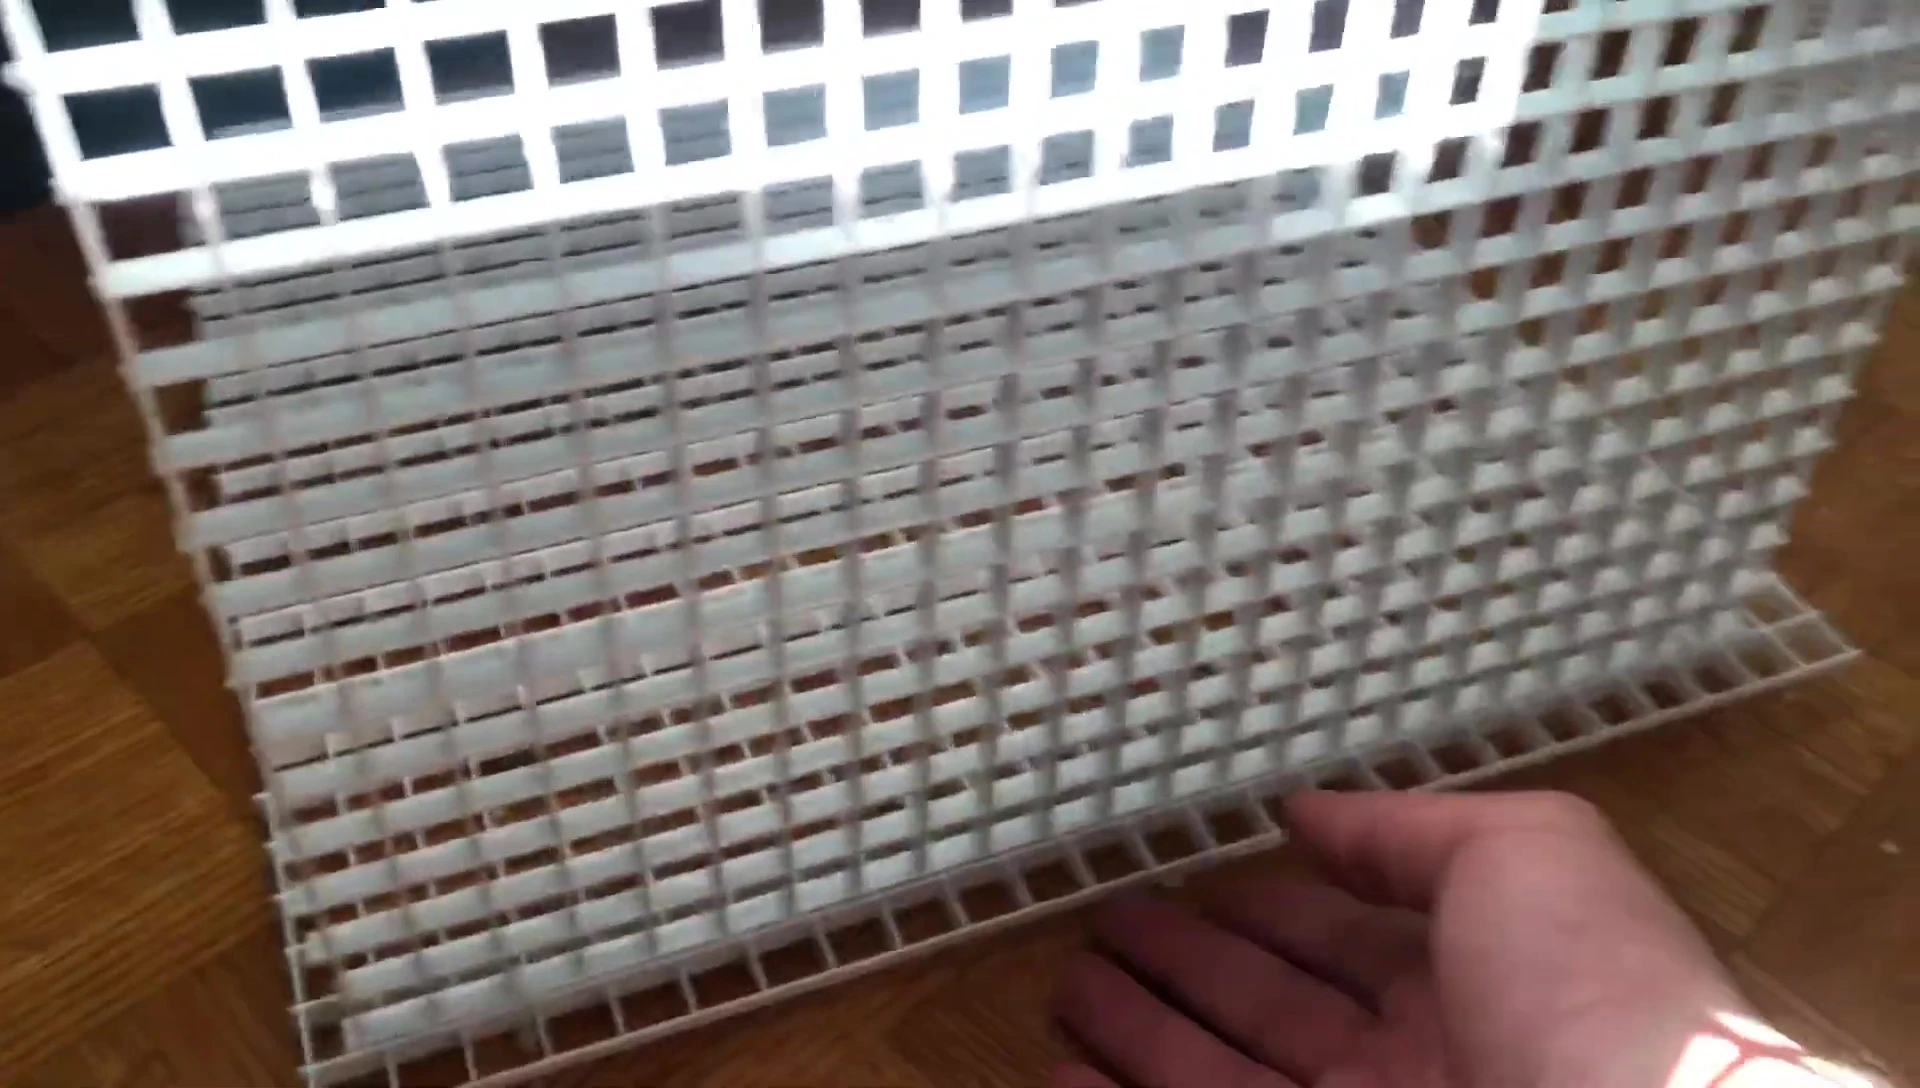
Cut two identical squares for the top and bottom of the basking dock and cut the length to match your tank’s measurements. Focus on getting the baseline measurements correct.
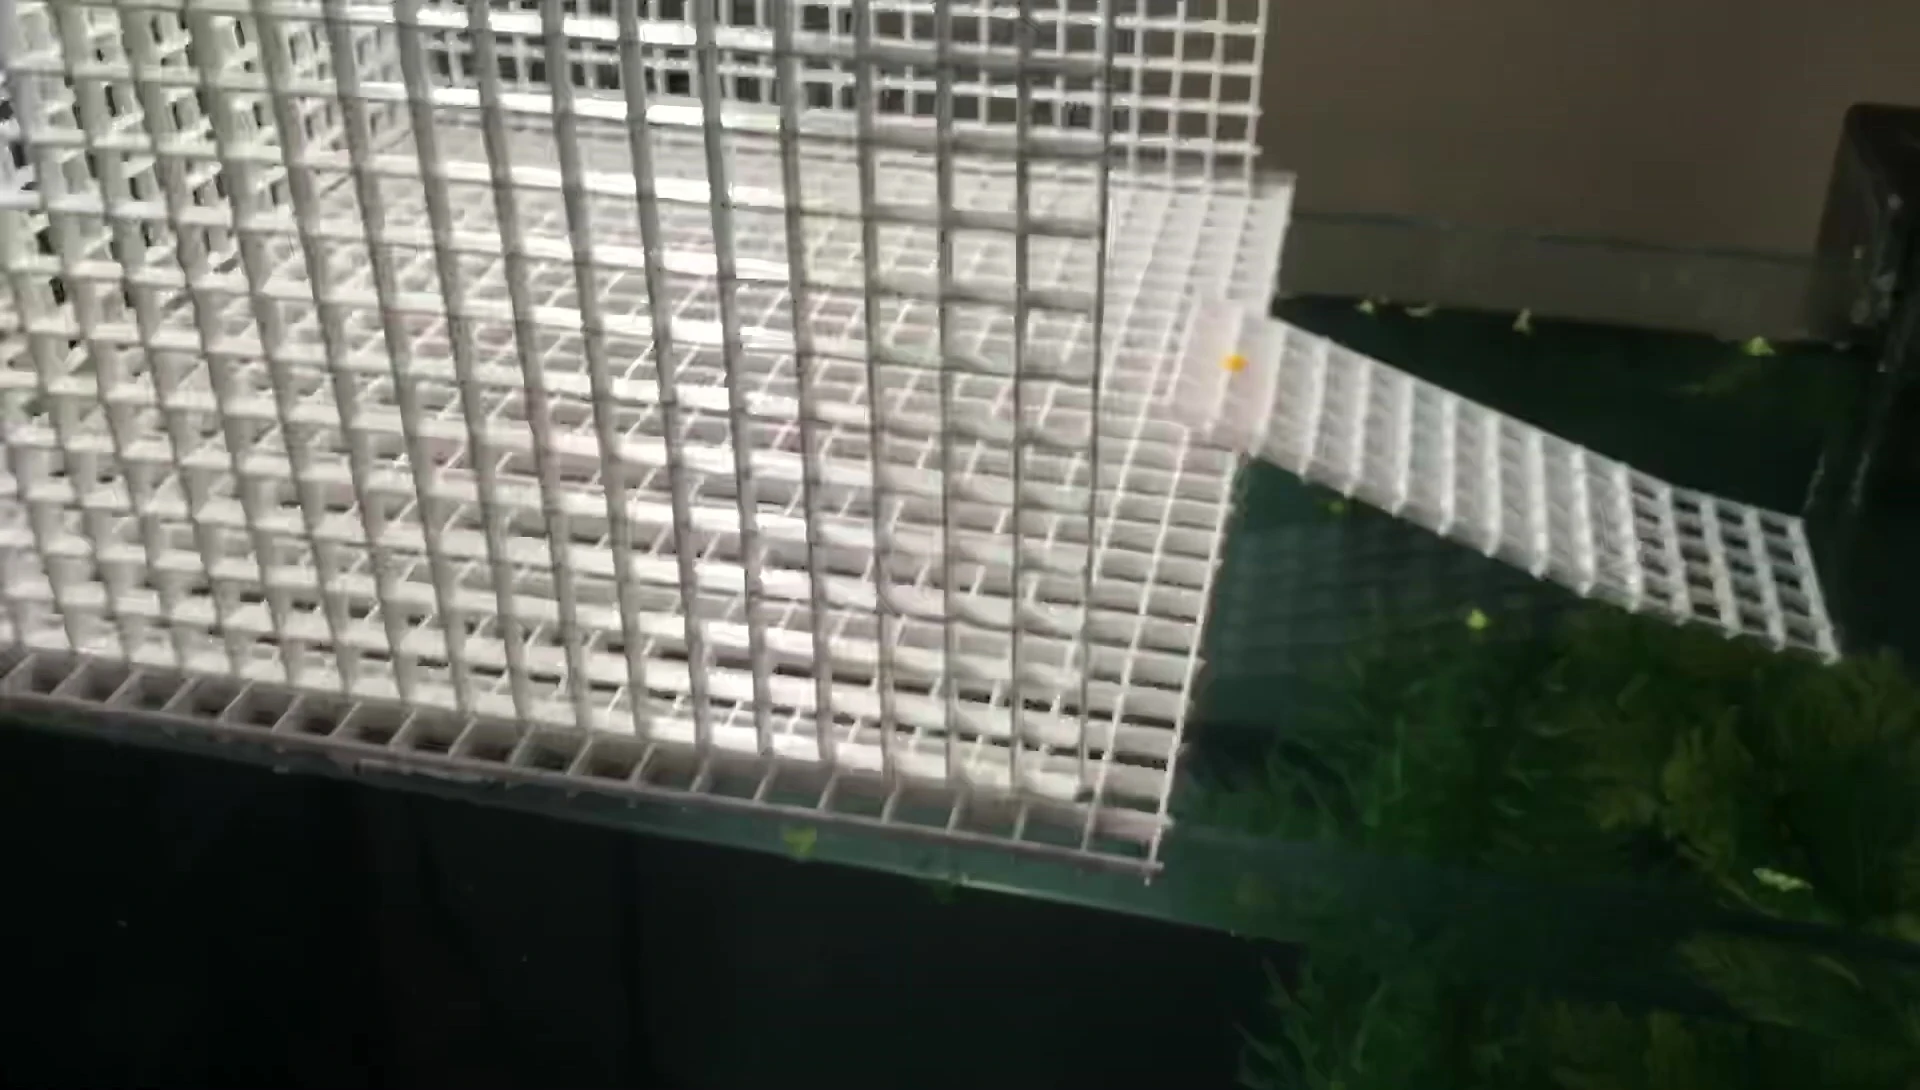
Assembling the Sides and Back
Measure and cut three walls for the basking dock, leaving the front open. Use the same technique as before, ensuring accurate measurements.
Cut identical pieces for the side walls. The back wall might require a slightly different approach based on your available plastic.
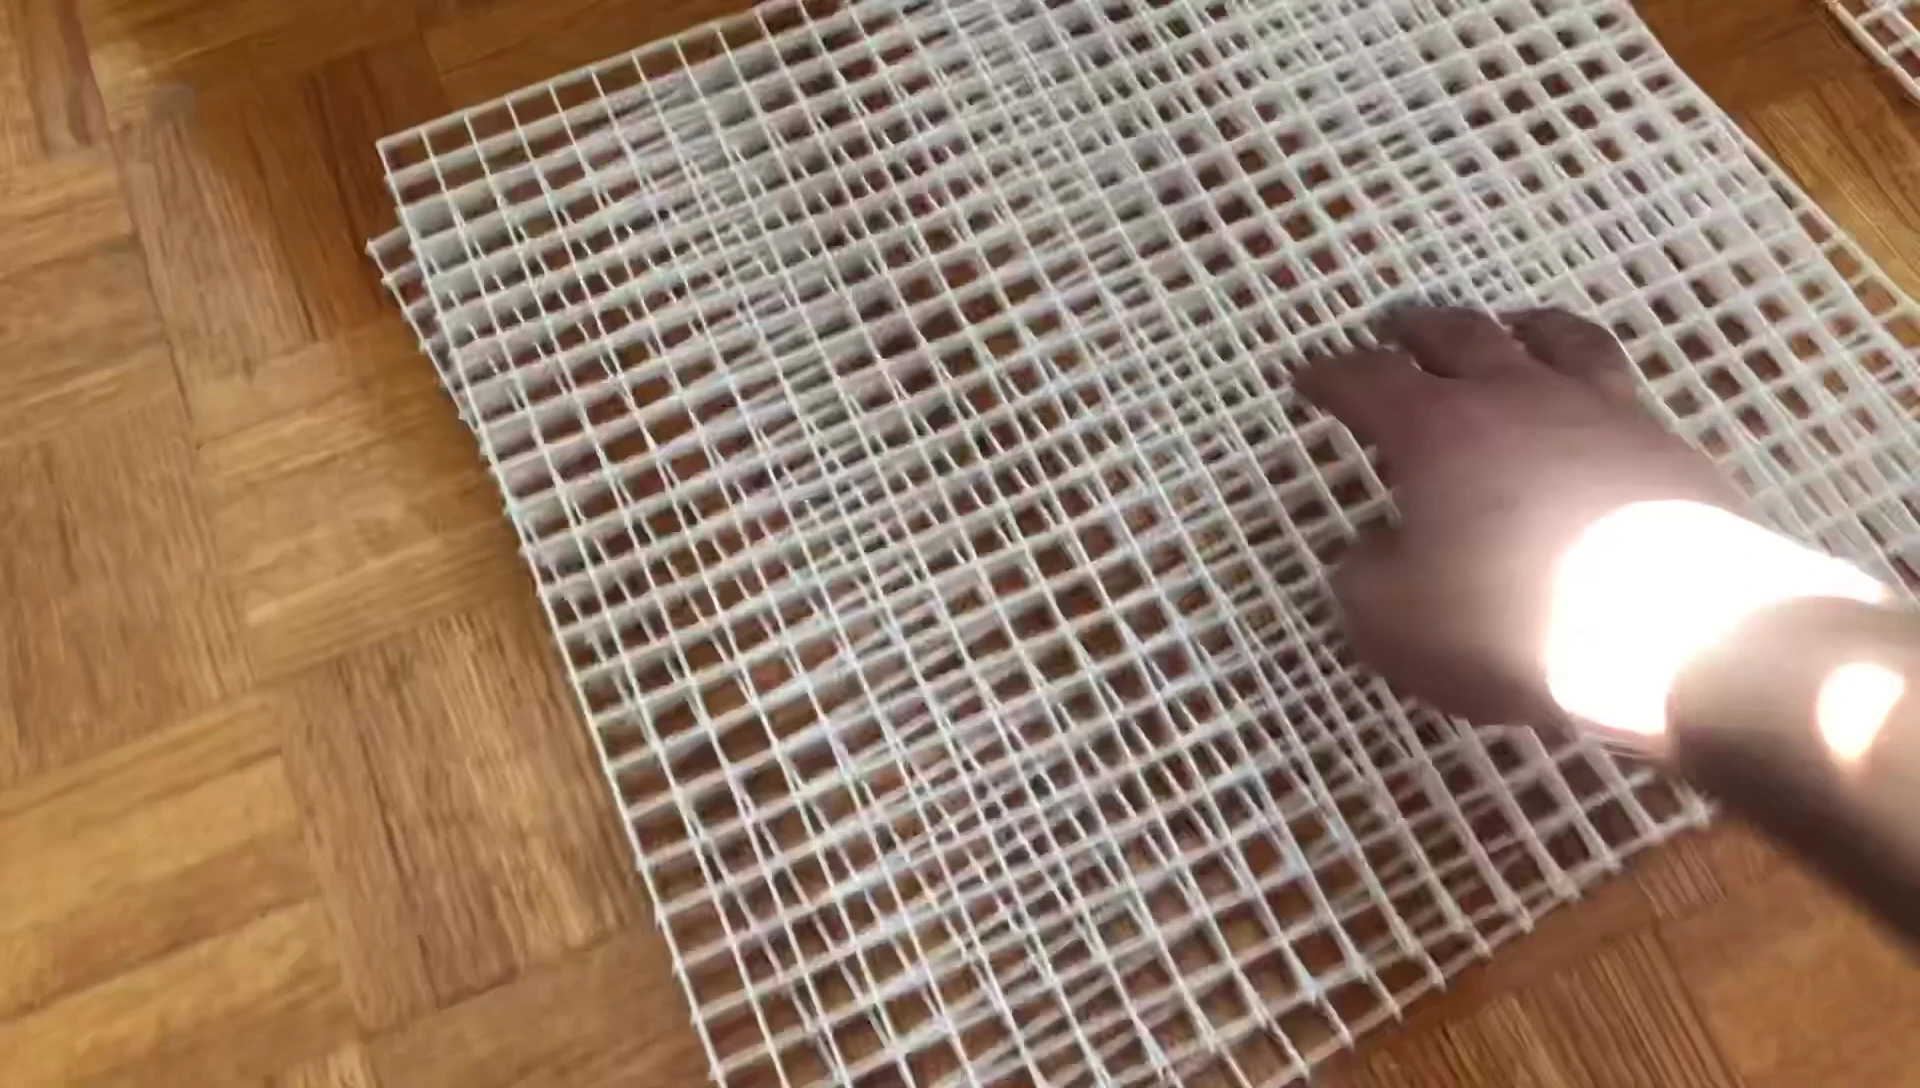
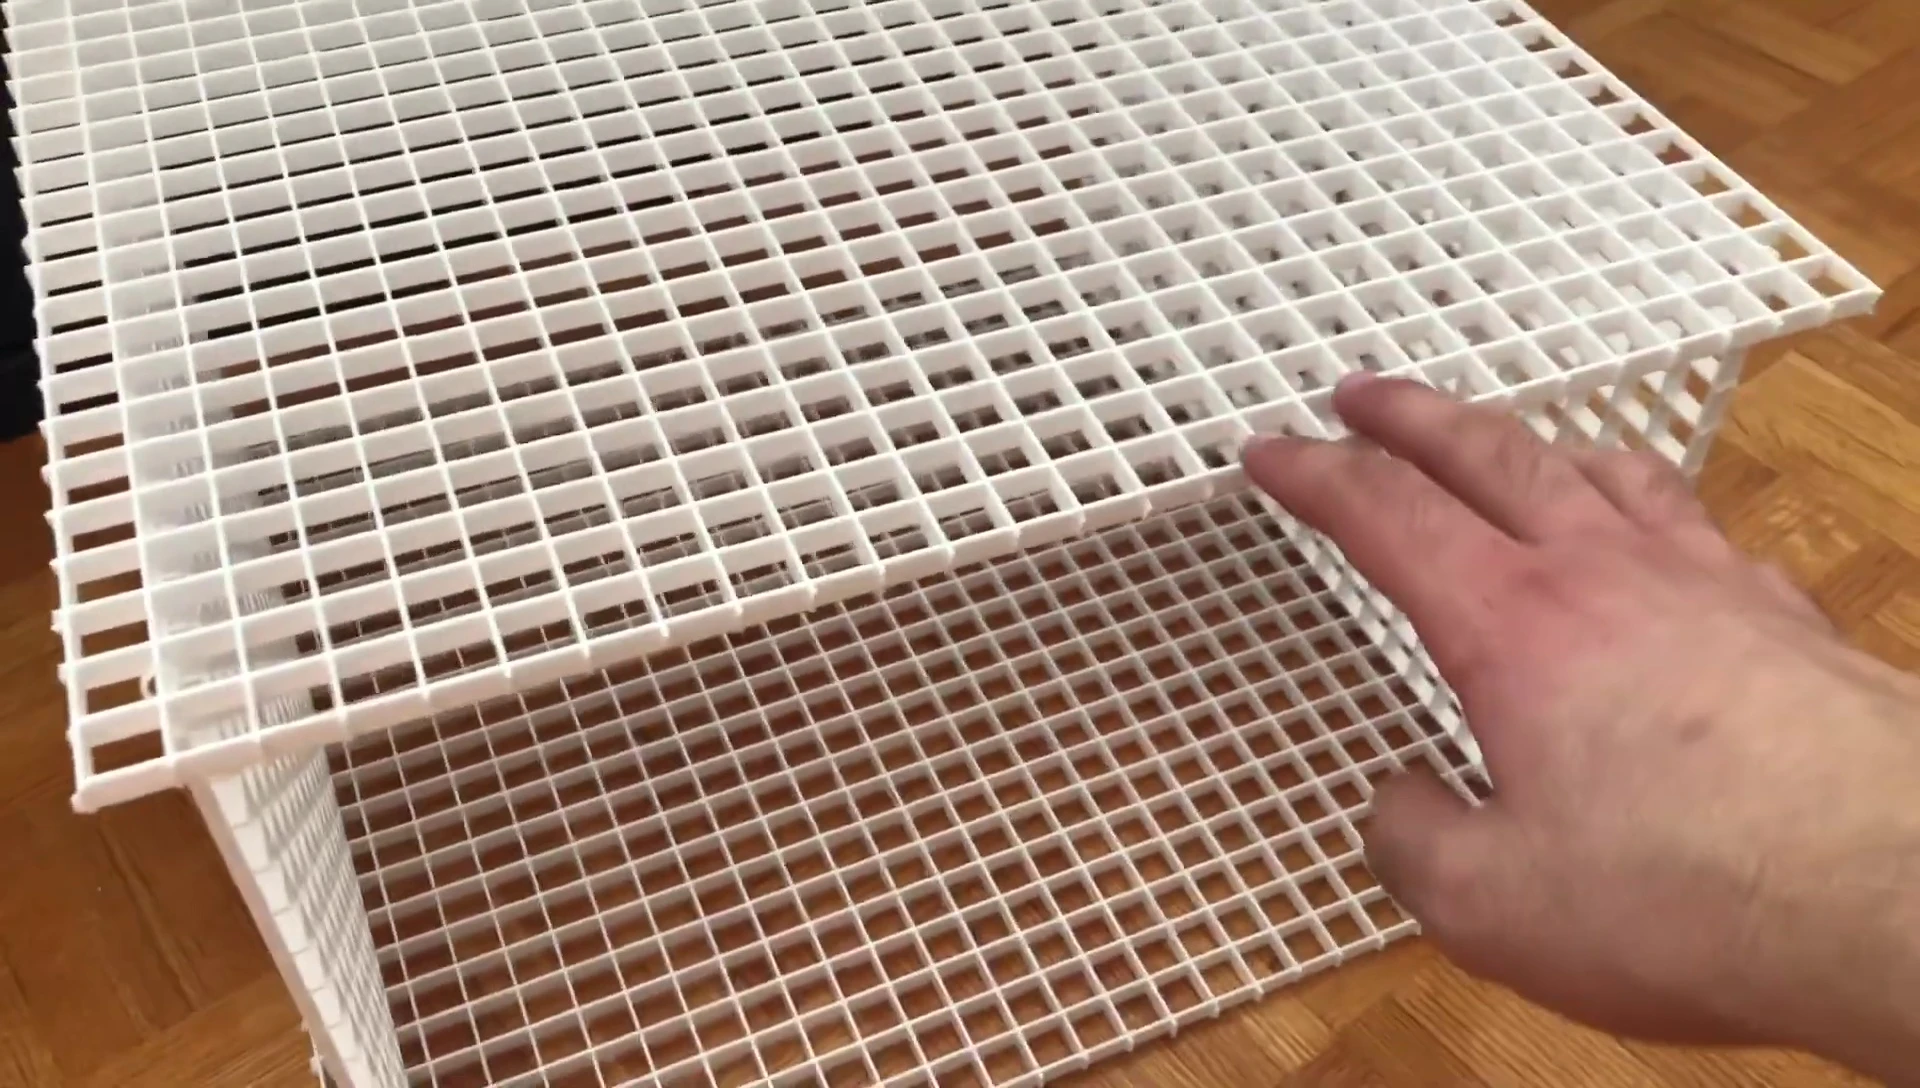
Use cable ties (zip ties) to connect the pieces, creating a sturdy structure. Route the ties neatly to maintain a clean aesthetic.
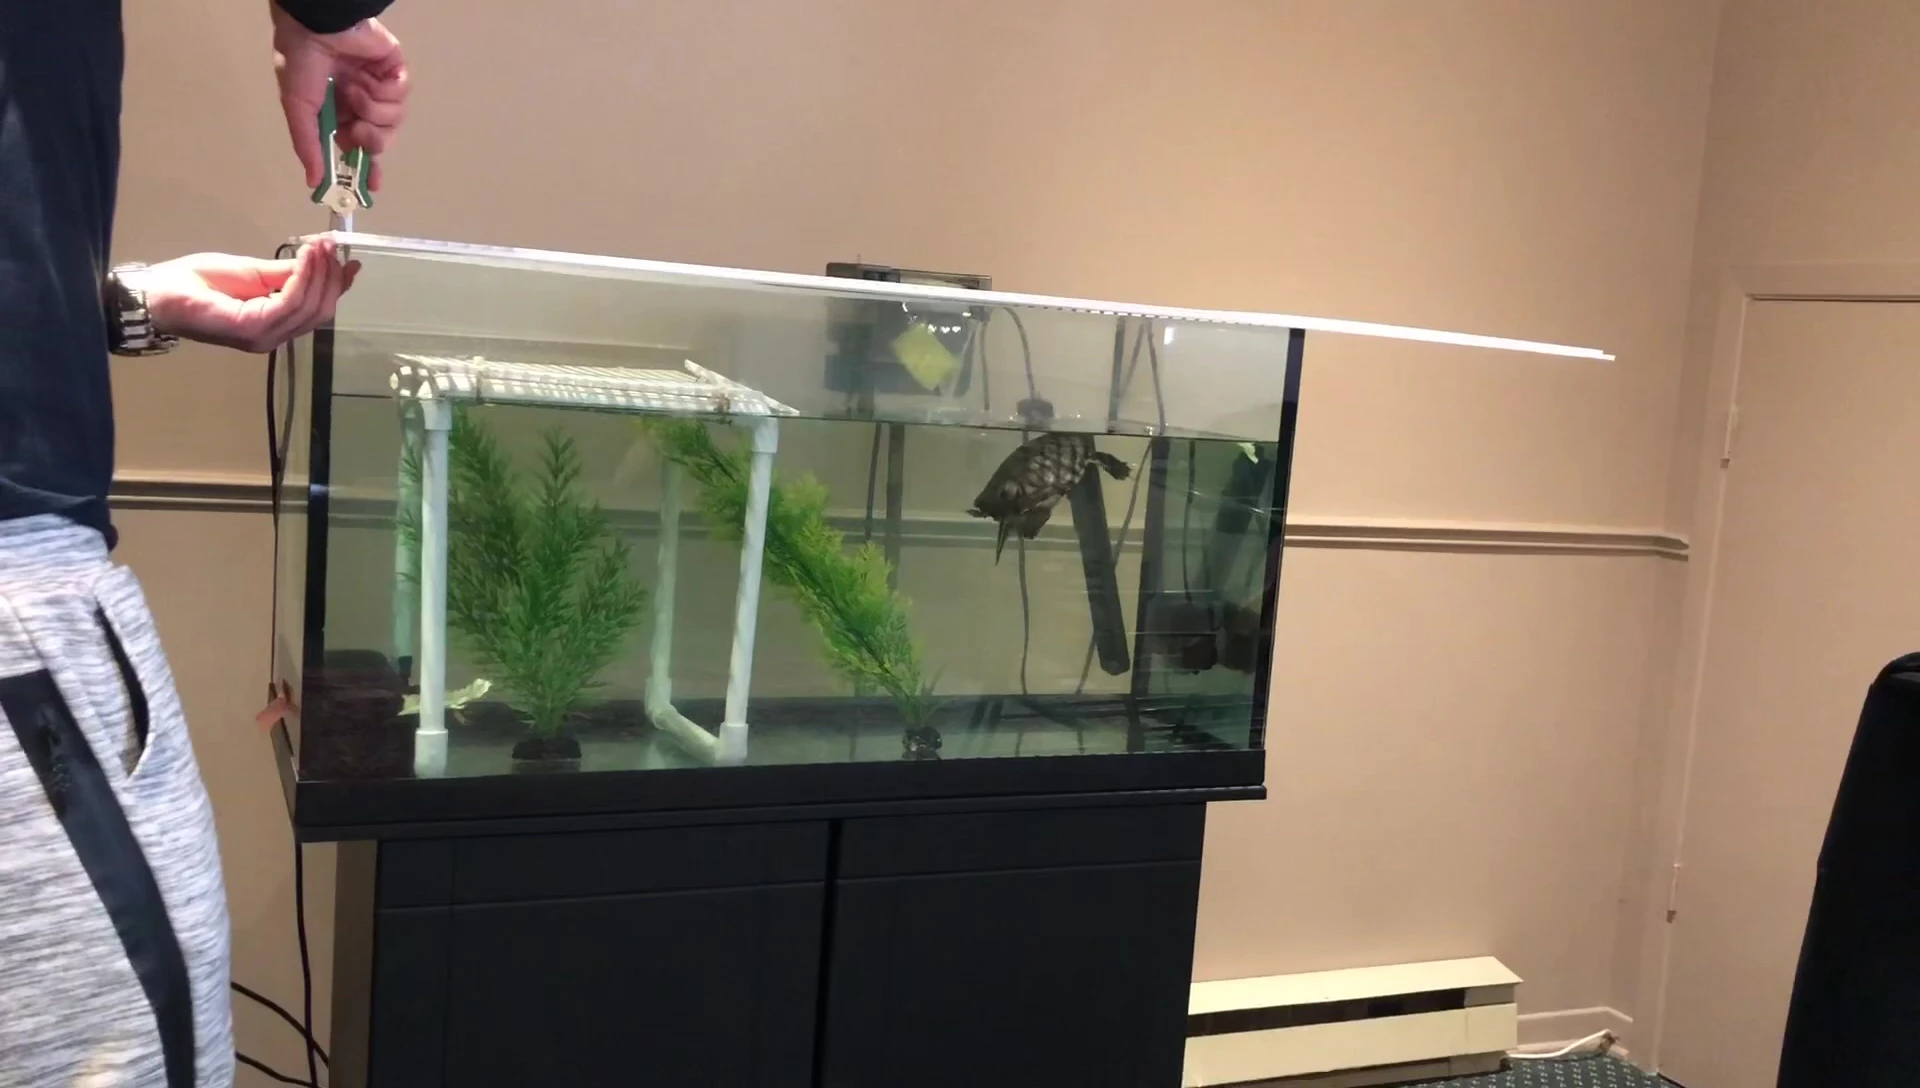
Finishing Touches and Installation
After assembling the walls, the structure might be slightly wobbly. Add more zip ties if necessary for added stability. Once the back is attached, it will provide extra support.
Cut out openings for the heat and UVB bulbs, ensuring they fit snugly without melting the plastic. Consider adding a ramp for easier turtle access.
Finally, attach the completed basking dock to the tank. Secure it with zip ties, ensuring it’s stable and allows for water flow.
Final Thoughts and Conclusion
This DIY basking dock offers a cost-effective alternative to expensive store-bought options. For roughly $20, you can create a custom-sized dock that perfectly fits your tank.
Regular maintenance involves occasional cleaning to remove any water stains. Ensure the plastic near the bulbs doesn’t overheat after installation. Monitor for potential issues, such as wobbliness, and make adjustments as needed.
With proper care, this durable basking dock will provide your turtle with a comfortable resting spot for years to come. Its customizability and affordability make it a worthwhile DIY project.