This guide provides a step-by-step assembly walkthrough and review of the BETAZOOER Acrylic Reptile Terrarium. Designed for ease of use, this terrarium offers a sleek and durable home for your small reptile or other small pet. The clear instructions (despite minor packaging shortcomings) guide you through the simple clip-on assembly process, minimizing frustration and maximizing user-friendliness. Whether you're a seasoned reptile keeper or a first-time owner, this comprehensive guide will equip you with the knowledge to successfully build your new terrarium.We'll cover each stage of assembly, from laying the base to securing the final panel and installing the temperature regulator. We'll highlight key steps, offer helpful tips for a smoother assembly, and share our overall assessment of the terrarium's quality, durability, and design. Get ready to create the perfect habitat for your scaly friend – let’s dive into the BETAZOOER Acrylic Reptile Terrarium assembly!
Pros And Cons
- Easy to use
- Nice
- Lightweight
- Seals prevent escape
- Opens for cleaning and feeding
- Minimal instructions included
Read more: Top 10 Reptile & Amphibian Terrarium Thermometers: A Buyer's Guide
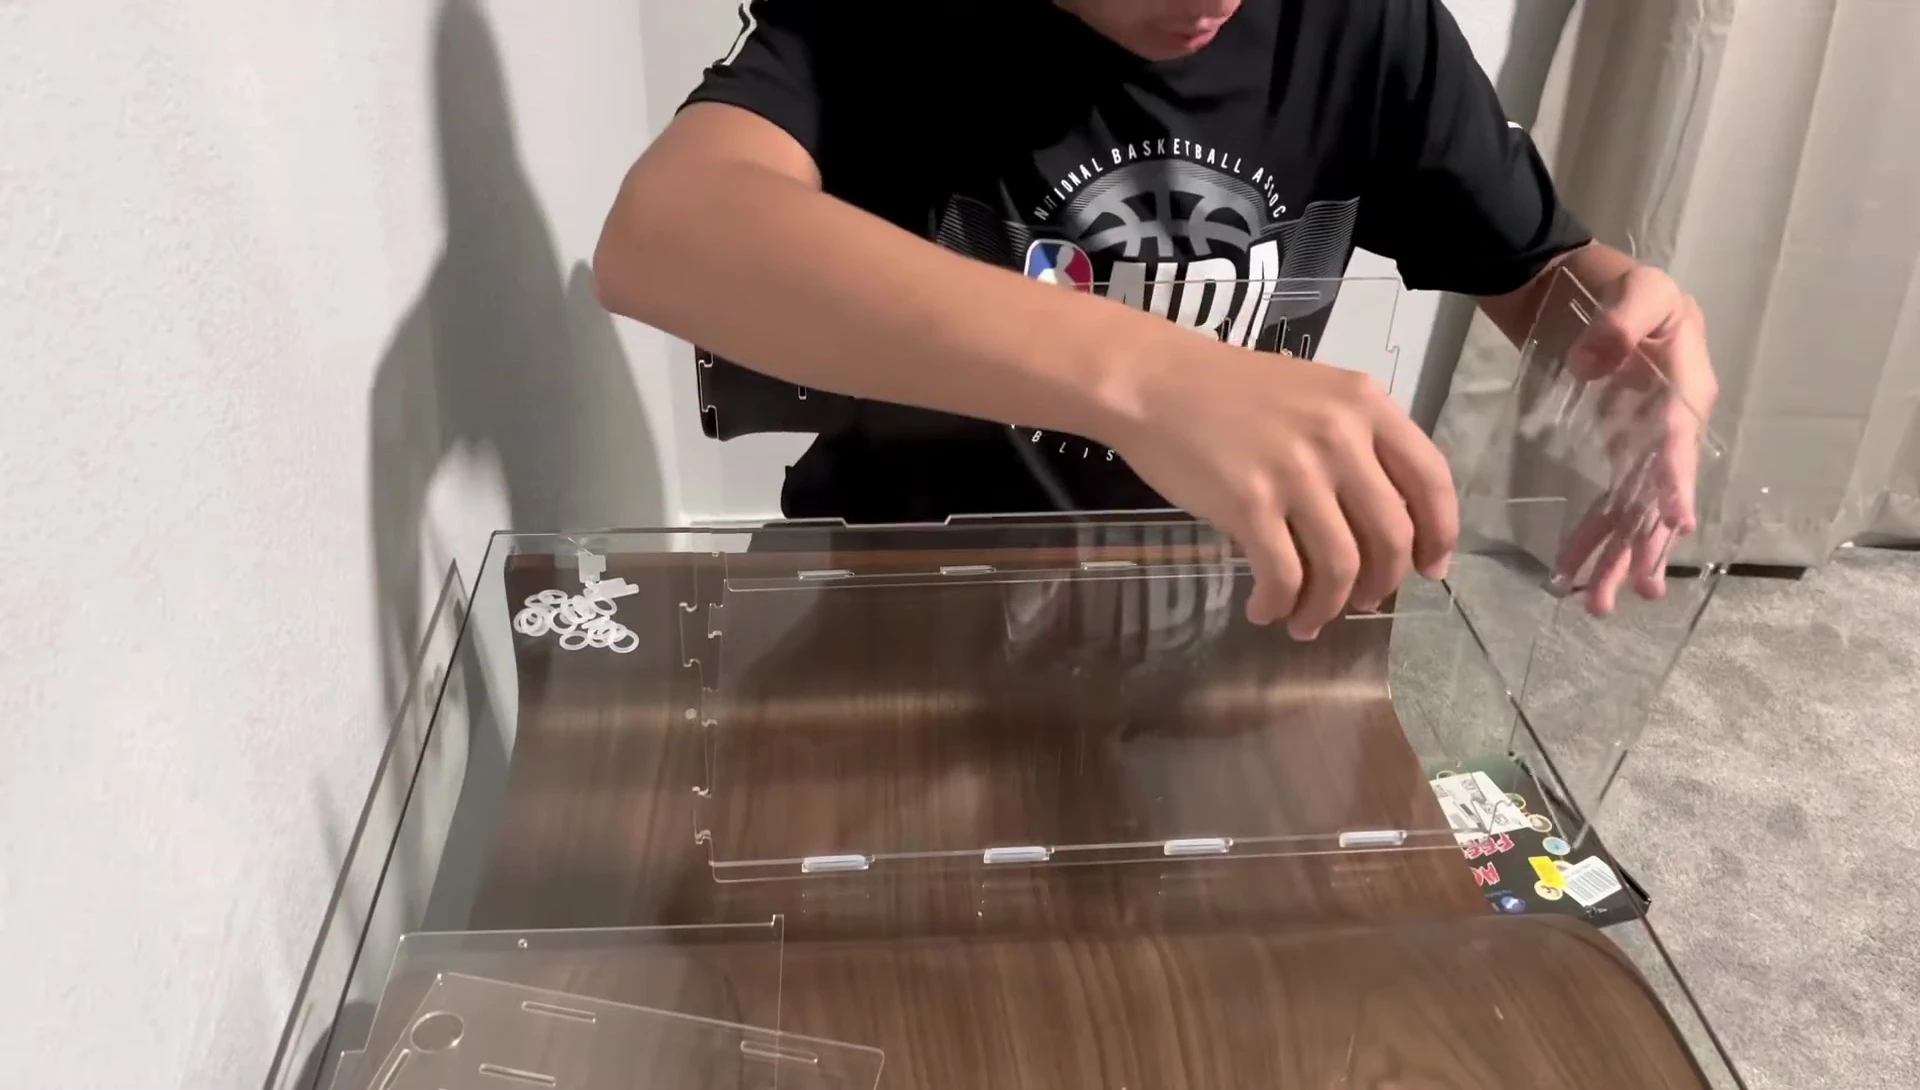
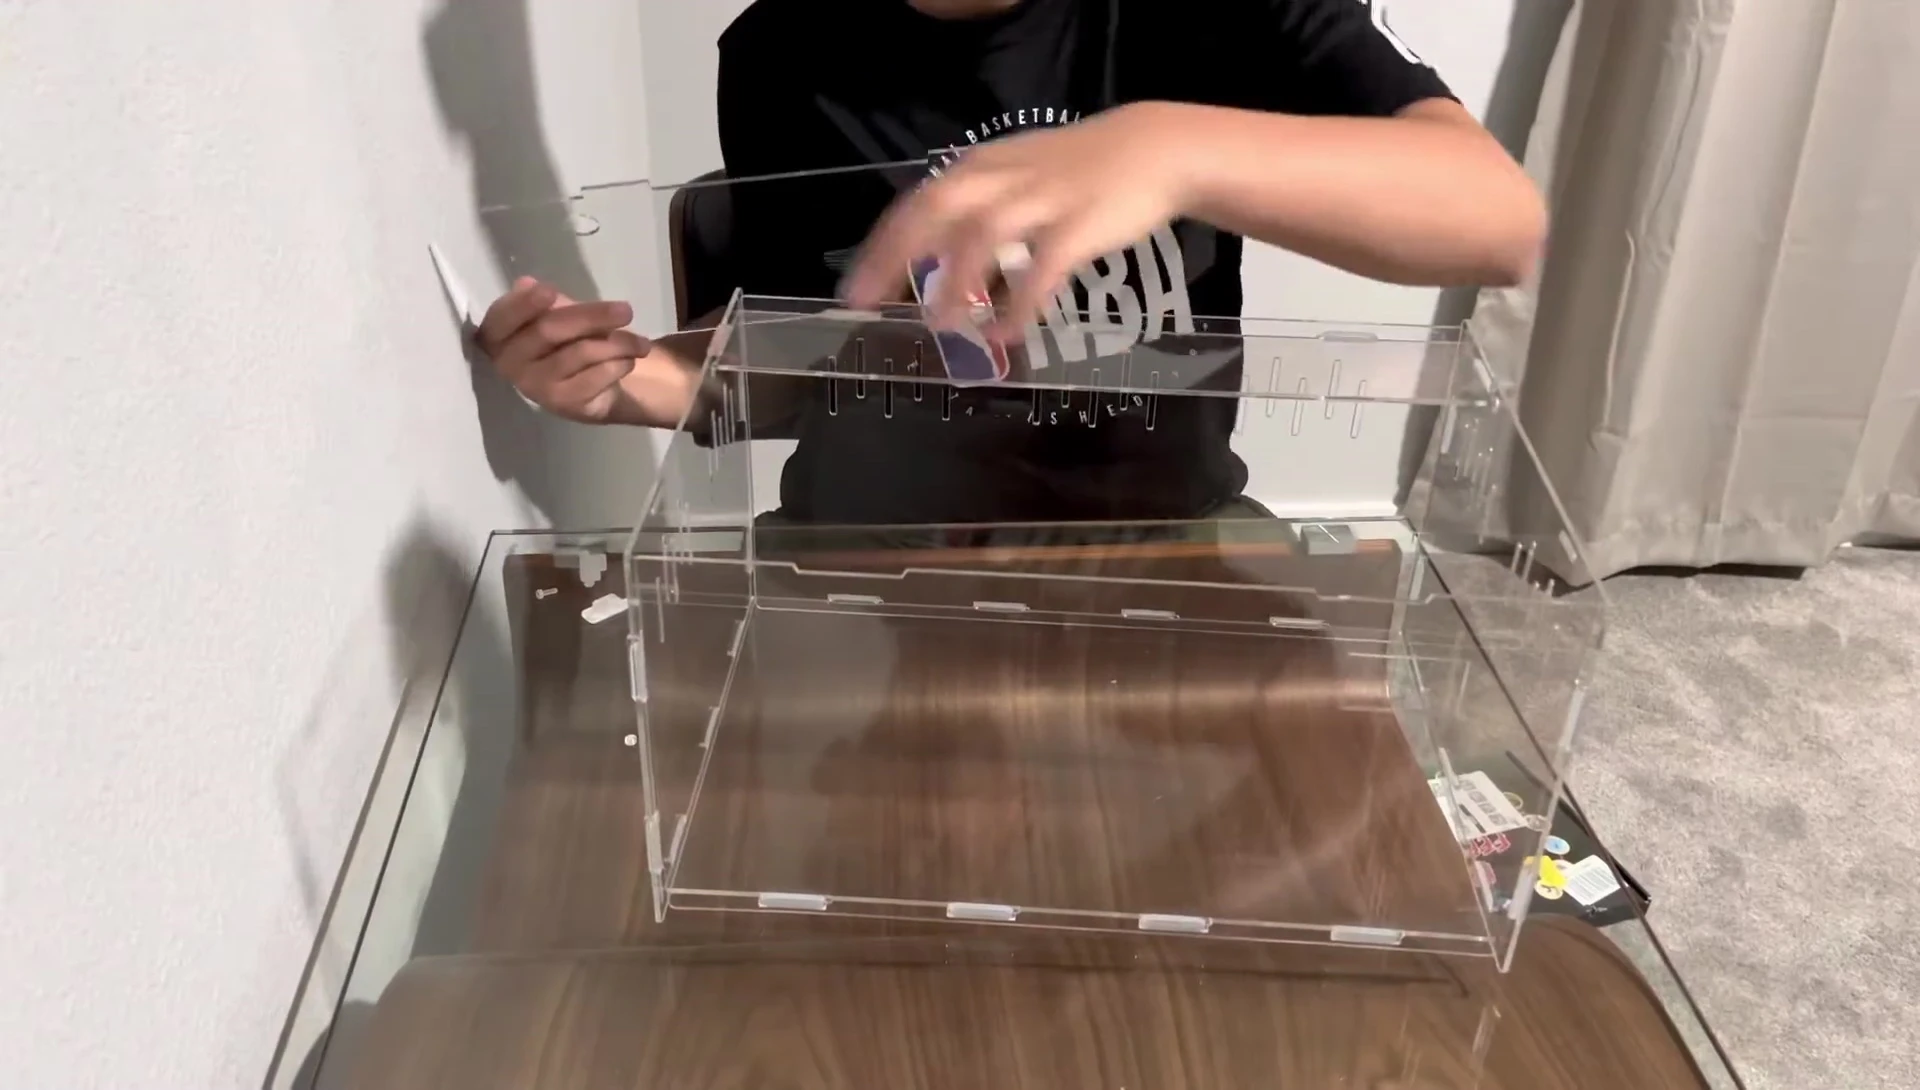
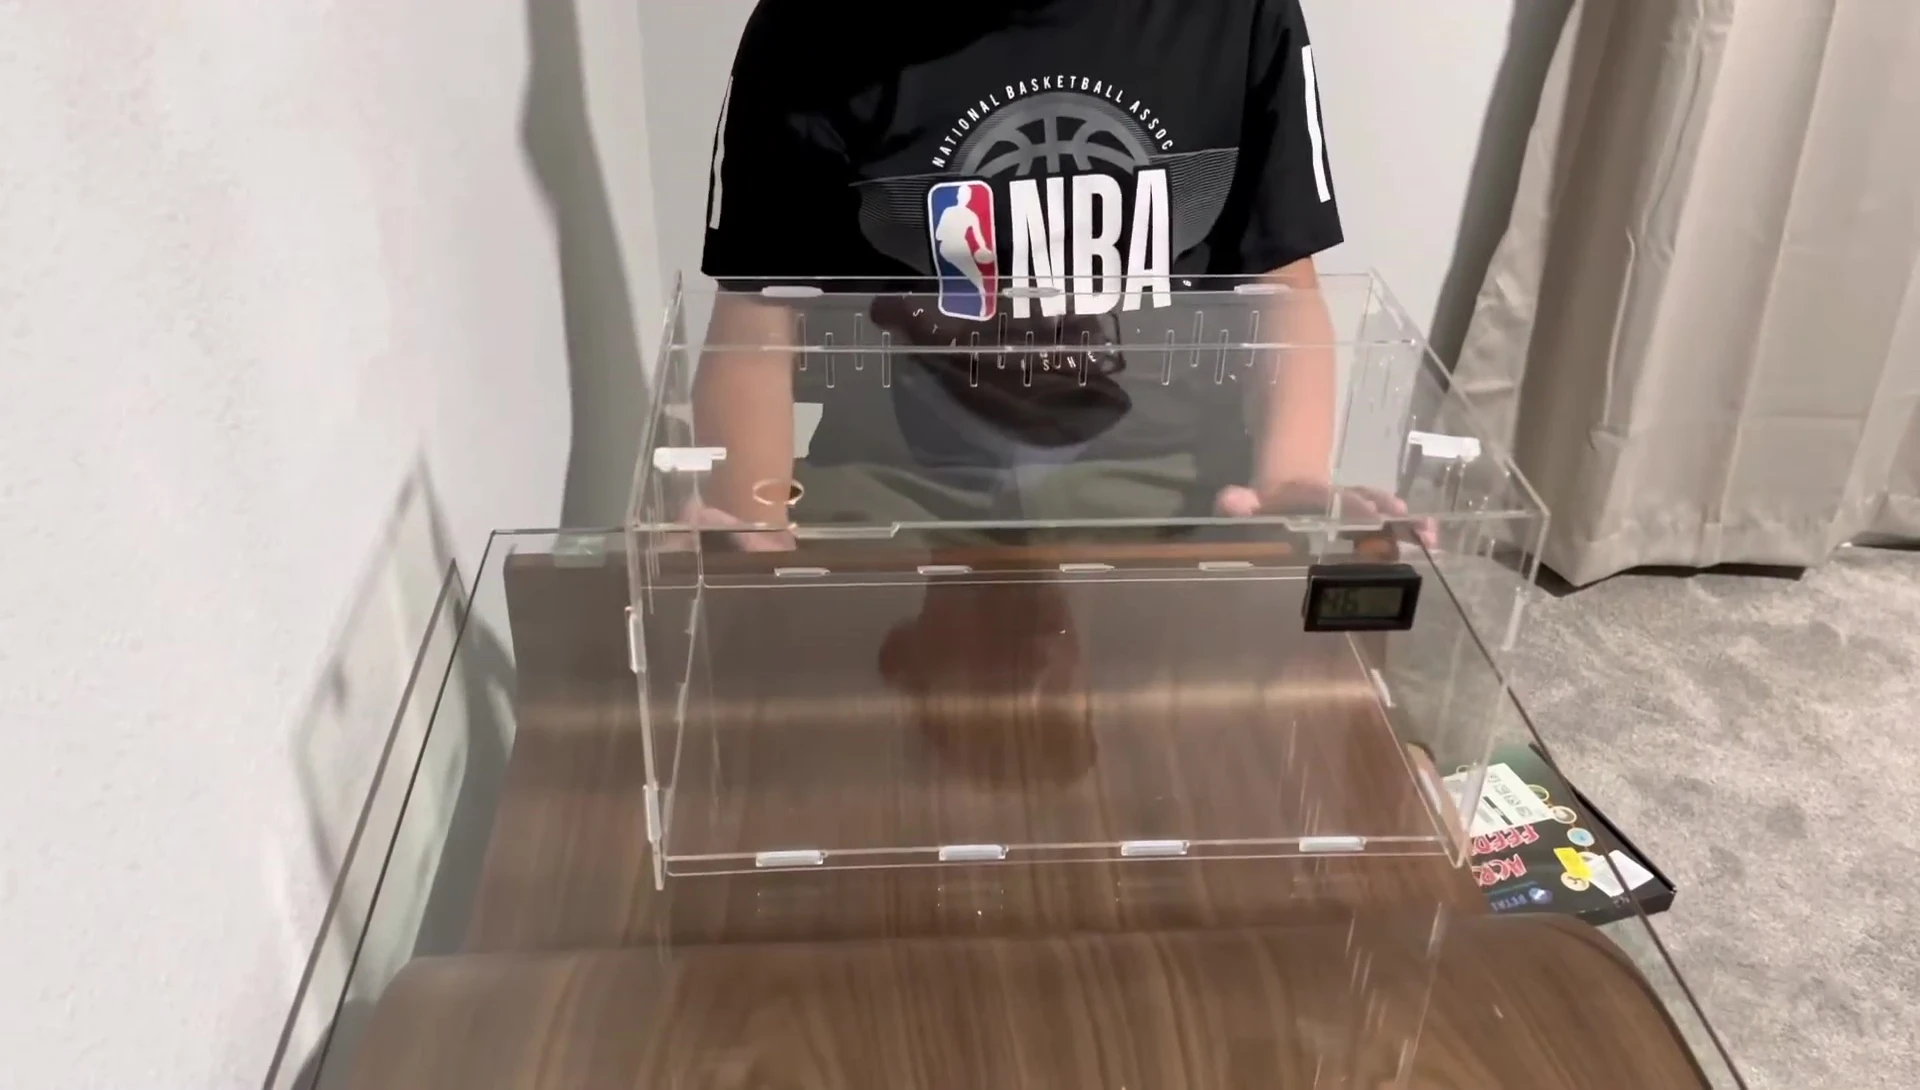
Base Assembly
Begin by laying down the base of the terrarium. This is a crucial first step to ensure a stable foundation for the rest of the assembly process.
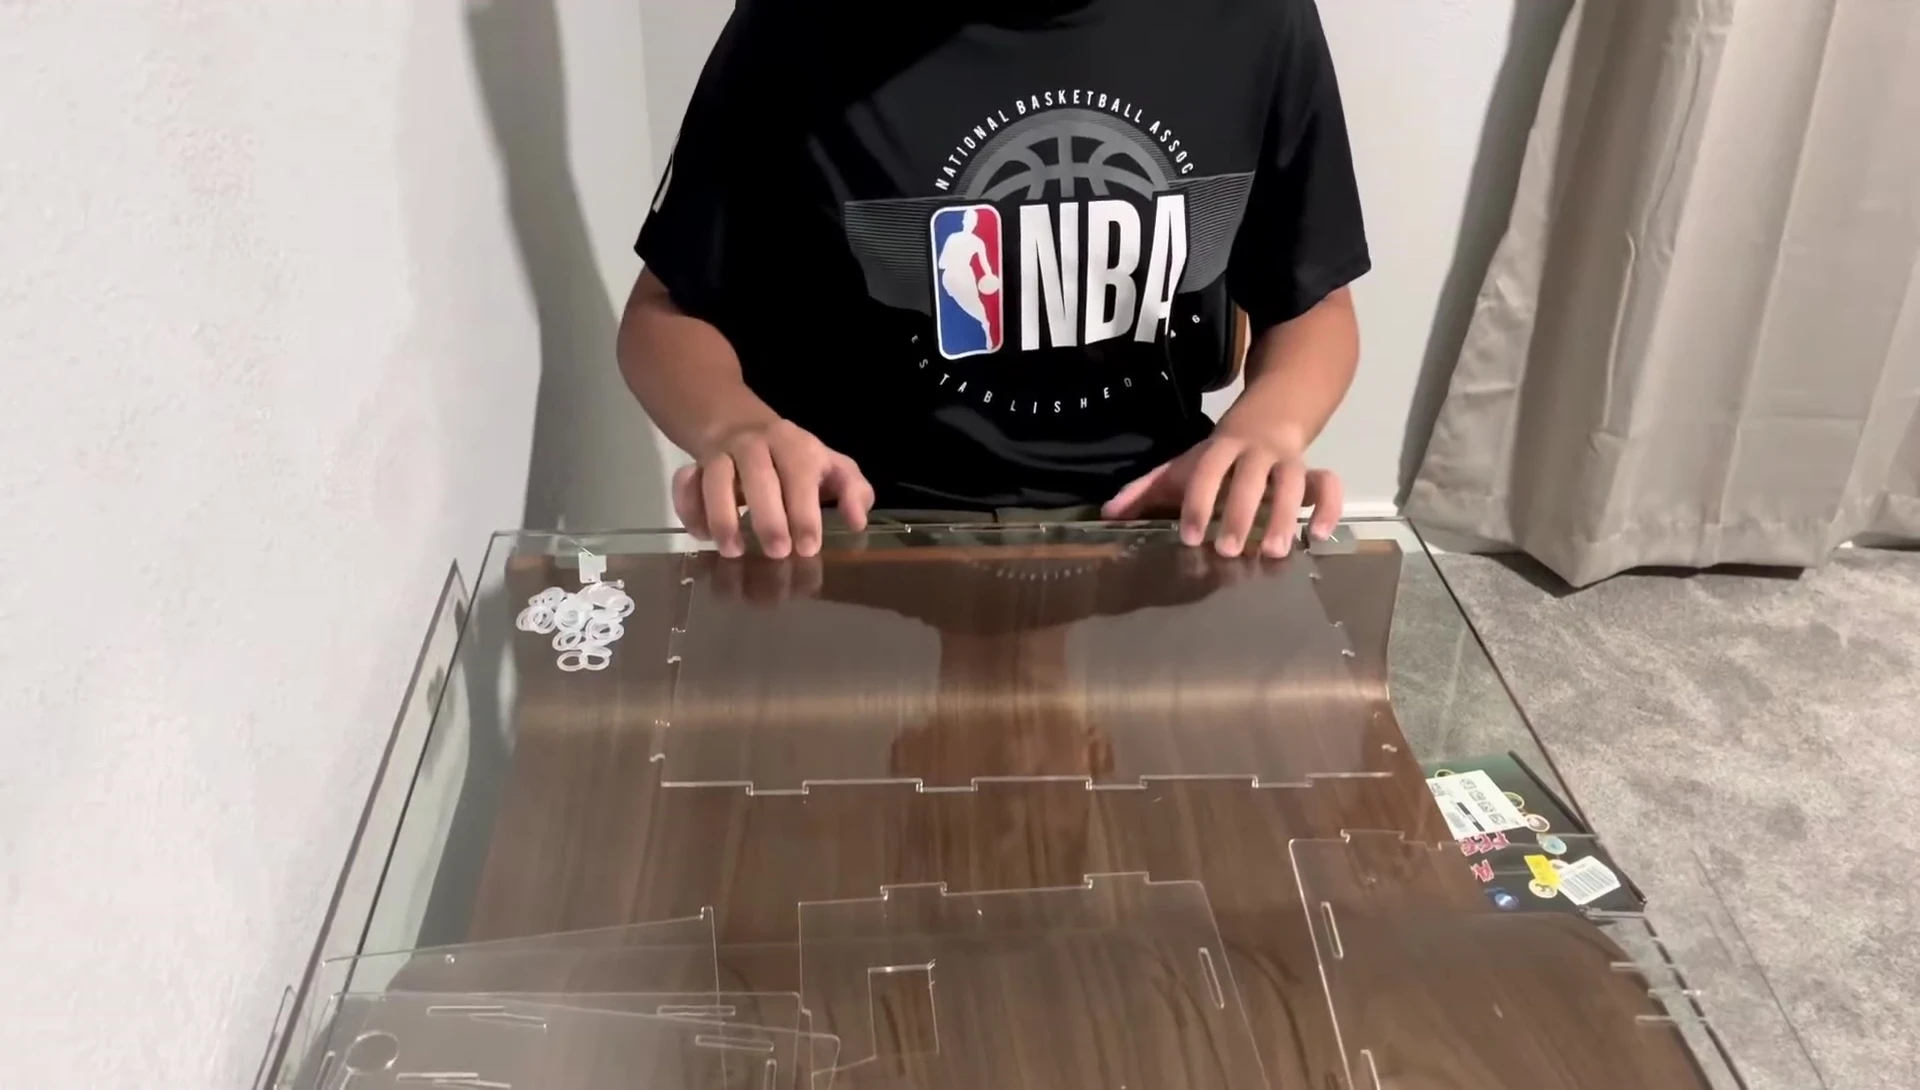
Locate the second piece of the terrarium, which has multiple clip-ons. These clips will be used to connect the various panels together securely.
Carefully attach the second piece to the base using the clips provided. Make sure the connections are firm and secure for a stable structure.
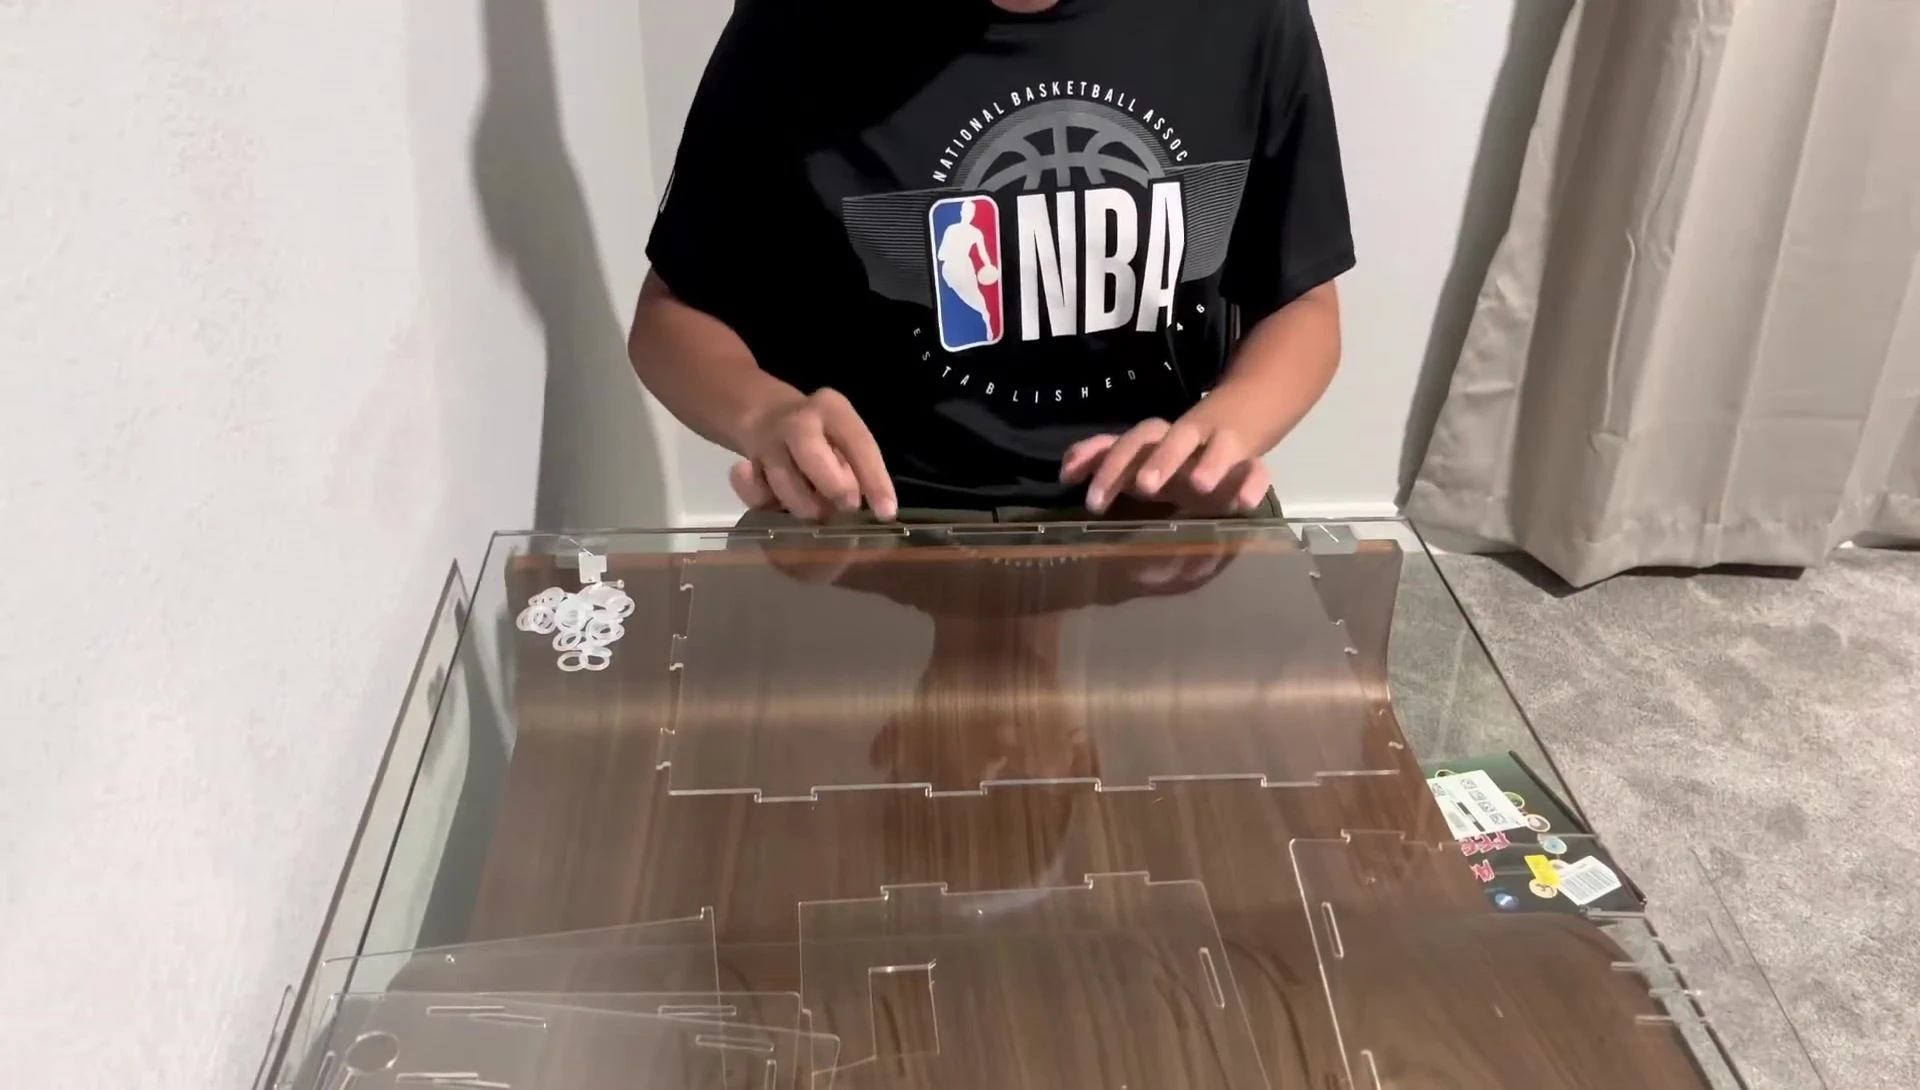
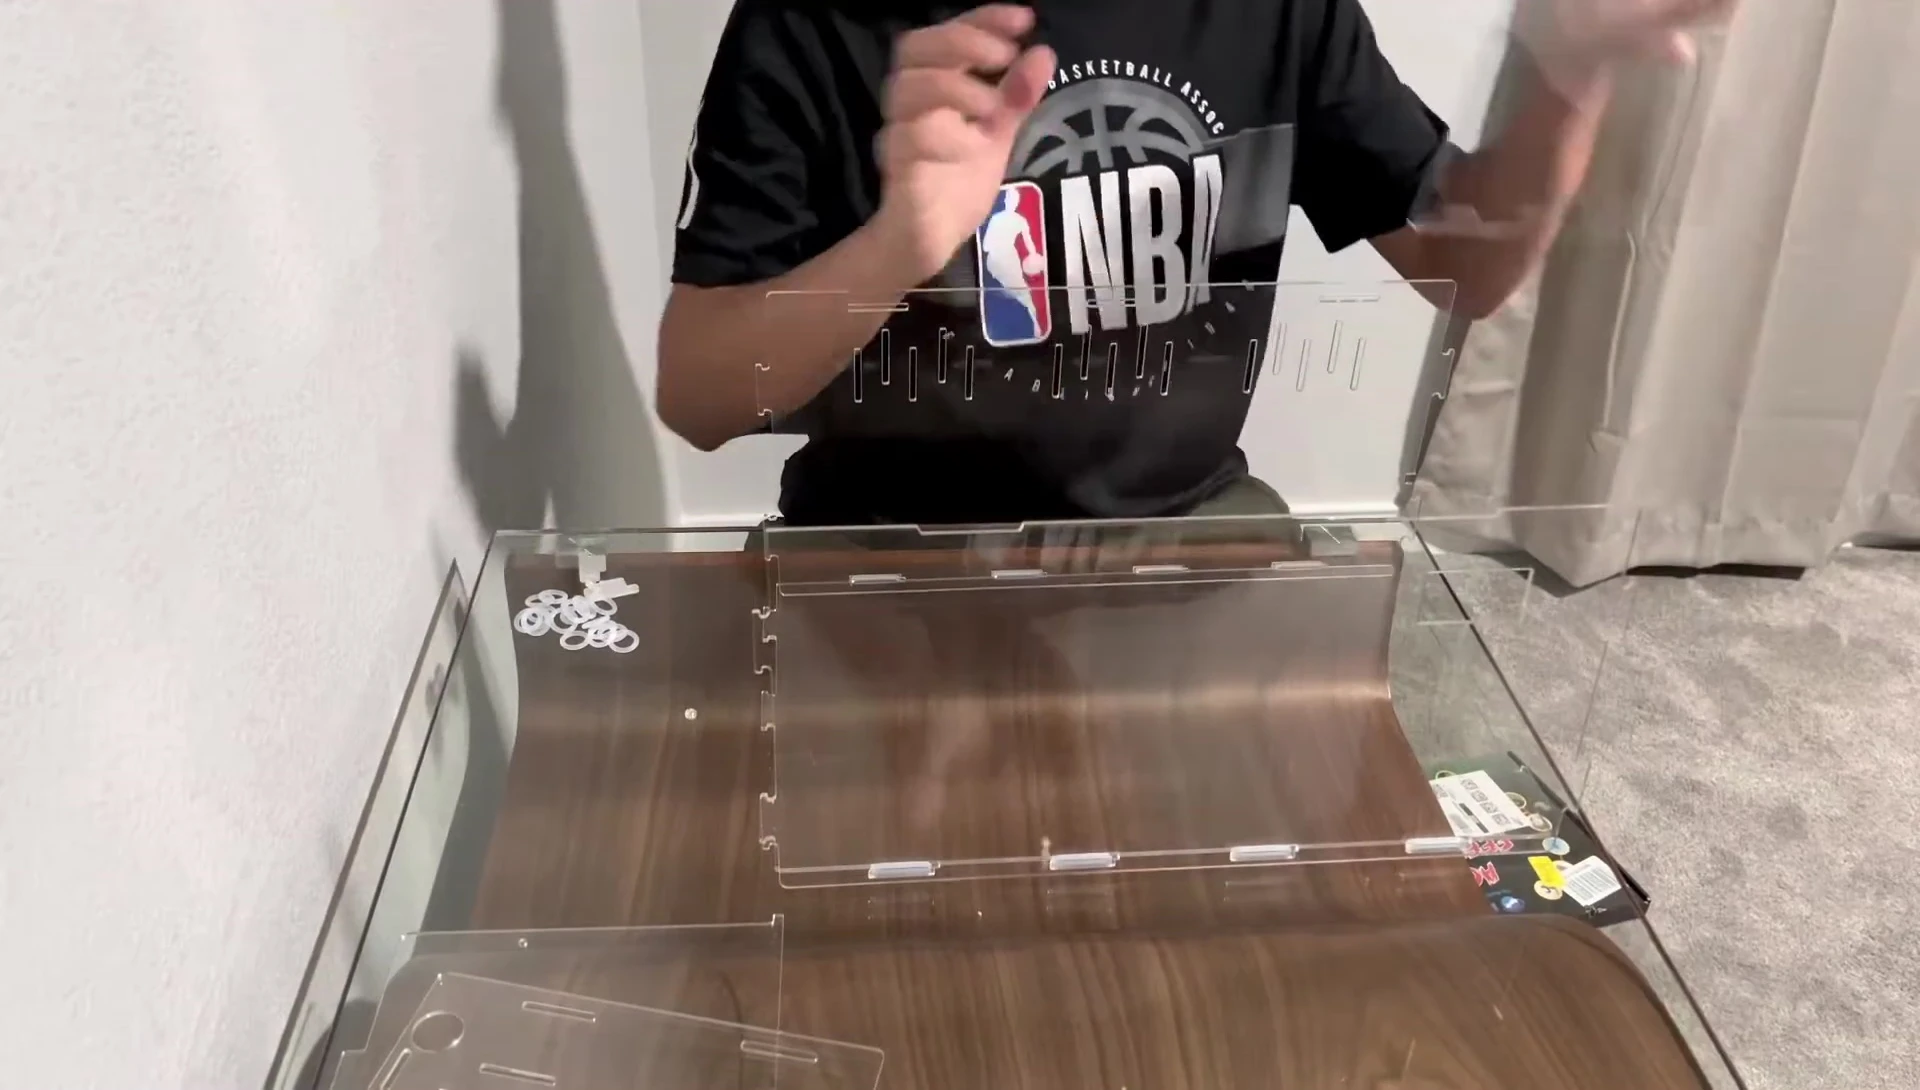
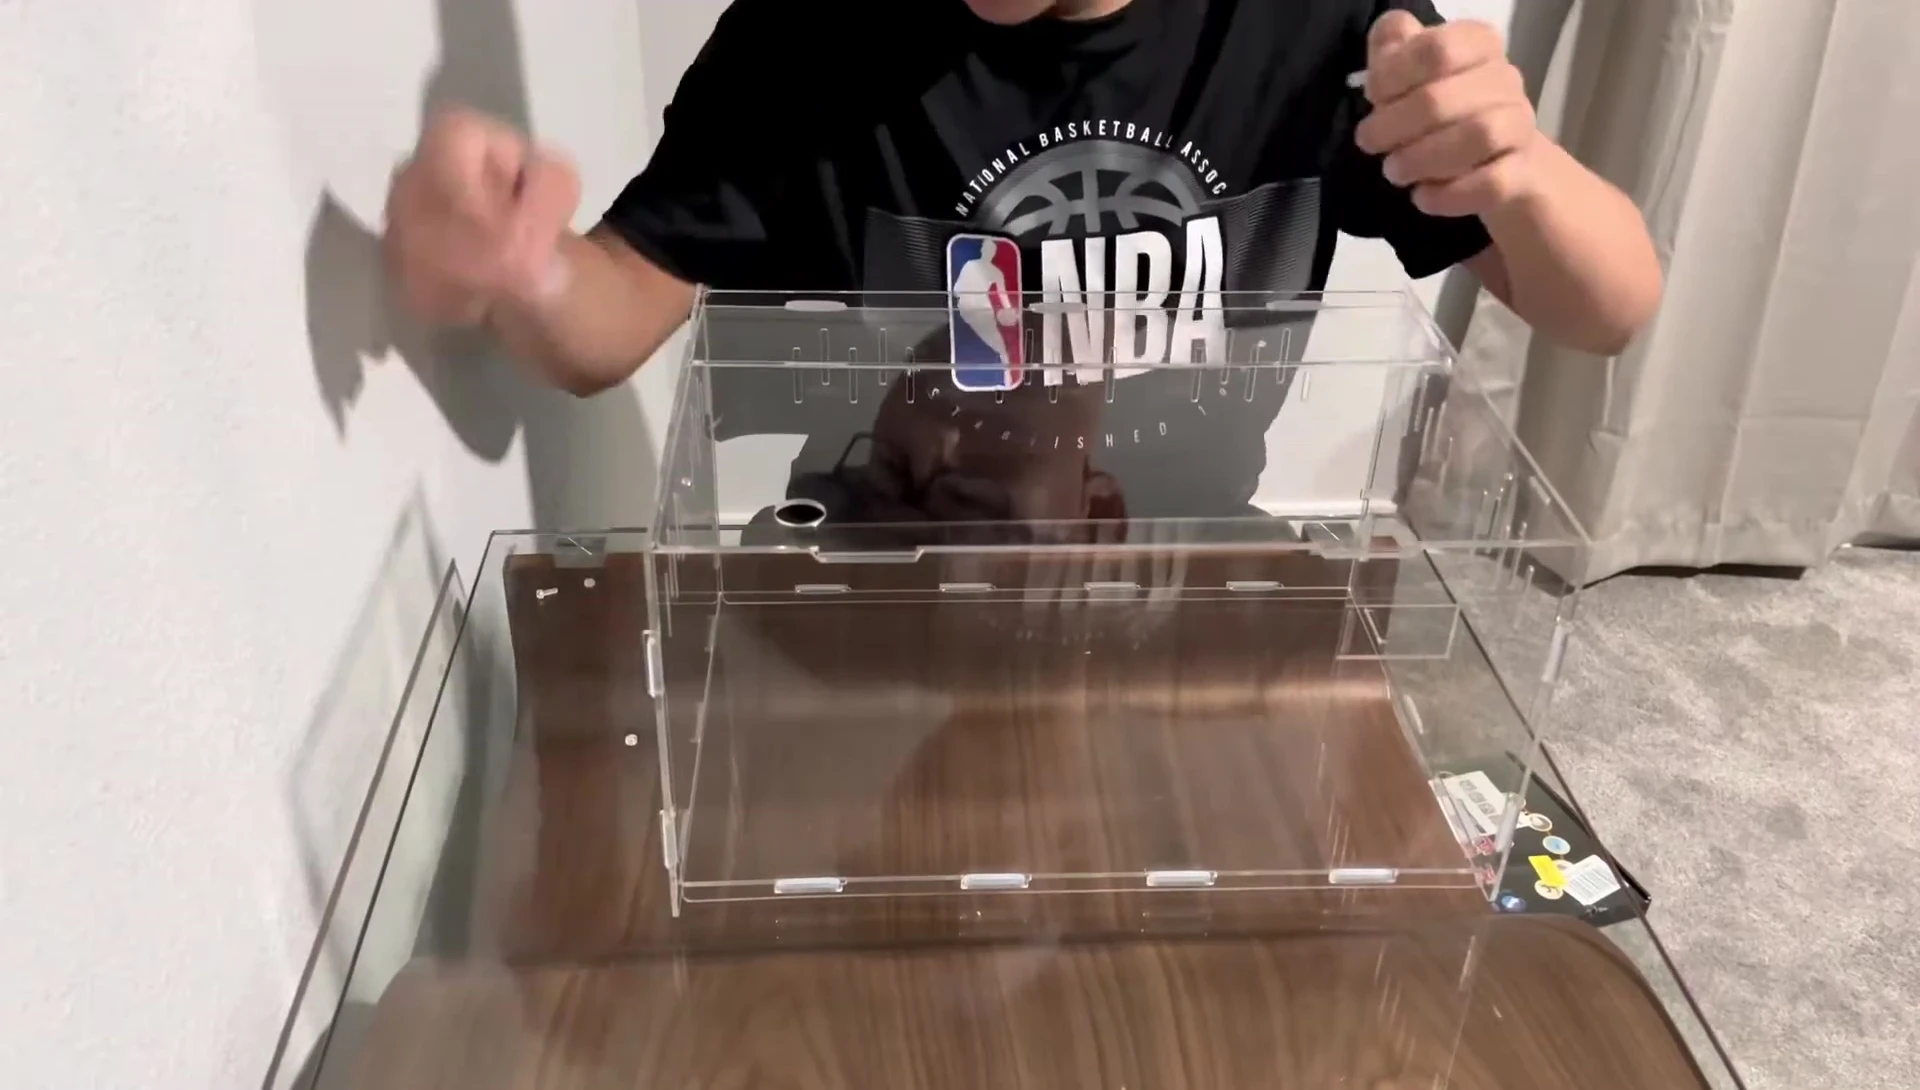
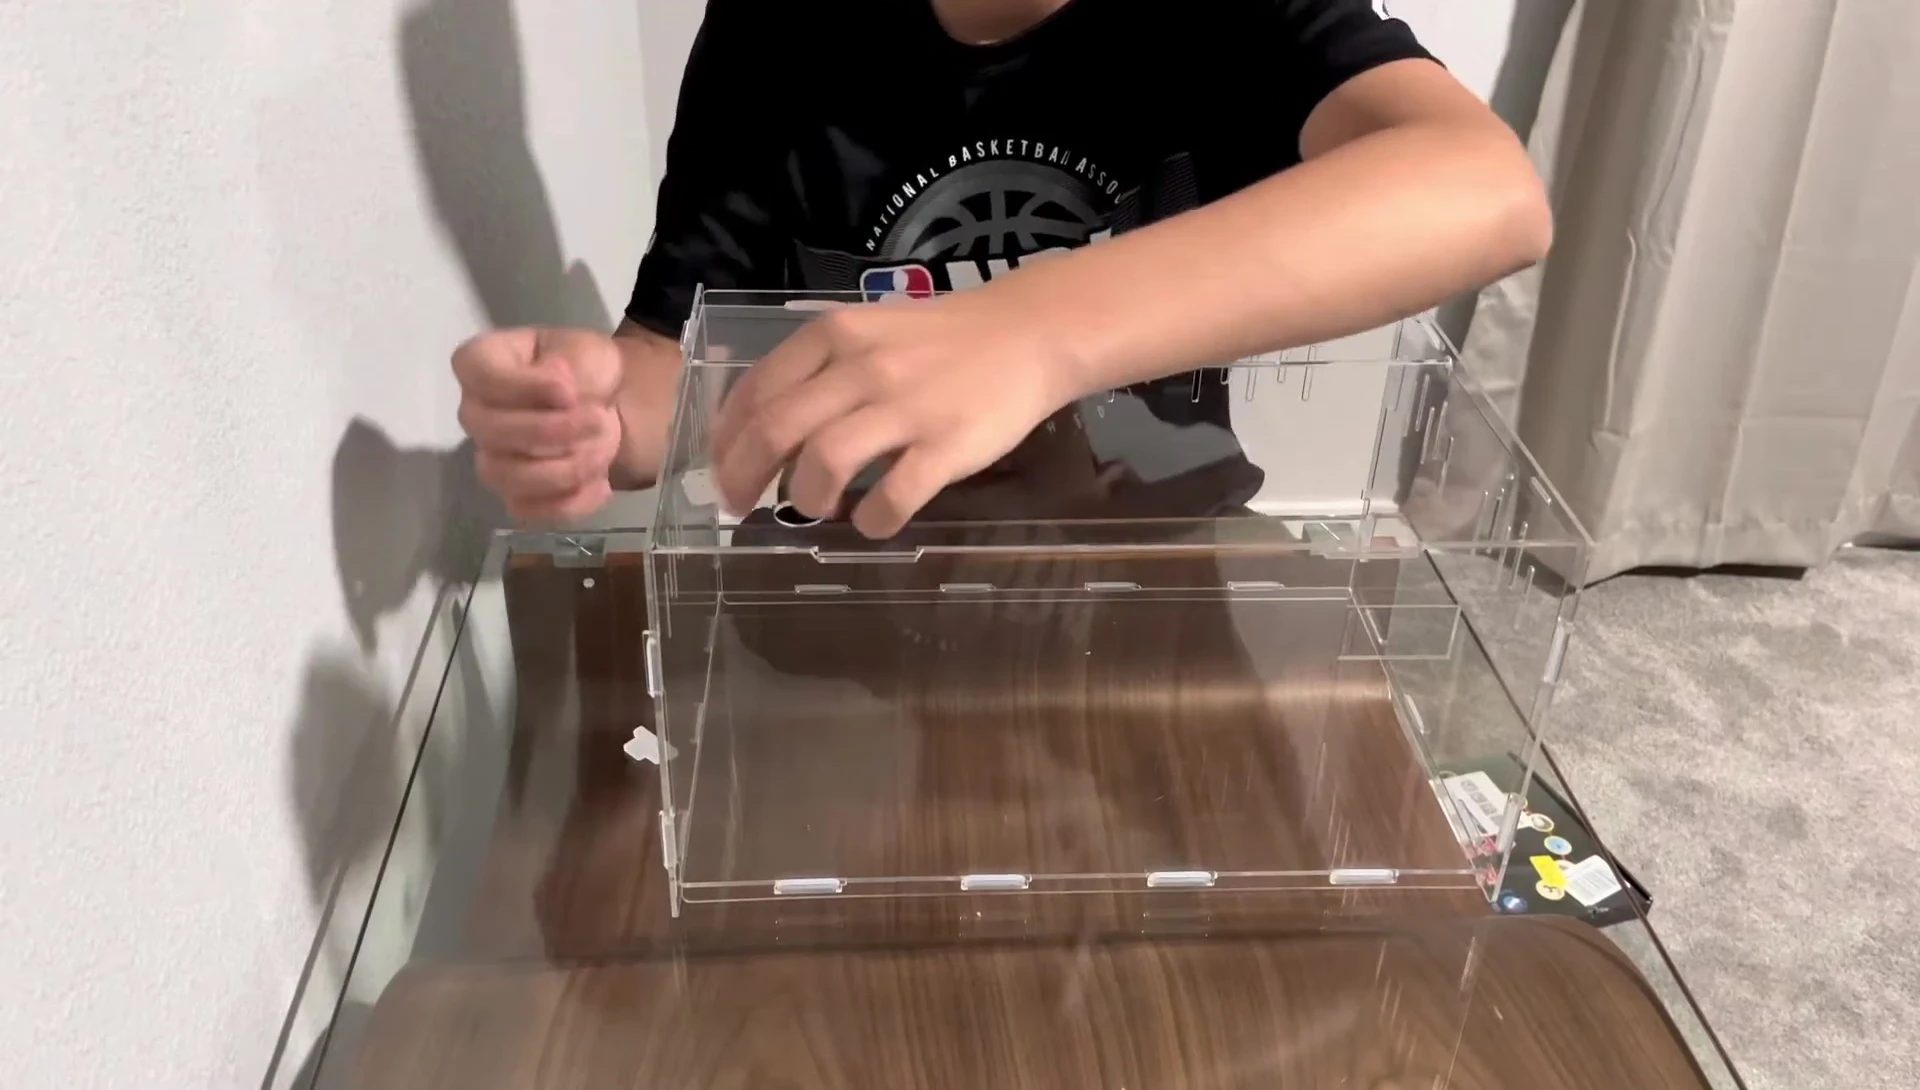
Side Panel Attachment
Next, use the remaining clips to attach the side panels. It's helpful to have a second person assist with this step for easier handling.
Each panel should fit snugly and securely. Ensure all clips are properly fastened before proceeding to the next step. Make sure the panels align correctly with the base and the other panels.
Once the side panels are attached, the structure should be solid and ready for the remaining parts.
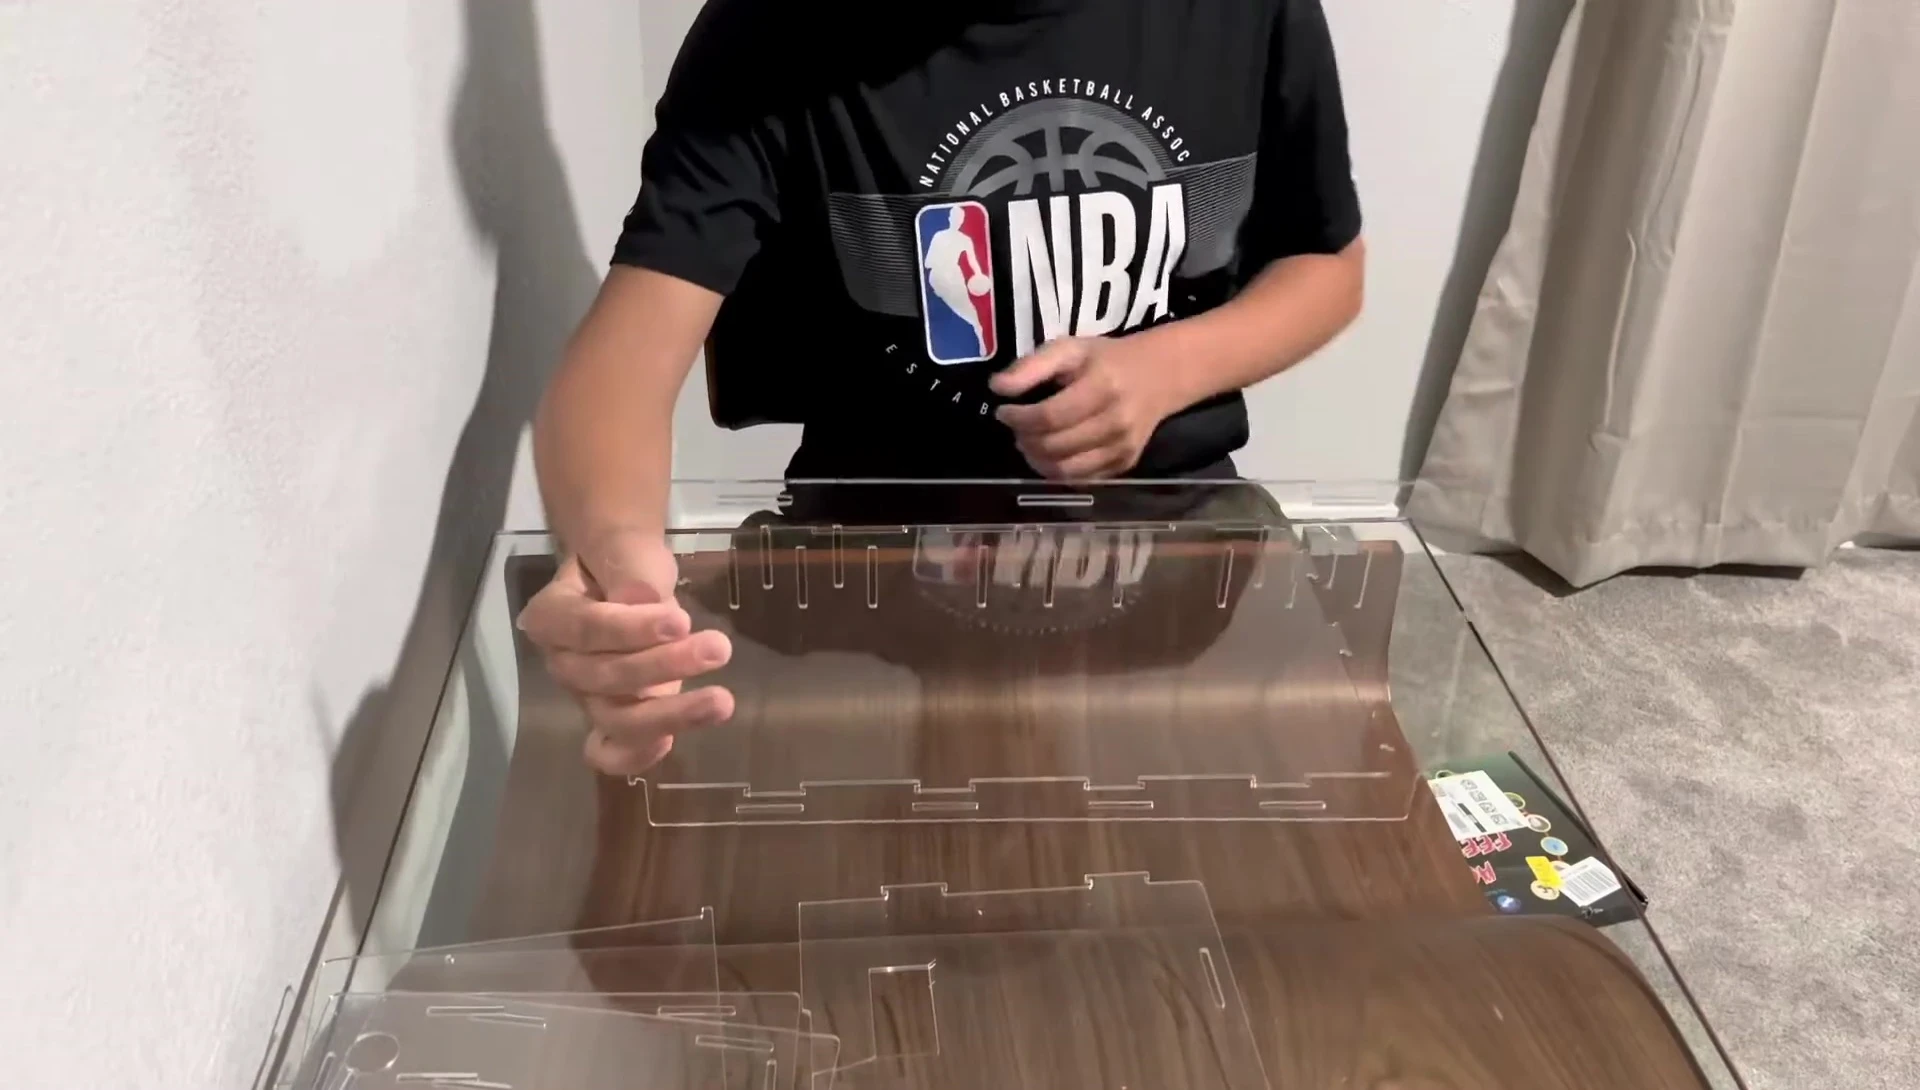
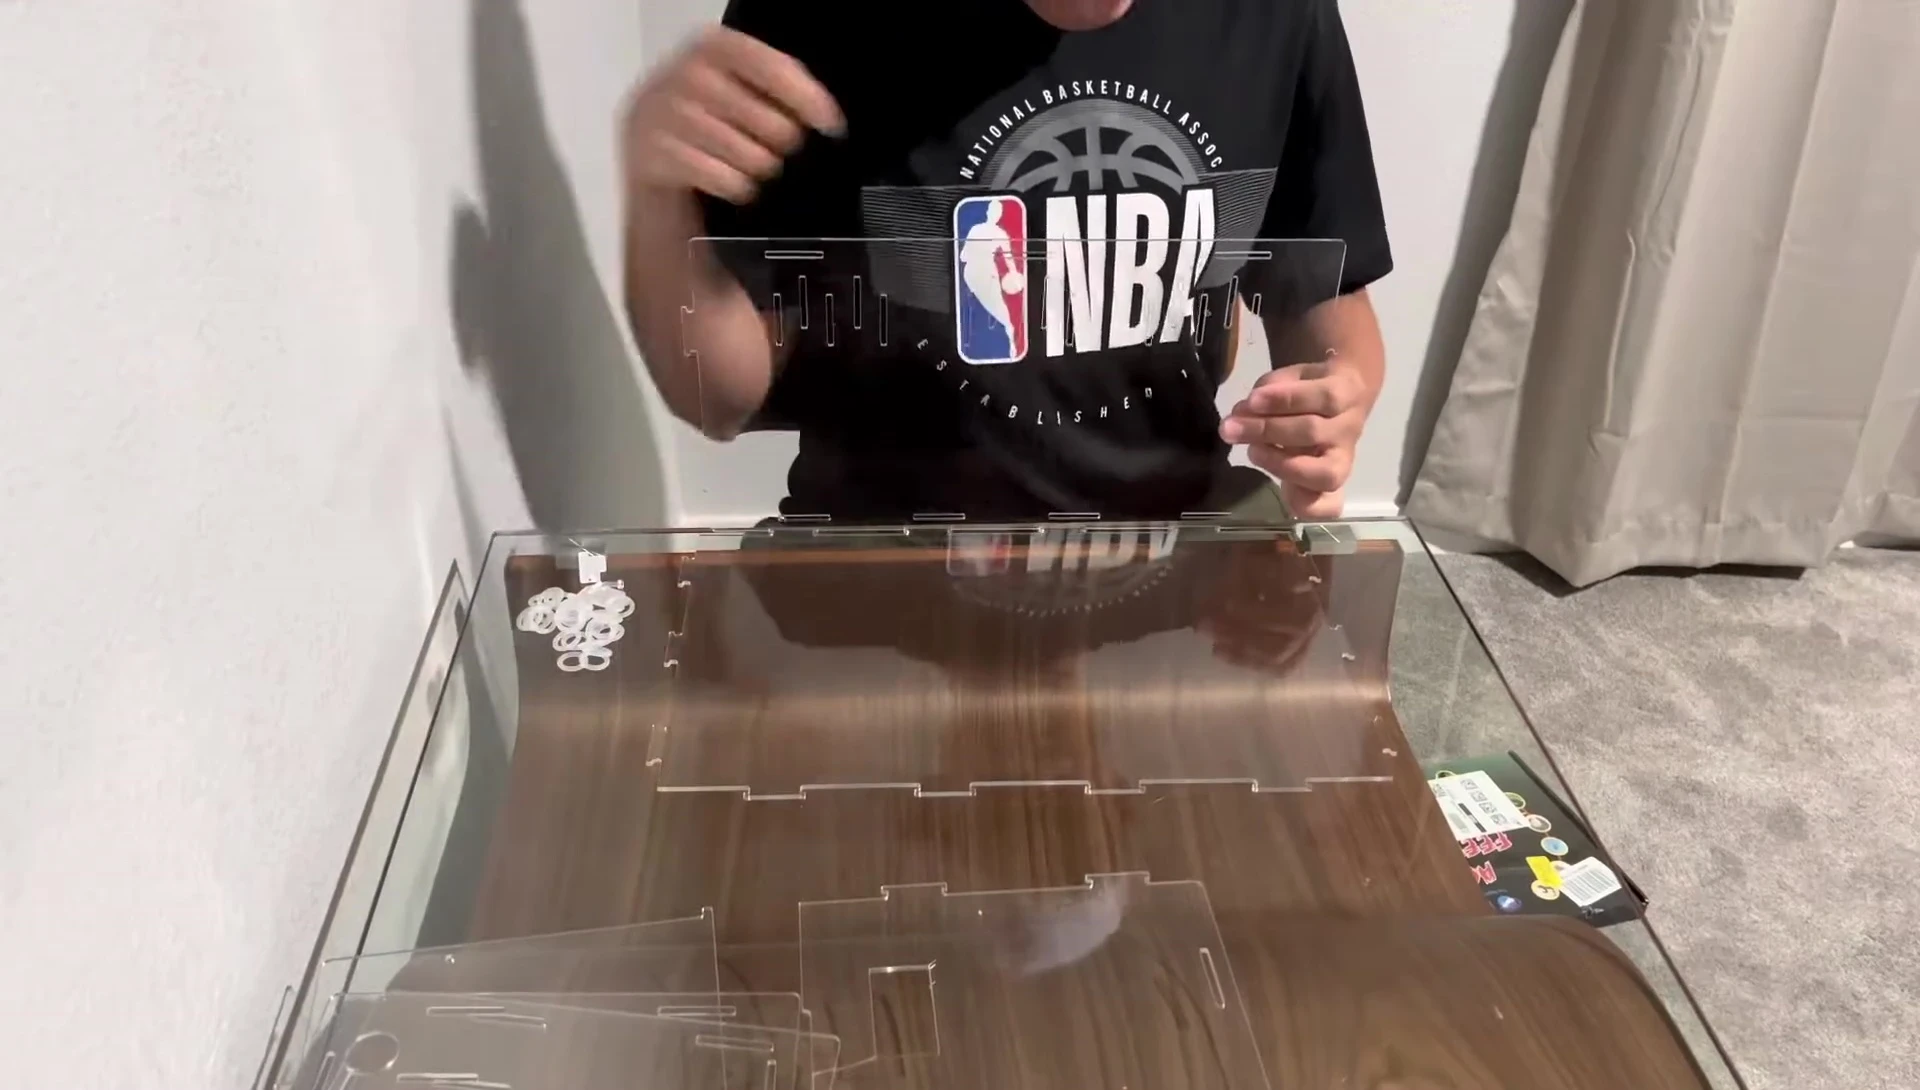
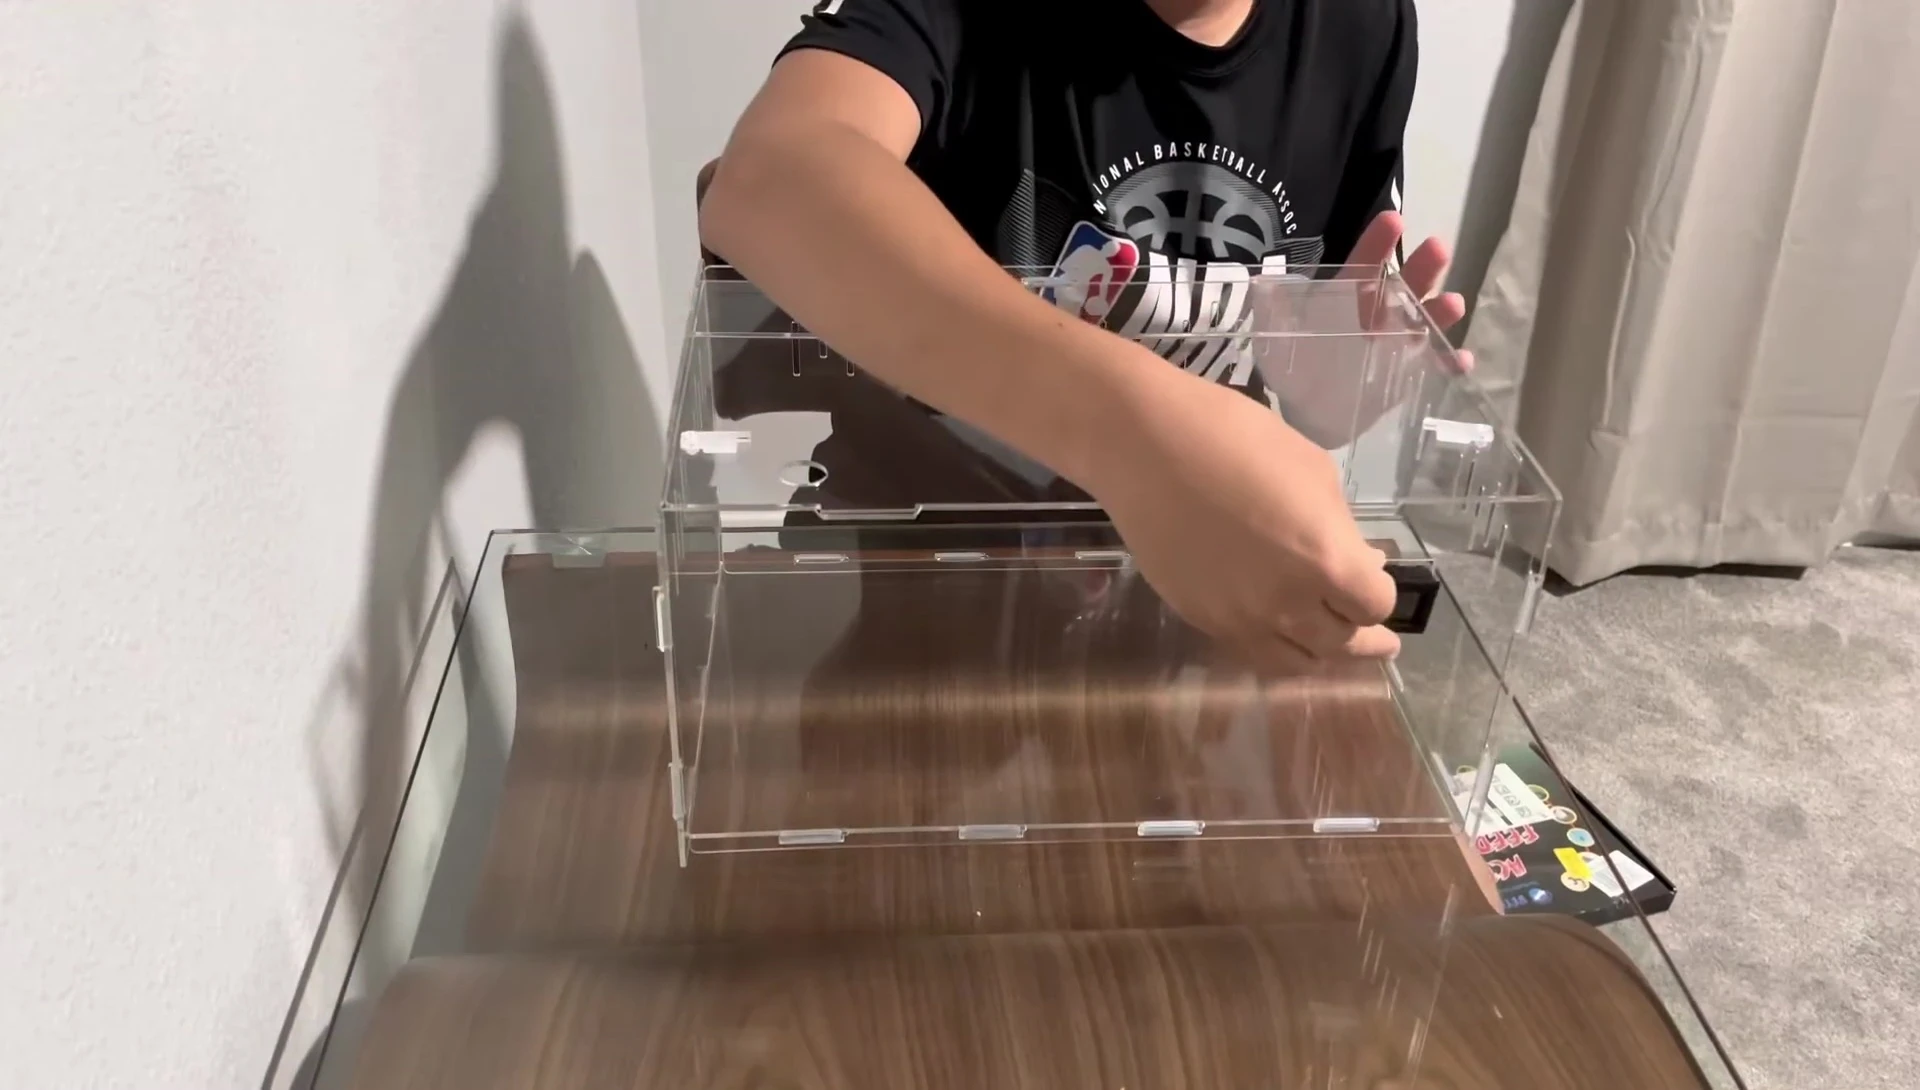
Front Panel & Top Assembly
The front panel is attached using the same clips as the side panels. Again, two people are recommended for this part.
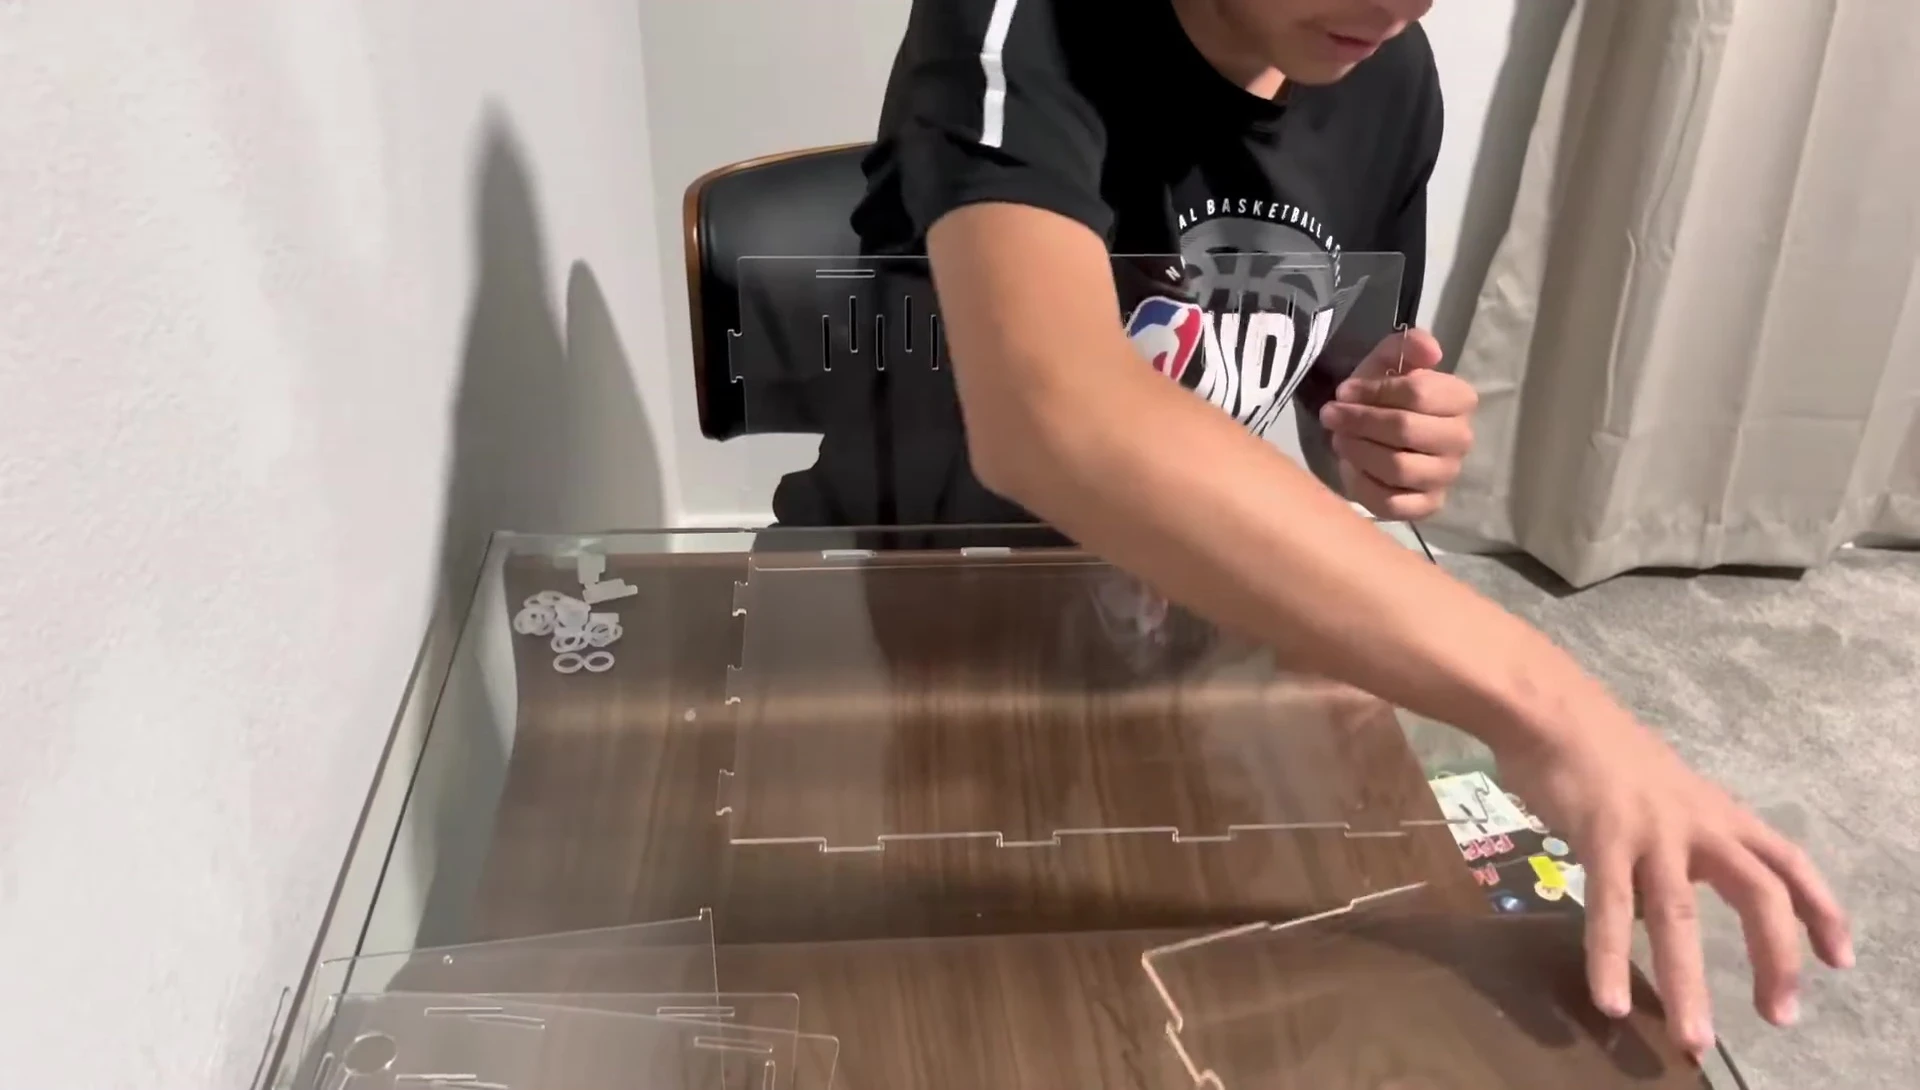
Once the front panel is secured, attach the top. Ensure it fits correctly and the corresponding circles align with the projections on the top piece.
This ensures all components are in the correct position and the enclosure is properly sealed. Pay attention to the alignment of all the pieces.
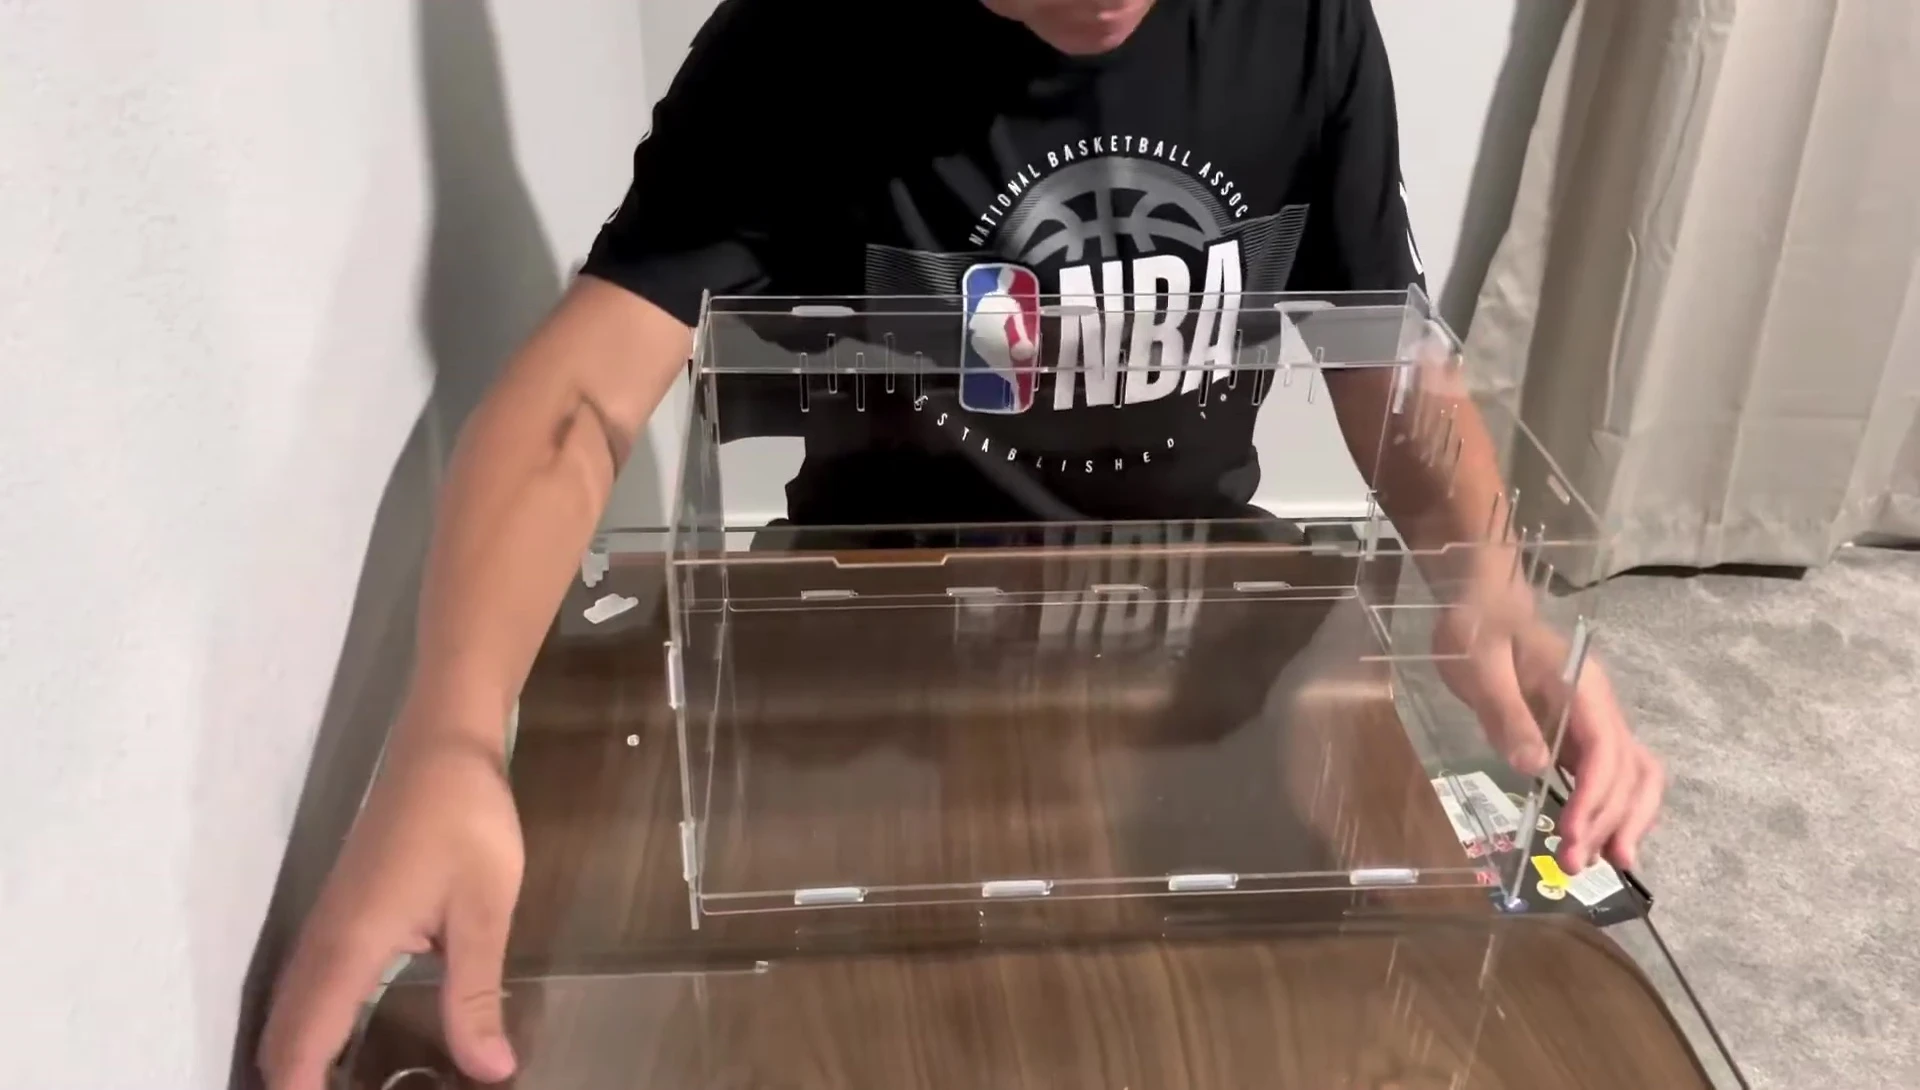
Sealing and Final Touches
The kit includes seals and screws to ensure a secure and airtight seal. Match the seals with the corresponding screws, then tighten gently with your fingers.
This step prevents escapes and maintains a suitable environment for your reptile. Ensure both seals are secured.
Finally, install the temperature regulator by sliding it into the designated slot. This is important to ensure an appropriate temperature for your pet.
Final Review and Conclusion
The BETAZOOER Acrylic Reptile Terrarium is a user-friendly product, easy to assemble with clear instructions (even if the box lacked comprehensive guidance).
The design is sleek and the materials seem durable. The use of clips for assembly is more user-friendly compared to some other designs which might require more complex assembly.
Overall, this terrarium is a great option for housing small reptiles or other small animals. The easy assembly process and its lightweight design make it an excellent choice for pet owners.