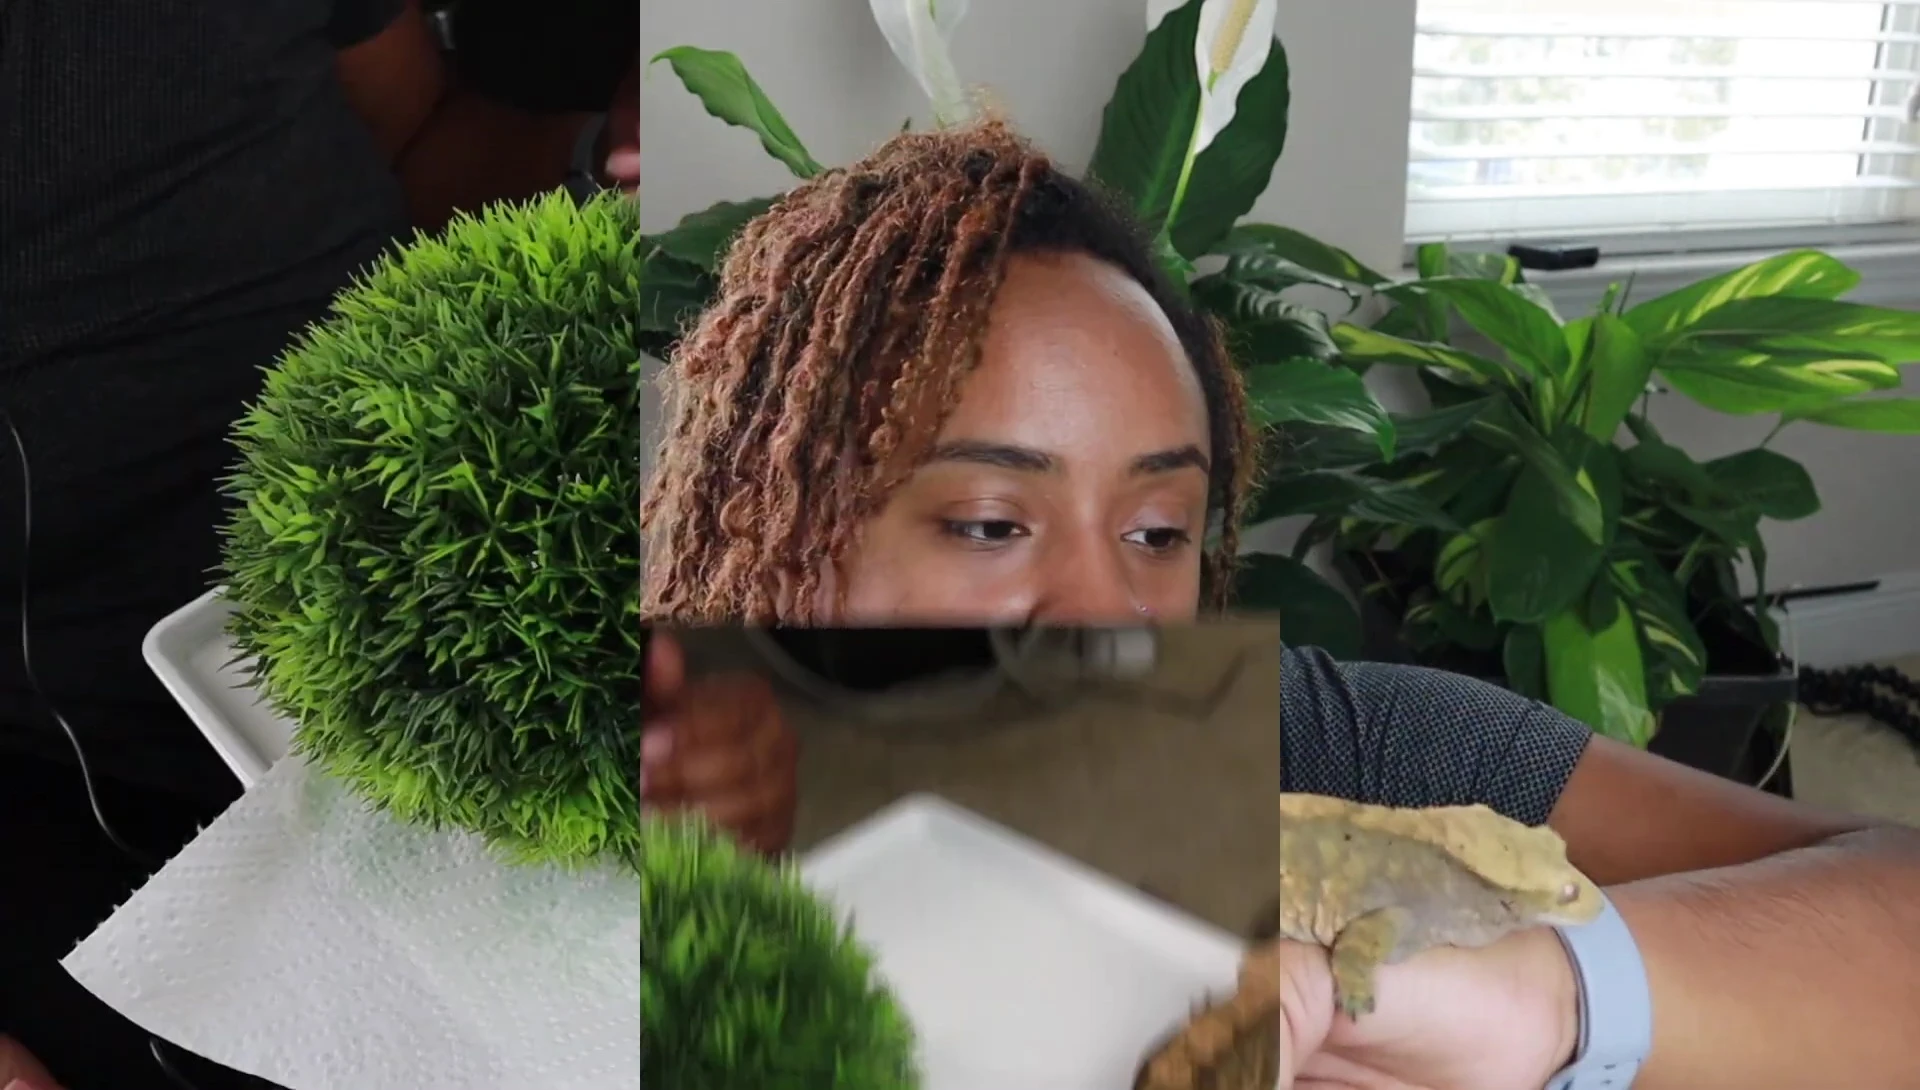
This DIY project shows you how to create a cost-effective and safe hide for your crested gecko using readily available materials. Forget expensive store-bought options! We'll guide you through building a charming moss ball hide, a perfect addition to enrich your gecko's habitat. This tutorial adapts to a readily available plastic ball alternative after the original foam ball became unavailable, ensuring a simple and safe build process even for beginners. We'll detail the materials needed, the easy-to-follow cutting and assembly steps, and even show you how to achieve a professional-looking finish.The project utilizes commonly found items from craft stores, minimizing cost and maximizing convenience. We'll demonstrate how to securely attach the moss ball using flexible wire for a natural, aesthetically pleasing look. This simple project provides a safe and comfortable hide for your crested gecko, enhancing its wellbeing while showcasing your creativity and resourcefulness. Prepare to create a unique and functional addition to your pet's enclosure for a fraction of the cost of commercial alternatives!
Pros And Cons
- Adds better aesthetic to the hanging moss ball
- Provides a good hanging solution
- Cuts through foam easily
- Prevents scattering of styrofoam pieces when cutting
- Affordable (around $15)
- Easily washable
- Provides a hide for crested geckos
- Aesthetically pleasing
- Inner foam is no longer readily available in similar products
- Requires modification (cutting a hole) to be usable as a gecko hide
Read more: 5 Amazing Natural Caves Perfect for Reptiles
Finding the Right Supplies
The original moss ball hide, crafted from a foam-filled ball, was no longer available. Finding a similar product proved challenging. Retailers like Michaels, Joann's, and Hobby Lobby stocked similar-looking balls, but these lacked the essential foam core. The alternative chosen was a plastic-based ball, offering a workable substitute.
The key difference is in the material of the ball. The original had a foam core, while the replacement is plastic. This change affects the cutting process, requiring a different approach.
Choosing the right materials is crucial for both durability and gecko safety. The plastic-based replacement is easier to work with and is less likely to cause injury to the gecko.
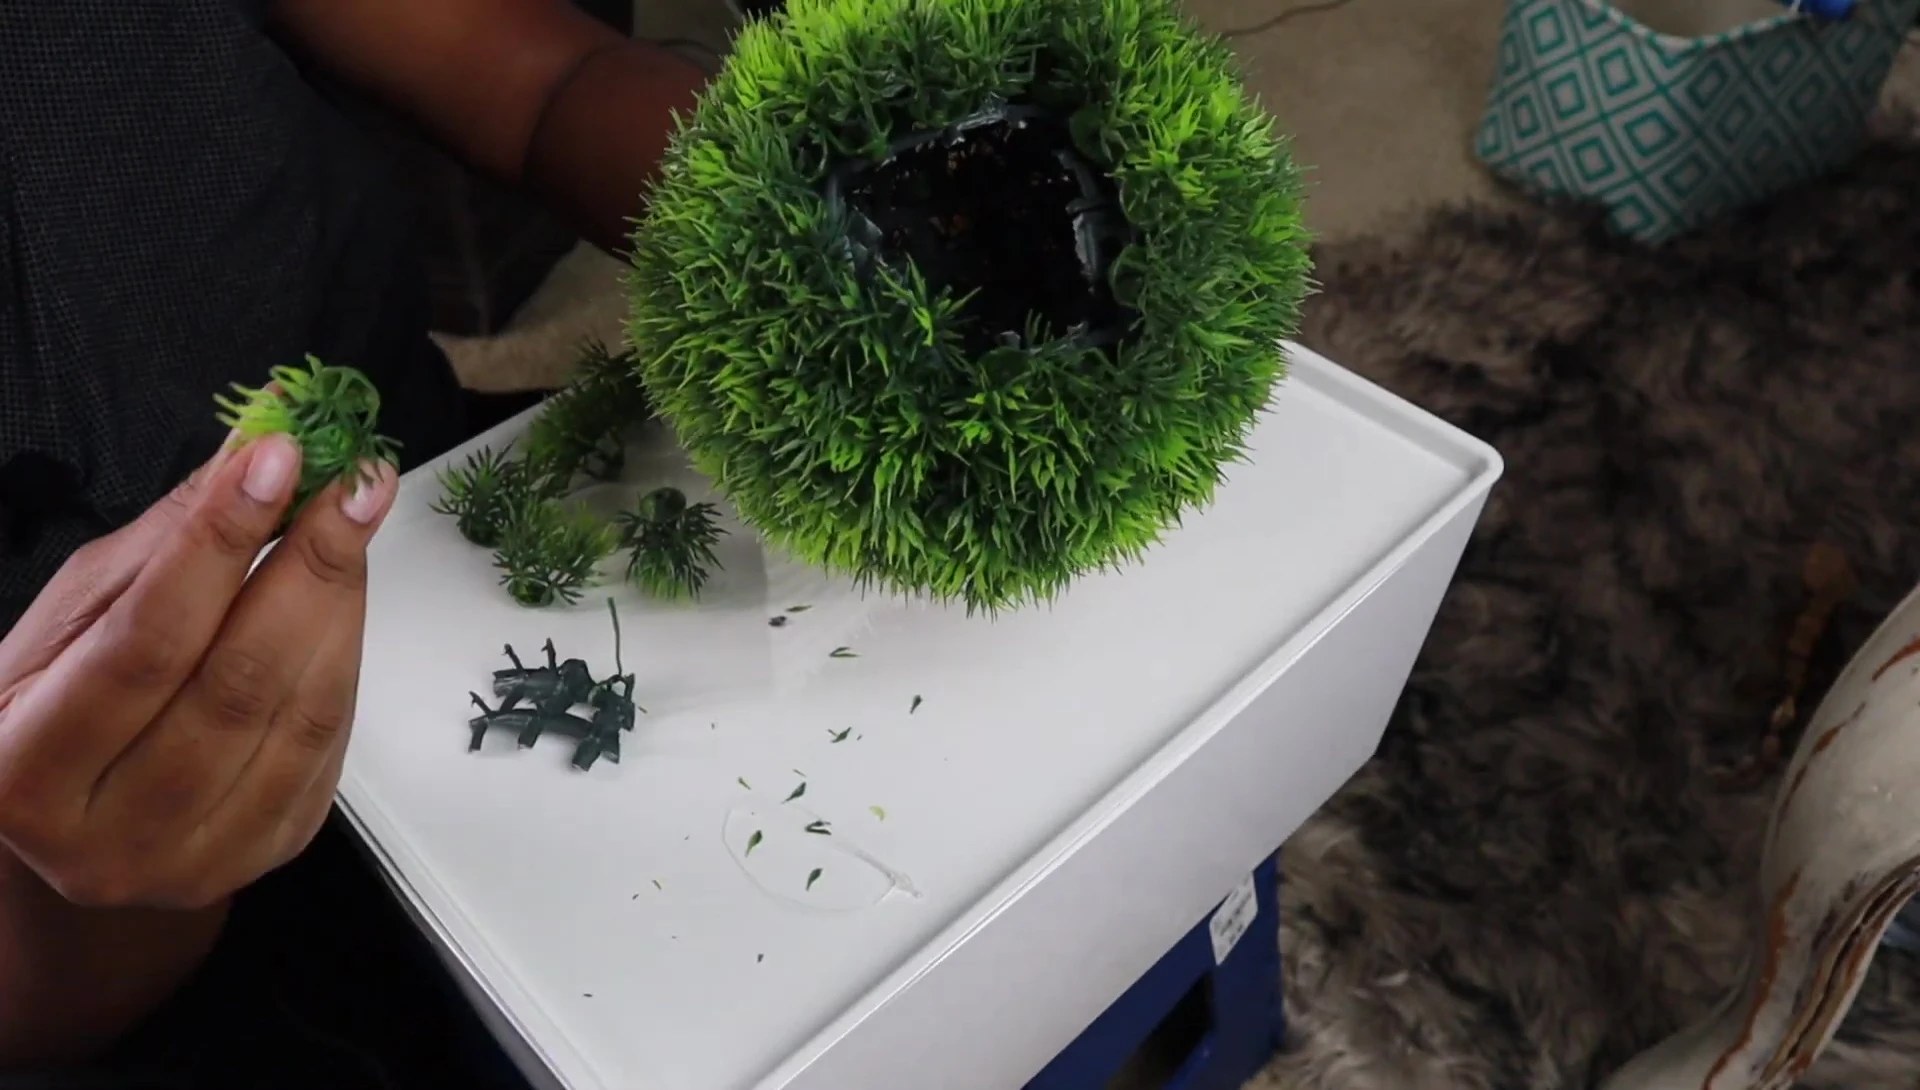
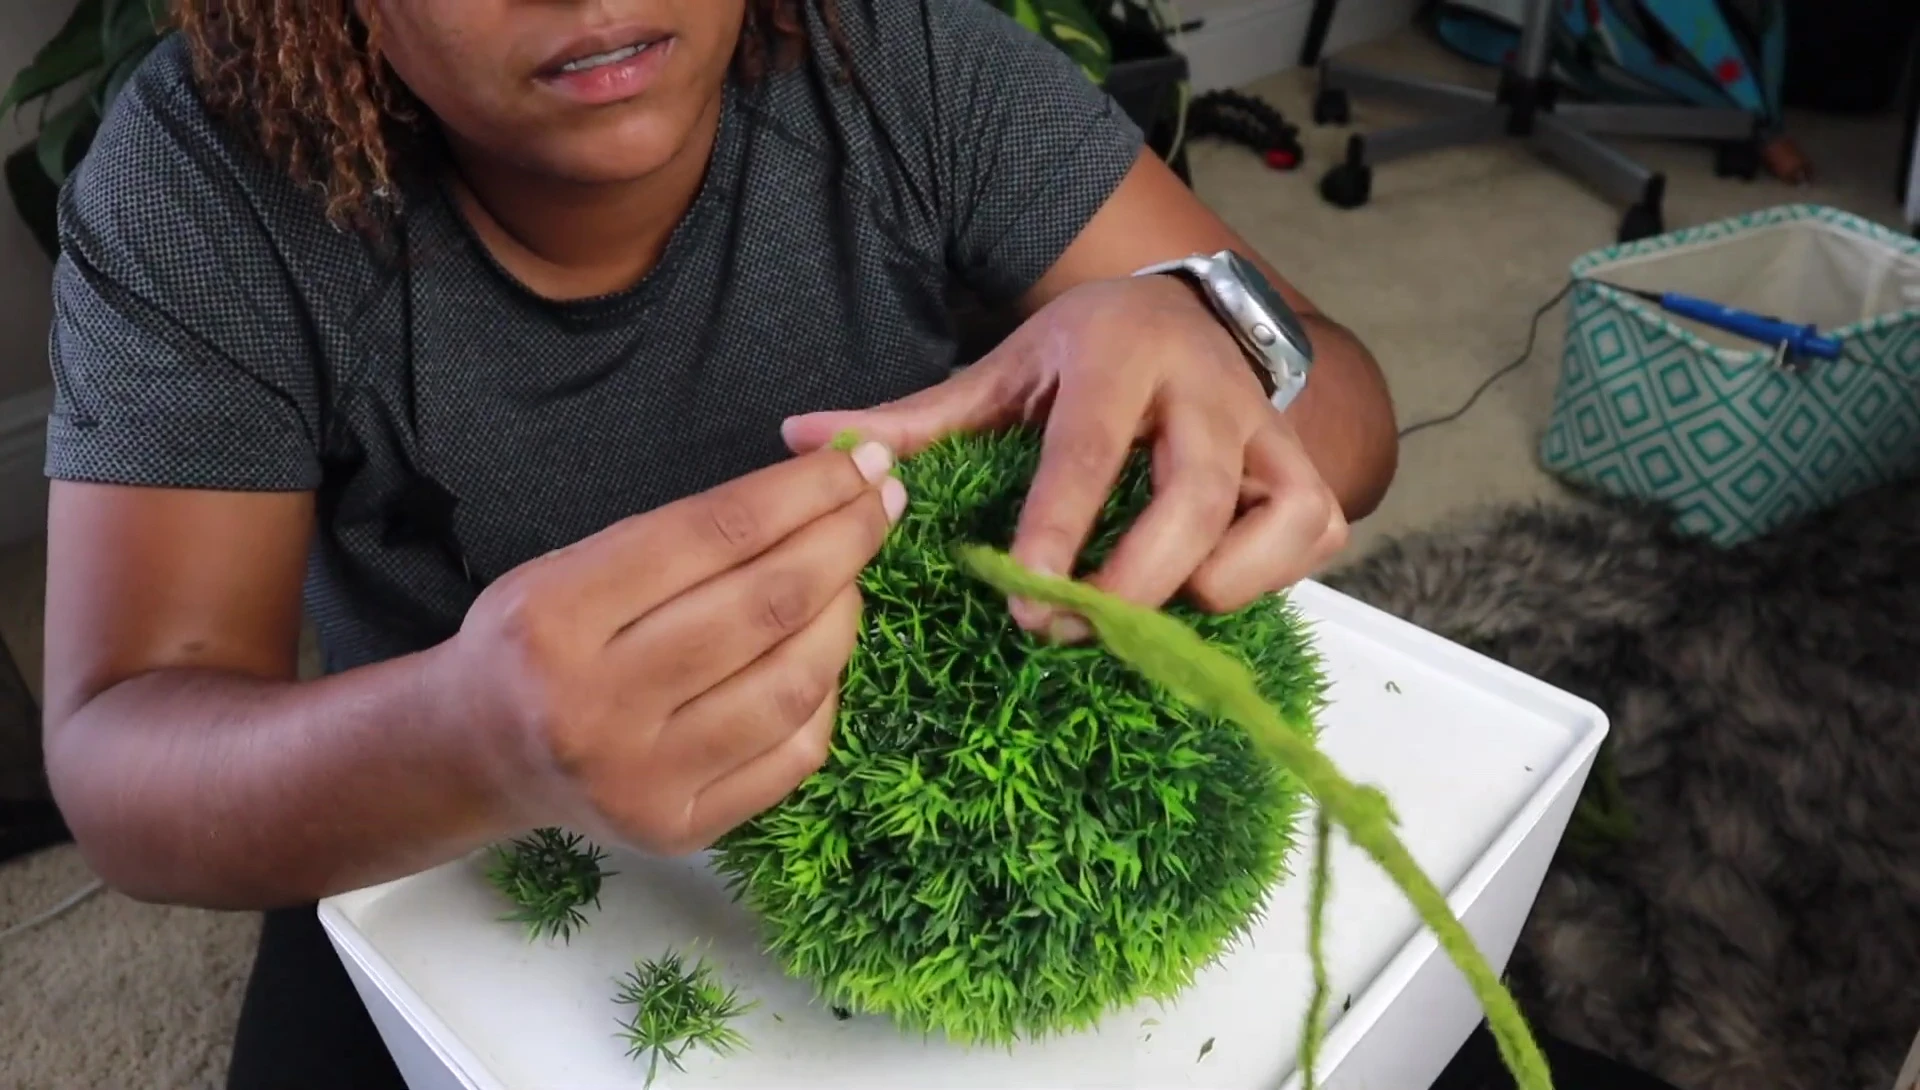
Creating the Gecko Hide Opening
Cutting the hole in the plastic ball required a strong cutter. A stainless steel tenfold cutter from Hobby Lobby proved ideal. This ensured a clean cut without damaging the outer material of the ball.
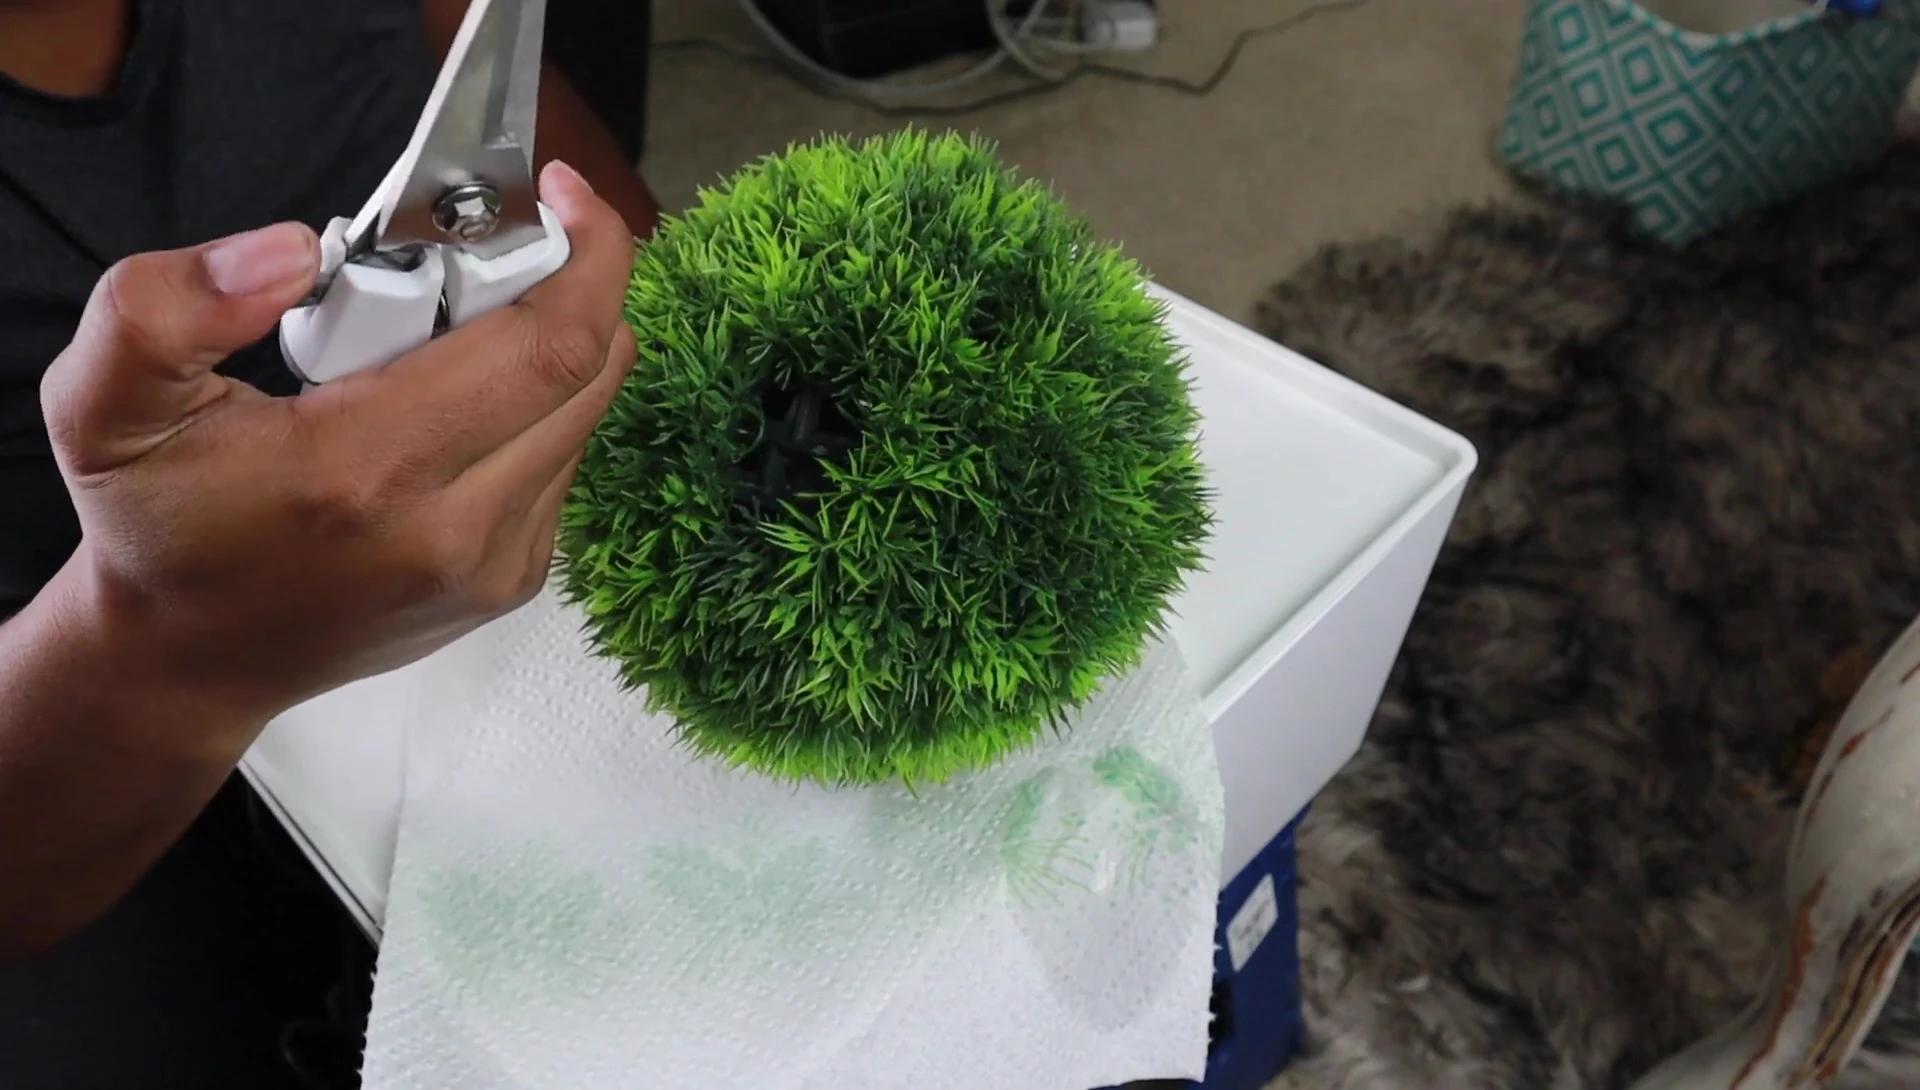
Care was taken to avoid jagged edges, ensuring gecko safety. While a lighter was available to smooth sharp edges, it wasn't necessary with the plastic material.

After cutting a hole, additional moss pieces were glued around the opening to further camouflage it and provide a more natural look.
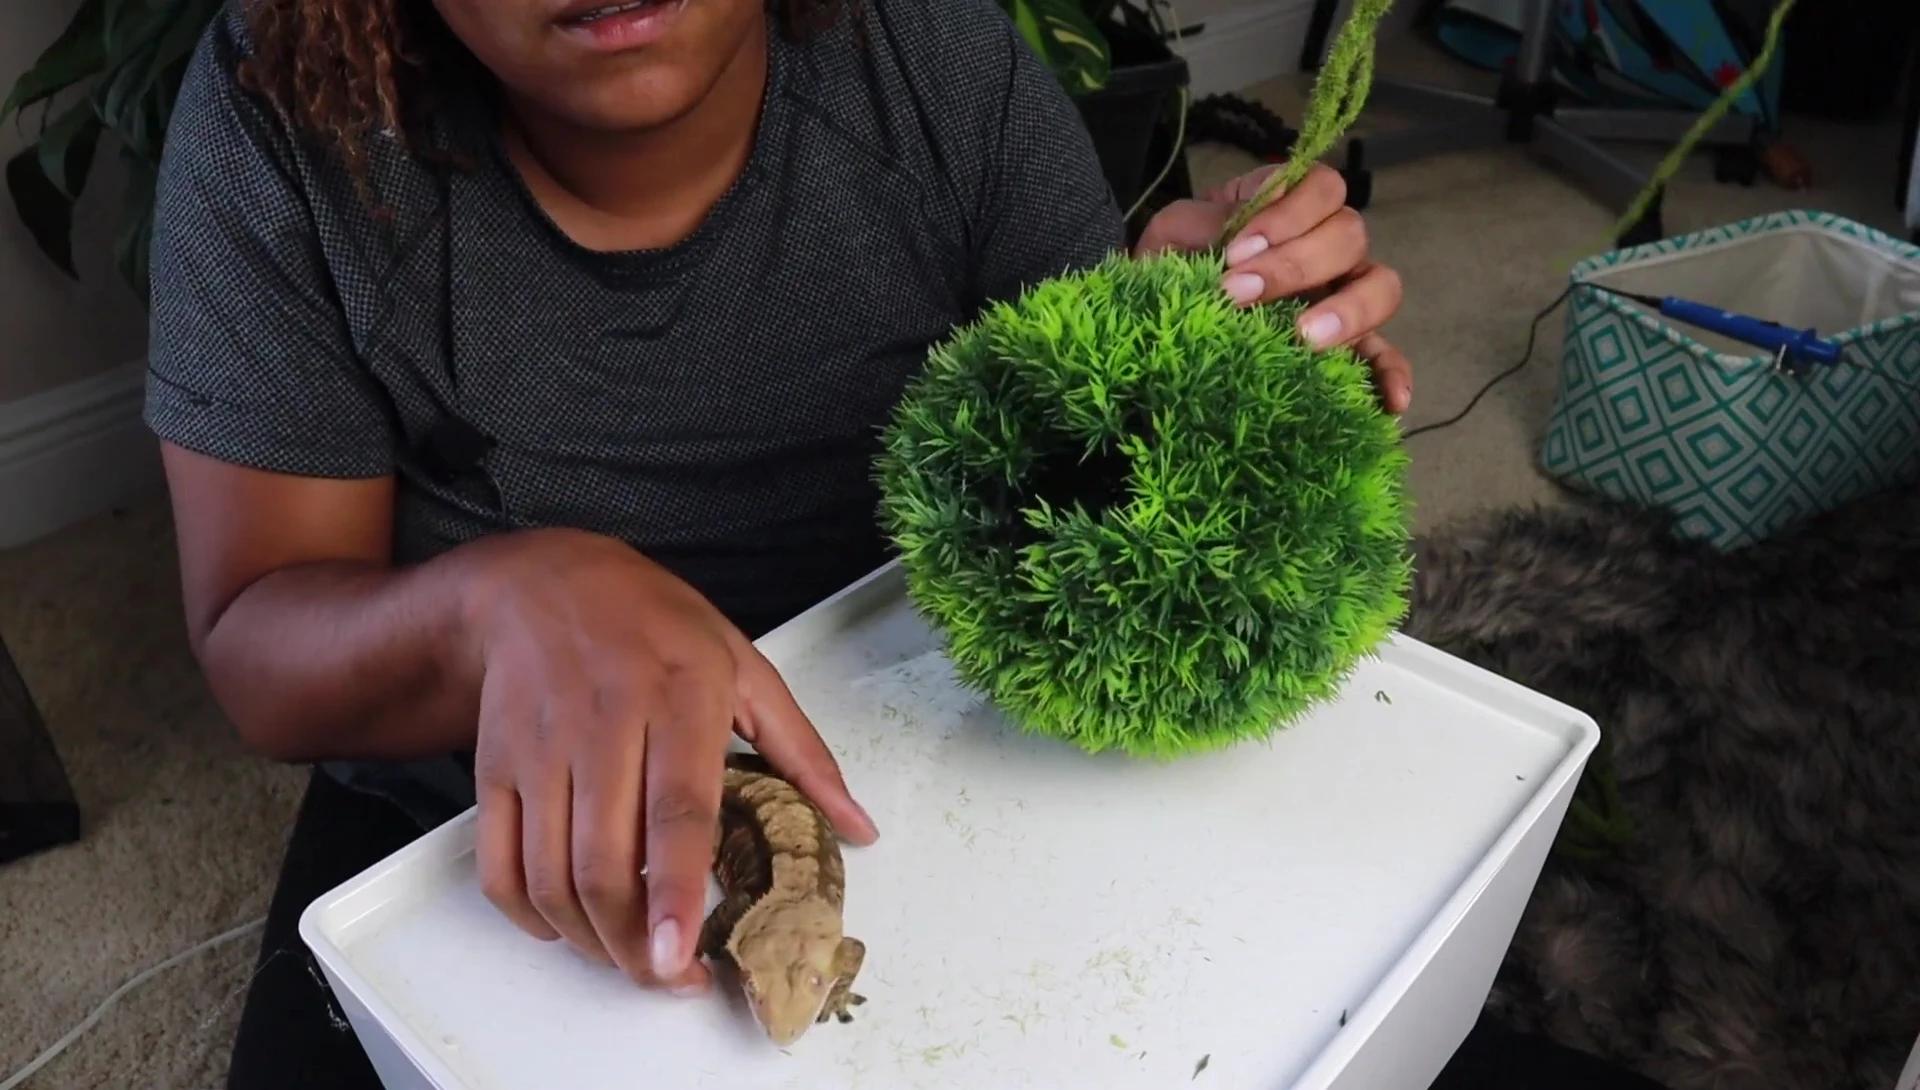
Hanging the Hide and Final Touches
To hang the moss ball, the creator used bendable foam wire (3.99 at Hobby Lobby), offering a better aesthetic than simple wire. Nine feet of wire was used, although only a small portion was needed for hanging.
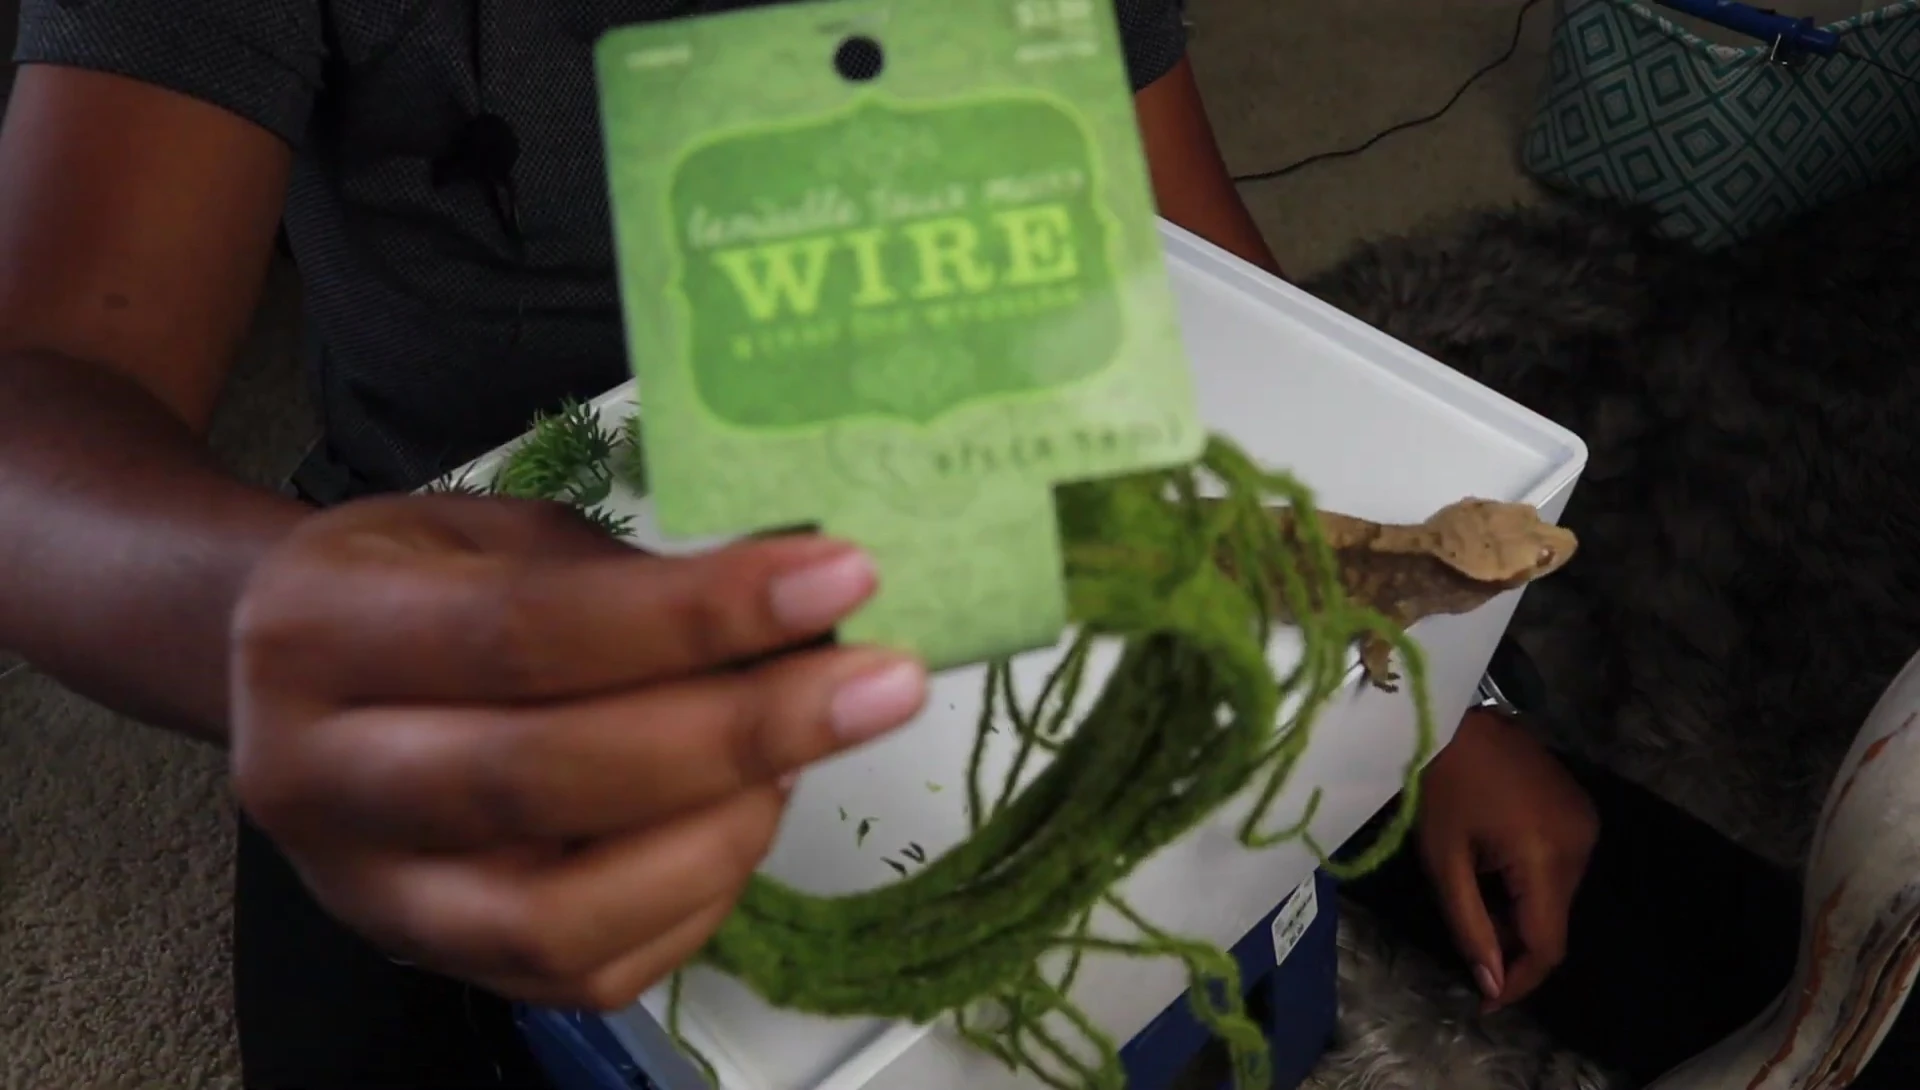
The wire was carefully threaded through the center of the ball, ensuring an even hang and preventing lopsidedness. Excess wire was left for securing the hide to the enclosure.
Finally, hot glue was used to seamlessly blend any remaining wire into the structure, completing the process.
Conclusion: A Cost-Effective and Safe Hide
This DIY crested gecko hide is a cost-effective alternative to store-bought options. Materials cost approximately $15 for the moss ball and wire. The process is straightforward, even for beginners.
The use of plastic instead of foam simplifies the cutting process and provides a safer material for the gecko. The hide is also easy to clean and maintain.
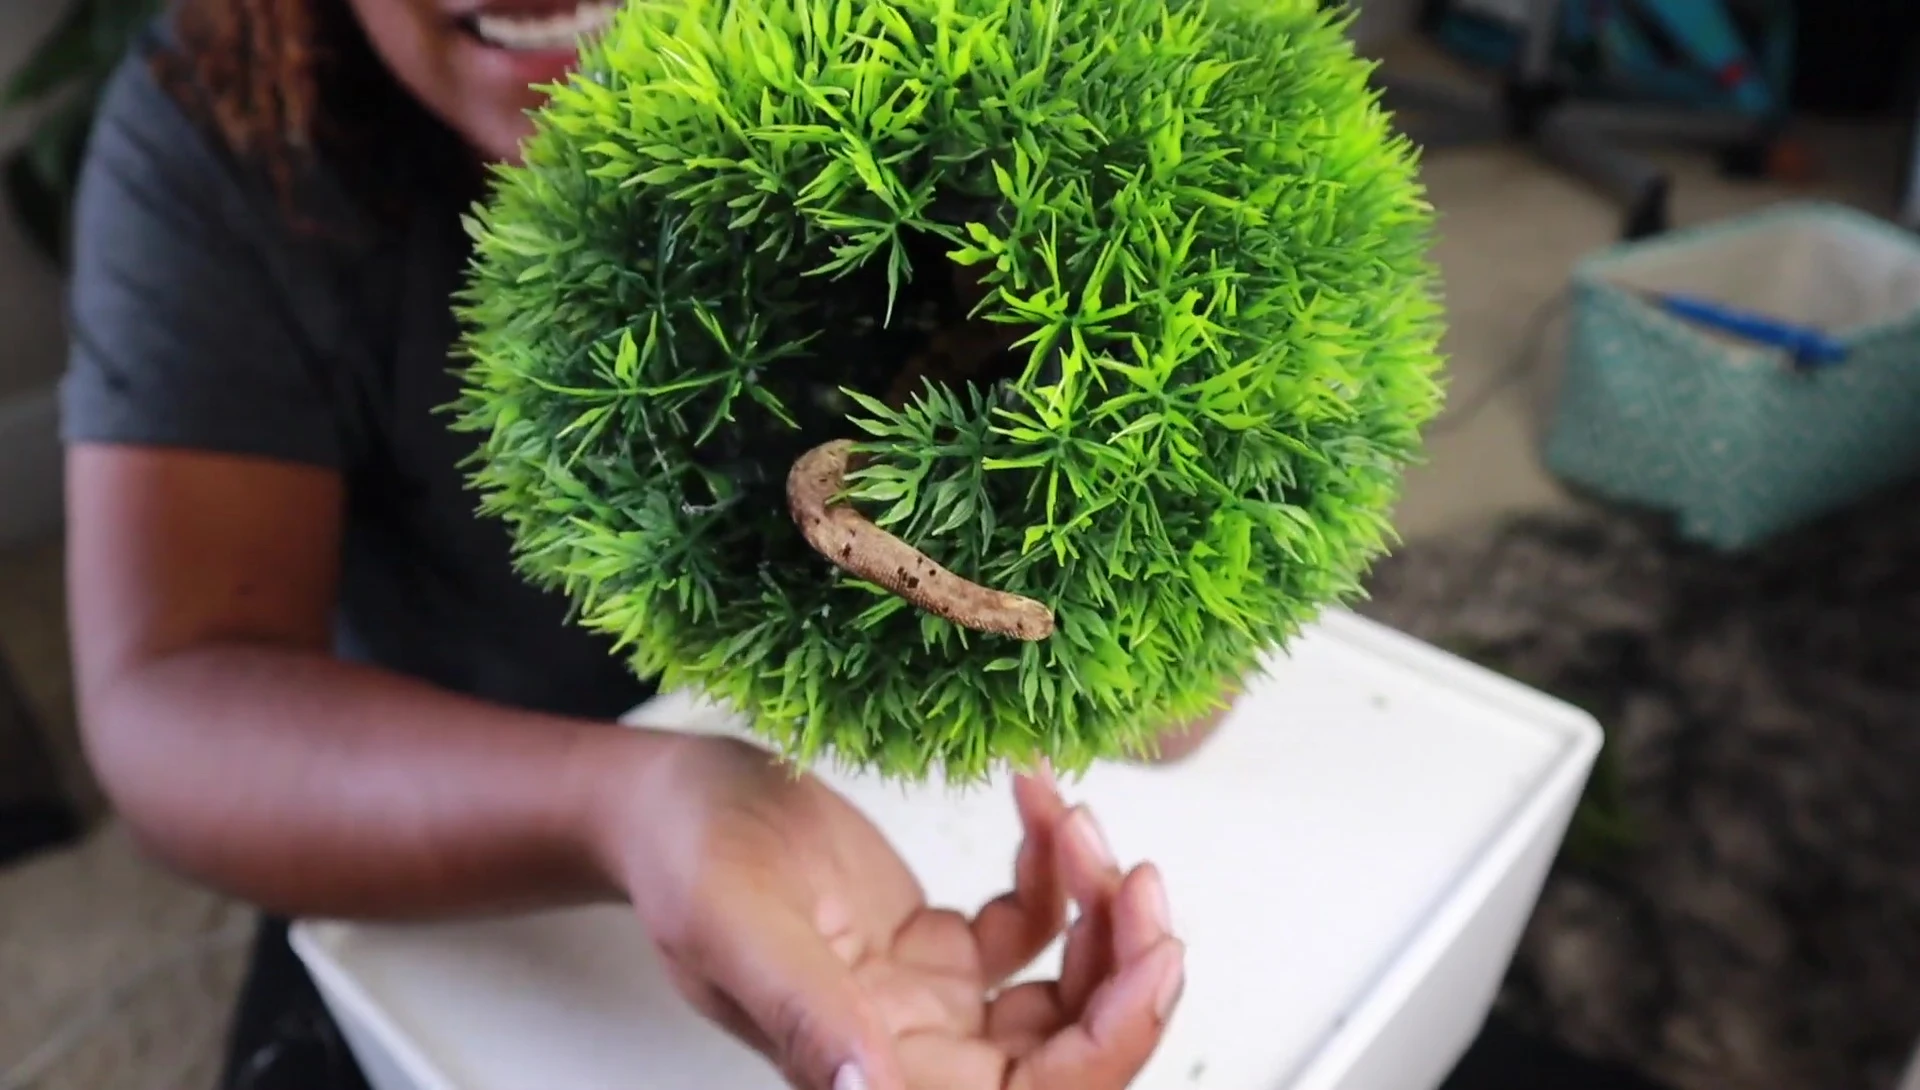
This project demonstrates a creative and affordable way to enrich your crested gecko's environment. The finished product provides a safe, comfortable, and aesthetically pleasing hide for your pet.