Viper geckos, with their captivatingly cryptic coloration and arboreal lifestyle, make fascinating reptile companions. However, creating a suitable habitat that meets their specific needs requires careful consideration. Traditional bioactive setups, while beautiful, often incorporate plants that may pose a risk to these sensitive lizards, potentially harboring pests or causing accidental ingestion. This guide focuses on constructing a thriving, plantless bioactive vivarium specifically designed for the wellbeing of your viper gecko, ensuring a safe and enriching environment. It avoids the potential pitfalls of plant-based setups while still maintaining a visually appealing and ecologically balanced system.
This plantless approach prioritizes a naturalistic aesthetic achieved through carefully selected substrate layers, mimicking the gecko's natural environment without the complexities and potential dangers of live plants. This step-by-step guide will walk you through each stage of the build, from selecting appropriate materials to establishing a stable and thriving micro-ecosystem perfect for your viper gecko to thrive in. Let's begin creating a vibrant, plant-free haven for your scaly friend!
Preparation and Safety Guidelines
- Arcadia Shade Dweller light
- Solar Grow T5 plant fixture
- Biodude ceramic Heat bracket
- Arcadia halogen bulb (50 Watts)
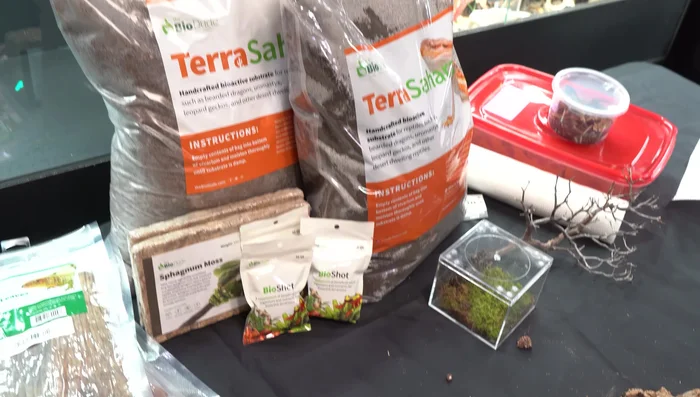
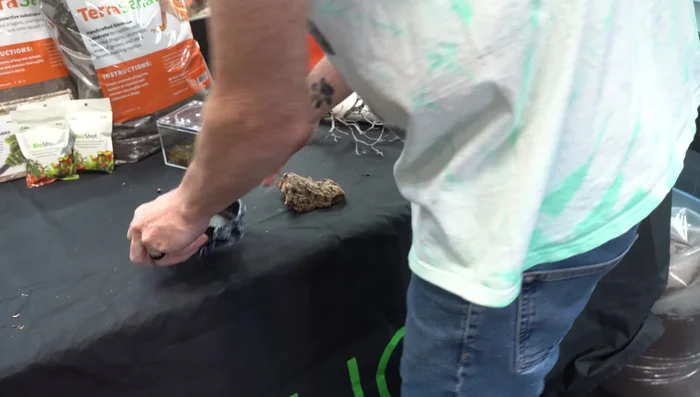
- Paradigm Sahara substrate
- Bioshot
- Cacao leaves
- Banana leaves
- Custom clay background mix (clay, cat litter)
- Rocks (Dragon Stone, Pumice Stone)
- Manzanita branch
- Red slate
- Exoterra Sonoran Ochre sand
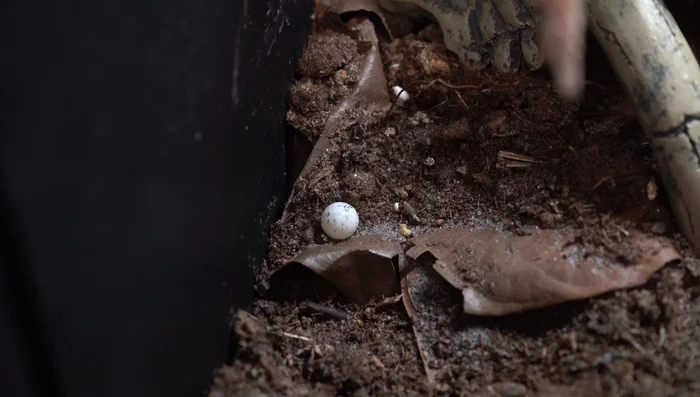
- Springtails
- Isopods
- Calcium bone
- Small River Rocks
- Terri Bowl (small)
- Cork
- Ensure all substrate materials are thoroughly researched for suitability and safety for viper geckos. Some materials may be toxic if ingested or cause respiratory issues.
- Proper ventilation is critical in a plantless bioactive setup to prevent the buildup of ammonia and other harmful gases from decaying waste. Monitor humidity and temperature closely.
- Regularly monitor the clean-up crew (isopods, springtails) to ensure they are thriving and not overpopulating or dying off. A large die-off can lead to ammonia spikes and harm your gecko.
Step-by-Step Instructions
Substrate and Base Layer
- Add substrate (Paradigm Sahara) to the vivarium.
- Incorporate Bioshot and leaf litter (cacao and banana leaves) into the substrate. Mix thoroughly.
- Add Exoterra Sonoran Ochre sand for visual appeal and textural variety.

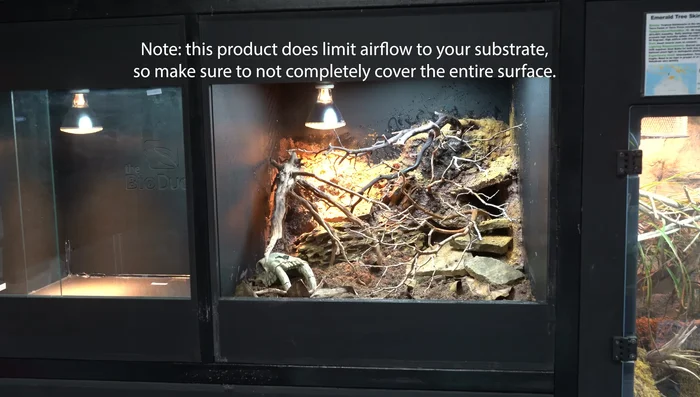
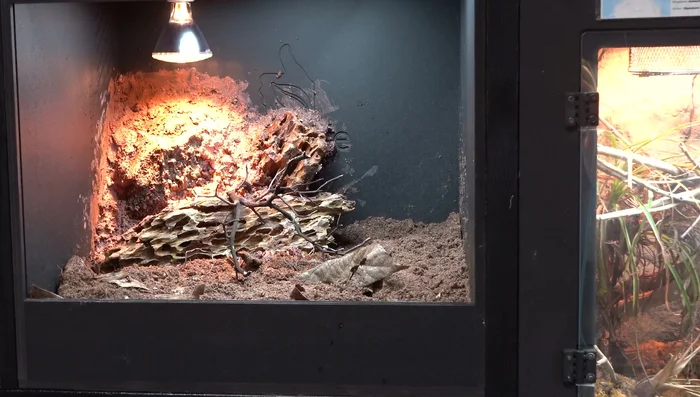
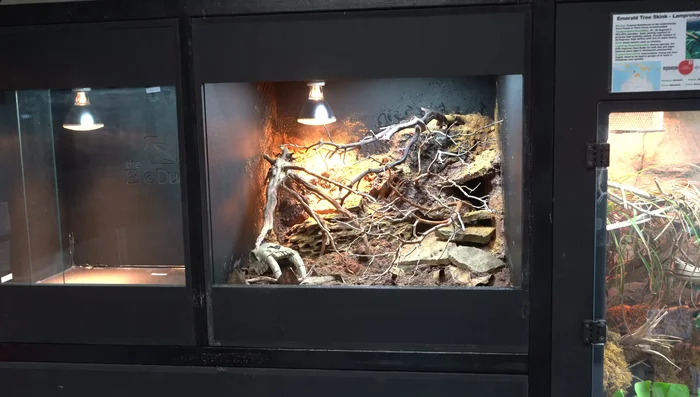
Substrate and Base Layer Background and Hardscape
- Create a custom clay background using a mix of clay, cat litter, and other materials. Mold and attach it to the back of the vivarium.
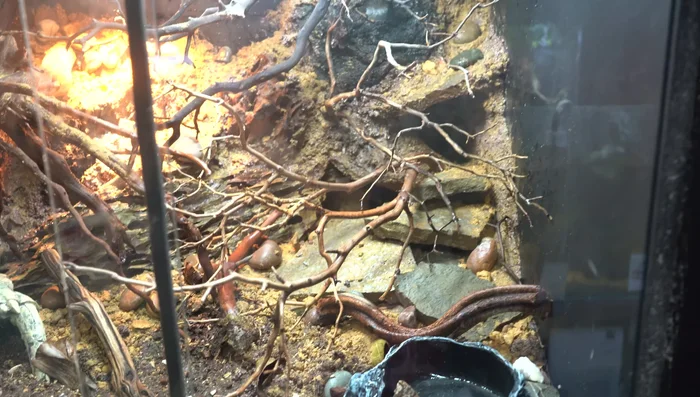
- Arrange rocks (Dragon Stone, Pumice Stone) to create a natural-looking rocky outcrop.
- Incorporate Manzanita branches and additional slate pieces for hiding places and climbing opportunities.
Background and Hardscape Accessories and Cleanup Crew
- Add a small water dish with a cork to help cleanup crew access water.
- springtails and isopods.
- Add calcium bone for supplemental calcium.
Accessories and Cleanup Crew Curing and Gecko Introduction
- Allow the tank to establish for approximately a month before introducing Viper geckos.
Curing and Gecko Introduction
Read more: Grow Your Own Moss Terrarium: A Simple Step-by-Step Guide
Tips
- Thoroughly mix leaf litter and Bioshot with the substrate to ensure proper decomposition and nutrient cycling.
- Provide ample hiding spots and basking areas to meet the thermal and behavioral needs of Viper geckos.
- Secure all background elements to prevent collapse or shifting.
- Supplement soil with additives (magnesium, potassium, phosphorus, etc.) every couple of months to compensate for the lack of plants.
- Avoid using animal-based fertilizers in a closed ecosystem.