Shell rot, a bacterial or fungal infection affecting a turtle's shell, is a distressing but treatable condition. Characterized by soft, pitted areas, discoloration, and often a foul odor, shell rot can severely impact your turtle's health and even be fatal if left untreated. Early detection and prompt intervention are crucial for a successful recovery, making understanding the appropriate treatment methods paramount for responsible turtle keepers. Ignoring the signs can lead to significant complications, including systemic infection.
This guide offers a comprehensive, step-by-step approach to treating shell rot in your turtle. From identifying the severity of the infection to administering appropriate medications and ensuring proper quarantine and post-treatment care, we'll equip you with the knowledge and confidence to help your shelled friend heal. Let's dive into the detailed steps needed to nurse your turtle back to health.
Preparation and Safety Guidelines
- Povidone Iodine (or Betadine)
- Paper towels
- Gloves
- Mild soap
- Unused toothbrush
- Shell rot is serious and requires veterinary care. Home treatments may help, but professional diagnosis and treatment are crucial for a successful outcome.
- Always wash your hands thoroughly before and after handling your turtle or any materials involved in its treatment to prevent the spread of infection.
- Never use human medications or products on your turtle without explicit veterinary guidance. Many common household items are toxic to reptiles.
Step-by-Step Instructions
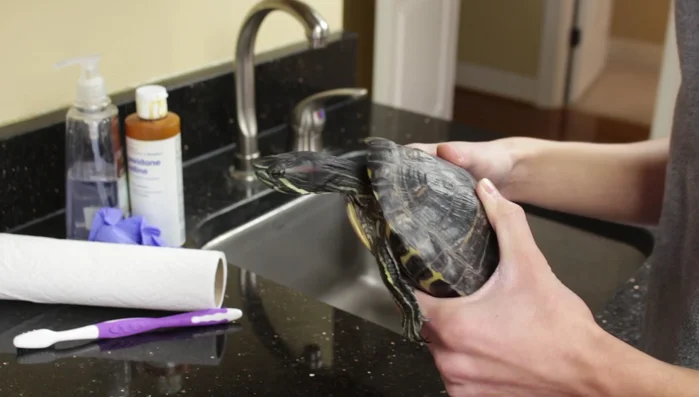
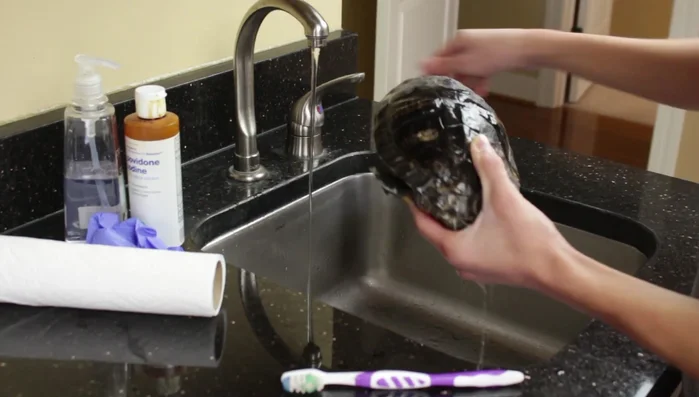
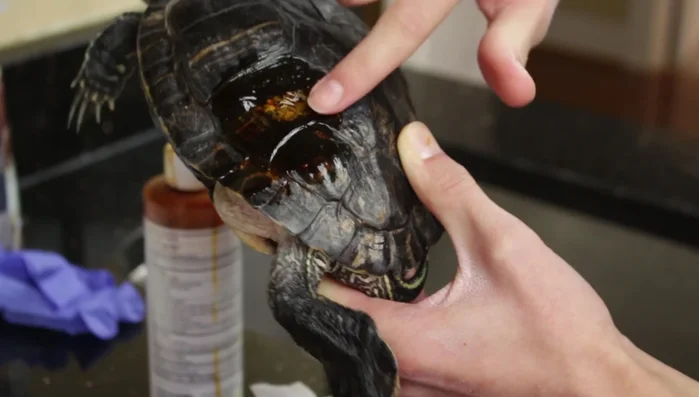
Clean the Shell
- Wash the turtle and remove dirt, algae, etc. using mild soap and a soft toothbrush. (Carefully hold the turtle to avoid dropping it.)
- Rinse the turtle thoroughly under the sink, ensuring soap is completely removed from the shell and avoiding the turtle's face and eyes.
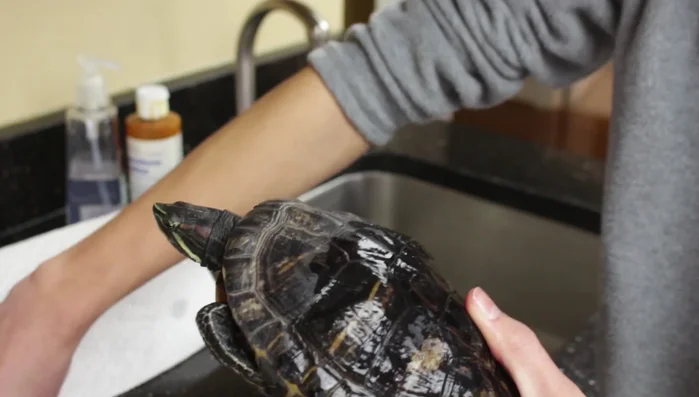
- Dry the affected area of the shell with paper towels, ensuring no standing water remains.

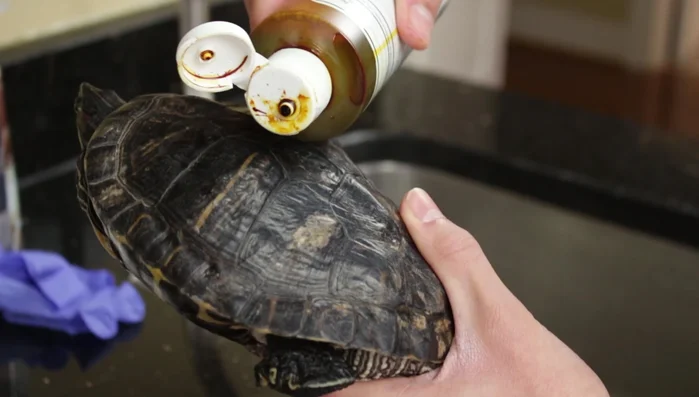
Clean the Shell Apply Treatment
- Apply Povidone Iodine (or Betadine) to the affected area, making sure to cover the entire shell rot and surrounding area. Use approximately 5-10 drops.
- Gently rub the iodine into the cracks and crevices of the shell to ensure complete coverage.
Apply Treatment Allow to Dry
- Allow the iodine to dry completely (10-20 minutes). Avoid placing the turtle back in water until completely dry.
Allow to Dry

Read more: How to Put a Harness on Your Monitor Lizard: Easy Step-by-Step Guide
Tips
- Use a separate toothbrush that hasn't been used on humans to avoid cross-contamination.
- Betadine or Povidone Iodine will stain, so be careful with what surfaces you use.
- Repeat this process daily for a couple of weeks until the shell rot is healed. If it persists beyond a month, consult an exotic vet.