Creating a naturalistic and enriching environment for your reptile is crucial for their well-being, and realistic-looking branches are a vital component of any engaging enclosure. While commercially available options exist, they often lack the detail and customization needed to perfectly integrate with your specific setup. This can leave keepers searching for ways to create truly bespoke, aesthetically pleasing, and importantly, durable branches for their scaly companions. The limitations of traditional materials, such as wood, regarding hygiene and longevity, also drive the need for alternative solutions. Epoxy clay provides a fantastic, resilient, and easily customized alternative.
This article details a comprehensive method for crafting incredibly realistic PVC branches using epoxy clay, allowing you to craft branches tailored to your reptile's specific needs and the aesthetic of your terrarium. These branches are not only visually stunning but also incredibly strong and easy to clean, providing a safe and enriching addition to your reptile's home. To learn how to create these durable and beautiful branches, follow our step-by-step guide below.
Preparation and Safety Guidelines
- PVC pipe
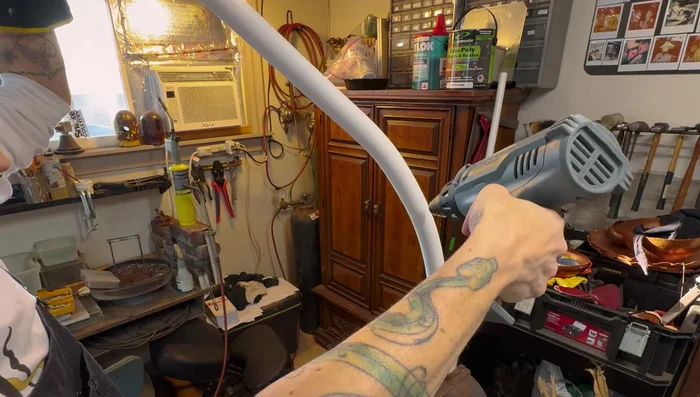
- Heat gun
- Sandpaper
- Wet rag
- Epoxy clay (307 Zup Foxy Light version preferred)
- Bristle brush
- Bark stamp
- Wire tool
- Hot glue
- Screws
- Masking tape
- PVC base with screw holes
- 4x6 wood
- Paint
- Eco poly clear sealant
- Sponge brush
- Artificial plants
- Silicone
- Packing paper
- Always work in a well-ventilated area. Epoxy clay releases fumes that can be harmful if inhaled.
- Wear gloves and eye protection throughout the entire process to prevent skin and eye irritation from the epoxy clay.
- Ensure the PVC pipe is thoroughly cleaned and free of any debris before applying the epoxy clay to ensure proper adhesion. Improperly cleaned PVC may result in the branch detaching within the enclosure.
Step-by-Step Instructions
Prepare PVC Pipes
- Sand down the surface and wipe with a wet rag to remove dust.

Prepare PVC Pipes Shape PVC Branches
- Use a heat gun to make bends in the PVC pipes. Attach a second identical fitting to a 4x6 as a jig for easier work.
Shape PVC Branches Create Branch Structure
- Use hot glue, screws, and masking tape to attach branches together, creating a basic structure.
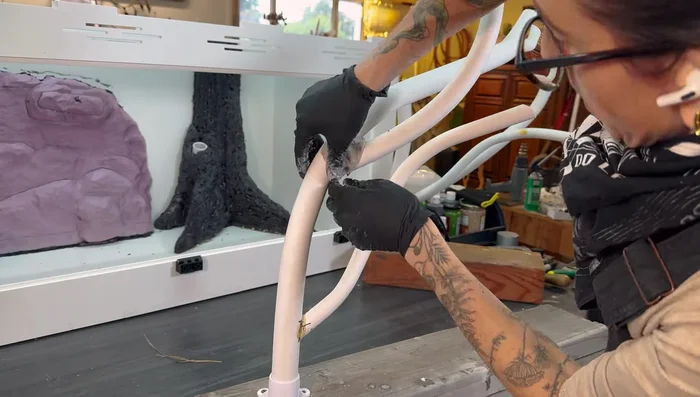
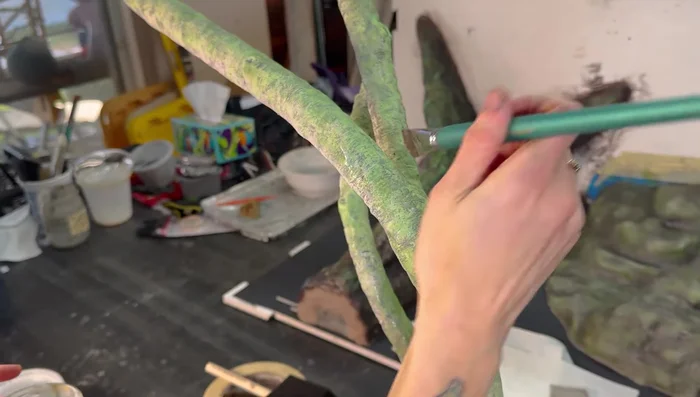
Create Branch Structure Apply and Texture Epoxy Clay
- Apply epoxy clay to the PVC branches. Use a bristle brush (continuously rinsing) and wire tools to create realistic bark textures. The light version of the epoxy clay is preferred for easier texturing.
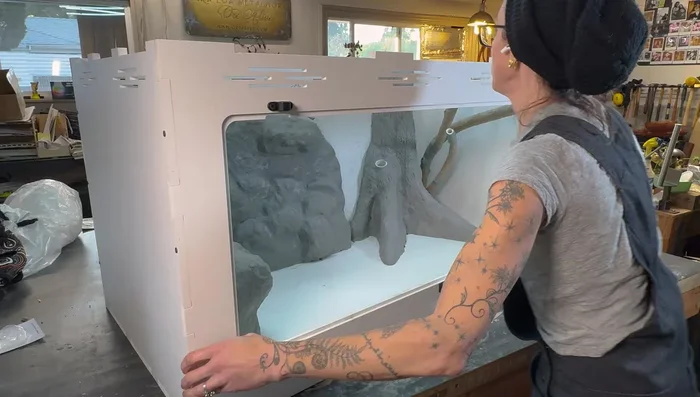
Dry Fit and Adjust Branches
- Do a dry fit of branches with the background to check placement, adjust lengths if needed, and determine the final positions.
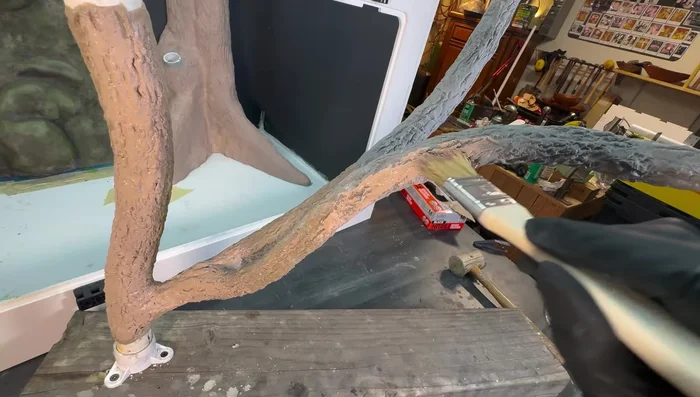
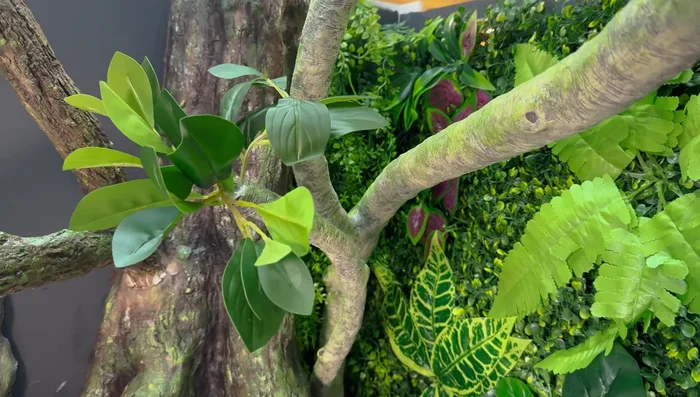
Dry Fit and Adjust Branches Paint Branches
- Apply a base coat, then washes of darker colors into crevices, followed by dry brushing of lighter colors. Match the colors of branches to their trunk for a cohesive look.
Paint Branches Prepare Foliage Holders
- Cover the footing with epoxy clay, texture and paint it.
Prepare Foliage Holders Seal Branches
- Apply Eco poly clear sealant to protect the finish and make cleaning easier.
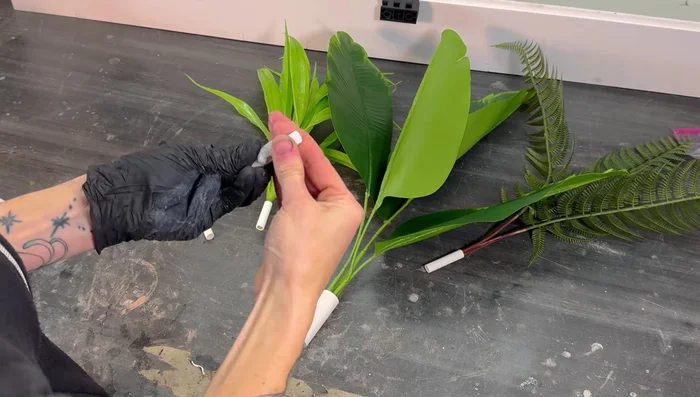
Seal Branches Attach Foliage
- Hot glue artificial plants into the branch ends; drill holes in knots and insert stems for leaves.
Attach Foliage Seal Open Branch Ends
- Add epoxy clay, packing paper and texture as needed to cap off the open ends of branches.
Seal Open Branch Ends Create Ground Mounts
- Use PVC and PEX pipes, epoxy clay mounds and silicone to mount plants upright on the enclosure floor.
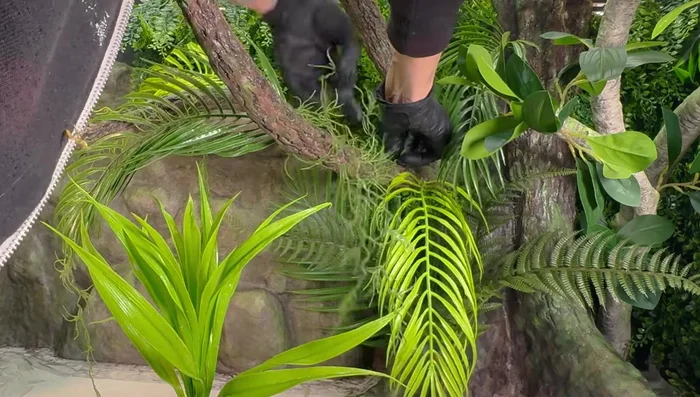
Create Ground Mounts Arrange Foliage and Add Final Touches
- Arrange artificial plants and Spanish moss, considering visual barriers and dappled light effects. Secure with silicone.
- Attach heat lamps, check temperatures and humidity, add substrate, hides, water bowl, and any final clutter.
Arrange Foliage and Add Final Touches


Read more: Secure Chameleon Branch Mounting: Fishing Line & Zip Ties Method
Tips
- Use the light version of 307 Zup Foxy epoxy clay for easier texturing.
- Carve deeply enough into the clay to allow paint to gather in the textures.
- Look for artificial plants used for home decor, not specifically reptile enclosures, for more realistic options.