Gecko enthusiasts often face the challenge of maintaining the perfect environment for their delicate pets. Temperature, humidity, and lighting all play crucial roles in a gecko's health and wellbeing, requiring diligent monitoring. Traditional methods can be cumbersome and lack the precision needed for optimal care. This project addresses these challenges by detailing the construction of a smart habitat monitor using the affordable and versatile ESP8266 microcontroller. This system allows for real-time monitoring of vital environmental parameters, providing valuable data directly to your smartphone or computer.
By leveraging the ESP8266's Wi-Fi capabilities and its ability to interface with various sensors, we can build a sophisticated monitoring system that automatically logs and reports environmental data. This smart habitat monitor will offer peace of mind, ensuring your gecko thrives in a perfectly balanced environment. Follow along as we guide you through the step-by-step process of building your own smart gecko habitat monitor.
Preparation and Safety Guidelines
- ESP8266
- Under-tank heater
- Overhead lights
- LEDs
- Enclosure
- Always ensure the power supply for the ESP8266 is appropriately rated and protected to prevent overheating or fire hazards. Use a regulated power supply and check wiring carefully.
- Never expose the ESP8266 or any wiring to moisture within the gecko enclosure. This can cause short circuits and potentially harm your gecko.
- Prioritize your gecko's safety. Test the system thoroughly before integrating it into the enclosure. Any malfunctioning components could create a hazardous environment for your pet.
Step-by-Step Instructions
Hardware Setup
- Connect the under-tank heater and overhead lights to the ESP8266.
- Add LEDs to indicate heating (red) and cooling (blue) status.

Hardware Setup Software Development
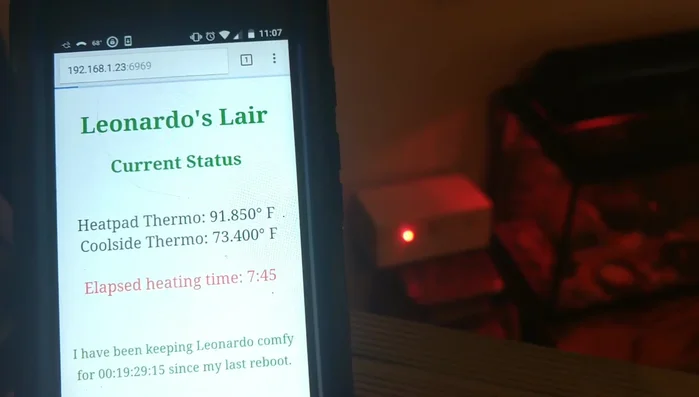
- Set up a timer on the ESP8266 to track heating and cooling time.
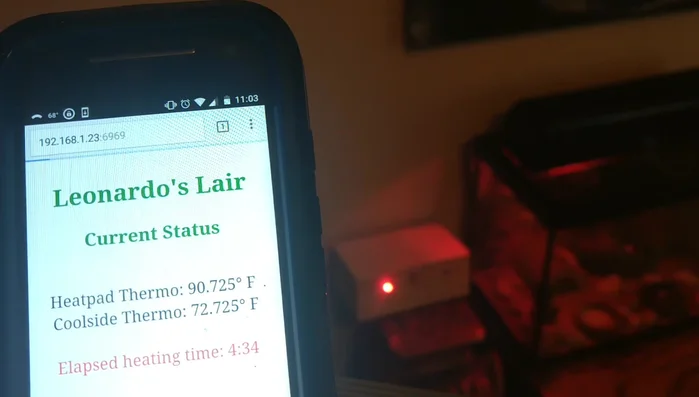
- Configure the ESP8266 to control the heater based on a temperature threshold (e.g., 92°F).
- Develop a web interface (or app) to display the status and timer data.
Software Development Testing and Monitoring
- Monitor the system and observe the color change of the LEDs and webpage to indicate heating or cooling.
Testing and Monitoring


Read more: How to Use a Thermostat with a Heat Mat for Reptiles: The Safe & Effective Guide
Tips
- Use a state machine to manage the heating and cooling cycles effectively.
- Implement stopwatches or timers for accurate tracking of heating and cooling durations. Millisecond timers can be tricky; this method offers a more robust solution.