Owning a turtle is a rewarding experience, but providing them with a proper habitat is crucial for their health and well-being. A crucial component of any turtle enclosure is a well-designed basking area, essential for proper digestion, thermoregulation, and overall vitality. Many commercially available setups can be expensive and lack customization options. This is where a DIY approach using readily available materials, like a stock tank, shines. Stock tanks offer a robust, affordable, and easily customizable foundation for building a thriving turtle environment.
Creating a perfect basking spot doesn’t have to involve complicated equipment or a hefty price tag. This step-by-step guide will walk you through the process of constructing a safe, functional, and aesthetically pleasing basking area within a stock tank, transforming a simple container into a luxurious turtle habitat. Let's dive into creating the perfect home for your shelled friend!
Preparation and Safety Guidelines
- Stock tank
- Pump
- Wood
- Buckets
- Screws
- Heat gun or flame
- Razor blade
- Sandpaper
- Silicone
- Soil mix
- Always supervise turtles, especially young ones, near water to prevent drowning. Ensure ramps are stable and provide easy access in and out of the water.
- Use only non-toxic materials and avoid using any paints, sealants, or chemicals that could leach into the water and harm your turtle. Choose substrate carefully; avoid anything that could be ingested and cause impaction.
- Provide adequate basking space with a proper basking lamp to maintain the correct temperature gradient. Incorrect temperatures can lead to serious health problems for your turtle.
Step-by-Step Instructions
Prepare the Environment
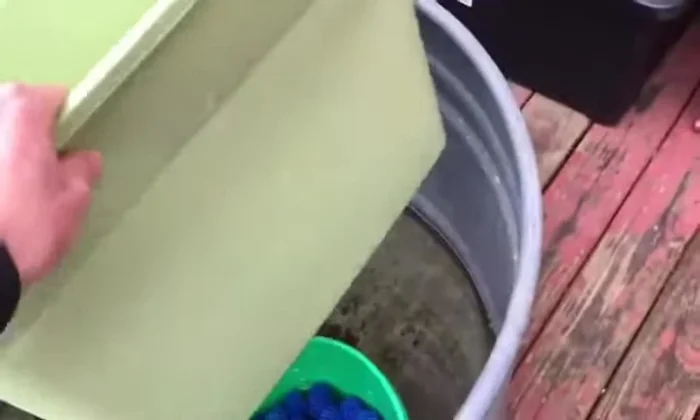
- Prepare the filter and ensure the trash can part is dry and cured.
- Prepare warm water (around 75 degrees) to fill the stock tank, facilitating the transition of goldfish and turtles without stress.

Prepare the Environment Construct the Basking Area
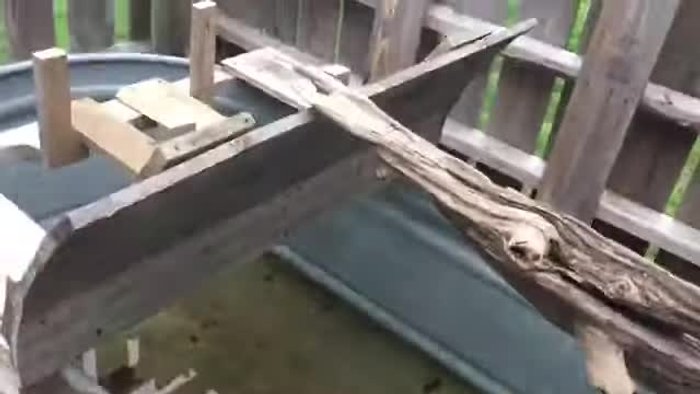
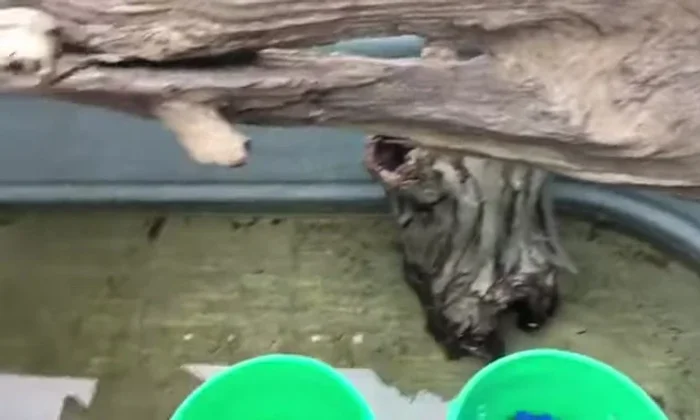
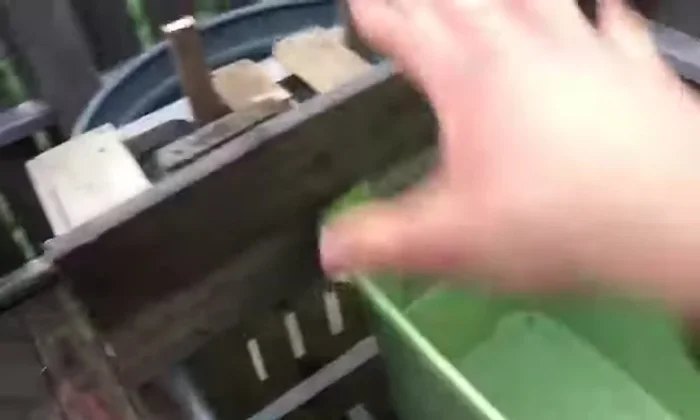
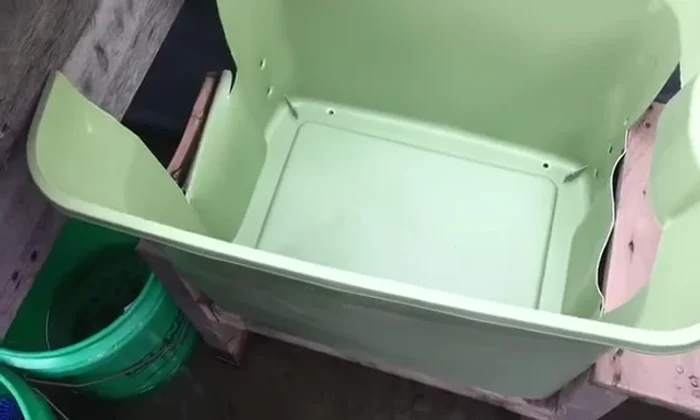
- Construct a basking area using a plastic tub. Cut the tub to shape using a razor blade (a heat gun is recommended for bending the plastic).
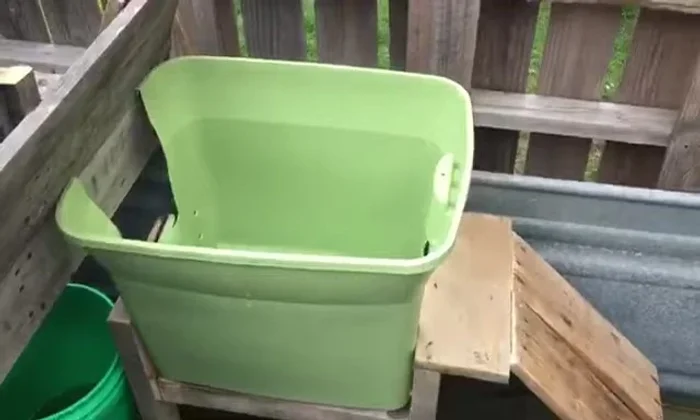
- Create a wooden platform to attach to the tub, providing a basking area and egg-laying space. This platform should be screwed to the tub.
- Cut additional access points in the plastic tub to allow easy access to the filter and create a more effective basking area.
Construct the Basking Area Build the Support Stand
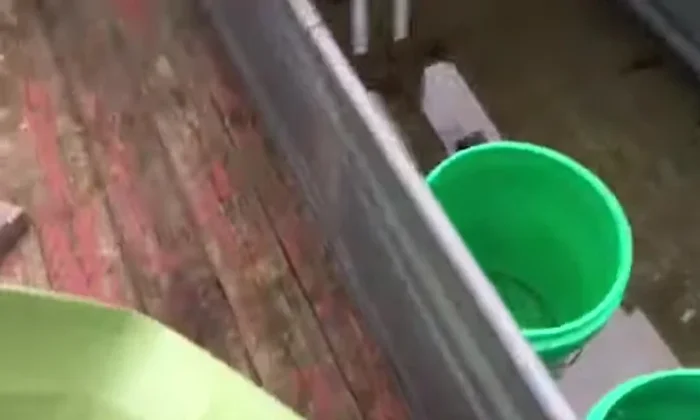
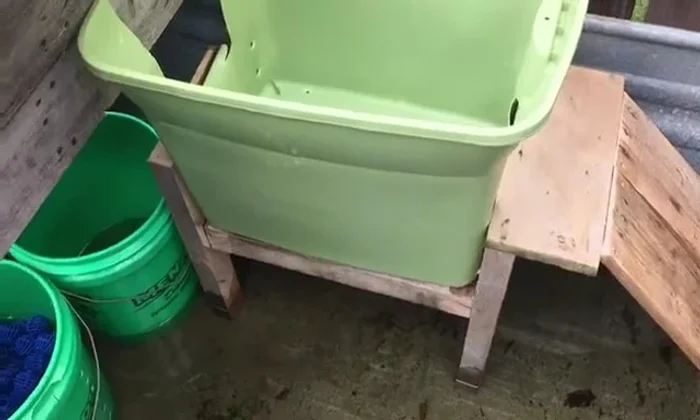
- Build a wooden stand to support the tub, potentially using buckets for elevation and stability.
- Sand the wooden stand and platform for a smoother finish.
Build the Support Stand Finalize the Setup
- Fill the basking area with soil mix, ensuring sufficient substrate for the turtles.
- Fill the stock tank with warm water.
Finalize the Setup
Read more: Optimal Bearded Dragon Lighting Setup: Achieve Perfect Basking & UVB
Tips
- Use a heat gun instead of an open flame for bending the plastic to avoid safety hazards.
- Consider creating a more even slope for the basking area by improving the angle of the cut.
- If replicating this design, ensure a more even and aesthetically pleasing finish by better planning the cuts and using a more appropriate method for bending the plastic.